- Joined
- Oct 24, 2020
- Messages
- 180
I don’t wipe down the stones at all. I’ve been wiping the bladeDo you wipe the stone down consistently, this may help. I always like to see other peoples sharpening results.

The BladeForums.com 2024 Traditional Knife is available! Price is $250 ea (shipped within CONUS).
Order here: https://www.bladeforums.com/help/2024-traditional/
I don’t wipe down the stones at all. I’ve been wiping the bladeDo you wipe the stone down consistently, this may help. I always like to see other peoples sharpening results.


Thank you for the in depth suggestion2 yrs ago i got a titanium bead in the mail, fresh off the lathe, unfinished (school grade D), matt titanium gray.
Here some old photo from when i got it, unboxing:
Back then, right after the unboxing, i spent some polishing efforts on it, with mild success (school grade C+):
Today i revisited the polishing project and finished to mirror-polish:
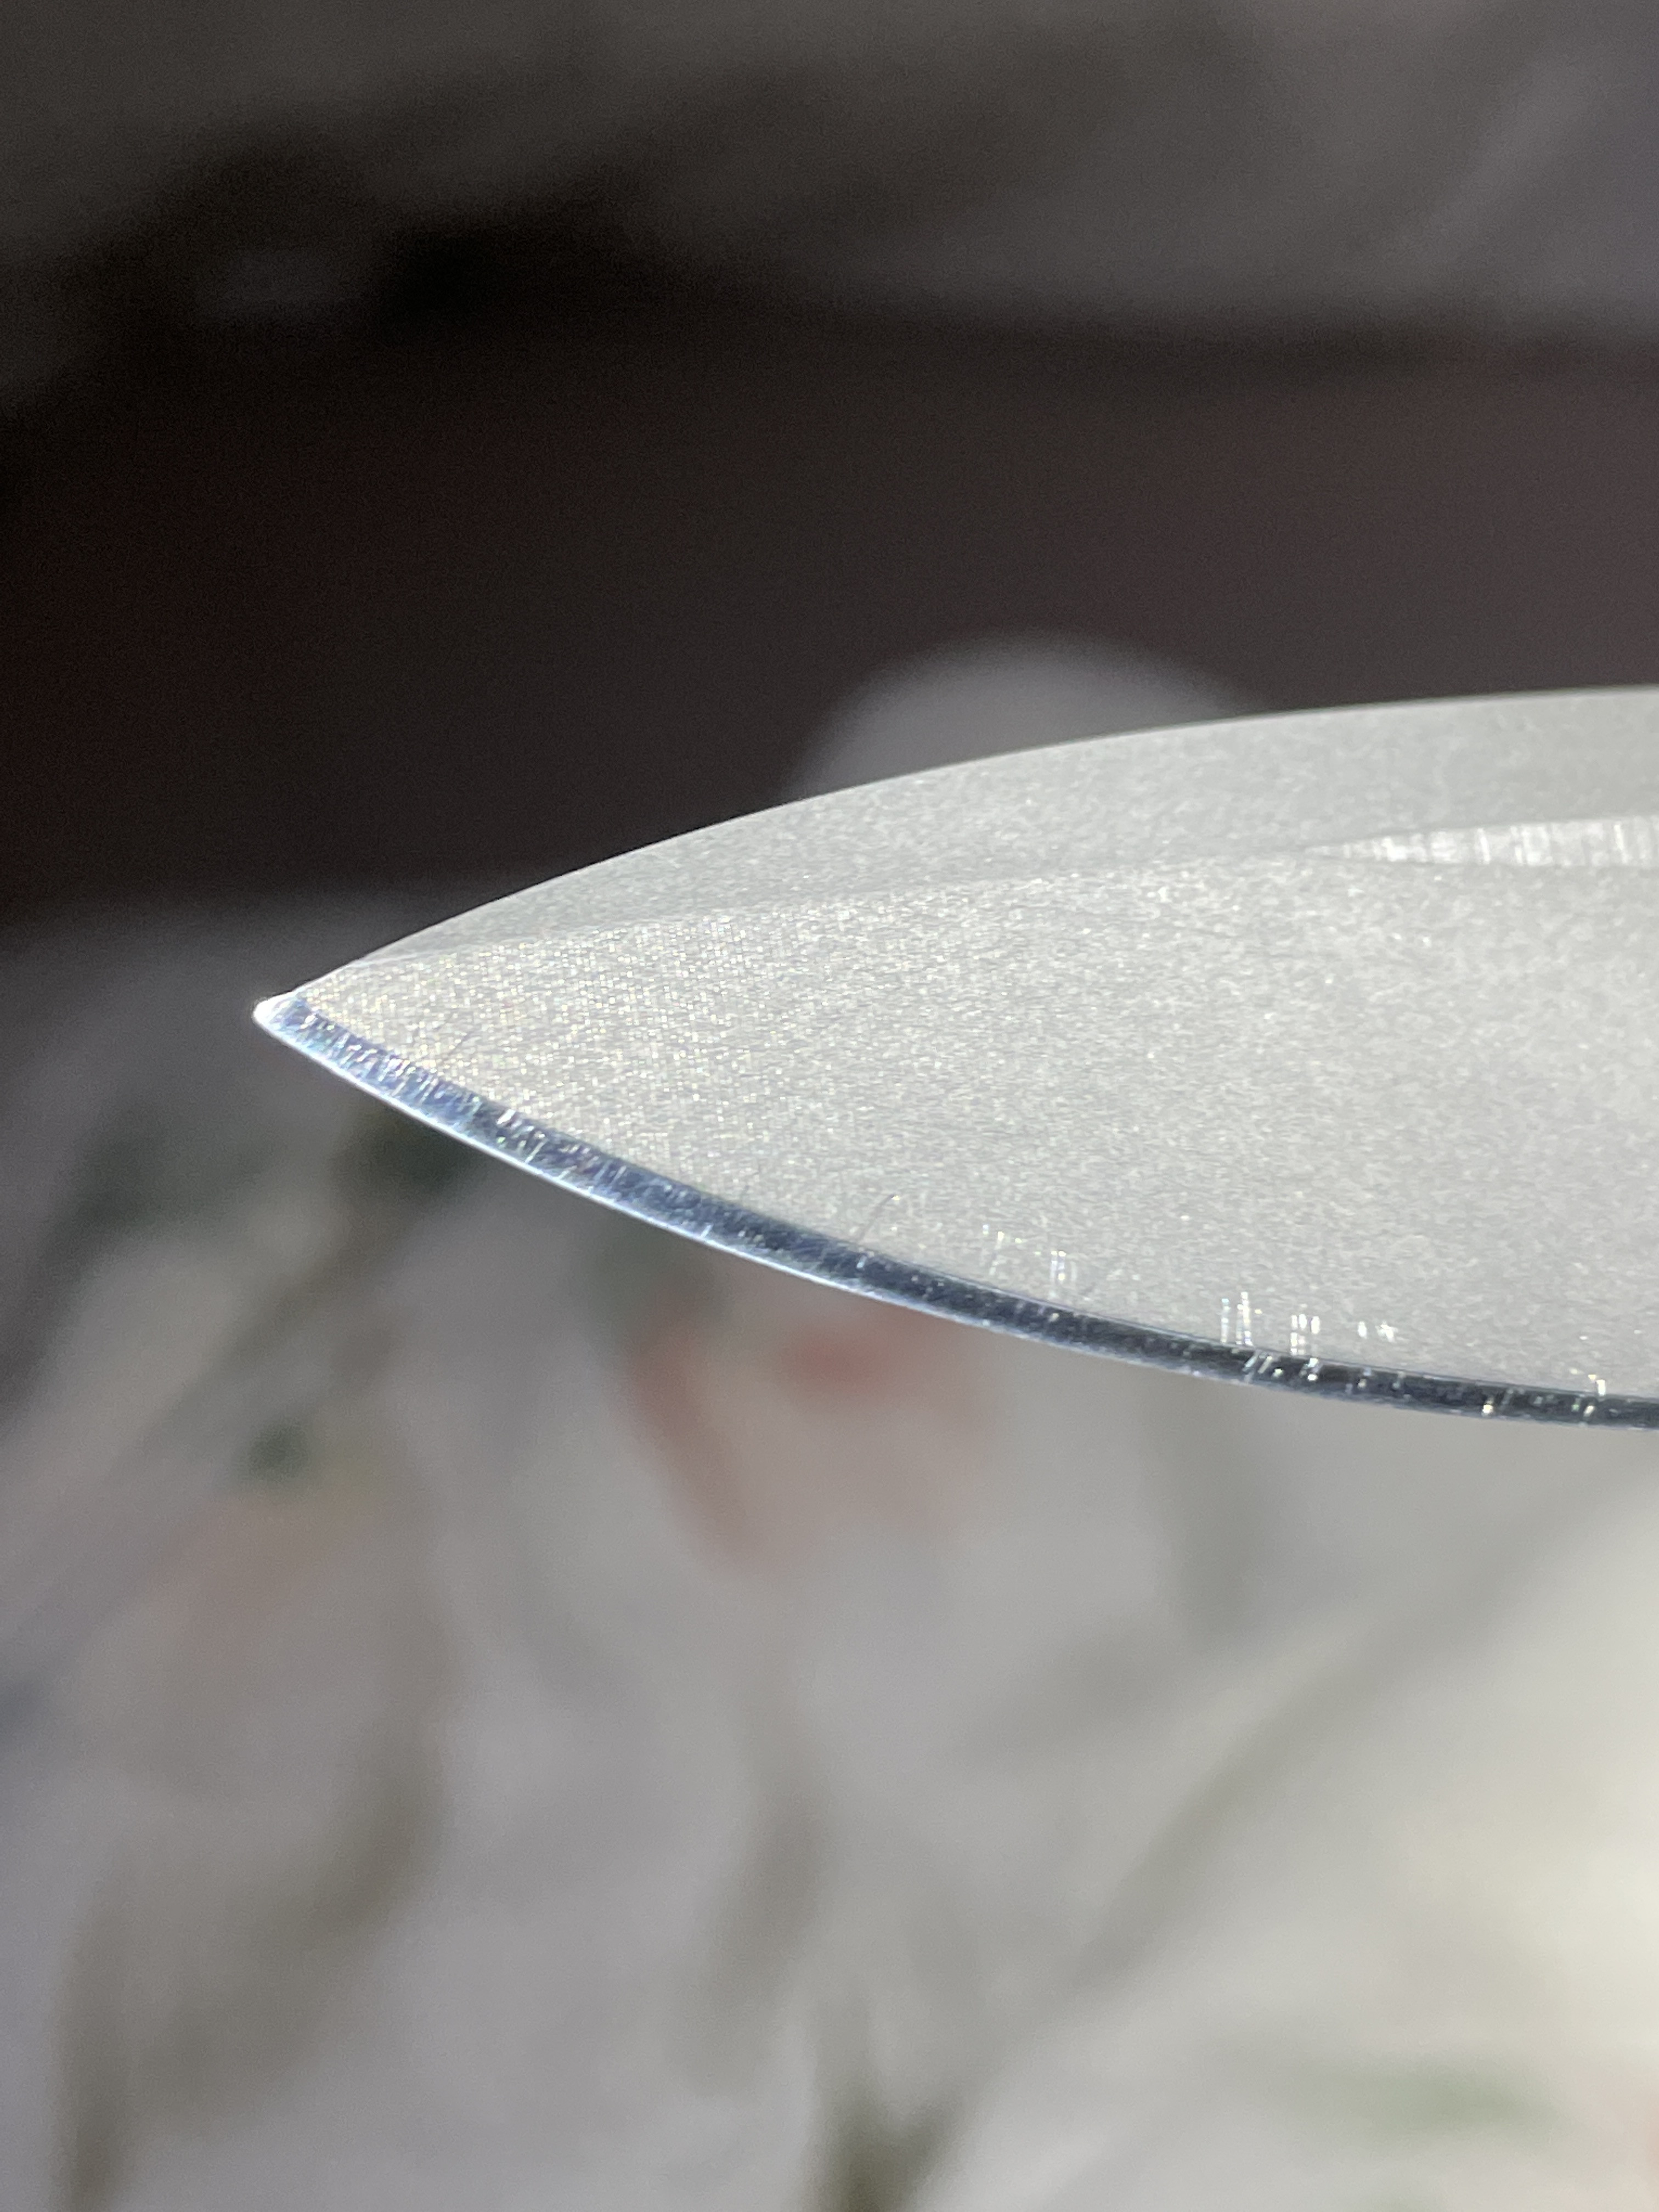
the bead's edges were sharp and burry, so i chamfered all edges with a ruby file but the produced 135° edges were again sharp and burry. Moreover the file slipped off the chamfers and macro-scratched the finish. Very soft titanium alloy. My polishing stones worked okay but wetordry 5000 sandpaper, a fleece pad (not shown), microfibre cloth, a Q-tip, with solid compound were more suitable:
I am glad that i did not use my dremel: even without a dremel, i ran into both the micro-pitting and the burnishing phenomenon and had to reset with the sandpaper and try again. The RL result looks fantastic (school grade A or A-) but i could still see micro scratches with bare eyes (invisible on photos/videos/cams). Now the piece doesn't look gray or like titanium but like a shiny piece of chromium:
If the bead gets micro-scratched during knife pocket carry, i'll gladly revisit this mirror-polishing project, since i know how it's done (sandpaper 5000!) and how it is not done (polishing stones!).
J Jordan1010 If your blade is sharp, just use it until it's dull. Then, for your next touch-up (with burr creation), use only fine abrasives like 204M or 204F. The 204M will get down to your scratches fast, erasing them.
Haha sounds like quite the journey thanks for sharing your experience and giving some tipsI'm on a mirror polishing project, using everything (abrasives) i have. gaining much experience and learning new technique with my dremel (I'll talk about it in another thread). very enlightening. etc.
yesterday, as dreaded, i ran into the beginning of micropitting, when i switched from dremeling w\ white compound to q-tipping w\ blue compound. maybe i was q-tipping too fast\hard, maybe q-tip is not soft enough.
in another instance i also ran into the beginning of burnishing (i.e. the spot gets "burned" brownish), when i kept grinding\polishing with (steel clogged) ultrafine ceramics.
these two phenomena are the ultimate and only severe problems when trying to reach a higher degree of mirror polish. mind you, different grades\types of micropitting exist. but one should stop as soon as any kind of micropitting is morphing. tool companies accept micropitting as necessary evil in the automated finishing process (with buffing wheels, robots, etc), but yesterday i found a manual way around it.
(...)
the most effective way of resetting either surface "defect" was by sanding with broken_in wetordry SiC paper like matador P1200 (or even P2000, takes longer). it erases such spots fast while maintaining a basic mirror polish. the advice is then to continue with broken_in matador only: P2500, ST3000, ST5000, sanding in unidirectional movements (no swirling movements). — the result will be a very sharp, crisp mirror polish with hydrophobic effect.
As a very last step one could try to improve that result with 1 (not more!) polishing compound like merard orange (or the finest you own: green, red) on a soft microfibre cloth. But there's a risk of micropitting. Like stropping a knife, one should use soft slow gentle movements (unidirectional or swirling, you decide) and limit time. If you want to be safe, doht use that polishing compound step at all. (btw i doht strop my kitchen knives anymore, i prefer crisp edges coming off of RRS)
Could rubbing with broken_in wetordry paper eventually lead to micropitting or burnishing too? yes yes. But then simply use fresh paper instead haha.
The small(?) disadvantage of sanding with paper is that the surface loses its perfect geometry (mean flatness, crisp edges) and everything gets rounded off, smoothly so. The question depends on the intended usage of the workpiece, some gems look better with rounded edges, while others wouldn't. And in some precision machines/applications, one really needs dead-flat mirrorpolish let alone an actual mirror made out of metal!
Therefore i use sanding as the final step (instead of buffing with blue compound), so i wouldn't start the rounding too early in the finishing process.
And doht get me started on buffing wheels! Here is a commercial example of an in many ways ridiculously "mirror finished" cap lifter, fast tracked with a buffing wheel, everything got rounded off, while the original crisp beautiful geometry was advertised as "titanium": comparison.jpg - you pay a +50% extra for the hand finished item, get a (imho ugily) rounded tool, and you can still see grinding scratches, even on the photo! Of course these scratches are much deeper than one could ever notice the micropitting lol. The manufacturer cannot(!) argue that the rounding of the flats and chamfers was intentional. The intention was to turn the titanium into mirror-polish. And the way she did it (wrongly), the result is a semi-mirror polish plus unintended roundings everywhere. Just imagine how stunning the workpiece would look if the workpiece had kept its original crisp geometry and only the surfaces underwent the dramatic change from titanium to clean undistorted deep mirror finish!! No, the rounding was never intended. Some may like it/prefer it, but it was not intentional. It was a byproduct of how poorly she tried to finish the workpiece. Just some simple grinding of the flats, plus some accelerated time against several stages of a buffing wheel omfg.
( this post was more about mirror polishing than about mirror polishing edges, sohri. )


You can insert the images in your post like this:

While i cannot prove it, i dare to claim that the erratic deeper scratches stem from the early stages (320 diamond stone), yet not from the stone itself but from the steel shavings off of that stone. The steel shavings have no place to go, or some of them get stuck in the stone.
To get the deeper scratches out, one would need to go back a couple of steps and grind with a permaclean stone until you've reached the depth of the deeper scratches, hoping that you didn't create new deep scratches in the process. Very challenging.
In your place i'd just use the knife and from now on sharpen the edge with higher grit stones only (i like ceramics). They produce micro shavings only, and over time your original deeper scratches will be gone. It'll take some time until you get there. Basically i am saying, do NOT go back to the diamond stones.
Or you could use ultrafast-cutting lapping films like the 𝕻𝕿𝕾 𝖒𝖊𝖙𝖍𝖔𝖉 hehe, if you're in a hurry. bev and draws.
This "permaclean stone" that you mentioned, what is that. According to google that is not an actual term for anything to do with sharpening. Please enlightenYou can insert the images in your post like this:
While i cannot prove it, i dare to claim that the erratic deeper scratches stem from the early stages (320 diamond stone), yet not from the stone itself but from the steel shavings off of that stone. The steel shavings have no place to go, or some of them get stuck in the stone.
To get the deeper scratches out, one would need to go back a couple of steps and grind with a permaclean stone until you've reached the depth of the deeper scratches, hoping that you didn't create new deep scratches in the process. Very challenging.
In your place i'd just use the knife and from now on sharpen the edge with higher grit stones only (i like ceramics). They produce micro shavings only, and over time your original deeper scratches will be gone. It'll take some time until you get there. Basically i am saying, do NOT go back to the diamond stones.
Or you could use ultrafast-cutting lapping films like the 𝕻𝕿𝕾 𝖒𝖊𝖙𝖍𝖔𝖉 hehe, if you're in a hurry. bev and draws.