Leather Custom Axe Sling Build

I can't imagine the hours you must have in this. Let alone the hours you spent learning how. It's all just very impressive.
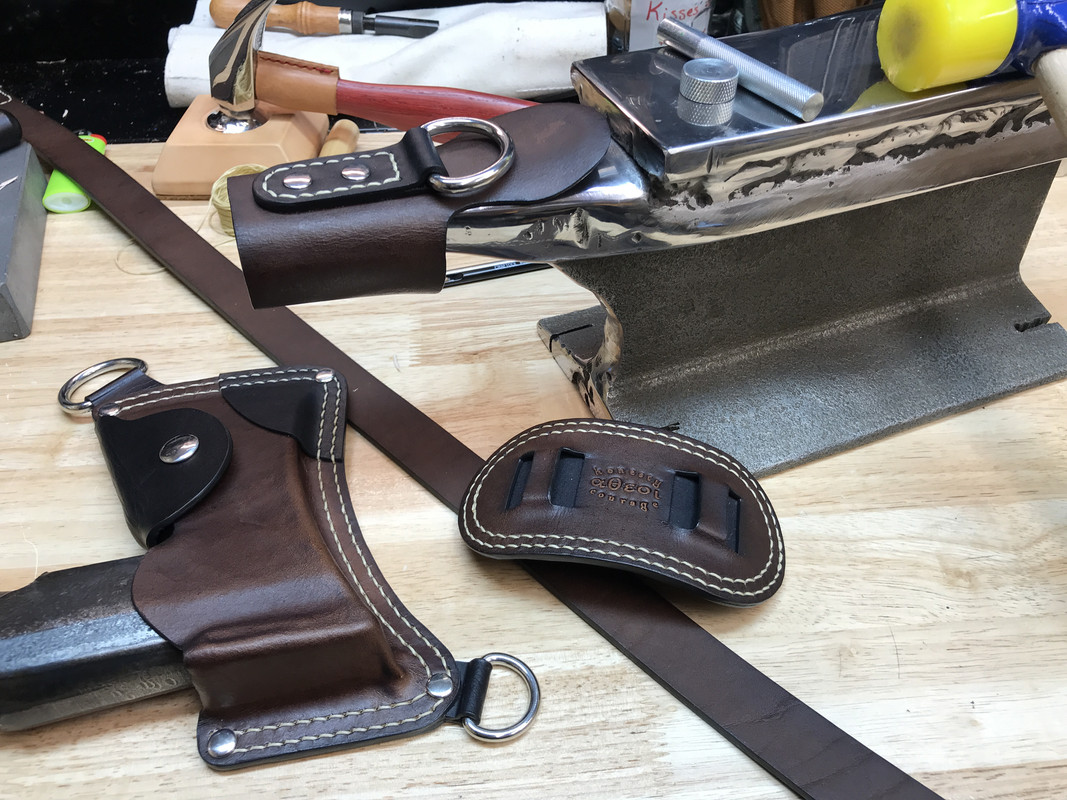
You are learning with me in real time here. Assembly is underway and I still don’t know if this will work as planned or need an additional strap.

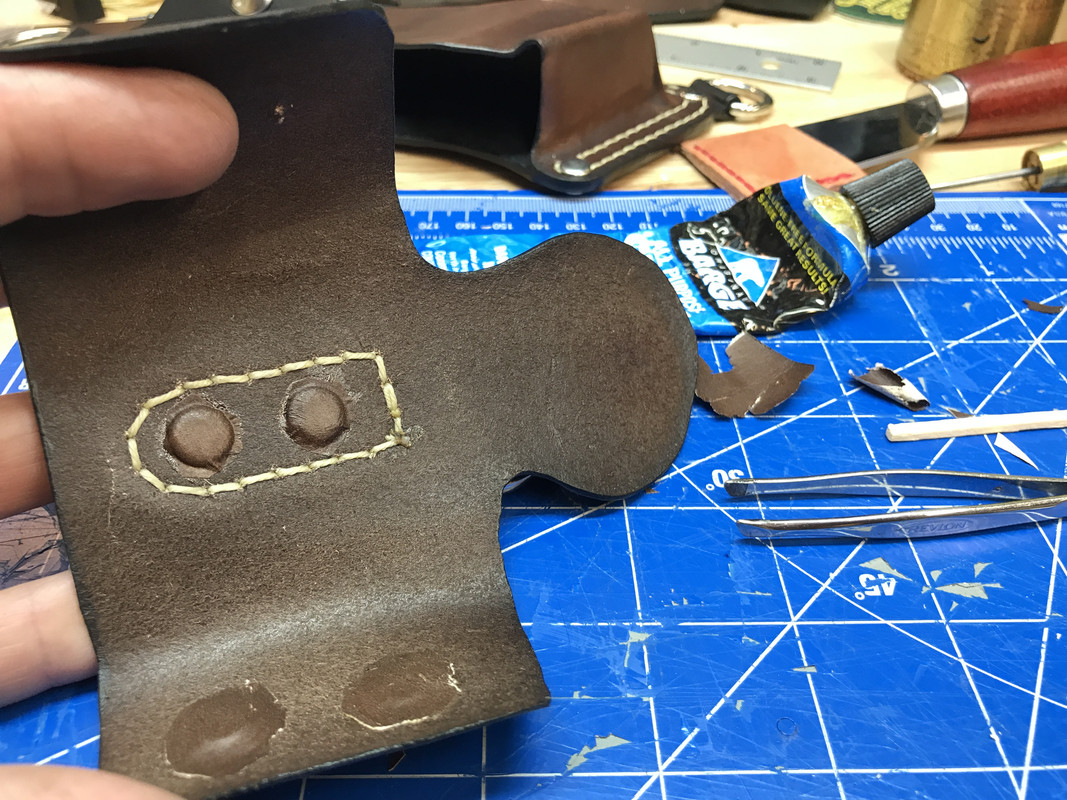
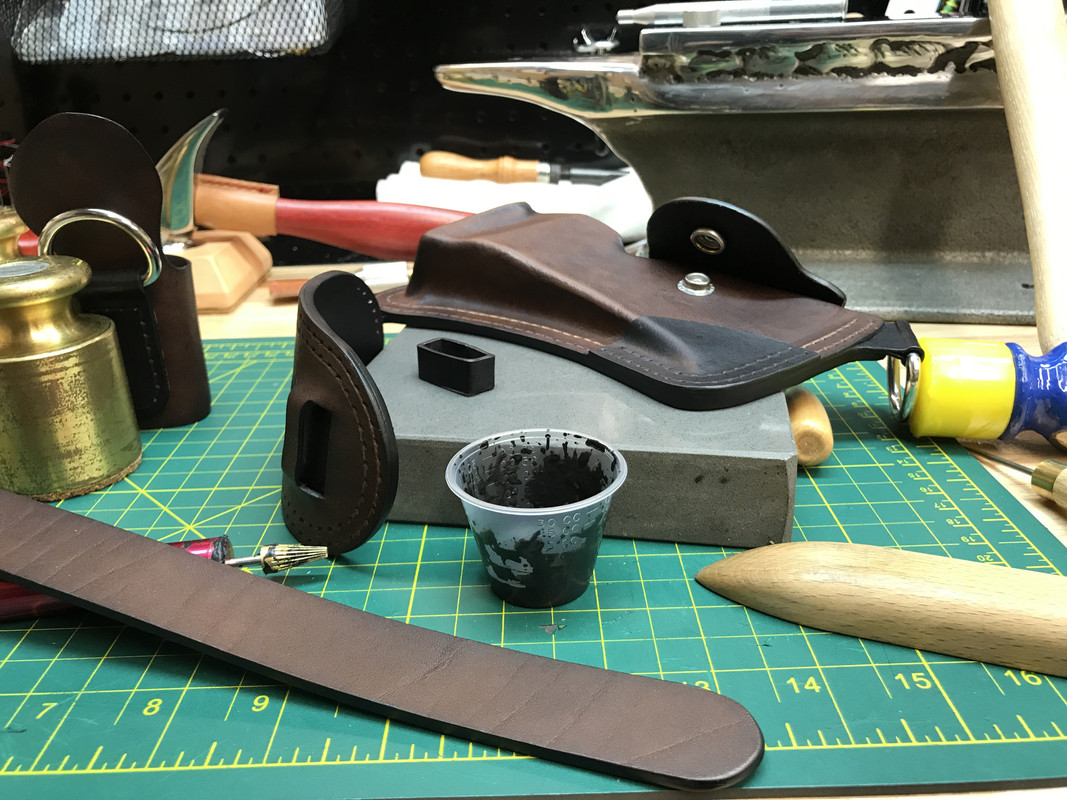
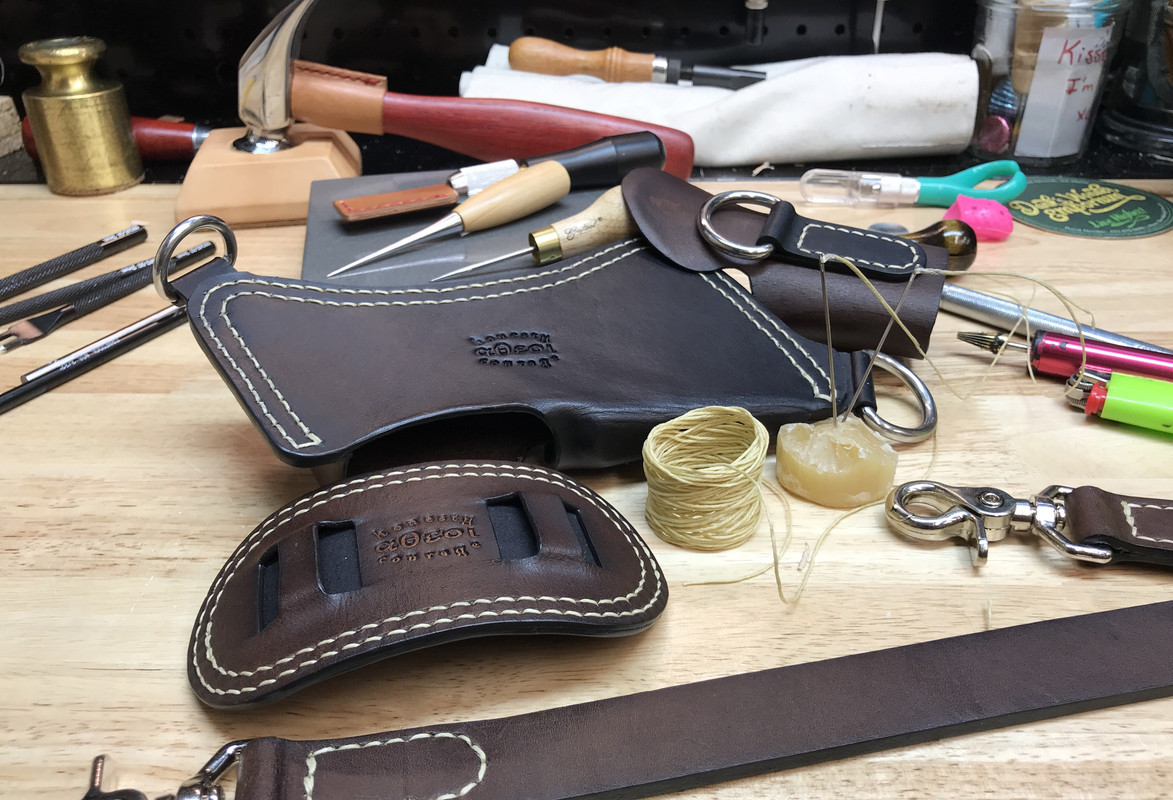
First doing a little edge painting of areas that’ll be hard to get to after assembly.
CC72-E317-DA4-A-4-DDA-95-F1-5070-FCC3420-B.jpg

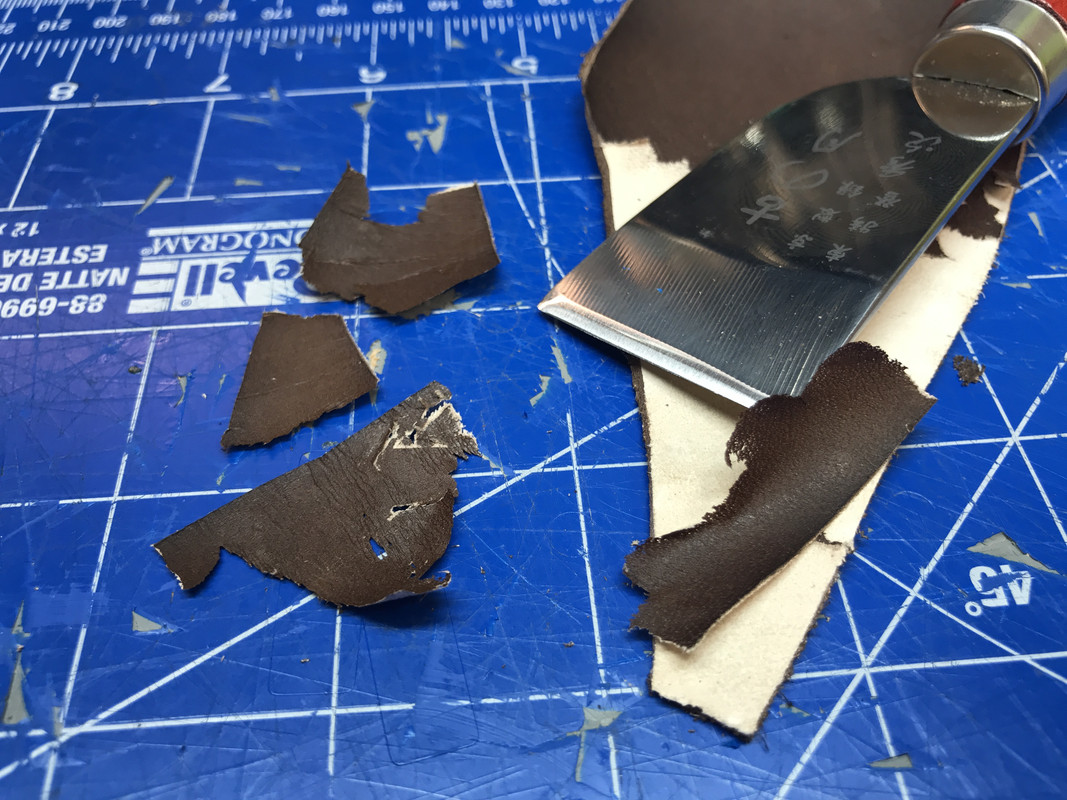
Scuffed the welt to help the Barge adhere.
0907394-D-FD40-43-FA-AF06-9318-F42-DBCEF.jpg

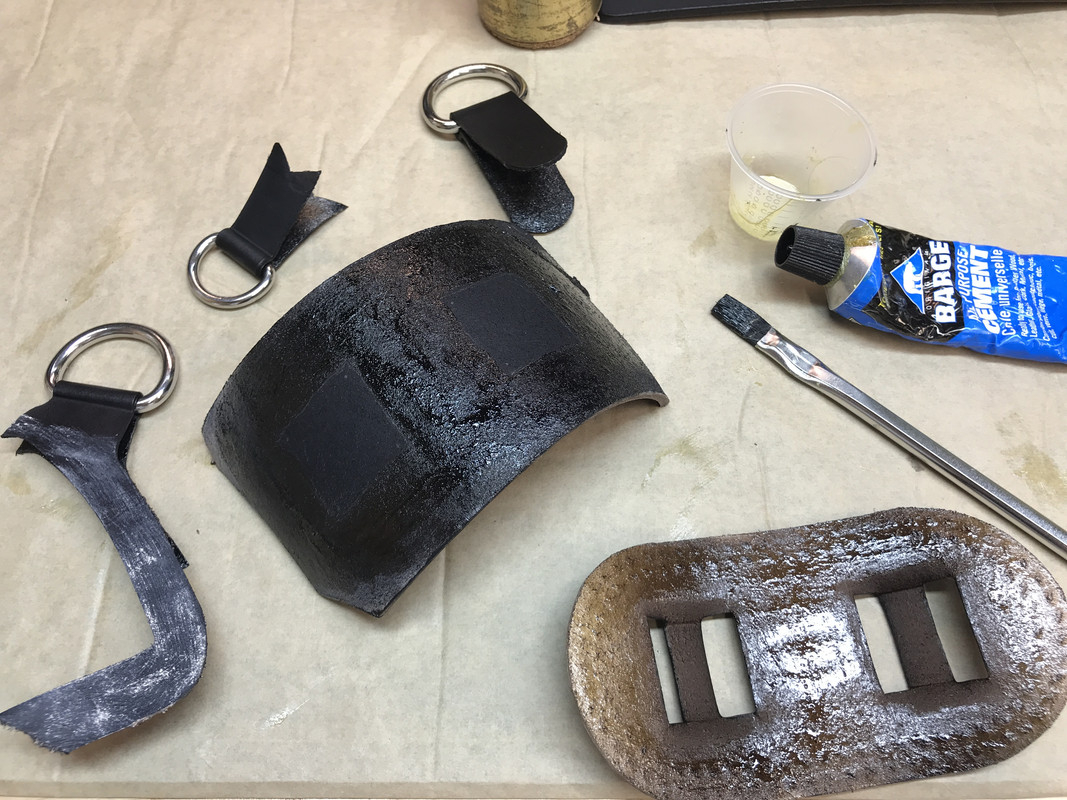
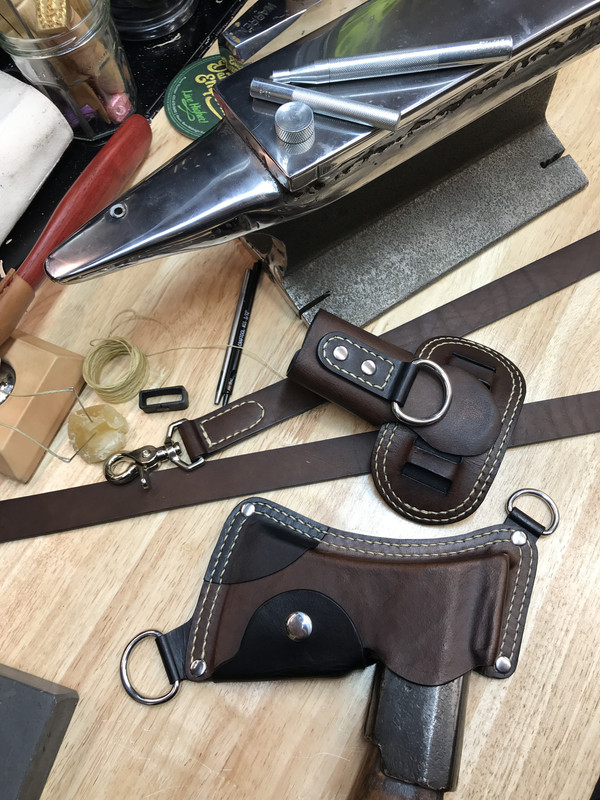
Still edge painting and trying to glue everything in the right order.
A1098-E7-E-76-C1-4-D03-A06-E-6-AED1-C19-F1-FE.jpg

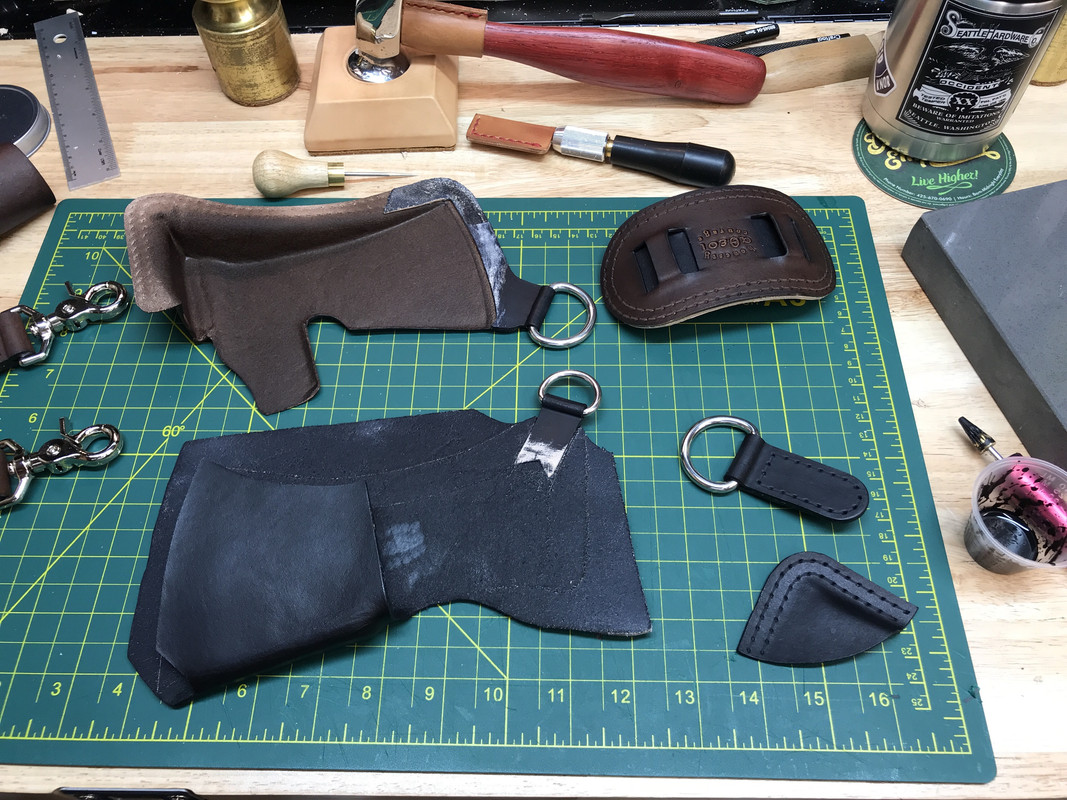
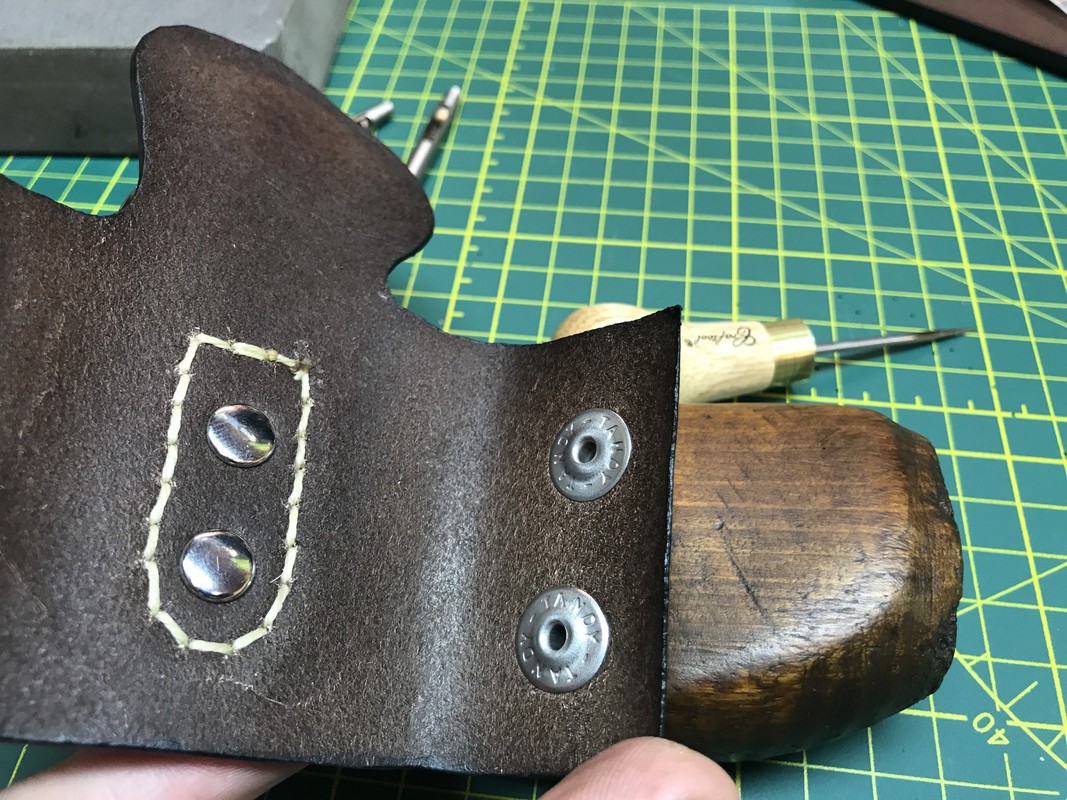
Normally I would punch and set the button first but I think I’ll have room in this sheath to do it afterward. Hope I don’t regret that decision but I’m not exactly sure of that placement yet.

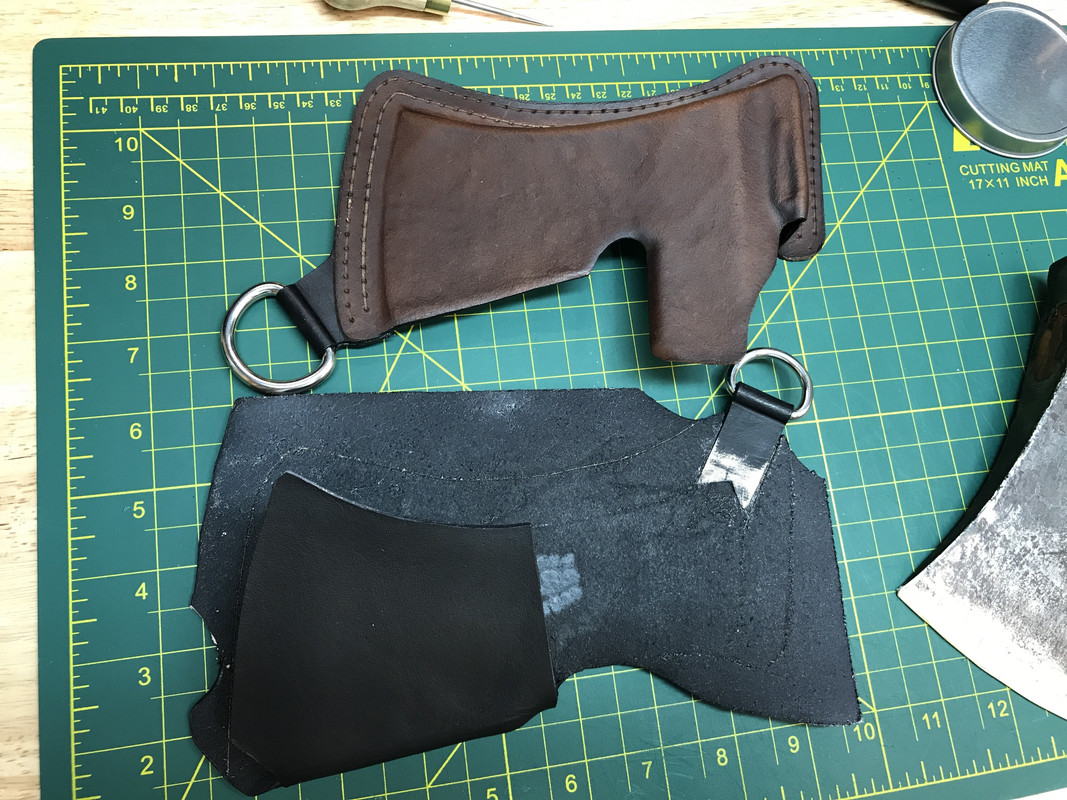
You’ll see I have only trimmed to size the two areas around the d rings. Giving me only two points of contact that have to be exact when the glue touches.
122966-FC-A3-D0-48-A4-AA37-A17-FBC178425.jpg


What are you gluing tonight?
 
Last edited:
It takes a great Learner to make such a great Teacher:)...Excellent craftsmanship,competence,attention to detail...Thanks for taking the time to share!
Thanks Jake!

As it turns out, my design did work without any additional straps! The axe slips in and out with ease and the flap makes it nice and snug for travel.

So now I’m trimming up the excess material I left incase something went wrong as well as smoothing and shaping the edges a bit before edge paint.
You can see how skiving the ends of the welt so it tapered to nothing. kept the edge clean looking.
3-B997-CDA-EF5-C-42-E4-B2-C5-FB20-C7-A44-D74.jpg

Finished up the edge paint using Exo-Flo Edge Flex. I’ll swipe a little satin finish on the edges before hammering in the rest of the buttons. Just rivets and stitching to come...
DC77-BEC3-09-F3-4418-82-F5-64-D179455570.jpg
 
Well man, I'm sold. Is getting into this a significant investment? This is an overdue education for me. If you have any recommendations as to the resources you used getting started I'd really appreciate recommendations.
 
Well man, I'm sold. Is getting into this a significant investment? This is an overdue education for me. If you have any recommendations as to the resources you used getting started I'd really appreciate recommendations.
How cool to have helped inspire someone to get into it. The tools I have used here are all cheap. I have some nice stitching chisels and stuff but they are more for fine finish work.

You can get the basics super cheap. I started with one of these large inexpensive leather tool sets from China like this one and just replace things that I use all the time, or as the cheap ones break, with better quality stuff.
https://rover.ebay.com/rover/0/0/0?mpre=https://www.ebay.com/ulk/itm/173529044873
 
Last edited:
Back in the 30-ies`the great American blacksmith Samuel Yellin in one of his lectures spoke of Quality.This ineffable concept that no one can really define or describe,yet all of us share this distinct,innate,Very overt sense of It.We Know when we run into it,regardless of informedness on specific subject.
(he was talking of a client being capable of appreciating well-executed ironwork in spite of their lack of in-depth knowledge of blacksmithing per se).

Your work certainly has IT:)...That rich,"lush"(as my Brit sweetheart would say:))lokk of that kirves-shaped holster...Great stuff!:)
What a compliment coming from a craftsman like yourself.
I’m my own worse critic, never happy with my work. lol
 
Well shoot. All the stores where I could get them will be closed today and I am just 4 rivets short of finishing. (I could do it if I put black anodized backs on them....o_O)
2218-ED45-1087-441-A-9-A2-F-5-C88-FB0582-D7.jpg


Of course there are things that I wish I would have done different.
I lament not being more creative with the main flap shape. I would have made it slightly smaller but also I wish I would have used two line 20 snaps instead of the one line 24 snap. If I had used two, I could have made that flap very asymmetrical and funky shaped to match the rest of the sheath.
EB6-FA9-C2-E73-F-441-D-8-C7-B-11-DD311-EE7-A0.jpg

I can’t believe I’m waiting on materials again. :mad:
 
This is amazing! I've got family stacked like logs here and haven't had a chance to post that much this weekend but watching this come together is such a treat!
I've been sharing these pictures with many people who aren't necessarily "Axe Heads" but the consensus across the board is that you are highly skilled, equal to many that pride themselves in working leather for a living.

I'm not sure "Leathersmith" is a word in the conventional sense but it should be!
 
Just test fitting the collar for the handle I could see the backs of the screws and rivets could potentially mare the wood so I did something I have done for sheaths on polished axes.
F0-D2-C6-FE-2470-4-A6-E-A062-2-FA603088112.jpg

I had to sharpen my knife for this. I skived very thin pieces off of my color sample piece and glued them into those metal backs. Even though this axe isn’t polished, I did it in the sheath at the same time for good measure.
E18-C8512-6-A82-4398-B7-D8-8-D4713-F7-AC9-E.jpg

FEAC0-CAB-9-AA5-4-B7-E-B6-F3-829133-F5-C38-E.jpg
 
So close now. Waiting on those rivets that will go in the ends of the straps and I’m going to bang out a couple more strap retaining loops in brown in case he wants a different color or a second one to keep up the excess length on top. I left a ton of room for adjustment to go over bulky winter clothes.
AE31-CD30-1157-4-F02-B42-F-276-F939-FADD1.jpg


The utility ring is intended to serve double-duty during time spent hanging in the back of the truck.
F23-DB404-678-A-4-BFE-A786-A9-D6834-D10-CE.jpg

Whoa. That is amazing!!
 
So close now. Waiting on those rivets that will go in the ends of the straps and I’m going to bang out a couple more strap retaining loops in brown in case he wants a different color or a second one to keep up the excess length on top. I left a ton of room for adjustment to go over bulky winter clothes.
AE31-CD30-1157-4-F02-B42-F-276-F939-FADD1.jpg


The utility ring is intended to serve double-duty during time spent hanging in the back of the truck.
F23-DB404-678-A-4-BFE-A786-A9-D6834-D10-CE.jpg
That is really gorgeous man! Beautiful work. There's a local guy near me who makes sheaths for a living and his don't have anywhere near the spit n polish yours do... Crazy nice ITVD!!
 
Back
Top