First Blade Pre-HT: Ready?

Joined
Feb 23, 2007
Messages
223
Hi guys, Jason here. I've been reading this forum for quite some time now, and have asked some questions along the way to making my first knife. Looking back in my emails, it looks like I started this blade late January 2008. It's made from 5/32 O1 from Rob and Marilyn up here in Canada. Blade length is around 3.8" and the handle is right around 4".

I cut out the design with a hack saw, and then filed it down smooth. Other than a drill press to drill the holes in the tang, all work was done with files and sand paper. Started the bevels with a coarse Mastercraft file, then when I got the majority of the material off, I bought a Nicholson Mill Bastard file. Man, what a difference a quality file makes! I had heard people talk about Nicholsons, and were they ever right. After filing, I started sanding it. Just working with what I had, I started with 80 then jumped to 180 grit. For handles I'm going to be making up some micarta.

Just looking for some input pre-heat treat. All comments welcome - on design, sanding, plunges, bevels, and anything else you got. Good or bad, give it to me, I can take it all:thumbup:

Here are a bunch of pics:

P1000518.jpg


P1000521.jpg


P1000522.jpg


P1000523.jpg


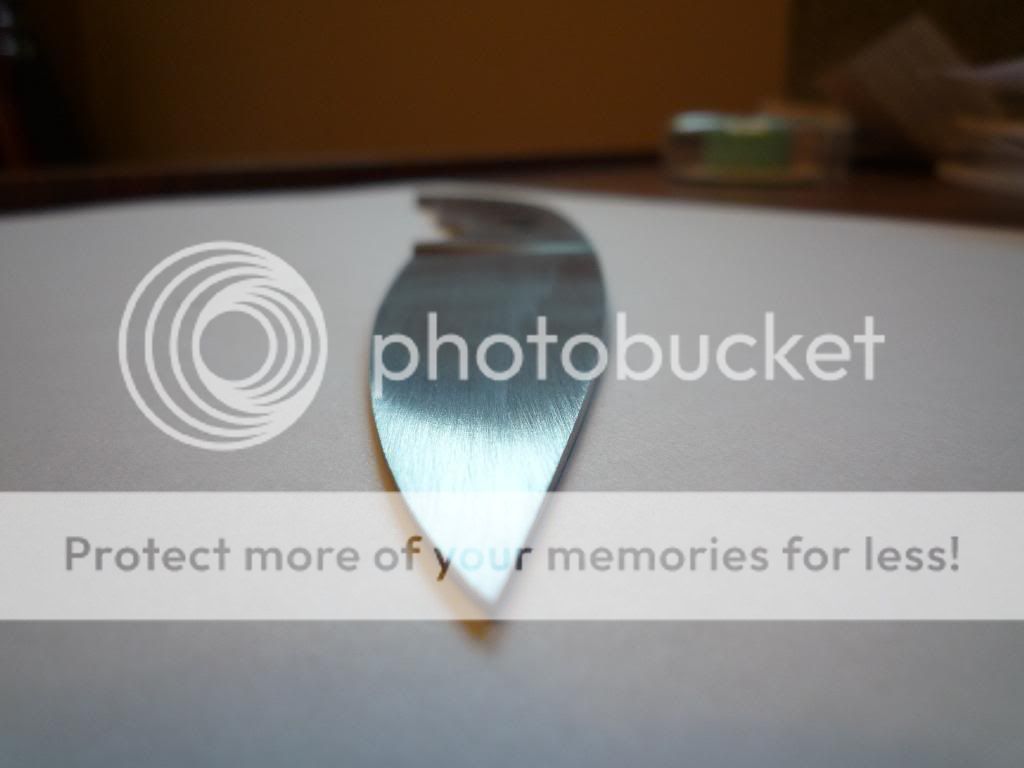
Full flat grind with distal taper.
P1000526.jpg


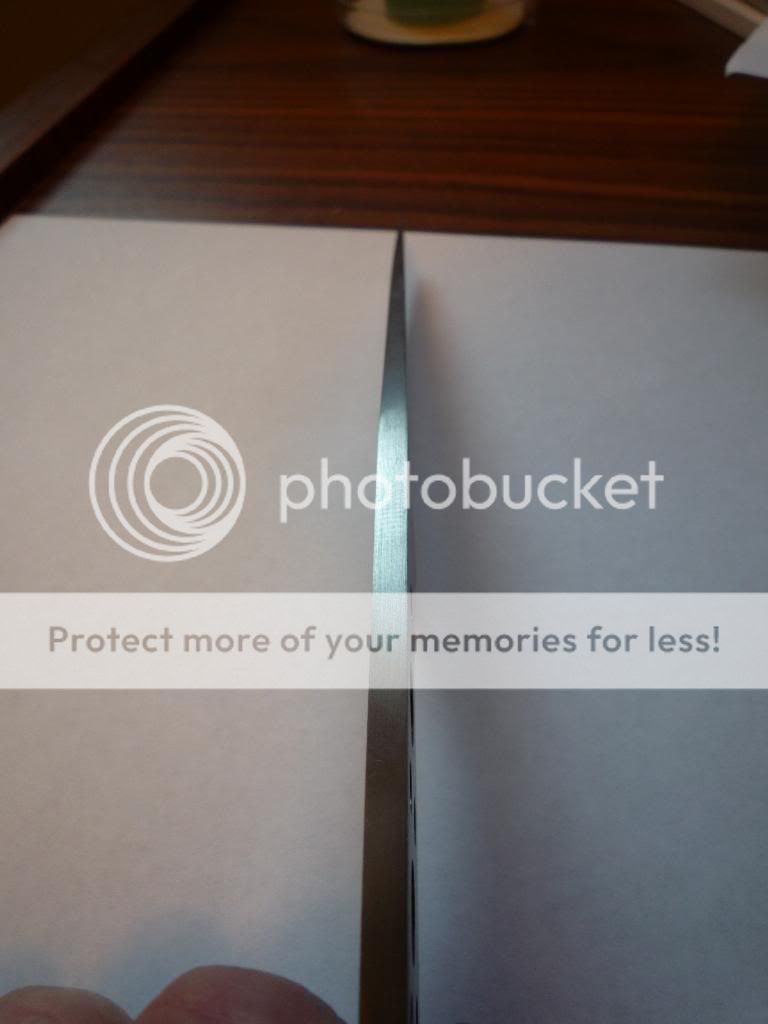
I left the edge around .027" thick or so. I was told this would be fine for heat treat? I don't have a grinder or anything, so I will be putting on the final edge with sandpaper I suppose.
P1000528.jpg


P1000527.jpg


Thanks for all the help thus far, and any comments/criticisms you can offer!

Jason
 
I think it looks pretty good...actually, VERY good. You're ready for HT for sure. Maybe you could sand up to 400 before HT to save some time/efforts? Your call, though. This will be a very nice knife :thumbup:

May I suggest you get a Lansky for putting the edge, at the last step? A pretty cheap way to put a nice edge on a blade...
 
Man, that's a good looking knife, nevermind it being your first. I would definately say you are ready for HT. Can't wait to see the finished pics!
 
You have really been reading and understanding. Looks 10x better than my first at that stage. You may want too round off the plunge a bit so it is not a 90 degree angle. It is a weak point for the blade and will break easier from my understanding.

-frank
 
Thank you for posting pics of the spine and edge! I hate when people don't do that; makes me think they're hiding something. ;) Those plunges are pretty darn close to being even on both sides. I suspect the relatively tight radius in the plunge will be OK on a knife that size. I like the distal taper, too. The overall design looks very handy, although the handle shape isn't what I would choose. Just personal preference.

I notice you laid out the pin/lightening holes in the tang very evenly, that shows craftsmanship and attention to detail. You might want to chamfer them just a bit; I've been told that helps reduce chances of cracking in the quench (although I think there's plenty of steel there so it shouldn't be a big deal). Chamfering does give a bit more area for epoxy to bind to, but that may be a tiny tiny difference in actual use/strength.

My only real b!tch is, your sanding lines are a bit wiggly. That's easily remedied.
 
Thanks for all the great comments guys! Really appreciate it. As for sanding, I think I will go a bit higher grit before heat treat. Will see what I can find for paper.

You have really been reading and understanding. Looks 10x better than my first at that stage. You may want too round off the plunge a bit so it is not a 90 degree angle. It is a weak point for the blade and will break easier from my understanding.

Thanks Panch0. Ya, I've been doing a lot of reading and taking it fairly slow. Mostly because I'm fairly busy with school and flying. Started this blade at the end of January 2008, cut out the profile and filed that smooth. Probably didn't do much else till Easter break. Then probably did some during finals. After that though, I was gone for the entire summer working. Don't think I got back to it till Christmas. I decided to get back to it in the last week or so and have gone pretty hard with the draw filing and then sanding.

Anybody have any suggestions on how I should round out the plunges a bit?

Very nice work, most people wirh grinders don't do that well.
Ken.

Thanks!

Thank you for posting pics of the spine and edge! I hate when people don't do that; makes me think they're hiding something. Those plunges are pretty darn close to being even on both sides. I suspect the relatively tight radius in the plunge will be OK on a knife that size. I like the distal taper, too. The overall design looks very handy, although the handle shape isn't what I would choose. Just personal preference.

I notice you laid out the pin/lightening holes in the tang very evenly, that shows craftsmanship and attention to detail. You might want to chamfer them just a bit; I've been told that helps reduce chances of cracking in the quench (although I think there's plenty of steel there so it shouldn't be a big deal). Chamfering does give a bit more area for epoxy to bind to, but that may be a tiny tiny difference in actual use/strength.

My only real b!tch is, your sanding lines are a bit wiggly. That's easily remedied.

Thanks James. As for the handle, I made full thickness cardboard mock-ups of it back when I was designing it. It will be comfortable, although I do wish I had made it a bit longer. As for the pin holes, I made the design of this knife with autocad, and so it was easy enough to symmetrically lay out the holes, print it out, then center punch the holes onto the steel.

And I'll see what I can do about those wiggly sanding lines:thumbup:

Thanks everyone, really appreciate it.
 
One of the better examples of a file-made knife I've seen, not to mention that it's your first! Great job and excellent attention to detail. As James mentioned, in your final finish, you'll want all scratch lines parallel, but that's easy to accomplish after heat treating and not necessary prior to HT. As for rounding out the plunges, you can pick up a small diameter chainsaw file for that purpose. Be careful not to eat into your spine, though. I would be tempted to finish this one out as is, and try the chainsaw files on your next knife. You can even file in the matching plunges first and then file your primary bevels.

Great job!!

--nathan
 
BTW, I like the handle design. It's got a great flow, kind of organic. Looks like it would be a pleasure to hold.

--nathan
 
I would be tempted to finish this one out as is, and try the chainsaw files on your next knife. You can even file in the matching plunges first and then file your primary bevels.
Great job!!
--nathan

I agree on both points. :thumbup: Look here for a file guide that will help you a lot with your plunges.
 
The knife looks great. I would run the file down the length of the edge. This probably isn't strictly necessary with O1, but I do it with all knives out of habit.
 
Thanks Nathan, for the compliment as well as the suggestion. Everyone's comments mean a lot to me.

AcridSaint, what would be the purpose of running a file down the edge? Not quite sure what you're talking about.
 
no arguments about the thickness of the edge but i'd polish it to 400 to prevent stress. Not generally a problem but I did manage to crack a 1084 blade that I'd left at 40 grit on the edge. from the profiling - of course, that was back a while ago when i was trying out brine quenches and I probably would have cracked it anyway.
 
From the picture, the edge looks to have the filing or grinding perpendicular to the length of the blade. I always make sure that everything on the profile runs lengthwise with the blade to reduce any change of stress risers. In carbon steels that get quenched in fast mediums like brine or oil, you have a chance of getting a crack due to stress risers. The O1 doesn't require quite such a fast oil, but I do it out of habit even with unground blanks that I'm going to heat treat. It takes far less time for me than it does making a new knife.
 
Last edited:
I think it looks too good. By that I mean it will get scale and pits on it from the heat treatment and will need to be sanded (I use a belt grinder) down again unless you have a method to protect the steel surface from oxidation. I use PBC anti-scale from Brownells. I love that stuff. I can make a gun part to exact specs and wash off the black crust with hot water after its hardened. You didnt mention how or who is going to heat treat it did you?
 
First off excellent plunge cuts wow i still dont get mine that clean but im trying. hell of a nice design your on your way to making very nice knives.
 
You have really been reading and understanding. Looks 10x better than my first at that stage. You may want too round off the plunge a bit so it is not a 90 degree angle. It is a weak point for the blade and will break easier from my understanding.

-frank

hey i a beginner and i'm just wondering whats the plunge i have no clue lol
 
Back
Top