- Joined
- Nov 5, 2017
- Messages
- 23
Can't wait to get home and search for a makers mark.In case of Plumb, some of them had small marks https://imgur.com/a/KumEq
For explanation go to almost bottom of the page
http://www.yesteryearstools.com/Yesteryears Tools/Plumb Co..html
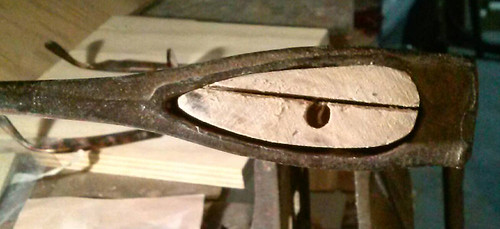
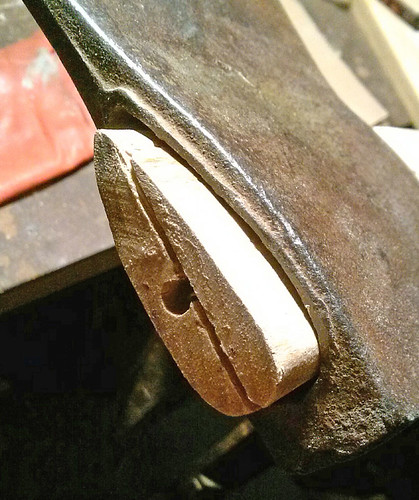
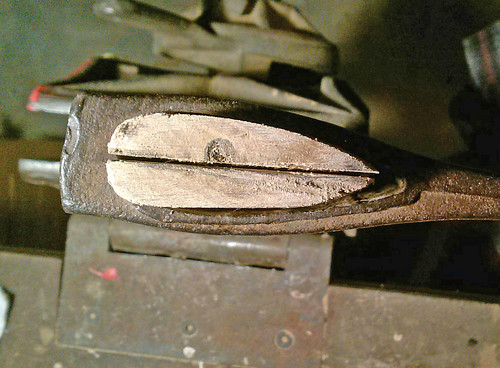
Now to continue with the hanging. I've got to take a bunch of wood away to fit the cheeks. On the new handle the eye on is smaller than opening on axe head and to much wood near the cheeks.Hopefully after sanding and fitting the wood wedge and metal wedge will make her secure.
 axe-handle-eye1web
 axe-handle-eye2web
 axe-handle-eye-new-kerf