- Joined
- Dec 28, 2013
- Messages
- 118
Back again.
Blade is done etching. I put some gun oil on it and stuck it in a hot box for several hours.
I dug this thing out of the junkyard a few years ago. As far as I know it used to live in an airplane
and heated food. So it's insulated well, and I just drilled a hole in the top and wired a light bulb in.

Gave the handle a patina. I like Jax better than liver of sulfur for copper.
The problem with Jax chemicals is that they're almost all considered hazardous when shipped.
If you can find it somewhere you can pick it up do it and save all that shipping.
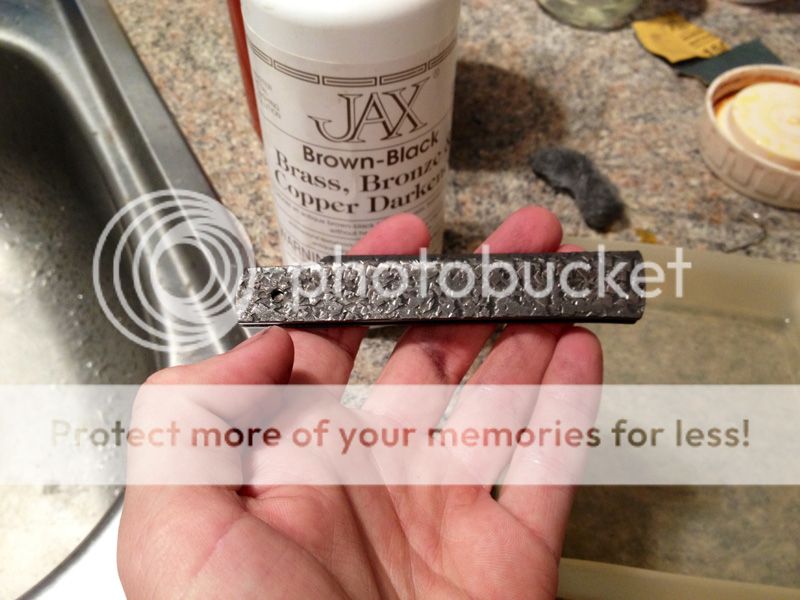
Took the black off the high parts by rubbing pumice over it with my thumb.

Everyone is here. Well, that is just a working pin. I'm going to cut a new one in the next step.

I use a long length of pin stock for this part. First, I mark how long I want the pin to be.

Now I put one of the washers in the handle and on the pin stock.
The blade goes in, and then I slide the other washer in.
I position the washer with another piece of shim stock until I can push the pin stock through.
Next, I clamp the pieces in place. This lets me take the pin out and cut it to length without having to reposition the blade and washers.
I use a ring clamp (another jeweler's tool), but anything that won't scratch up the pattern or put too much pressure should work.
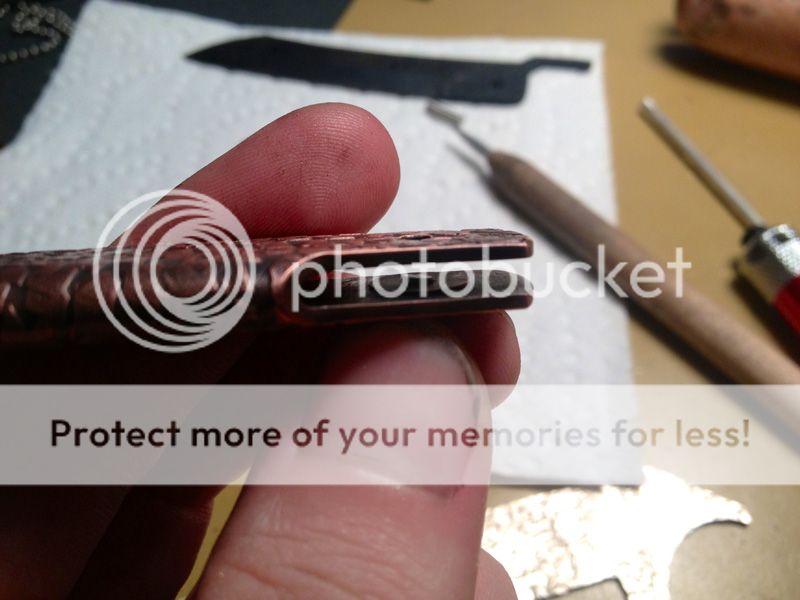
I cut the pin to length, file a little bevel on either end and put it back in the knife.

When I pin these together I slide another piece of shim stock around the pin to keep from getting too tight as I peen the pin.
I also tape the blade shut so I don't have to worry about it moving around.

I peen the pin evenly on both sides with the shim in. After I have a good head on the pin I take the shim out.
At this point I take the tape off so I can move the blade around and check the snugness.
Now I carefully peen more to tighten the pivot.

The knife is almost done. Next, I put an edge on the blade.
After I have the knife done I move on to the pocket sheath.
I didn't take pictures of that process, but it's a fold over pouch.
So here it is.
twist damascus (15n20 & 1084)
textured copper handle
bronze washers
stainless pin
leather pocket sheath
7 3/8" open
4 3/4" closed (including the flipper)
approx. 3/4" wide (excluding the flipper)
3 1/8" blade (plunge to tip)
3/32" thick at the spine

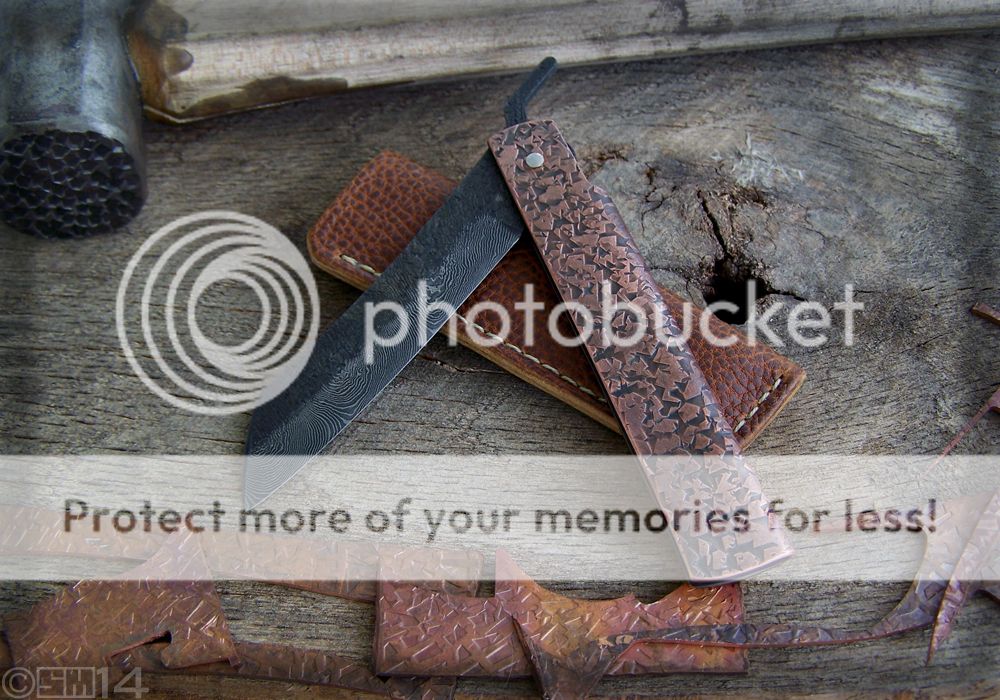


Thank you all for having a look. I hope you've enjoyed this as much as I have.
If you have any questions let me know. I'll try to answer them.
I don't know if I can plug this (mods, let me know and I'll edit this out if it's a problem),
but if you're into Instagram my account is in my signature.
I put a lot of things up there in process that I'm working on.
Thanks again,
Shelby
Blade is done etching. I put some gun oil on it and stuck it in a hot box for several hours.
I dug this thing out of the junkyard a few years ago. As far as I know it used to live in an airplane
and heated food. So it's insulated well, and I just drilled a hole in the top and wired a light bulb in.

Gave the handle a patina. I like Jax better than liver of sulfur for copper.
The problem with Jax chemicals is that they're almost all considered hazardous when shipped.
If you can find it somewhere you can pick it up do it and save all that shipping.

Took the black off the high parts by rubbing pumice over it with my thumb.

Everyone is here. Well, that is just a working pin. I'm going to cut a new one in the next step.

I use a long length of pin stock for this part. First, I mark how long I want the pin to be.

Now I put one of the washers in the handle and on the pin stock.
The blade goes in, and then I slide the other washer in.
I position the washer with another piece of shim stock until I can push the pin stock through.

Next, I clamp the pieces in place. This lets me take the pin out and cut it to length without having to reposition the blade and washers.
I use a ring clamp (another jeweler's tool), but anything that won't scratch up the pattern or put too much pressure should work.
I cut the pin to length, file a little bevel on either end and put it back in the knife.

When I pin these together I slide another piece of shim stock around the pin to keep from getting too tight as I peen the pin.
I also tape the blade shut so I don't have to worry about it moving around.

I peen the pin evenly on both sides with the shim in. After I have a good head on the pin I take the shim out.
At this point I take the tape off so I can move the blade around and check the snugness.
Now I carefully peen more to tighten the pivot.

The knife is almost done. Next, I put an edge on the blade.
After I have the knife done I move on to the pocket sheath.
I didn't take pictures of that process, but it's a fold over pouch.
So here it is.
twist damascus (15n20 & 1084)
textured copper handle
bronze washers
stainless pin
leather pocket sheath
7 3/8" open
4 3/4" closed (including the flipper)
approx. 3/4" wide (excluding the flipper)
3 1/8" blade (plunge to tip)
3/32" thick at the spine


Thank you all for having a look. I hope you've enjoyed this as much as I have.
If you have any questions let me know. I'll try to answer them.
I don't know if I can plug this (mods, let me know and I'll edit this out if it's a problem),
but if you're into Instagram my account is in my signature.
I put a lot of things up there in process that I'm working on.
Thanks again,
Shelby