Introduction and a WIP

Status
Not open for further replies.
Joined
Apr 25, 2009
Messages
329
Hello everyone.
I thought that the best way to introduce you all to my work was to do a WIP thread. This isn't really a work in progress, the knife is already finished, so I should be able to get the whole thing posted fairly quickly.

There's probably nothing new or exciting in my knife-making process, in fact much of what you'll see has been directly influenced by (stolen from) other makers' WIP type threads, and I'll try to give credit where it's due.

Here we go:

046.JPG

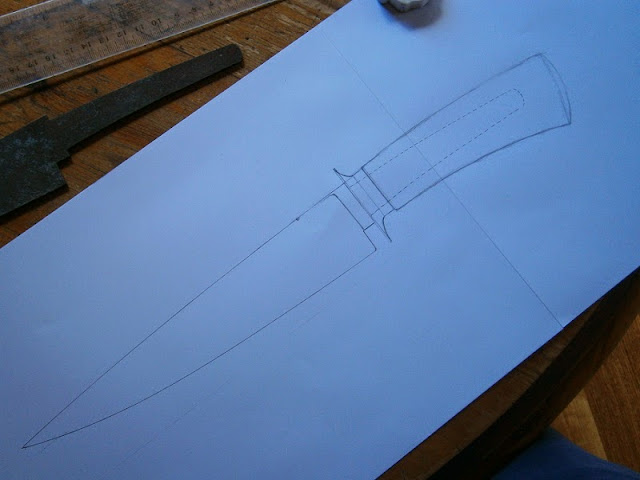
This is the design I decided on. I try to work from the drawing as much as possible. I also made a mild steel pattern to work from.

020.JPG

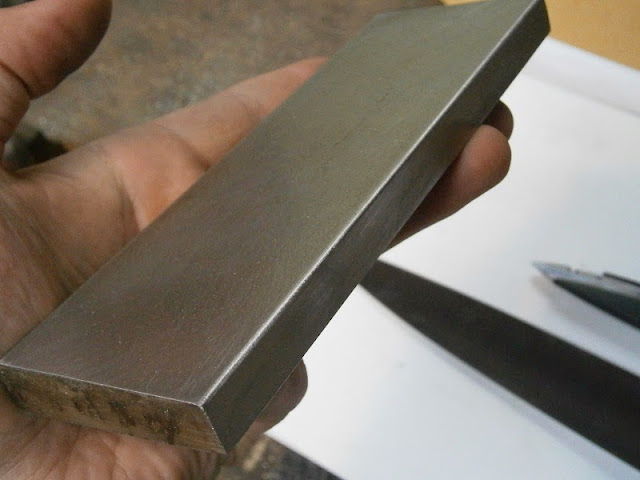
These are the materials I used. O1 tool steel (5mm thick), 304 stainless pinstock (3mm dia), 304 flat bar (6mm thick), the two smaller pins (2mm dia) are stainless, but I'm not sure on the grade, and not pictured is a chunk of Tasmanian Blackwood.

071.JPG

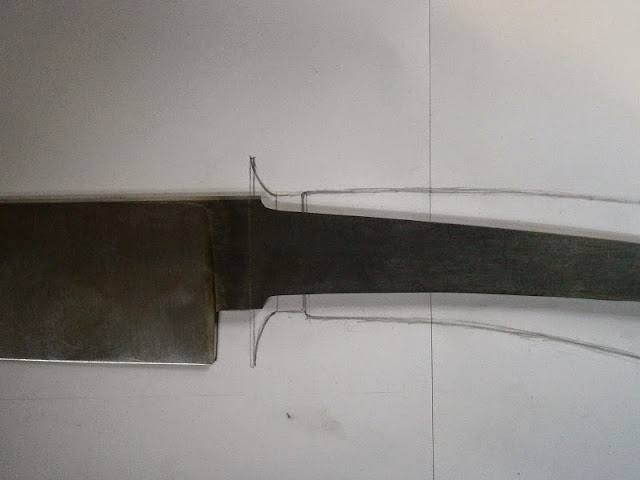
Here is the pattern I mentioned earlier, clamped to the O1.
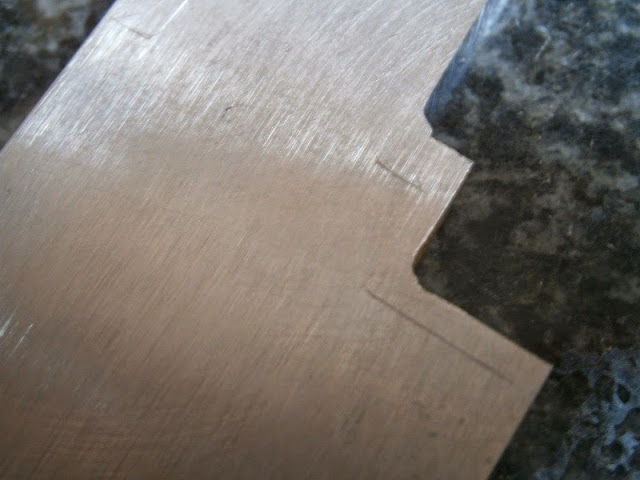
076.JPG

Profile scribed.

088.JPG

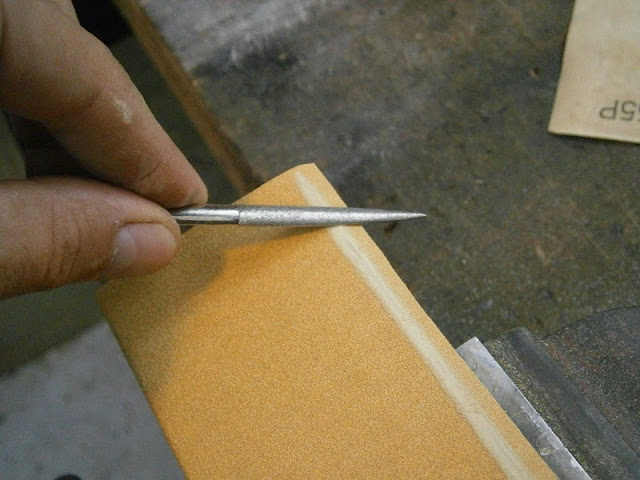
I use a hacksaw to remove the bulk of the material

096.JPG

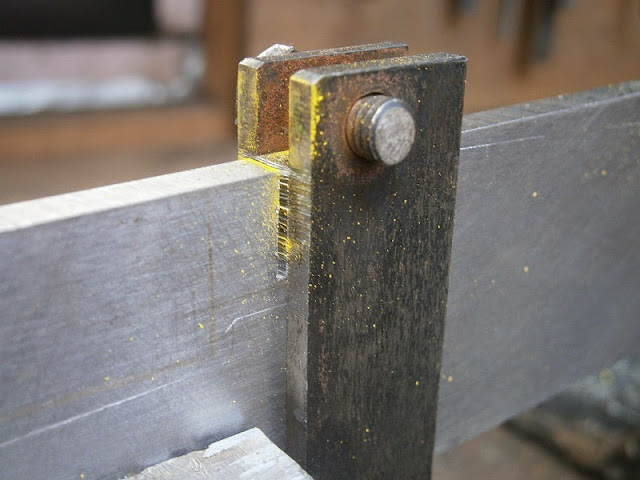
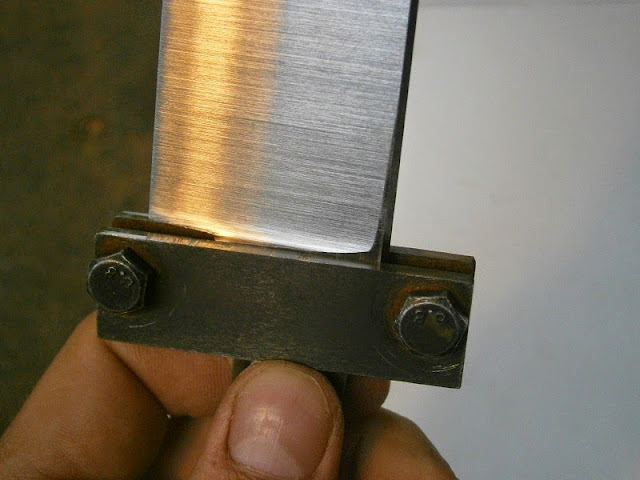
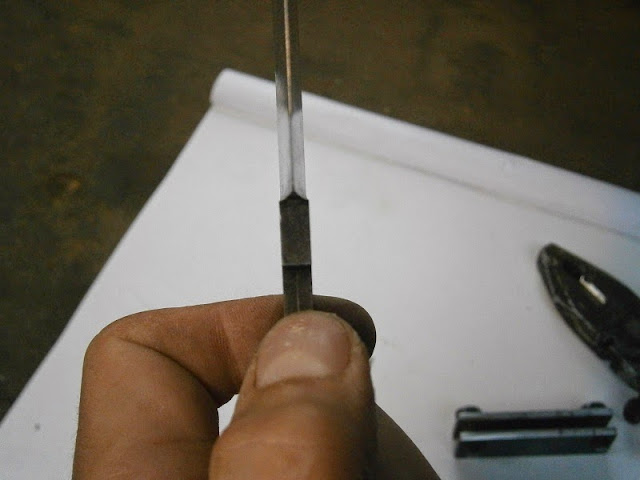
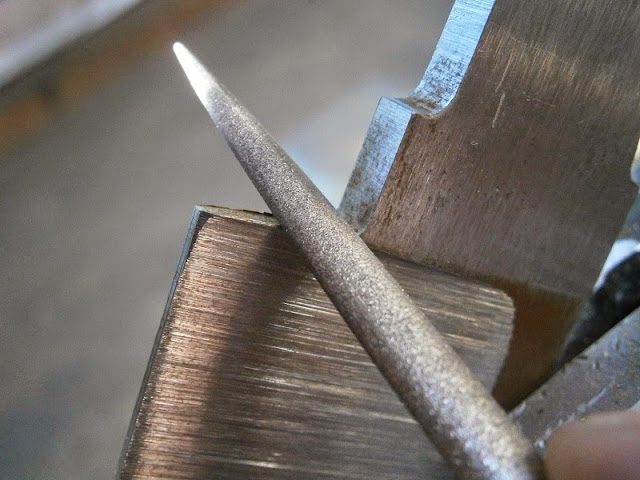
Sometimes I use this little file guide type thing to make sure I don't cut beyond the lines.

097.JPG

And this is as much as I'll remove with the hacksaw.

108.JPG

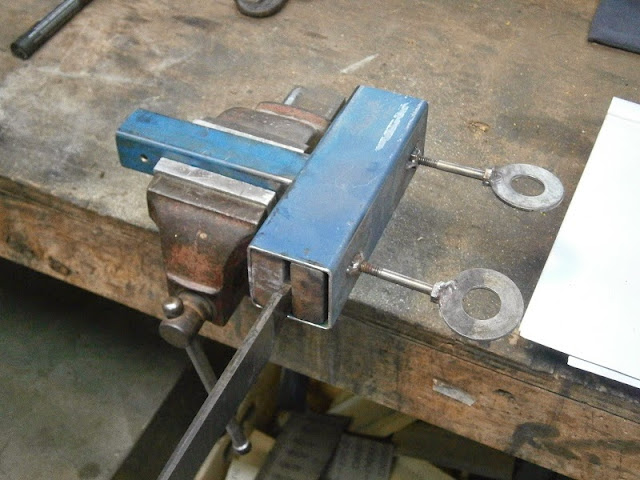
I then move to the grinder. I used a worn 60 grit blaze belt on a 10" wheel for this.

112.JPG

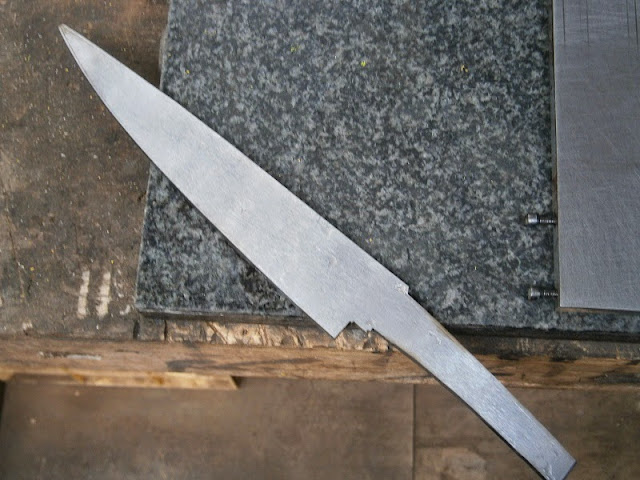
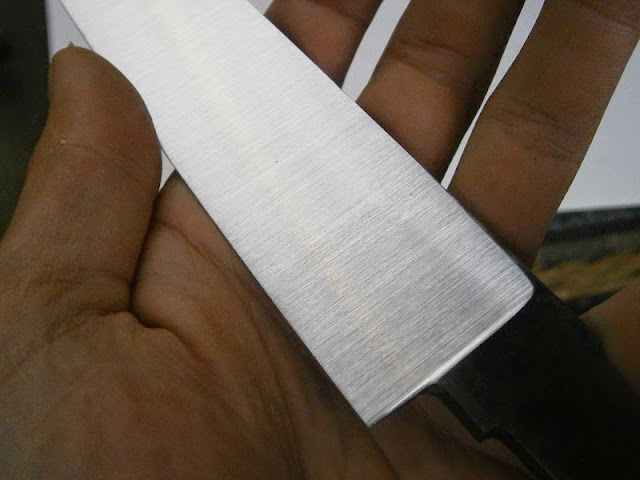
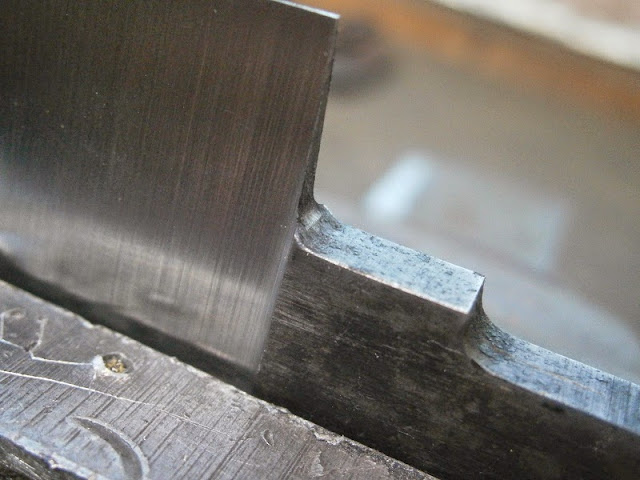
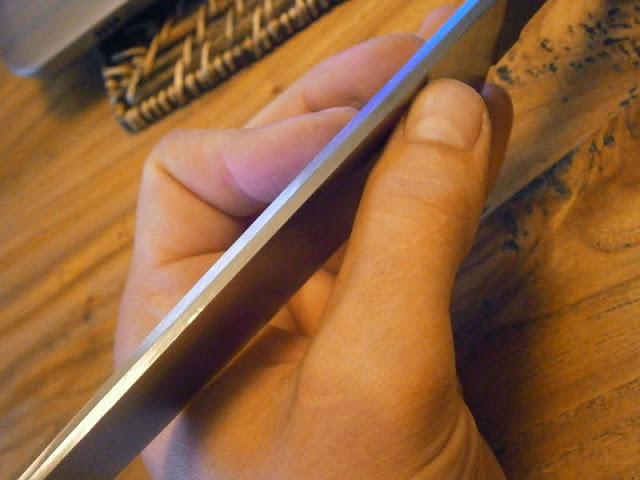
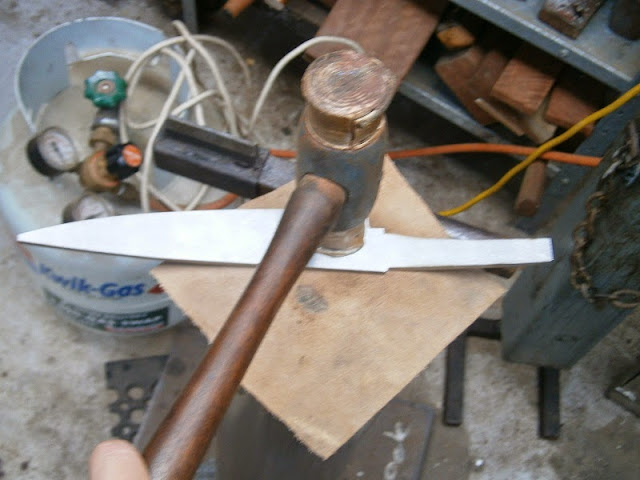
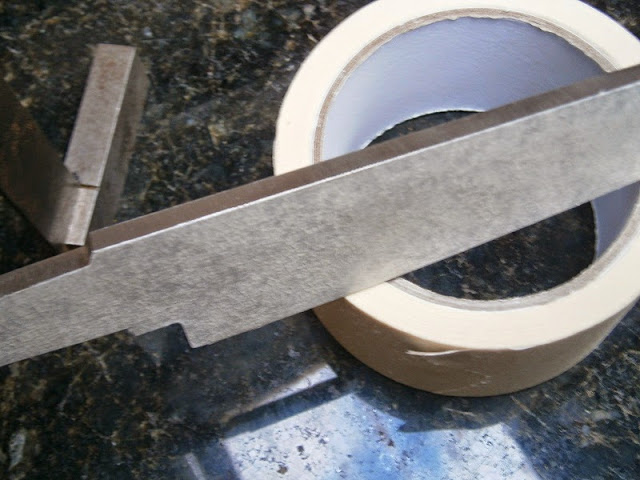
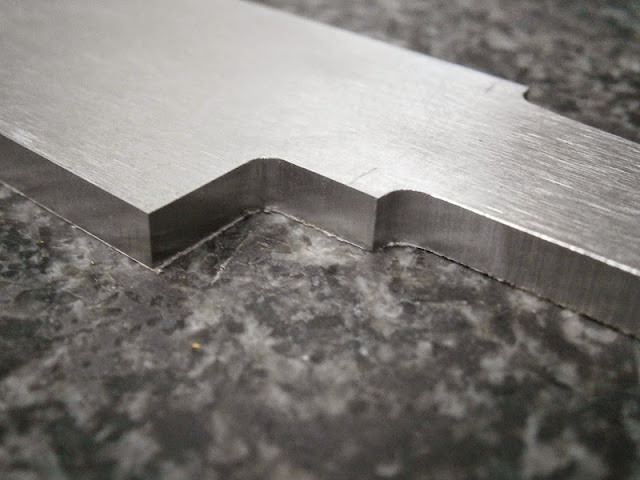
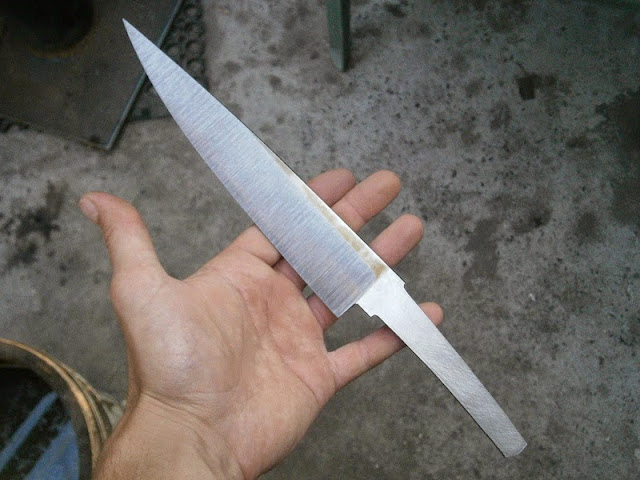
Closer now to the final profile, but still well outside the scribed lines. I use the work rest and platen to take it right down to the lines, this ensures that the surfaces that will be the spine and edge are perpendicular to the flats

Stay tuned for more.
 
120.JPG

The flat ground O1 is never quite flat, but that is easily fixed.

121.JPG

I cover my ‘anvil’ with a piece of leather and gently whomp the warp from the steel. I go back and forth from the surface plate to the anvil until I’m satisfied that it’s flat.

124.JPG

I set my work rest perpendicular to the platen.

128.JPG

At this point I find it pays to cover the flats with some masking tape. This helps protect the blade from being gouged too badly by the grit on the work rest.

129.JPG

Grinding to the scribed lines.

135.JPG

You can see here that I'm still well clear of the scribed lines around the ricasso/choil area. To me, this area of a knife is visually very important, so I'm never in a hurry to screw it up.

143.JPG

With my file guide clamped on, I grind the heel close to where I want it.

151.JPG

Then I file down to the guide.

153.JPG

Roughing in the ricasso width with a worn 60 grit belt. The belt tends to drift on this grinder (Coote) if any force is applied to the edge, so it can be very difficult to get right into the corner. I remove the 60 grit scratches with a 400 grit trizact belt.

160.JPG

As you can see here, what I’m left with is almost a radius. This area will later be refined into an actual radius .
 
Subscribed....

Looking forward to see the final result
 
Thanks for making me feel welcome, guys :cool:. I'm glad to finally be contributing.


The next step is to crown the spine.

reference lines scribed.
161.JPG


After grinding a few test pieces, I decided on this angle for the work rest. The belt shown here is an old A45 trizact belt, I actually used a worn 60 grit blaze belt to rough the bevels in.
169.JPG

173.JPG


Here you can see the spine is pretty close to where it should be. It will be fine-tuned later by hand.
174.JPG
 
Grinding the bevels.

I scribe some reference lines
013.JPG


Using a brass scribe I mark where I want the plunge to end up. I try to use a brass scribe where I can. Too often I've spent too long at the flat plate lapping deep scribed lines from ricassos.
015.JPG


The initial bevel is ground in using a slightly worn, but still fairly aggressive, 60 grit blaze belt. For this I use the 10” contact wheel.
018.JPG


I start with a small, steep bevel on either side
020.JPG


Gradually I walk the bevels up towards the spine.
027.JPG


Here you can see I’ve knocked off the top of the bevel. From this point I start flat grinding.
028.JPG


I put a NEW 60 grit belt on the grinder. These belts tend to bulge out in the middle on my grinder, so I counter-bend each one over its entire length before use. Now it will lie flat against the platen.
036.JPG


Here is the blade after a few passes.
040.JPG


A bit more grinding and it will be ready for heat treatment. The bevel won't be taken all the way to the spine before HT, as I find that the flat area (conveniently orange in this photo) can be handy if I have to correct any warp later on.
043.JPG

048.JPG
 
Using diamond files, I deburr all edges that need it. And radius any internal corners.
049.JPG


051.JPG


Here’s the blade ready to go in the oven.
053.JPG


Please excuse my hideous heat treating oven. I had dismantled my old one and quickly threw this monstrosity together just for this knife. Disgraceful as it was, it heated the blade evenly and to the desired temperature.
066.JPG


Normalising temperature
065.JPG


Here is the blade removed for its normalising cycle. I don’t have any more pictures of the heat treatment until tempering, but all I did was: heat the blade to 800 degrees C, soak for 15 minutes, then quench in warm vegetable oil. Proper oil is on my shopping list.
067.JPG


After quenching I wipe the blade down, and clamp it in between these flat steel bars. Then the whole lot is put into the tempering oven.
068.JPG


071.JPG


My tempering oven is just an old domestic oven that I've gutted and rewired. It now runs off a PID controller.
After 2 hours I take the blade out and check for warp. If there is any (and there was some) I clamp it back up and add shims (a nail in this case) wherever I think they’re needed, then put it back in the oven for another 2 hours. I learned of this method from a thread by Rick Marchand, and have used it many times. Cheers Rick!
072.JPG

076.JPG
 
The tang still has a slight bend to it, so I hang it over the edge of the surface plate while I scribe a new reference line.
001.JPG


002.JPG


Grinding a small bevel to set the edge thickness.
009.JPG


010.JPG


More grindin'
016.JPG


023.JPG


For the next steps the belt needs to track as well as possible. To stop the belt from drifting whenever I touch the edge, I clamp this little thang to the work rest. This only works for stiff belts.
026.JPG


Now the plunges can be evened up a bit.
I clamp a guide on, just in case.
027.JPG


And this is the result. not perfect yet.
033.JPG
 
Coming along very nicely, its great to see how other guys work. You get to steal some of their ideas.


Doug
 
Welcome to the forum!

Great looking design and quality work getting there! Very clear photos as well, nicely done! :)

While I absolutely appreciate a hacksaw (that's all I had for years), I am curious why you didn't hog most of that excess off with your belt grinder and the contact wheel? Just wonder'n :D

Love what you've shown so far, thank you for sharing!!! :thumbup: :cool:

Hi Nick.

Thank you, that really means a lot. I've gained a lot from your contributions to this forum. You'll probably recognise your influence on my process if you keep following this thread.

Ah the hacksaw. The main reason I use the hacksaw over the grinder is that I find the 'precision ground' offcuts to be very useful. I can use them to make things like punches, or handle broaches, or little edge scribe things. During this knife build, I used a useless looking offcut as a test piece to set the angle of the crowned spine, and another piece to make a little sanding block. It also helps to keep dust to a minimum.
If time was a factor, I'd probably just hog the excess off with the grinder, but I wouldn't enjoy it!
 
Now the bevels get ground to full height, still using a 60 grit belt.
035.JPG


038.JPG


Then I get rid of the 60 grit scratches and replace them with 120 grit scratches.
042.JPG


043.JPG


Now I need to clean up the plunge. I learned of this method from the fantastic thread that Nick Wheeler and Lorien put together a while ago.
I use a stainless steel block with a radiused edge.
045.JPG


Sandpaper is stuck to the steel with some spray adhesive. I used 120 grit.
047.JPG


I clamp on a small file guide to avoid rounding off features when I inevitably slip.
048.JPG


This probably doesn't make a big difference, but I use a diamond file to strip as much grit from the other edge of the block, to avoid cutting a groove where I don't want one.
049.JPG


Then the plunge in worked against the radiused edge of the block until I have even and nicely radiused plunges.
Here is the result:
052.JPG
 
The next thing I do is refine this area. I want a nice tight radius in that corner.
054.JPG


A piece of micarta is clamped to the ricasso/tang. This piece should be pretty square.
056.JPG


Then using the plunge finishing block, I cut in the radius and clean up the other surfaces. For this I used 320 grit paper. The micarta piece stops the blade from rocking.
057.JPG


Not a bad little radius, and the 320 grit scratches will take very little effort to remove.
060.JPG


Now I give the spine some attention. The blade is clamped spine up in my version of a knife maker's vice.
061.JPG


I use a small diamond file to remove the bulk of the material, and true up the lines.
067.JPG


Then I refine the finish with a diamond stone/hone thing.
074.JPG


078.JPG
 
At this point in the process, the tang is still hard. It needs to be softened a bit so that I can drill and file it.
Here I have roughly sanded the tang so that some bright steel is visible.
002.JPG


The tang is heated until it is blue/grey. The tang was sanded in the previous step to make it easier to see the change in colours.
008.JPG


I carefully heat the tang until the oxides are midway up the ricasso, and well past where I will be cutting in the shoulders. I do this three times. I also spray the blade with water during this step, to prevent the heat from creeping into the edge.
012.JPG


Now that the tang is less hard, I can drill a pin hole.
I mark out where the guard will eventually sit, just to help me visualise things a bit.
015.JPG


Working off the drawing, I mark where I need to drill.
018.JPG


019.JPG


Then I drill.
030.JPG
 
Status
Not open for further replies.
Back
Top