Kind of a Persian fighter build, final pictures, for now

Status
Not open for further replies.

Mark Knapp

Knifemaker / Craftsman / Service Provider
Joined
Dec 20, 2009
Messages
4,421
It's a new year, I have cleared enough of the little jobs around here and gotten caught up on my 1911 knife orders so I can get back to customs. It feels good to be back making custom knives. I got this drawing from a good customer, frequent Blade Forums visitor and all round good guy.

DSCF0254_zpsb5347d61.jpg


I "Mark Knapped" it up a little and came up with this.

DSCF0255_zpsd2741ea4.jpg


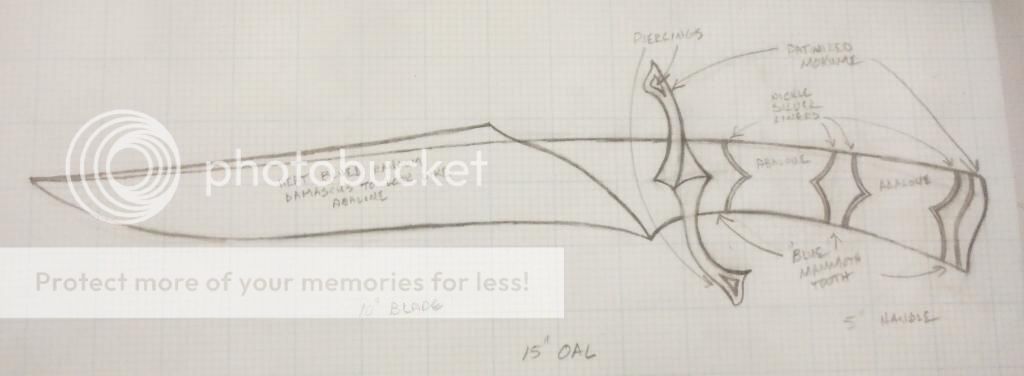
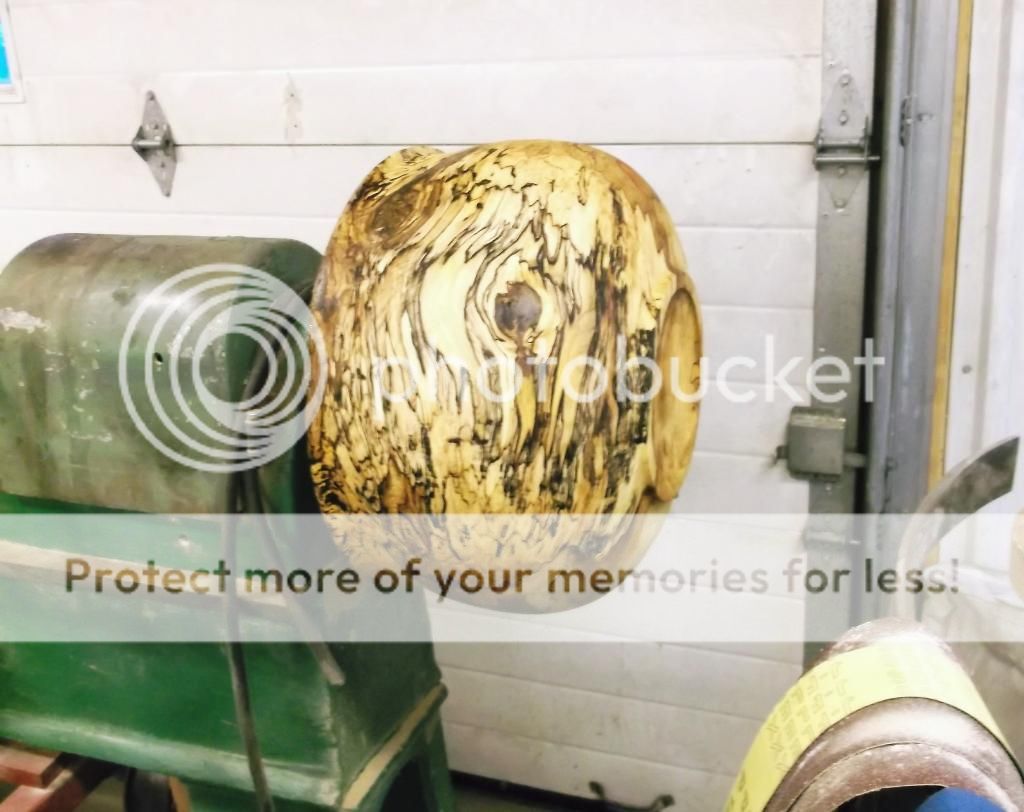
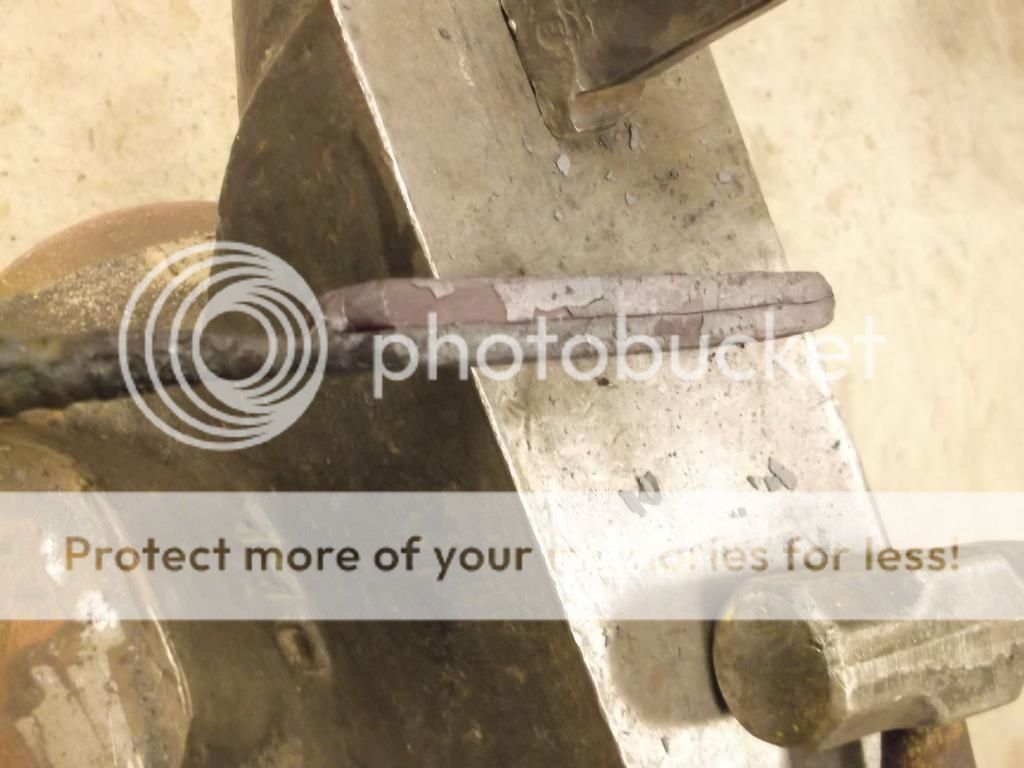
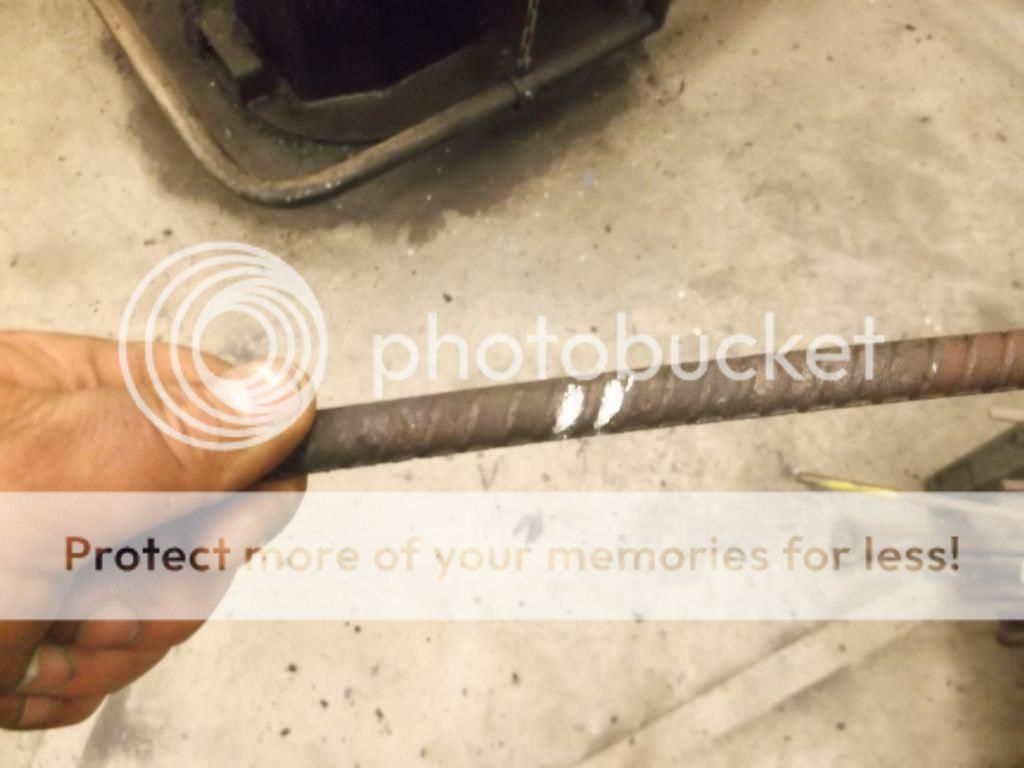
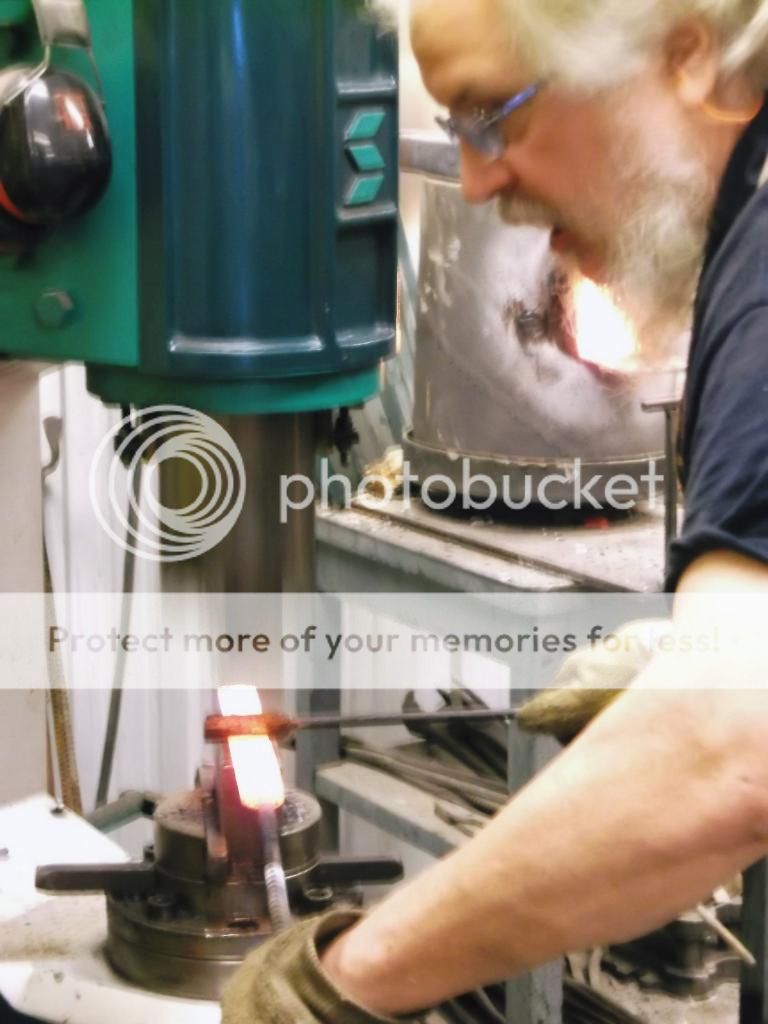
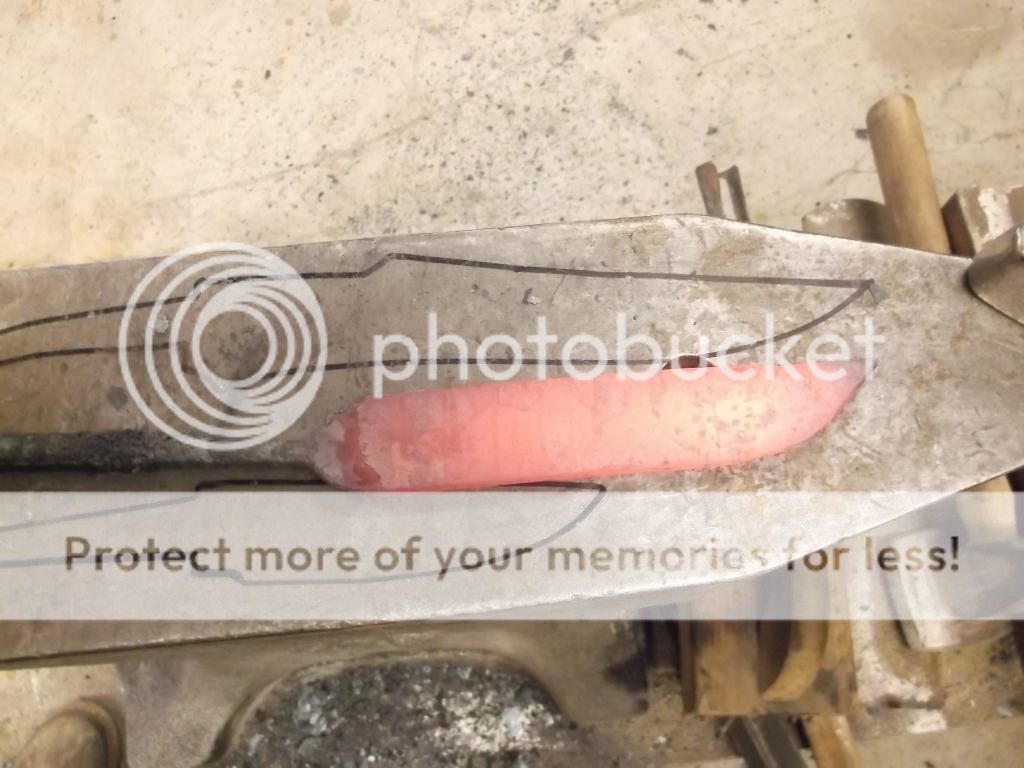
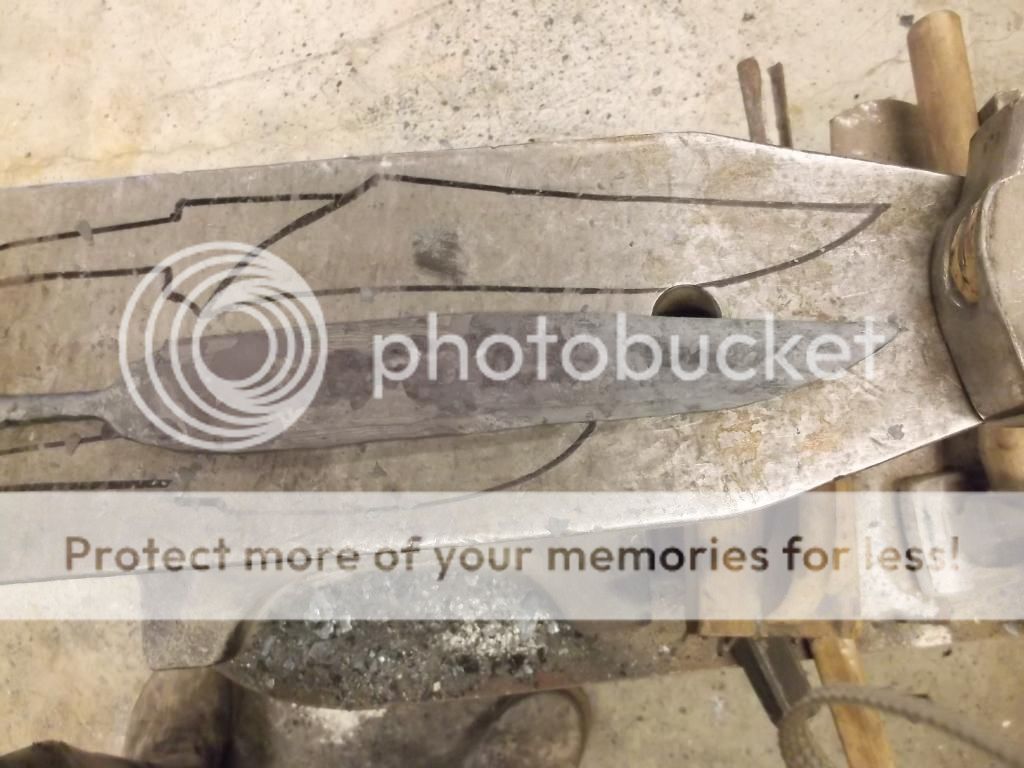
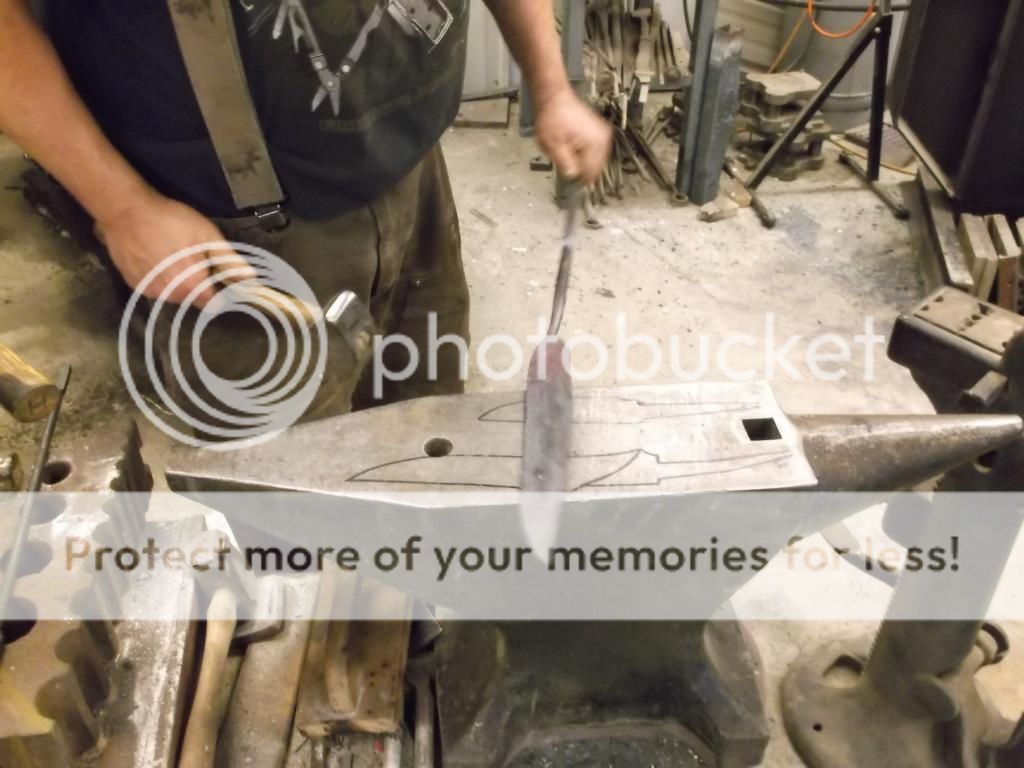
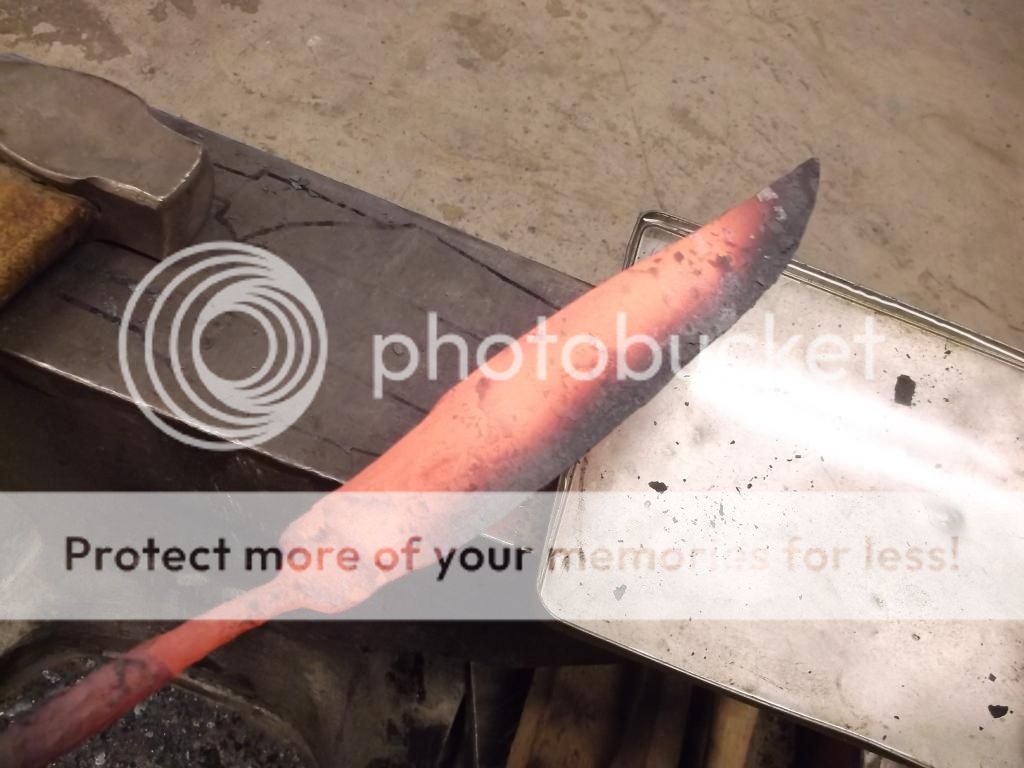
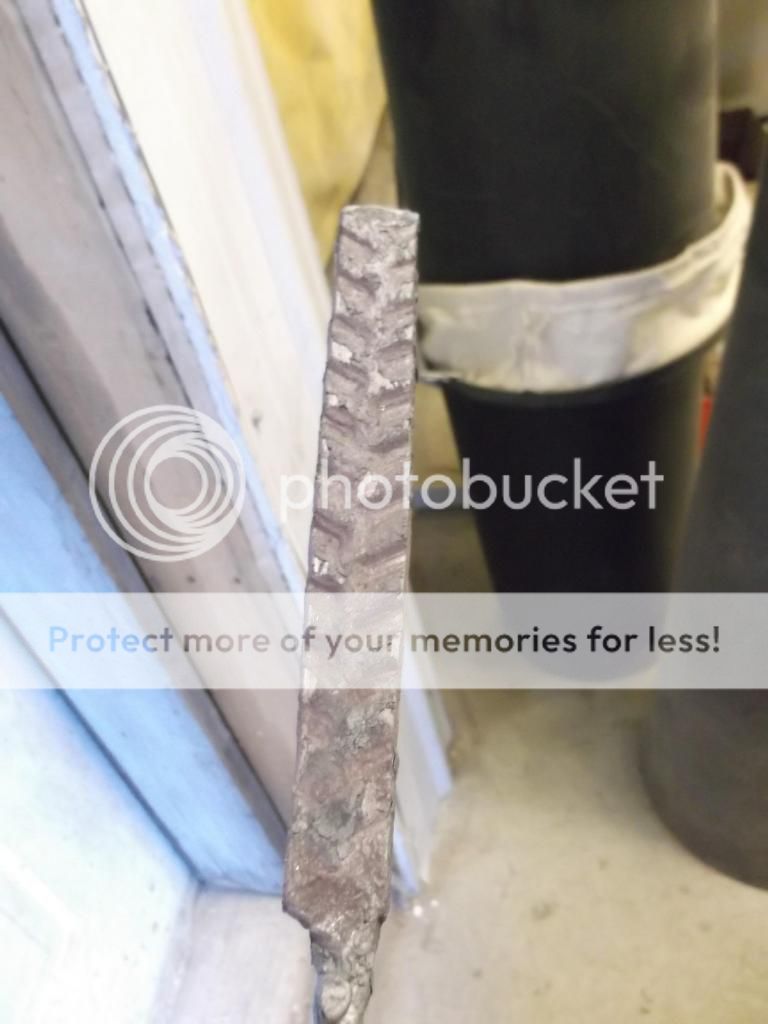
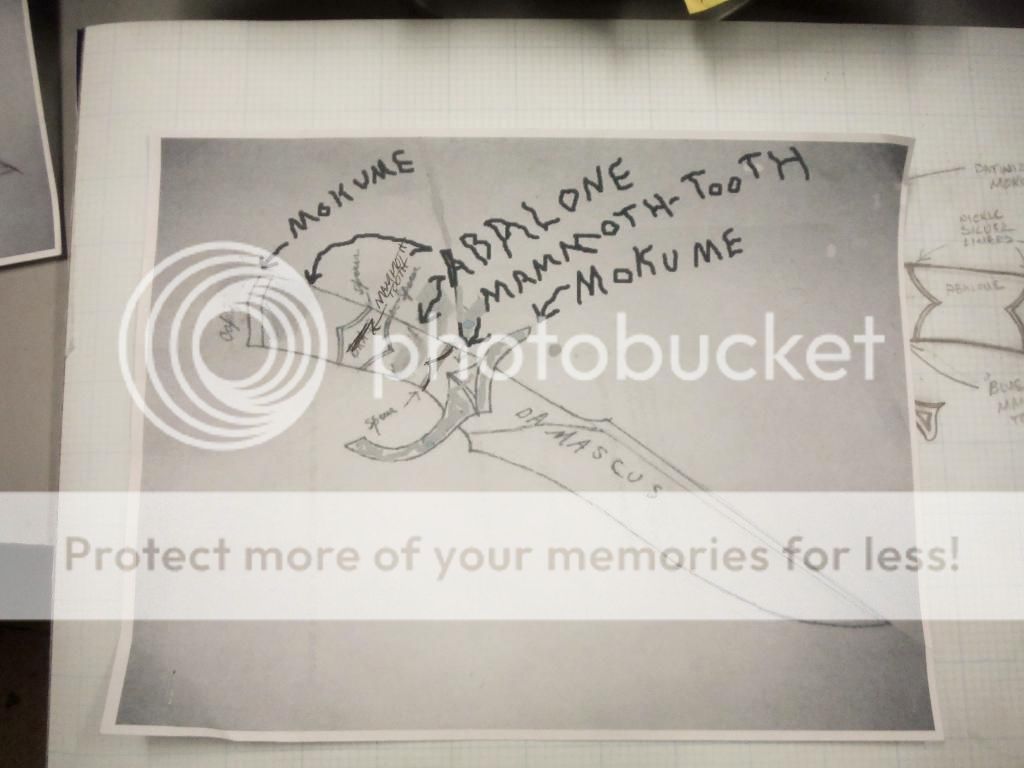
To me it's kind of a stylized Persian fighter, I'm pleased with the drawing and have started to compile all of the components. I have ordered a piece of mokume big enough for the guard and butt cap and ordered enough blue abalone to laminate together for the handle pieces. In the mean time I'll start making the steel. It will be 1095 and 15N20 random damascus heat blued to look a little like the blue Paua abalone.

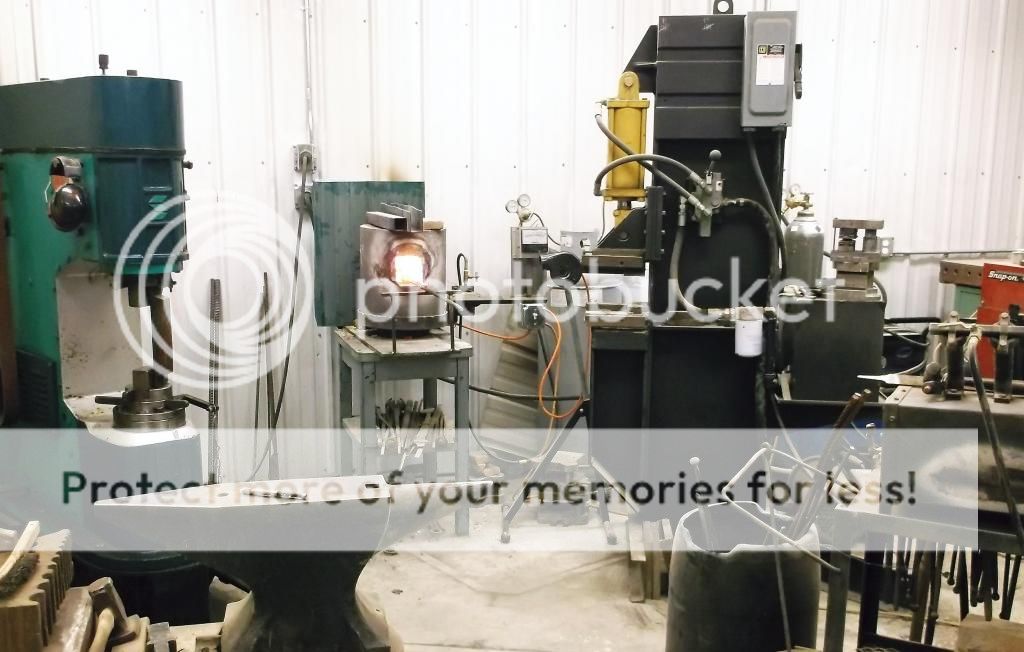
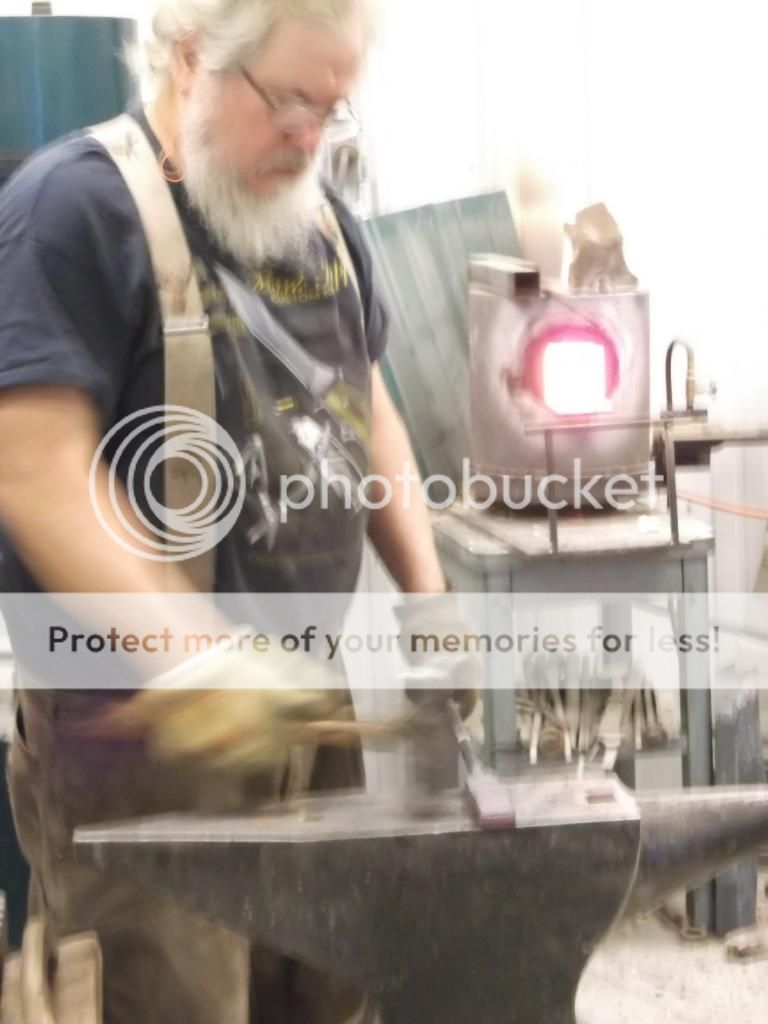
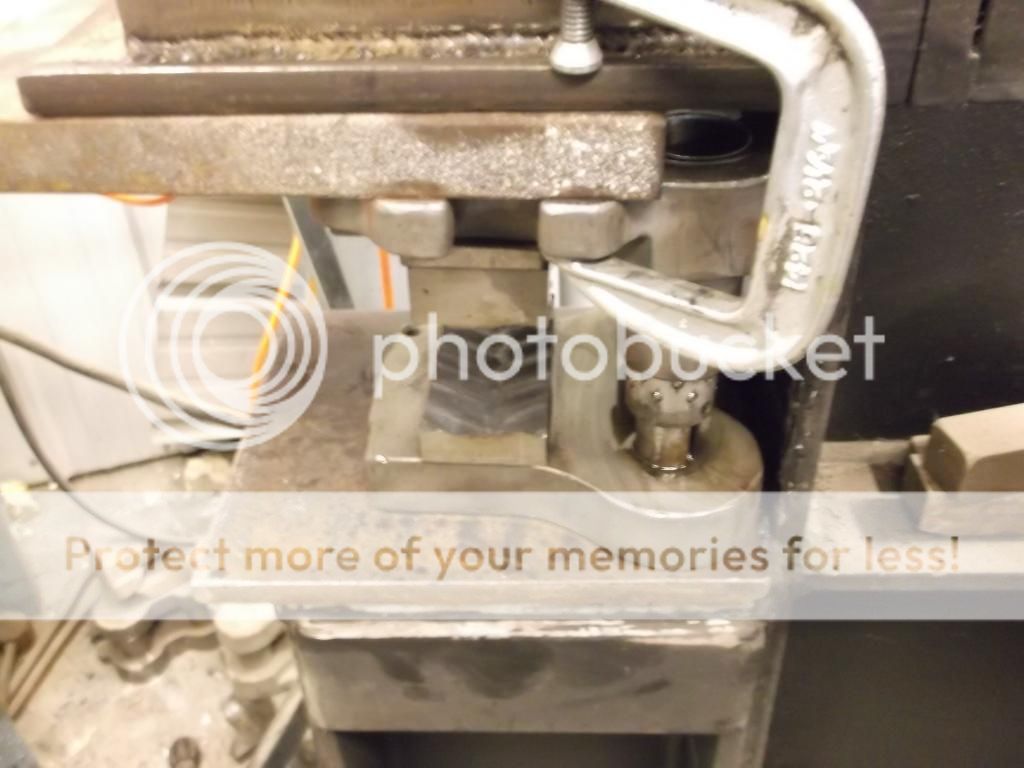
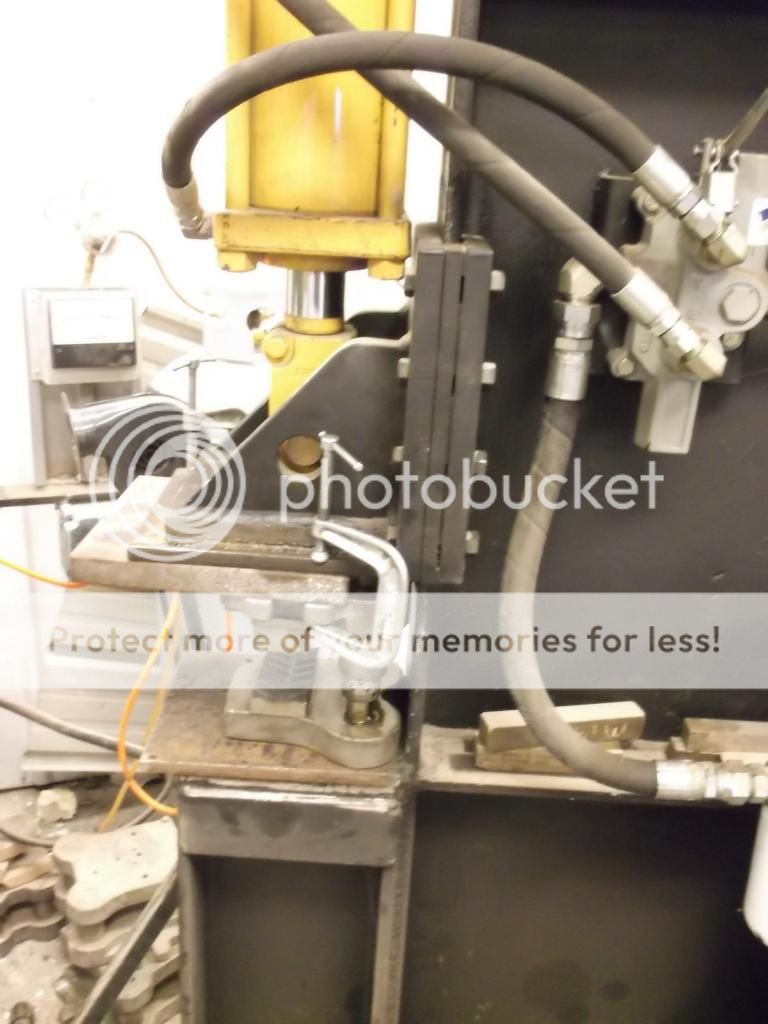
It's going to be a fun project. I'm working on four abalone knives at the same time, to get economy of scale, so this build will go a little slower. I forge the steel for all the blades at the same time and lay-up the handle materials at the same time, so you will be seeing glimpses of the other knives being built too. In the long run, I save a little time this way.

Stay tuned, questions, comments and polite critique are welcomed.
 
Last edited:
what do you think about bending the upper quillion forward a little?
 
forgive this super crappy doctoring, but just to show vaguely what I mean;
 
Last edited:
forgive this super crappy doctoring, but just to show vaguely what I mean;

Hi Lorien and Laurence,
I see what you mean, you're wanting to make the guard and the grind line flow a little bit. I thought I was done with the drawing, and I like where the bottom quillion is but, I will toy with the upper one a little bit.
 
Mark,
Yes,
If you could have the angle of the guard match the angle the top of the Harpoon to the heel or grind line.
 
Mark I like it the way you have drawn it so far and it is a nice improvement. I am open to changes but I don't want to stray to far from the design I sent you. Not sure I want to change the upper. We will wait and see what you come up with. We really like it the way you drew it . You have no idea how happy mom and I are that you said you would make it for us. We LOVE your work. You are the BEST. Thanks a lot. Terry KT :)
 
Last edited:
Mark I like it the way you have drawn it so far and it is a nice improvement. I am open to changes but I don't want to stray to far from the design I sent you. Not sure I want to change the upper. I will wait and see your drawing. I sort of like it the way you drew it You are the BEST. Thanks a lot. KT :)

Hey Kid, (Lorien and Laurence too) well, I have drawn it several ways and to me it did not look better with more curve to the upper quillion. I actually like the guard being mostly perpendicular, I did add some beefiness to both quillions and like it better that way. I will take pictures in the next session. Thanks for the input. Tomorrow, forging some steel.
 
This is going to be a fun one to follow.
I like the idea of heat coloring the blade to go along with the handle material.
 
Hey Kid, (Lorien and Laurence too) well, I have drawn it several ways and to me it did not look better with more curve to the upper quillion. I actually like the guard being mostly perpendicular, I did add some beefiness to both quillions and like it better that way. I will take pictures in the next session. Thanks for the input. Tomorrow, forging some steel.

it's all good, man! I love threads that start this way; with a drawing. But, custom knife making is not about creating something singular through a committee! It's about interpreting a client's requests and tailoring the piece to match their expectations.

I just appreciate being taken along for the ride! That input is welcomed is a bonus :)
Lorien I like the input and thank you. I have worked on this drawing with about 2000000000 changes :p over 2 years to get this this far . It might not be perfect but its finally going to be made while we are still alive .:D Cant make to many changes now. Have to Keep Mark working. Ha You know I am not a knife maker but a leather smith so I was happy to get this far... THANKS to all of you for your input.. We went with Mark because we don't see how we could do better on workmanship and finished product and he really understands what we are trying to do. He and Angel are OUTSTANDING to work with and don't get mad when my checks bounce. :eek: KT
 
Last edited:
You guys are all too cool. Kid, I am not sure I am due such high praise but I am glad you think so. I have never seen one of Kid's checks bounce, if fact he has always paid way in advance. Everyone that knows him knows he is just kidding.

Lorien, I don't mind constructive criticism, I try to receive it in the manor that it was given in. I have learned some things on this site so I pay attention.

More to come.
 
Very nice design. I like Persians a lot and look forward to seeing this one develop. Nothing like setting yourself a challenge after a hiatus.
 
Mark I like it the way you have drawn it so far and it is a nice improvement. I am open to changes but I don't want to stray to far from the design I sent you. Not sure I want to change the upper. We will wait and see what you come up with. We really like it the way you drew it . You have no idea how happy mom and I are that you said you would make it for us. We LOVE your work. You are the BEST. Thanks a lot. Terry KT :)

Hey Kid,

Its your knife and you have the vision along with Mark's talent I am going to enjoy stopping by to watch this build come to be!
 
Lorien I like the input and thank you. I have worked on this drawing with about 2000000000 changes :p over 2 years to get this this far . It might not be perfect but its finally going to be made while we are still alive .:D Cant make to many changes now. Have to Keep Mark working. Ha You know I am not a knife maker but a leather smith so I was happy to get this far... THANKS to all of you for your input.. We went with Mark because we don't see how we could do better on workmanship and finished product and he really understands what we are trying to do. He and Angel are OUTSTANDING to work with and don't get mad when my checks bounce. :eek: KT

there is no one else on this earth that builds a knife the same as Mark. It's going to be a special piece, guaranteed. I'm sure it will be all you want, and more!
 
there is no one else on this earth that builds a knife the same as Mark. It's going to be a special piece, guaranteed. I'm sure it will be all you want, and more!

That's a pretty nice thing to say Lorien, thanks.
 
OK, I spent a day cleaning up the smithy, a day working on the smithy and finally, two days working in the smithy.

DSCF1182_zps670fb16c.jpg

It's not a good idea to do wood working in the forge room, but I did. This is a 19 inch bowl I'm turning. The shavings were everywhere, so first I had to clean up.

DSCF1185_zpsb8fde7ad.jpg

The forge needed some upgrades. I learned a trick from Bill, Gary and the guys down at Euphrates during a tamahagane burn. A fan blowing across the front of the forge keeps the dragon's breath from heating up the tools and the people. I wired both my forge blower and the new fan through a switch so they both come on at the same time. My blower needed a new flapper valve so I put that on. The tool rest in front of the forge needed modification. The forge is starting to need relining but I will do that on the next go around. The power hammer needed a real good cleaning and I needed to work on the dies in the press. With all that done, I was finally ready to work.
 
DSCF1183_zps846e6012.jpg

I'm working on several knives at once, so I stacked up enough steel for four billets. I'm alternating 1095, 1075 and 15N20, it'll be a tri-color damascus. Starting with 11 pieces I'll fold it 5 times to give me 352 layers. This shot is after the first welding press, I have ground off my tack welds to keep mild steel out of the damascus.

DSCF1188_zpsca09ba13.jpg

Here's the first fold. I tack welded it together on the end. Some of the guys are dry welding now, with no flux. For some reason I don't get consistently good welds if I don't use flux. It must be something with my system.

DSCF1191_zpsc55c34a5.jpg

It's hard for me to keep track of how many folds I have in a billet, especially if I am working on more than one at a time so I mark the handles as I do the folds.

DSCF1196_zps5146759a.jpg

Using the hack to cut almost through the billet for the next fold.

DSCF1203_zpsd589db5c.jpg

I brush off the slag between each fold, hold the billet down with the brush and make the fold.

DSCF1208_zpsae32f2b3.jpg

Pound the two halves together, even up the sides and tack weld them together on the end near the handle.

DSCF1212_zpsbdc5c48b.jpg

I traced the profiles of the two knives I am starting with onto the anvil.

DSCF1213_zpsdddd4150.jpg

The billet is still over a half inch thick but for me its easier to form the point while the steel is thick.

DSCF1217_zps406a50fe.jpg

I alternate from the power hammer, to the press and the hammer and anvil to form the profile as I gradually thin the blade. By doing it this way I have reserve steel in the thickness if I need extra steel for the choil area or the high spine.

DSCF1228_zpsb0c126f1.jpg

DSCF1233_zpsbb69c7a5.jpg

I have started to draw out the bevel. Here I am using a tray of water to cool the bottom edge of the knife while I form the spine profile. That way I can pound on the spine without deforming the blade. The blade is still plenty thick at this point.

DSCF1234_zps310ff635.jpg

The second knife I'm working on has a herring bone pattern in the handle and the blade. This is a die I made for pressing the pattern into the damascus.

DSCF1235_zpsbb0ebfb3.jpg


DSCF1239_zps7fd5b790.jpg

Here's a shot of the billet with the pattern pressed into it. From here it gets heated back up to critical temperature and goes into the vermiculite to anneal over night. Then it will be soft enough to easily cut flat on the milling machine.
I was in the forge room for five hours today and that's enough for me.
Stay tuned, more to come.
 
Status
Not open for further replies.
Back
Top