- Joined
- Mar 8, 2008
- Messages
- 26,314
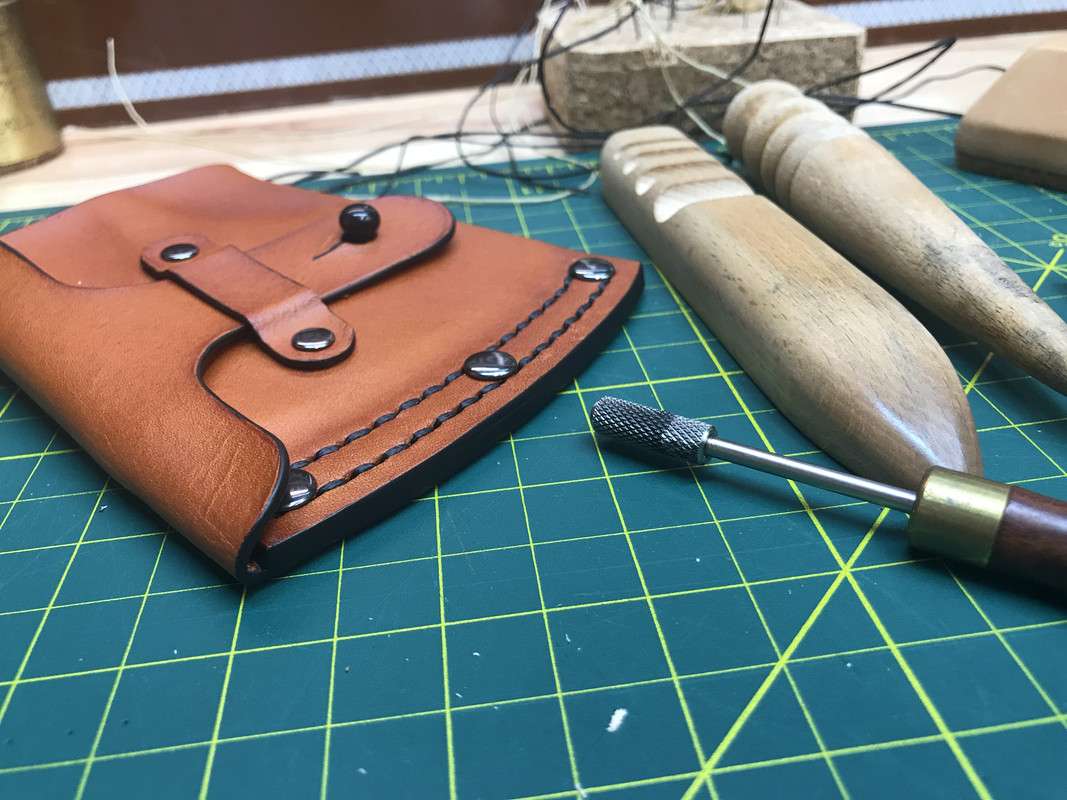
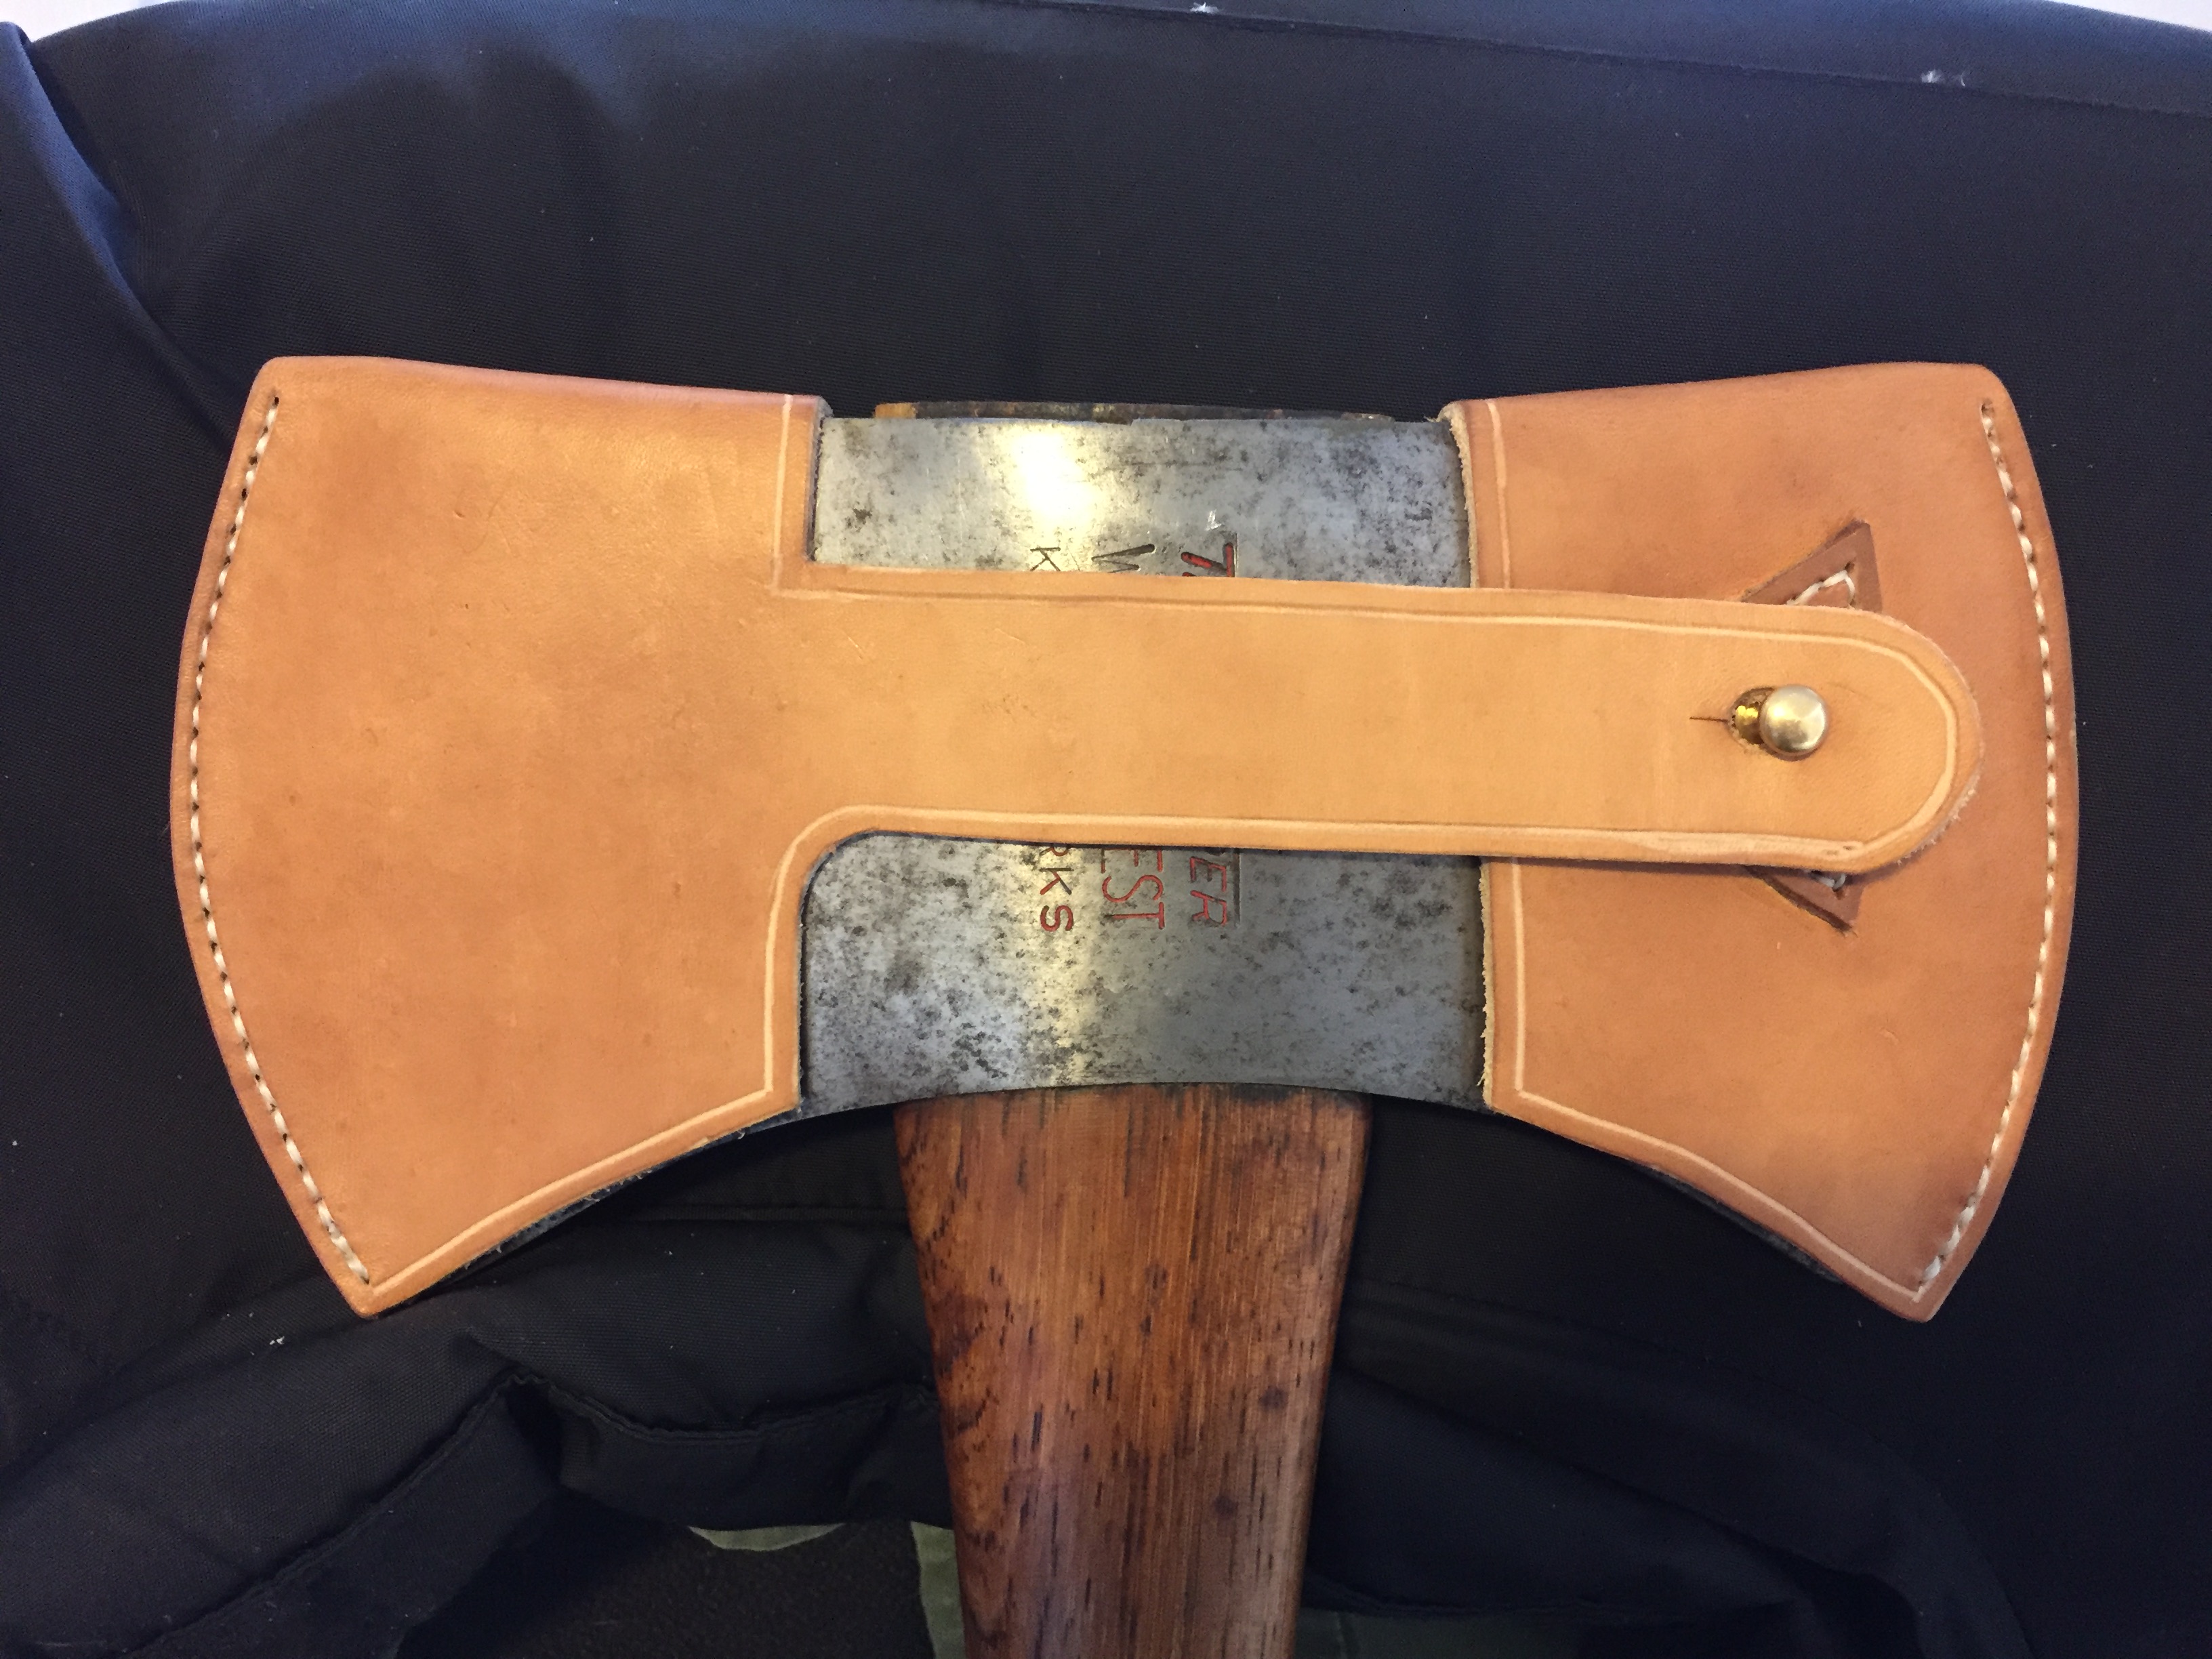
This is one I made for a customer. They wanted a belt sheath for a Rinaldi Trento hand axe. It has a swiveling belt loop.

The BladeForums.com 2024 Traditional Knife is available! Price is $250 ea (shipped within CONUS).
Order here: https://www.bladeforums.com/help/2024-traditional/
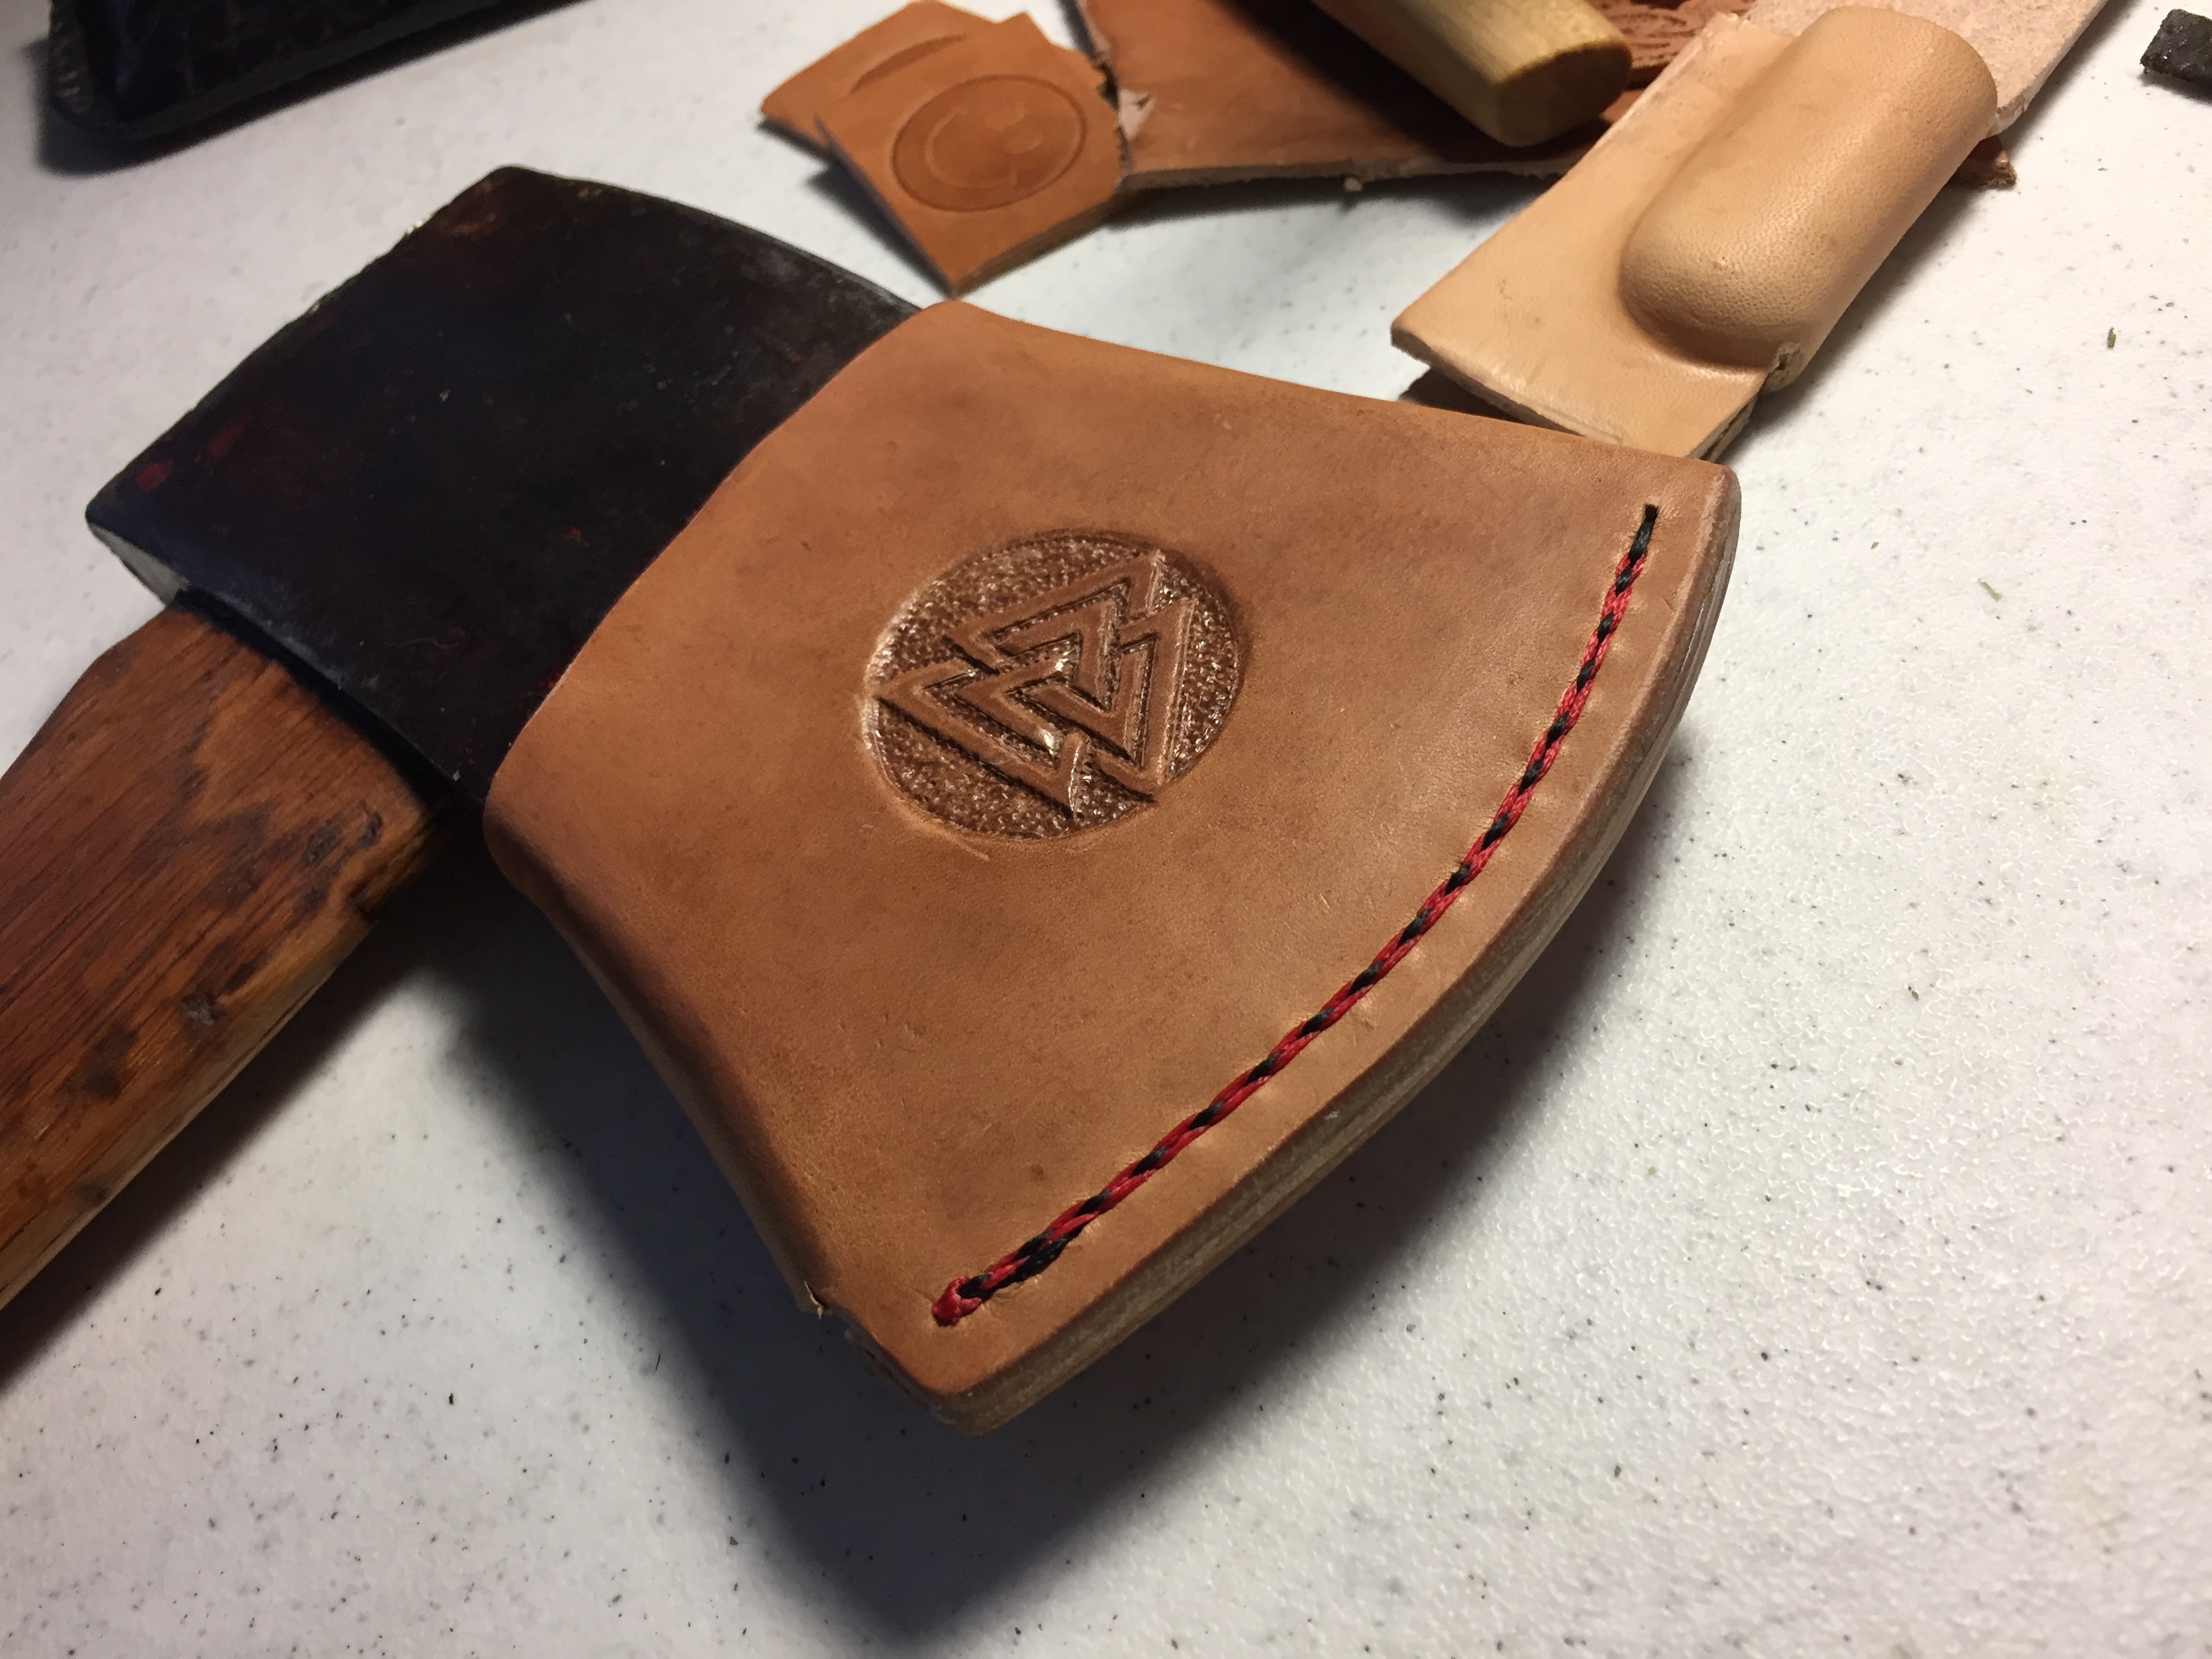
Thanks for posting that info.... and, actually, for sharing your idea of using root barrier.Here's a mask I made for the mini maul I have down at my family's camp. The original leather one got misplaced by one of my relatives so I used one from inventory to do the fitting work.


First I apologize for not getting to this Thur. evening . We lost one of thee last four founding members at church. I am head of our facilities team and Co leader of our Security team and on our senior leadership team . I needed to be involved in the planning of the services for Tues. We had to have another lady taken out by the squad today and in my spare time I took the youth to the pond at the gun club I belong to for fishing so I have been a little busy .
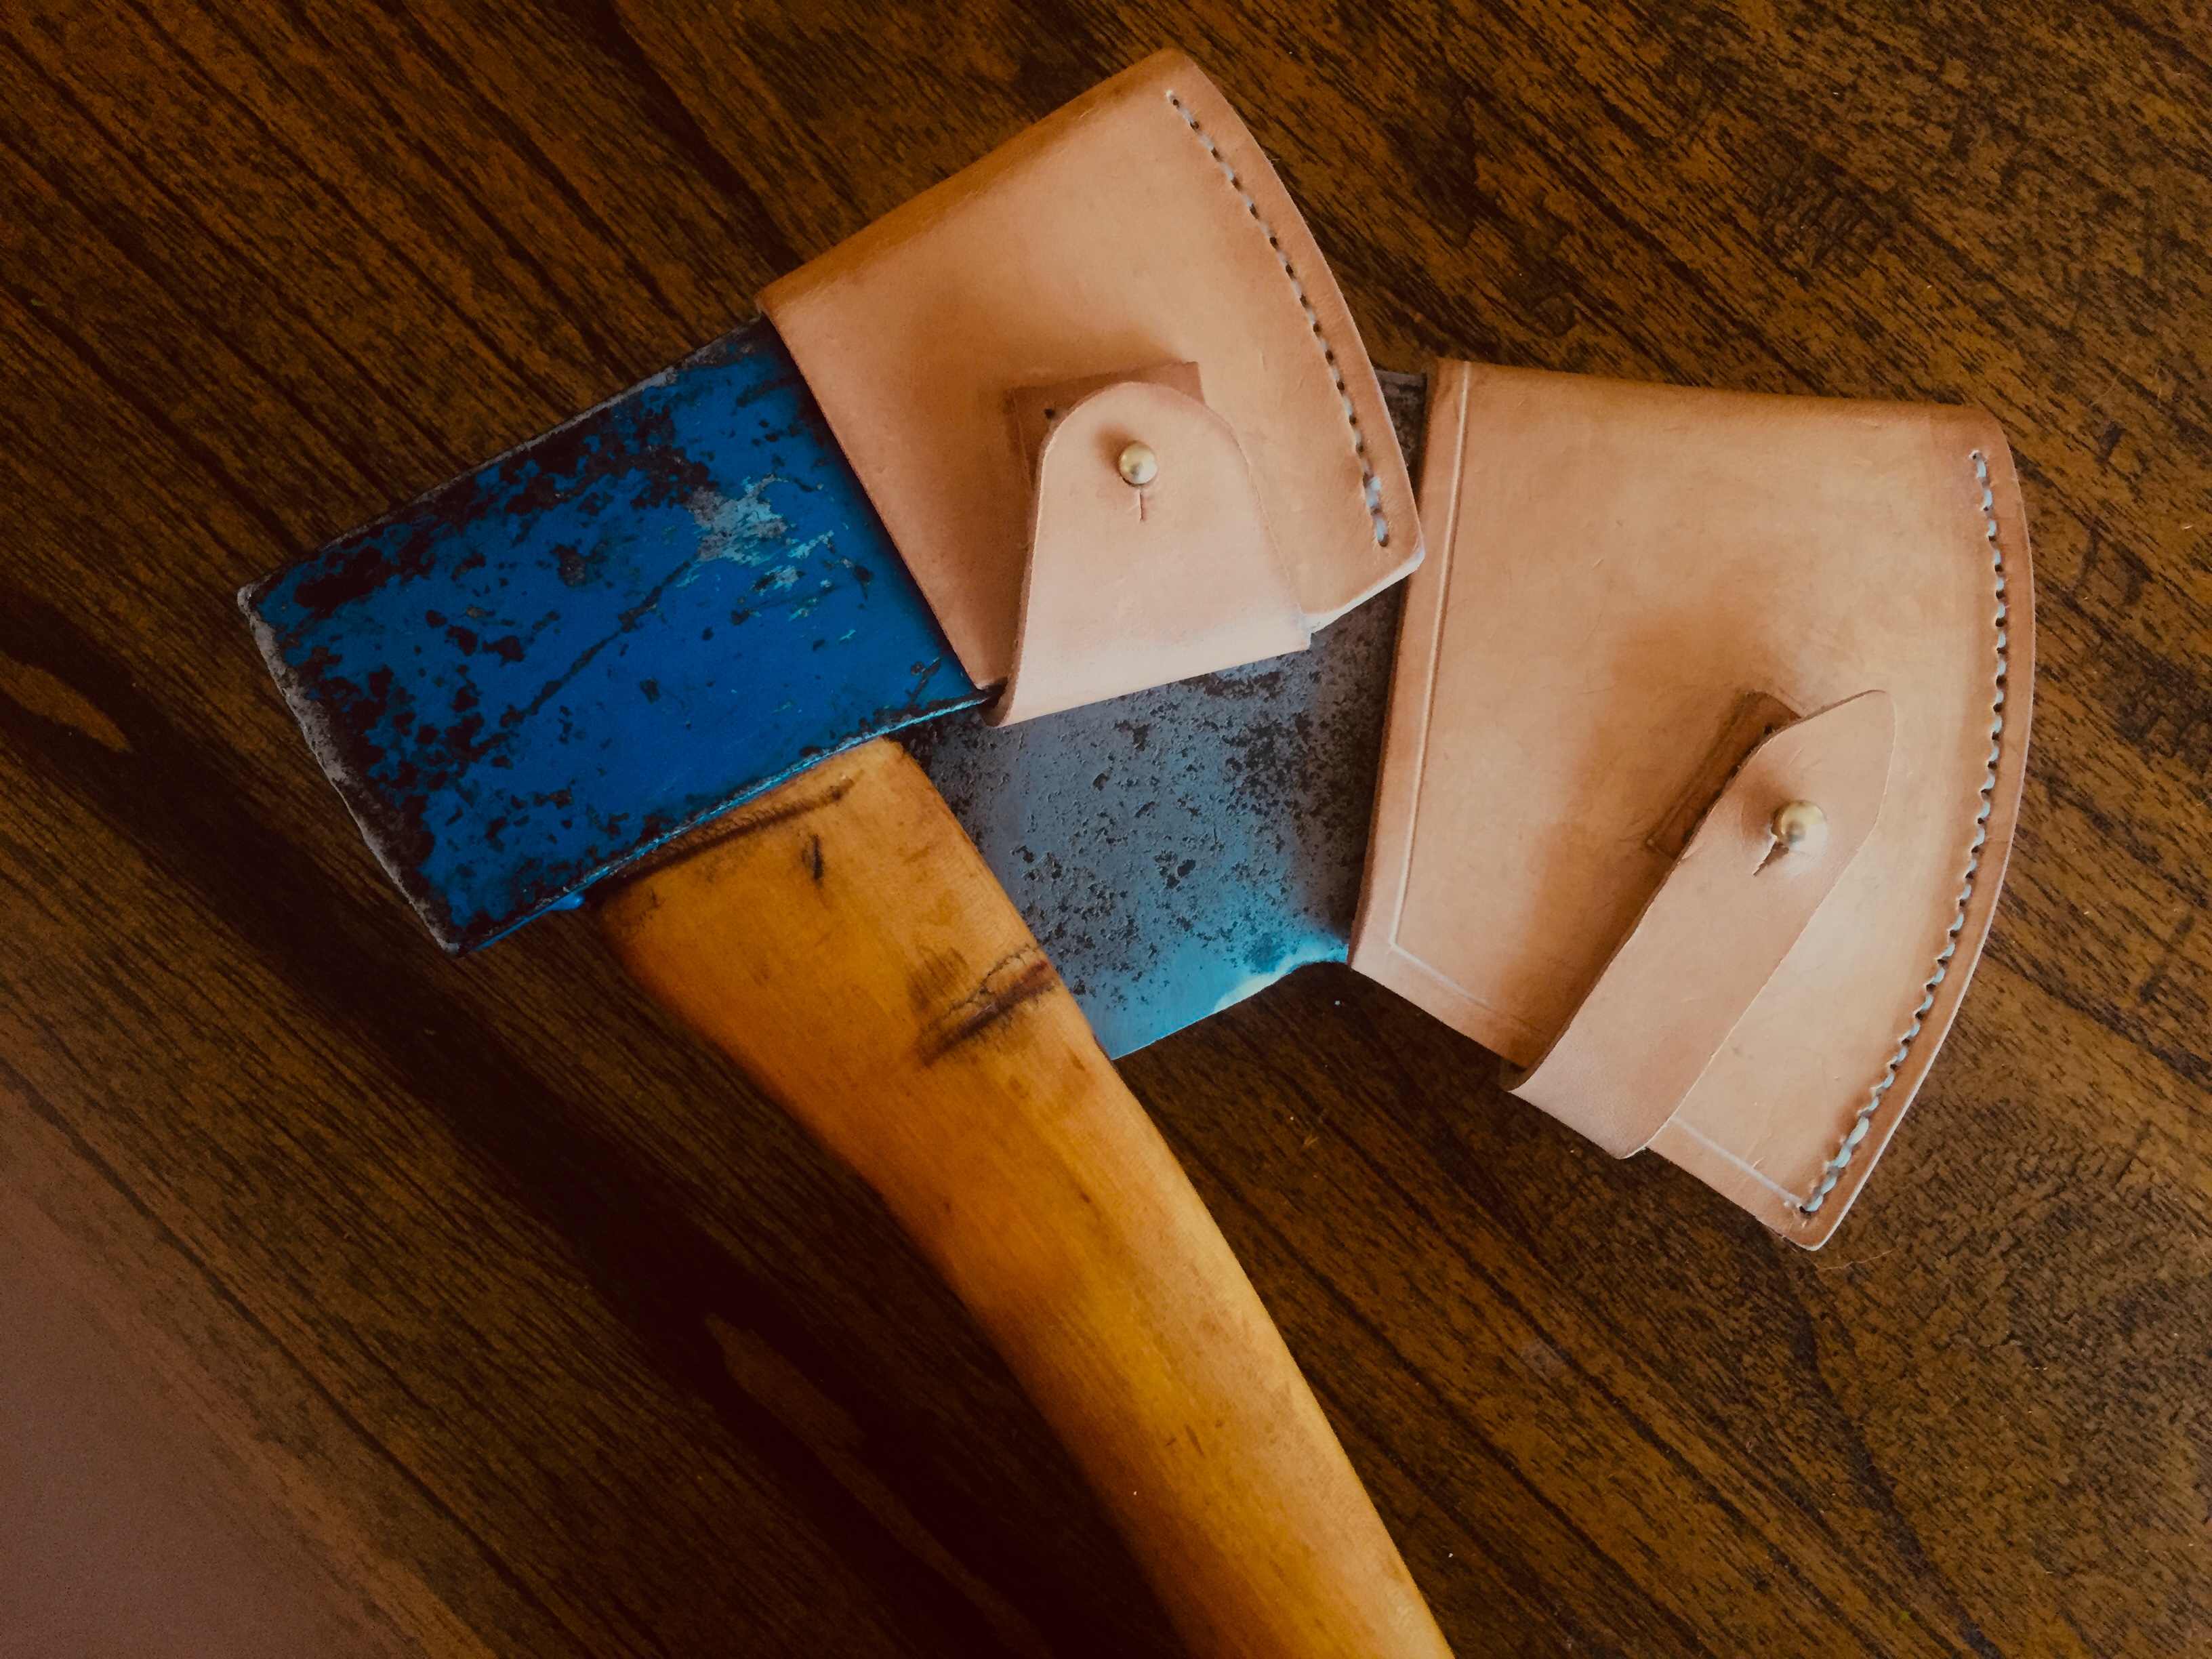
my mask are not pretty like many here, but are simple and quick to make. I just got a new supply if rivets I plan on trying a double bit version


Thank you!And happy you should be! It is useful, user-made, solid, and pleasing on the eyes.
*I feel like I can see the bevel of the tool in the sheath.
As I said before it isn't as pretty as many here but it is simple and easy to make . I just finished my first double bit version for my Cruiser axe I will post a picture soonI like it. Simple. Practical. Functional. There is beauty in utility.
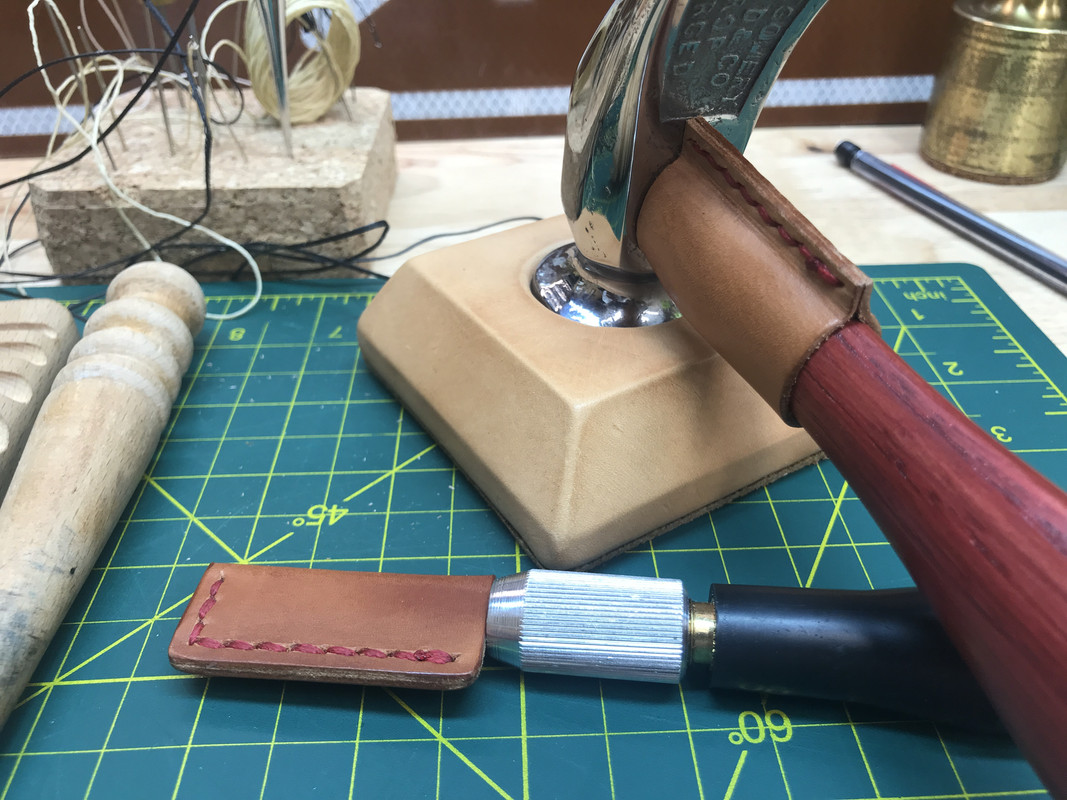
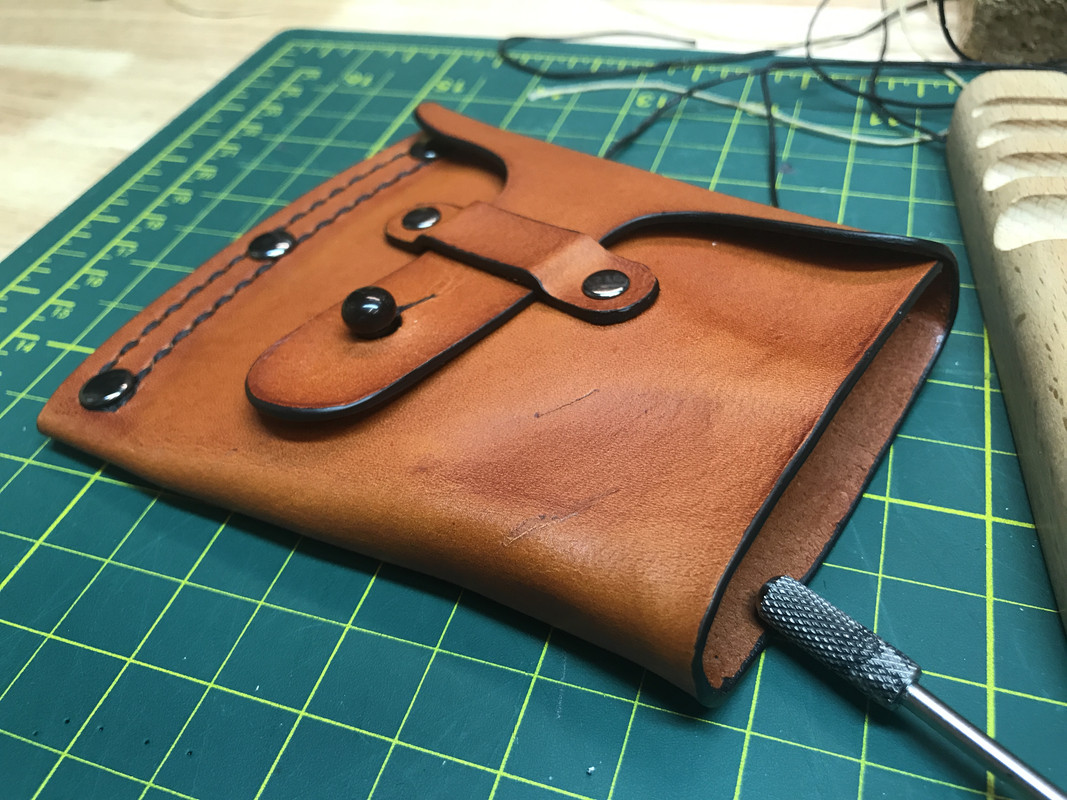
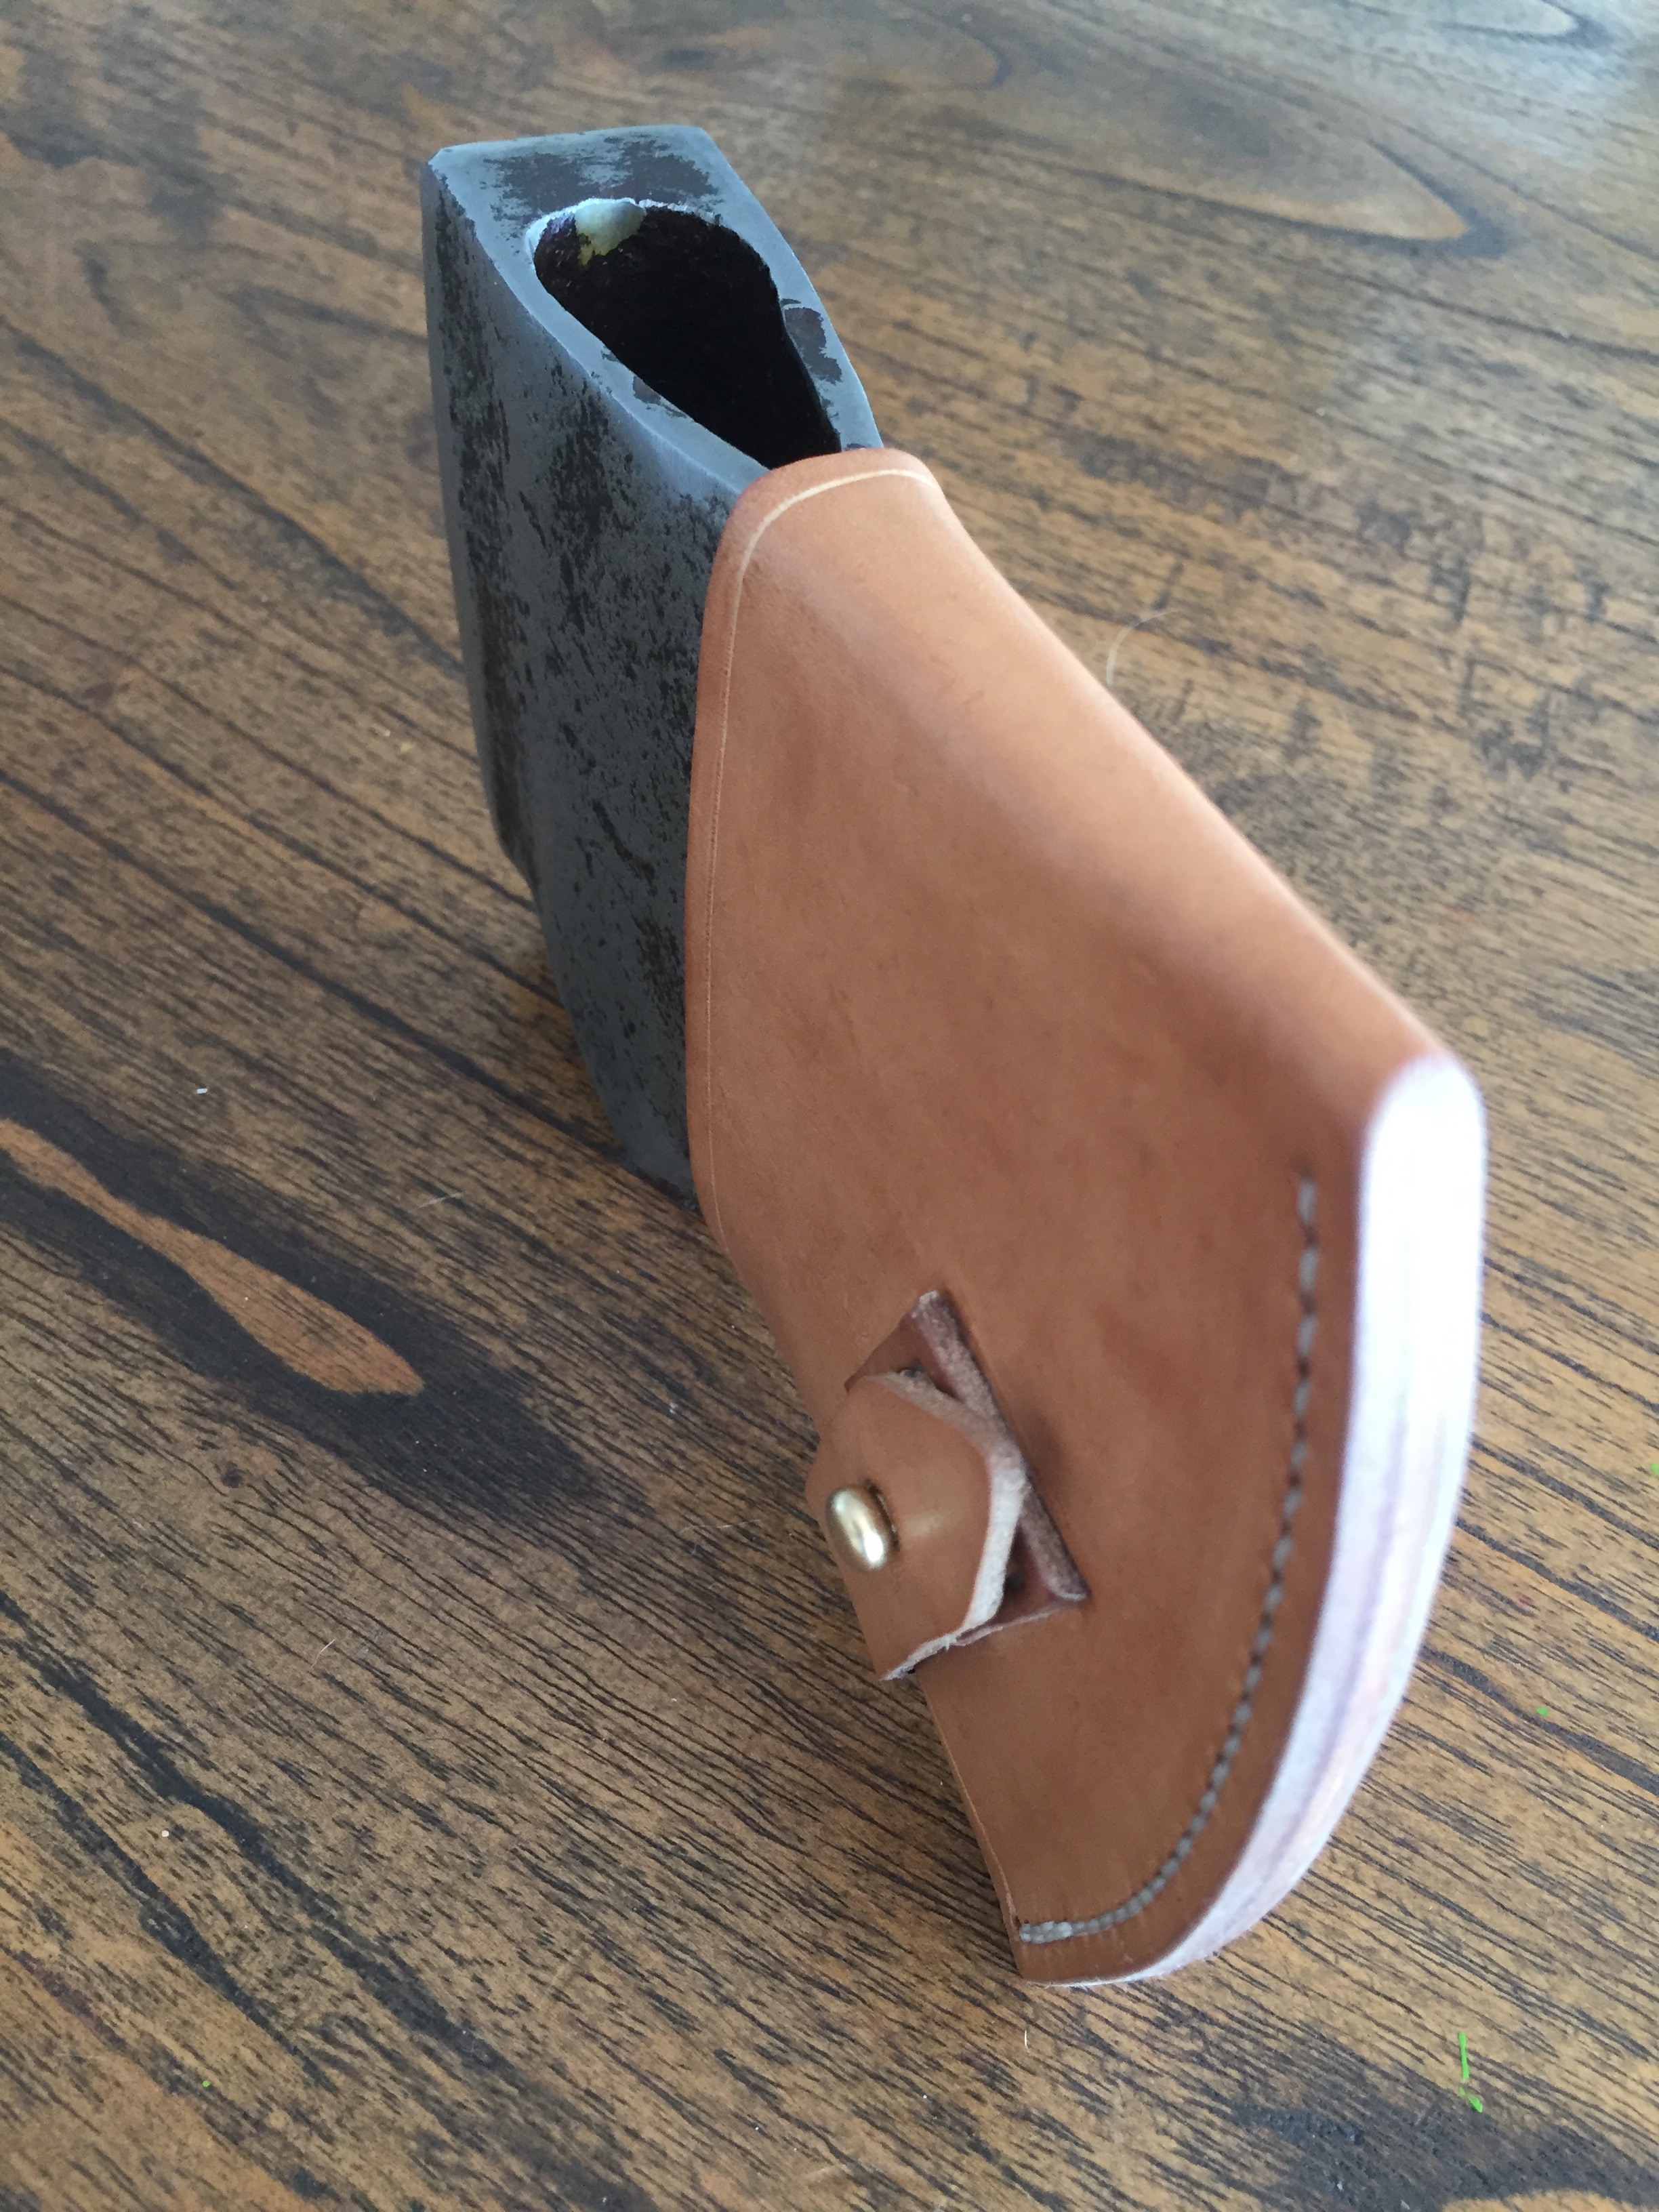
Well done Josh!! Finishing up the edges nicely makes a big difference in the overall look of a project. Did you make a stitching horse for yourself?I finally tried sewing leather. And I used welt construction for the first time. I purposely made it really snug. It barely fits but that's exactly what I wanted!
I also have never burnished the edges either. I used water and the round part of an old file handle. Then I went over it with wax. It was a very simple sheath which is why I decided to try something new. I'm Happy with it!
Being my first time stitching I didn't know I needed one. But after pinching it between my knees while sewing I can see the advantage of having one! That makes your legs cramp in weird places after awhile!Well done Josh!! Finishing up the edges nicely makes a big difference in the overall look of a project. Did you make a stitching horse for yourself?


For sure! A chisel shaped stitching iron to punch your holes is preferable and you can only get your girlfriend to hold the thing for you so many times.Being my first time stitching I didn't know I needed one. But after pinching it between my knees while sewing I can see the advantage of having one! That makes your legs cramp in weird places after awhile!
I used a small dremel drill press for the holes. I need to get a few more items now that I'm doing something new.
Do you use wax for the edges? If so what brand if you don't mind sharing?
Just do 4-6” at a time to get it in the sweet spot while it’s still wet.To prep the edge before painting I’ll moisten the edge just a little with water and shape it with wood.
Real nice work! What’s the formed leather project behind it? Earbud case?
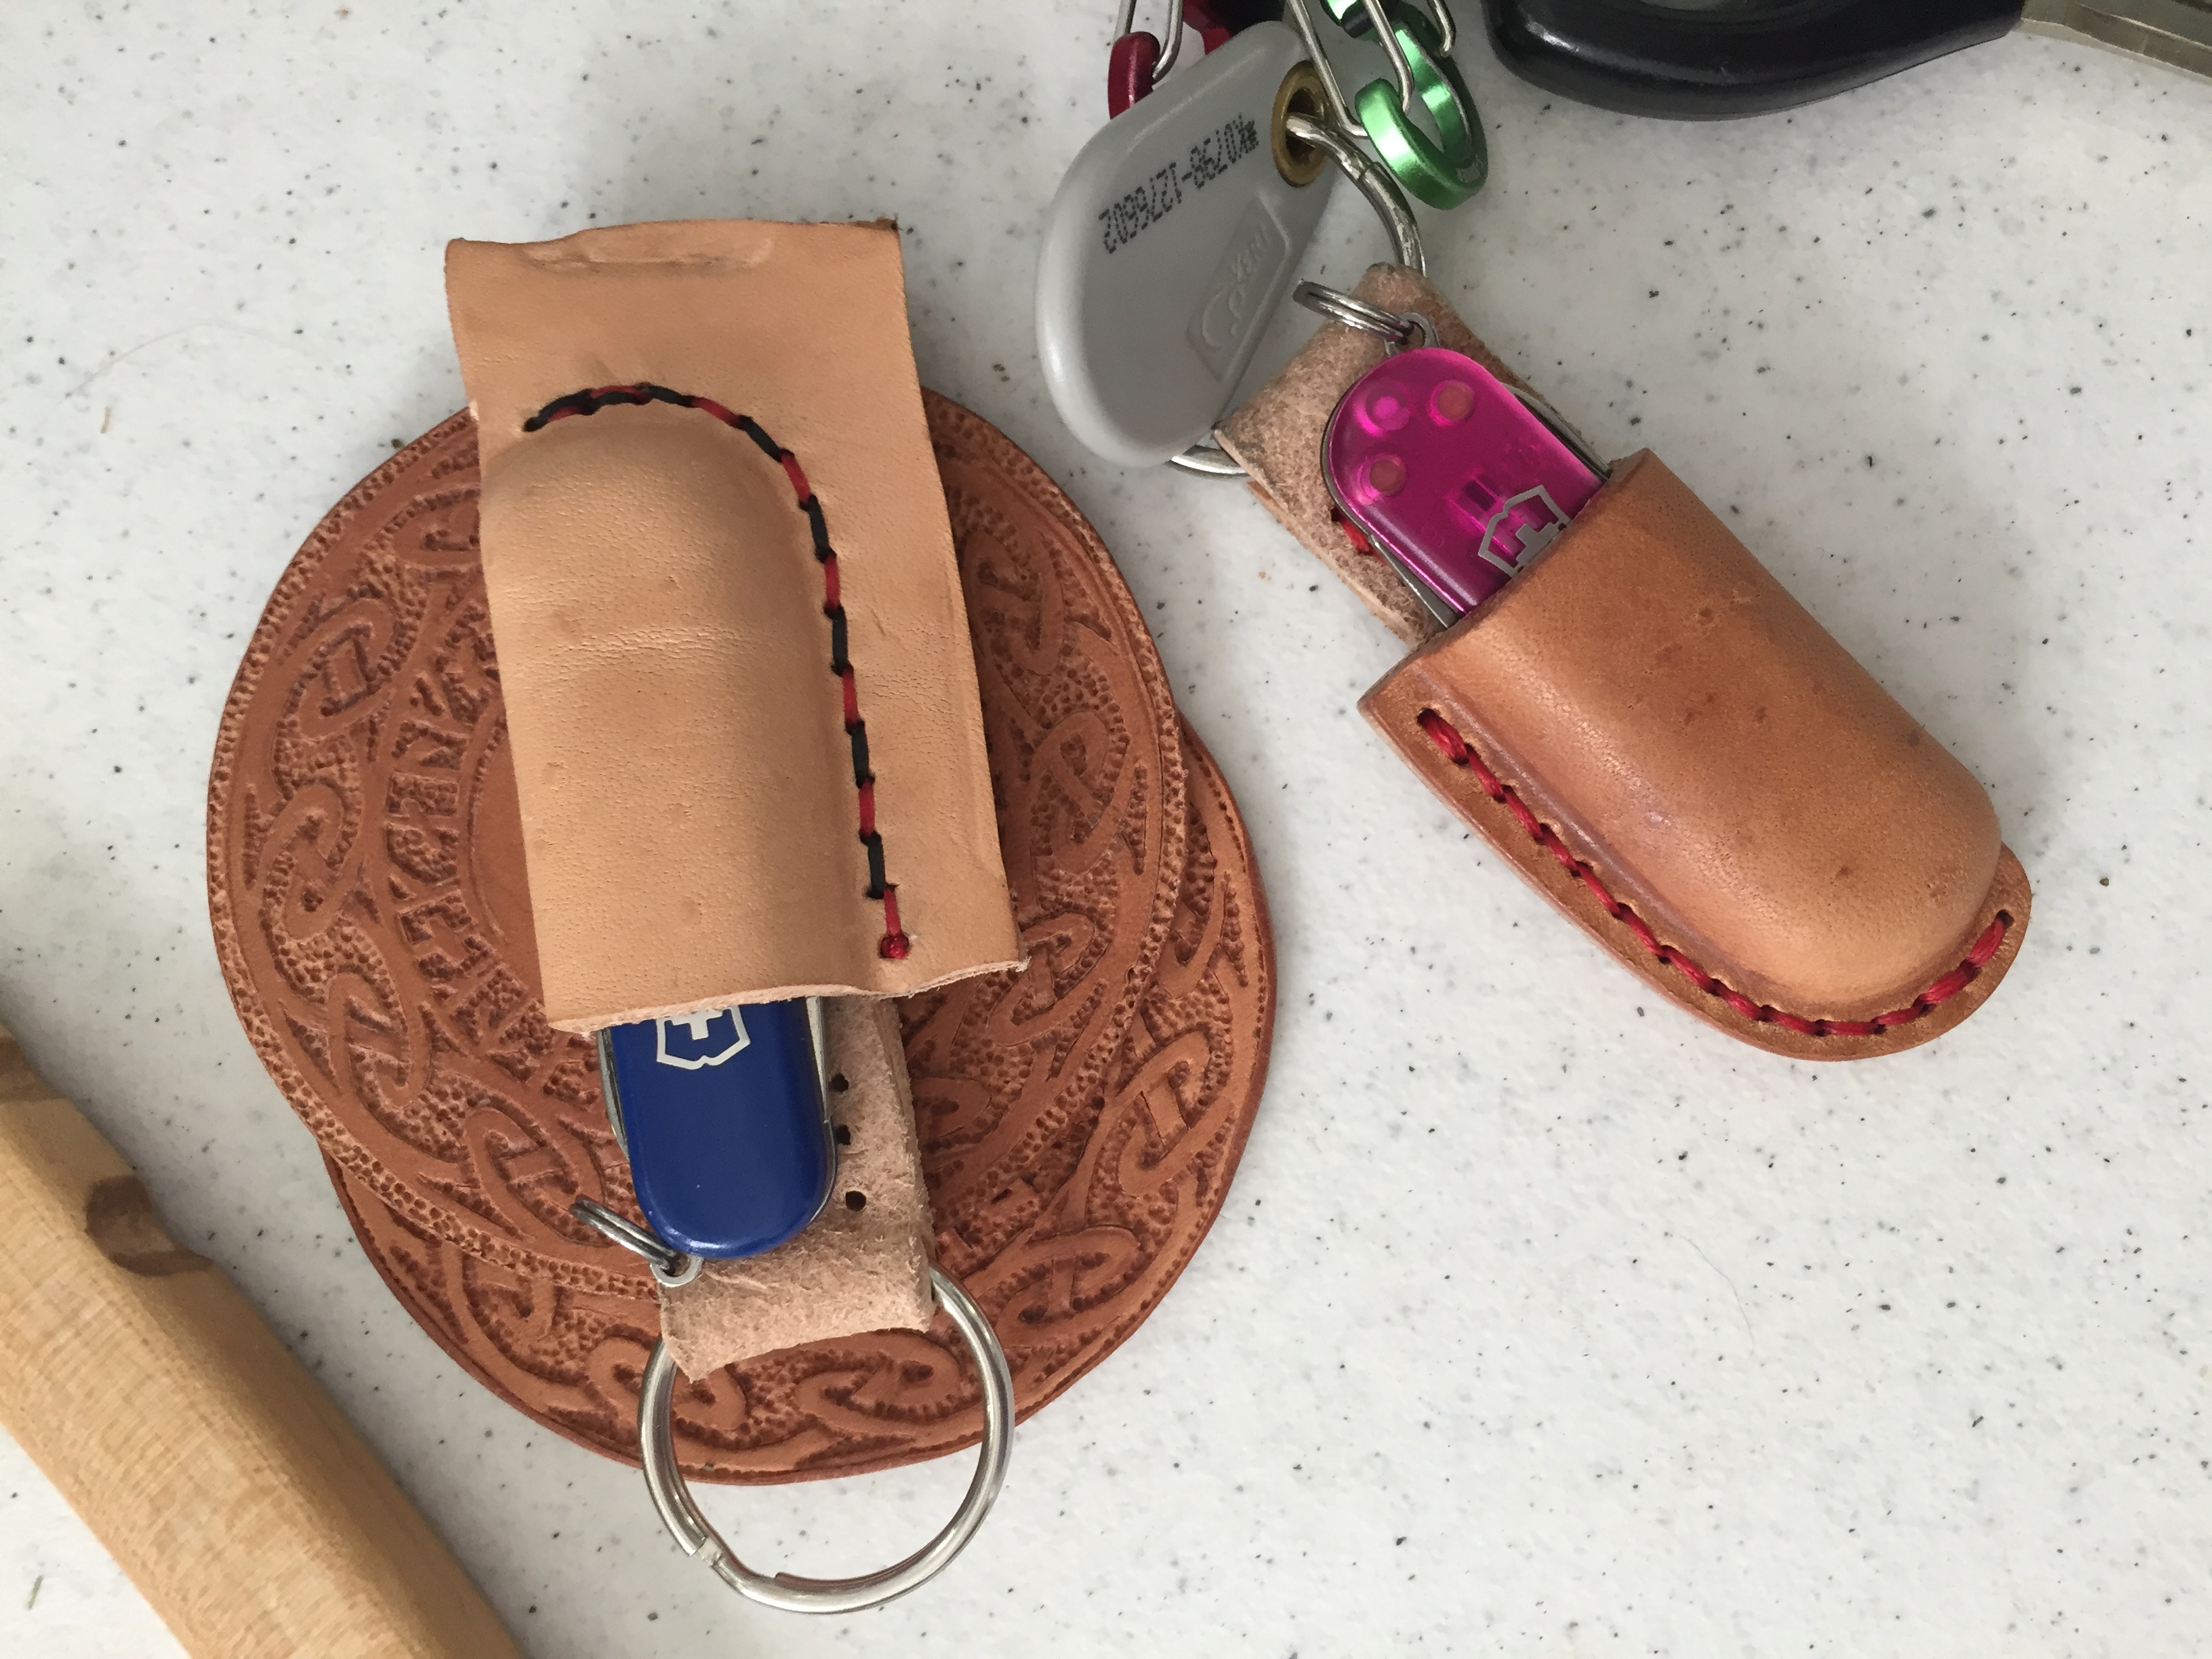
Thank you for the kind words! That is a cool little design and your stamping work there is quite sharp. That’s some tough seeding in there.Thank you! The formed piece is a keychain slip for a Vic Classic. I've been making a slew of them to give to friends and family for the Holidays this year. Stocking Stuffers. Here's a finished one I did for my wife. She was the test subject and she likes it. I am doing a few now with a vinegaroon black which looks pretty sharp.
Also wanted to add that I find your work inspiring. You make some fine stuff! Thanks again for your kind words!


