Making a pouch sheath - Apprentice Thread.

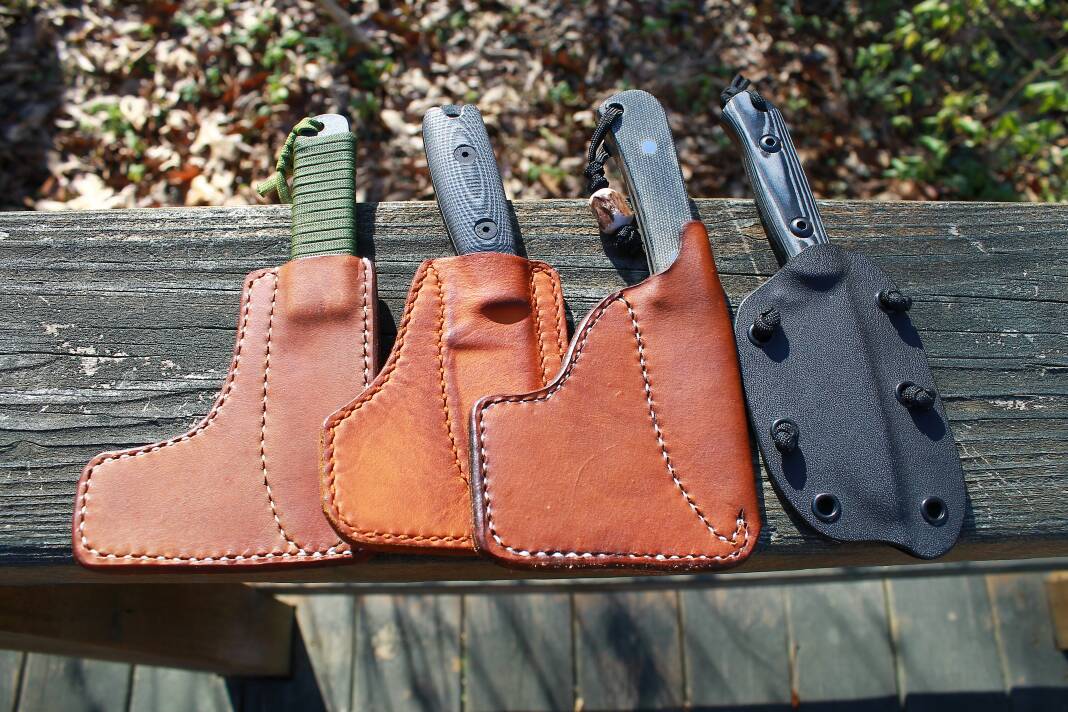
I am keeping this awesome thread alive!

I made a sheath for my W.A. Surls Arowana. Every time I got forgot what to do or messed up, I would go back and reference this thread. I should have just read it again before starting and saved myself some trouble.

This was the first time I included this style of belt loop.

464E48B1-9B7C-41D2-810D-17564D51EC96_zpsp0gszjzz.jpg


AD2A0C05-F86C-4691-96CF-233B4FFAABBA_zpsc4slbwgh.jpg


6C8AC818-F0CC-4E03-8298-BB8F633DA21F_zpsfq8aqb0v.jpg


99F659D0-971D-4511-B85D-810840B6F74A_zpsnoqox8qn.jpg


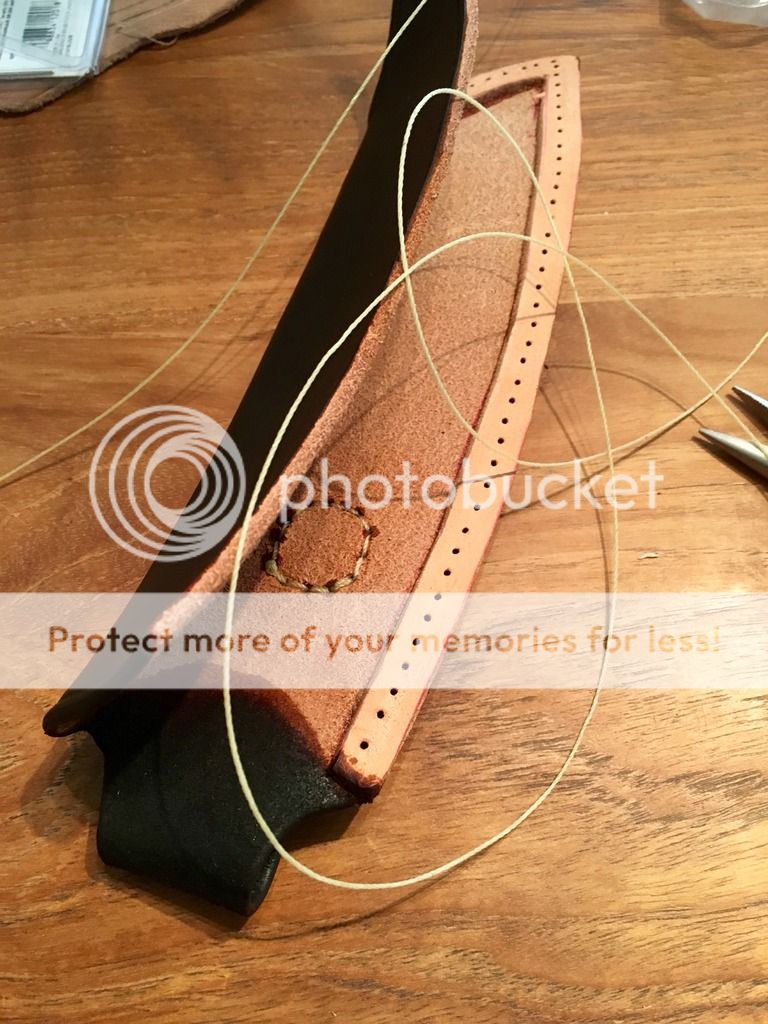
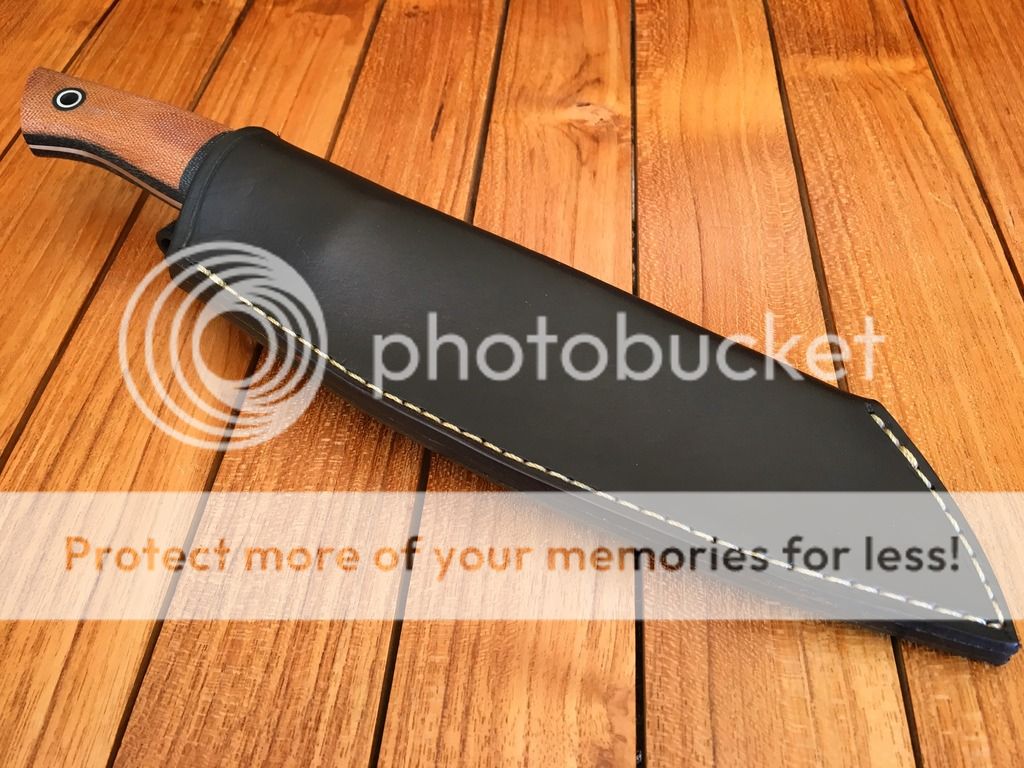
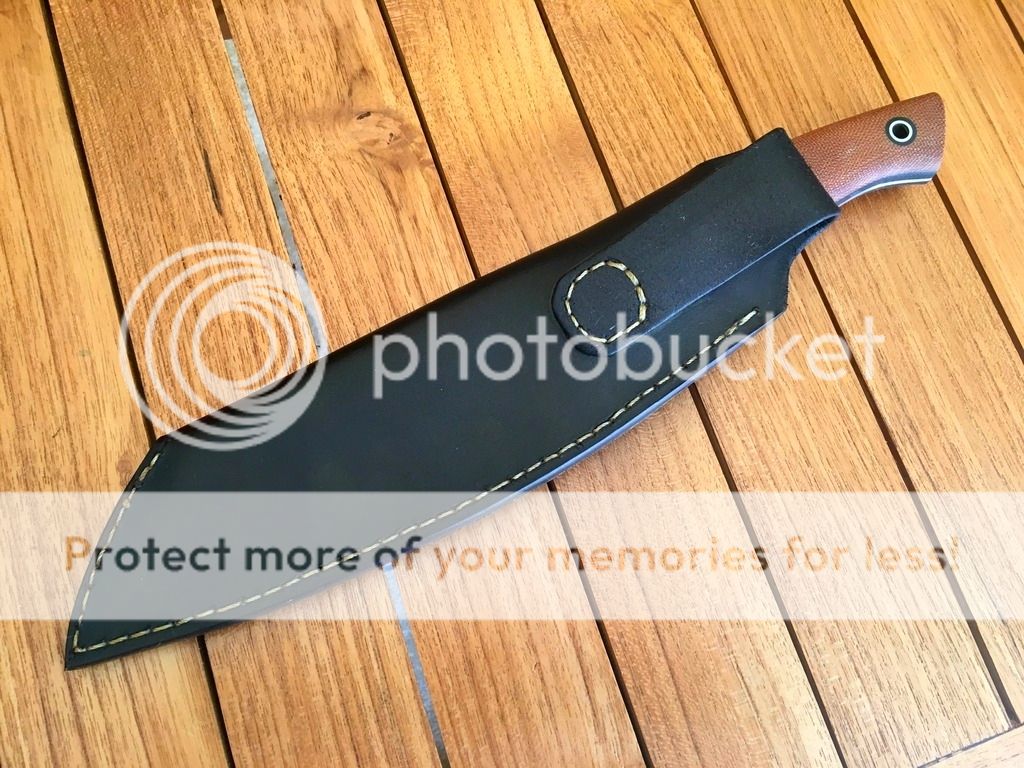
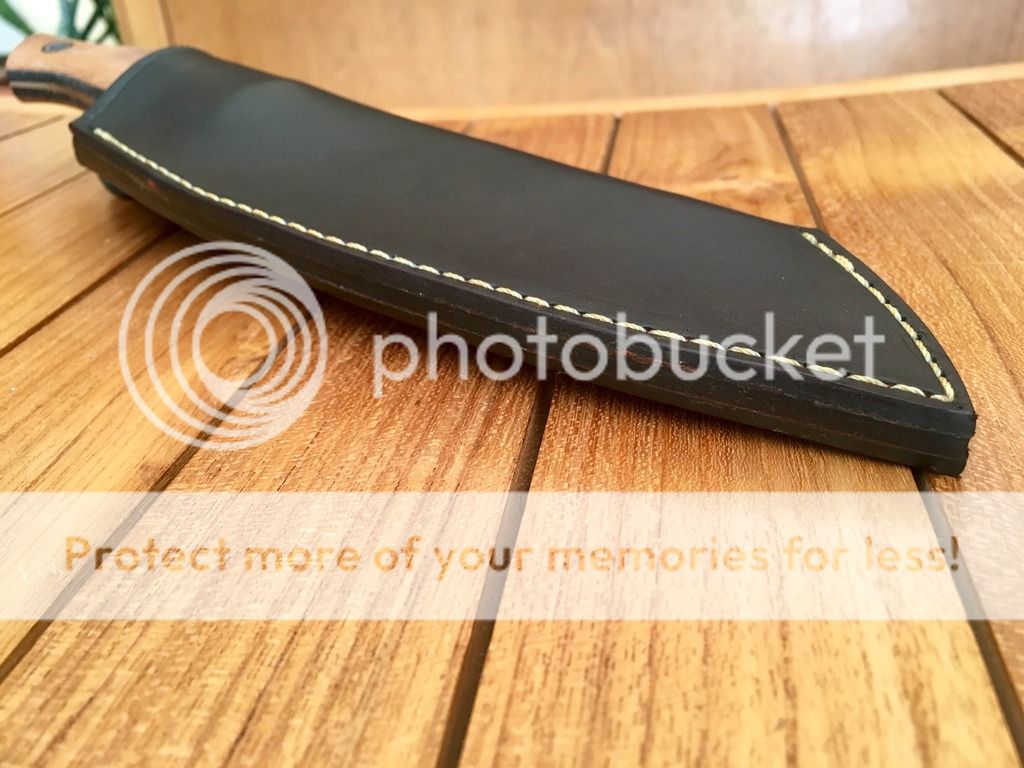
By pure luck, the retention turned out really good.


5139F83A-4AFD-4EBA-8295-161763050254_zpsxuqgldda.jpg


Any tips on how to improve would be greatly appreciated!!!
 
I just stumbled across this thread for the first time today. I have tried making sheaths before, but they weren't very attractive sheaths. Here is one I put together tonight. It isn't a pouch sheath. It is a pocket sheath. The information in this thread was extremely helpful. This was a bit of a rushed project(as you can see by the stitching). All the holes for the stitching were eyeballed and no measurements were taken. Overall I'm pretty happy with it. It fits my patch perfectly!

 
Awesome job Tod!! That came out great. :thumbup:

Thank you Jim!!

I just stumbled across this thread for the first time today. I have tried making sheaths before, but they weren't very attractive sheaths. Here is one I put together tonight. It isn't a pouch sheath. It is a pocket sheath. The information in this thread was extremely helpful. This was a bit of a rushed project(as you can see by the stitching). All the holes for the stitching were eyeballed and no measurements were taken. Overall I'm pretty happy with it. It fits my patch perfectly!

That's a cool looking pocket sheath Bali-flipper!! I was hoping that some folks who hadn't seen the thread would find it as useful as I have.

Beautiful Job Tod. Loved your review on this knife too. This is another one to add to the list. :)

Thanks Brian! And thanks for posting the link on carving the bear in the carvings thread. Yours are looking sweet!
 
Hasco,

That is DAMNED nice.

If you want to re-edge that sheath you can. Here is my suggestion. Sand paper (I use a belt sander) at 120 grit to get everything even. Then change over to 220 grit. Sand it smooth and get it shaped right.

Then add a little water to just the edge. Sand it back to 400 grit and burnish it a little with a bit of antler or hard smooth wood. Not too much at this point. Add some dye to your edge to make it look right and wipe off the excess. Let it dry for a few and then use your bone again to make it smooth and SUPER shiny. It will take a nice burnish at this point. When you get it right - let it dry. Then, use a little bees wax rub it on the edge. Use a bit of jeans or slightly rough cloth to give it another buff and polish. THe edge should be smooth and protected now.

But those are picking nits - yours looks amazing!

Jason
 
Those look great Menace! I carry my EDKarda in my back pocket everyday. Wouldn't have it any other way.
 
Hasco,

That is DAMNED nice.

If you want to re-edge that sheath you can. Here is my suggestion. Sand paper (I use a belt sander) at 120 grit to get everything even. Then change over to 220 grit. Sand it smooth and get it shaped right.

Then add a little water to just the edge. Sand it back to 400 grit and burnish it a little with a bit of antler or hard smooth wood. Not too much at this point. Add some dye to your edge to make it look right and wipe off the excess. Let it dry for a few and then use your bone again to make it smooth and SUPER shiny. It will take a nice burnish at this point. When you get it right - let it dry. Then, use a little bees wax rub it on the edge. Use a bit of jeans or slightly rough cloth to give it another buff and polish. THe edge should be smooth and protected now.

But those are picking nits - yours looks amazing!

Jason

Jason,

That is really helpful! I will give it a try. I know this thread and the videos took a lot of effort and I really appreciate all the work you put into and the advice you continue to give.

Thanks so much!

Tod
 
No worries, Brother.

In my garage I have a Rigid 4 inch belt sander that is made for wood. I use a 120 grit and simply shape it like I want. Switch the belt to 220 and finish it off. Move it often or it will burn rapidly. A little burning is good (the burn part of burnishing) but a lot of burning is bad. If you have scrap leather - try that out first.

Get it all even and smooth and dampen the edge - switch to hand sanding - clean it - and see where you are at. Dampen and switch to a burnisher. You will be surprised how amazing it can look with a little effort.

Jason
 
Thanks so much for this. I'm about to take a stab at first sheath for my first knife. Hopefully I'll make a better job of the sheath than the knife! Learned a lot of lessons for my second knife, though, and I guess the same will probably go for its sheath ;-)
 
Okay. So I've just watched Part A (first 40 minutes) of your videos, and I feel like I need to stop in and say thanks again :) I've soaked up a fair bit of Youtube content since I started dipping my toes into this knife making business, but so far you're an absolute stand-out. I really appreciate the way that I'm constantly seeing what your hands are doing. A lot of videos are high on talk and low on action, or vice versa, but you've struck a good balance (especially with regard to casual, yet informative, chatting when the action slows down). For someone like me, who's learning all this stuff from books, websites and videos, this is exactly the kind of resource I need. And the background noise with your kids meshed perfectly with the background noise from mine ;-) Ta.
 
Is there a place or site where I can go to see the picts so I can follow along with the how to?
 
Sorry brother - Photobucket changed their policies and now charge 100 a year just to host photo's.

Jason
 
Back
Top