TxSportsman
Gold Member
- Joined
- Feb 7, 2014
- Messages
- 1,680
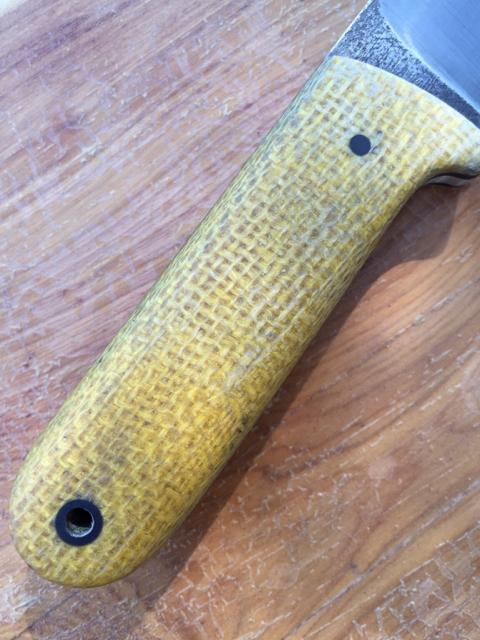
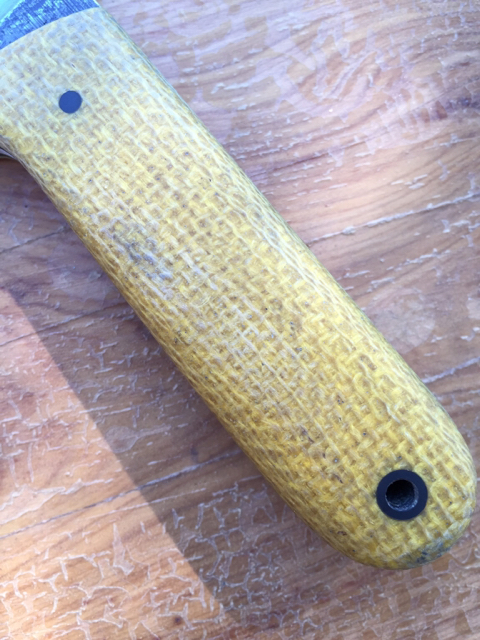
I figured this would be the best place to post this question. I picked up a knife from another maker recently in shadetree burlap. I really dig the knife but the handle seems to need a little more finishing (I'm used to the Fiddleback perfection I guess). The scales have a little black dye from sitting in the sheath and they just aren't as finished or as shinny as I am accustomed to. I don't need any trade secrets here but a little help would be greatly appreciated. I will be hand sanding so maybe a little grit progression and then what is used to finish? I have been really eager to try my hand at anything knife and I know it's a stretch, but hopefully this is just the thing to get me into going a little further. Thanks in advance.


")