Horsewright
Knifemaker / Craftsman / Service Provider
- Joined
- Oct 4, 2011
- Messages
- 13,985
I'd had a couple of requests about more info on how I build Pancake Sheaths. I had one to build for a knife I'd already sold and the customer wanted this sheath instead of what came with it. Thought I'd pictorially document the steps I go through.

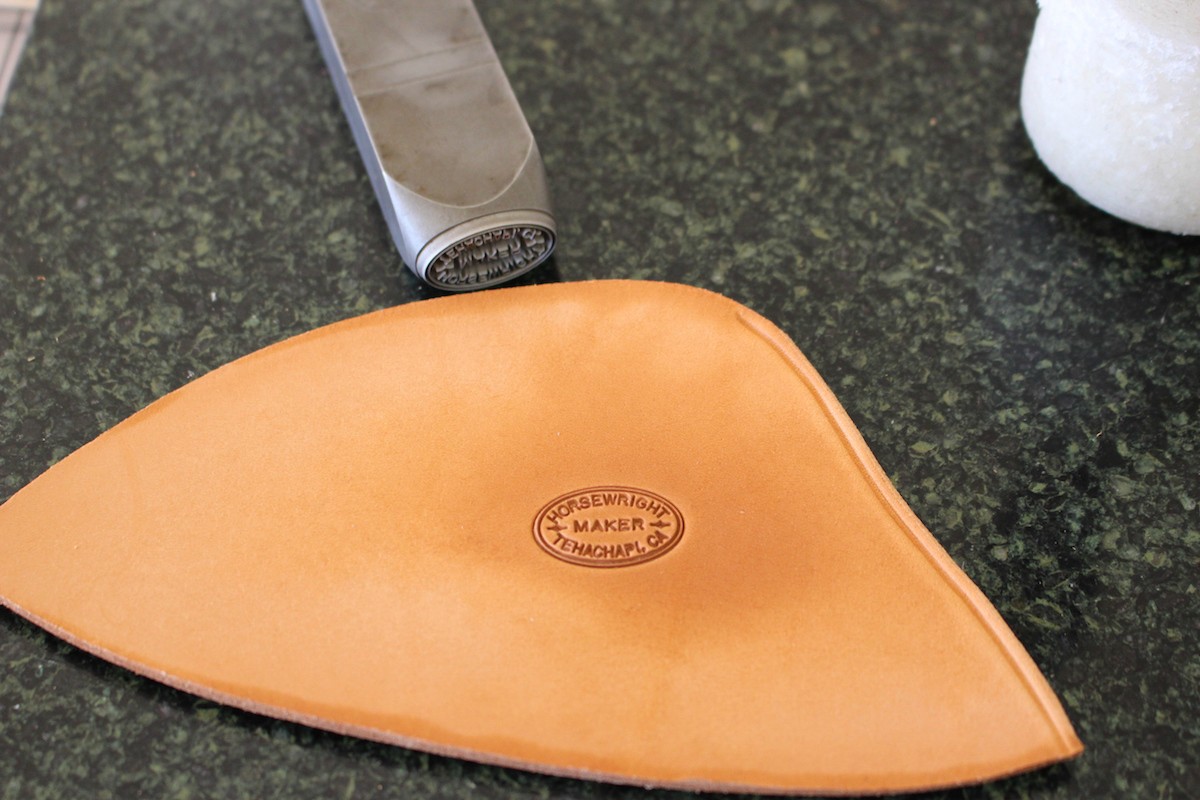
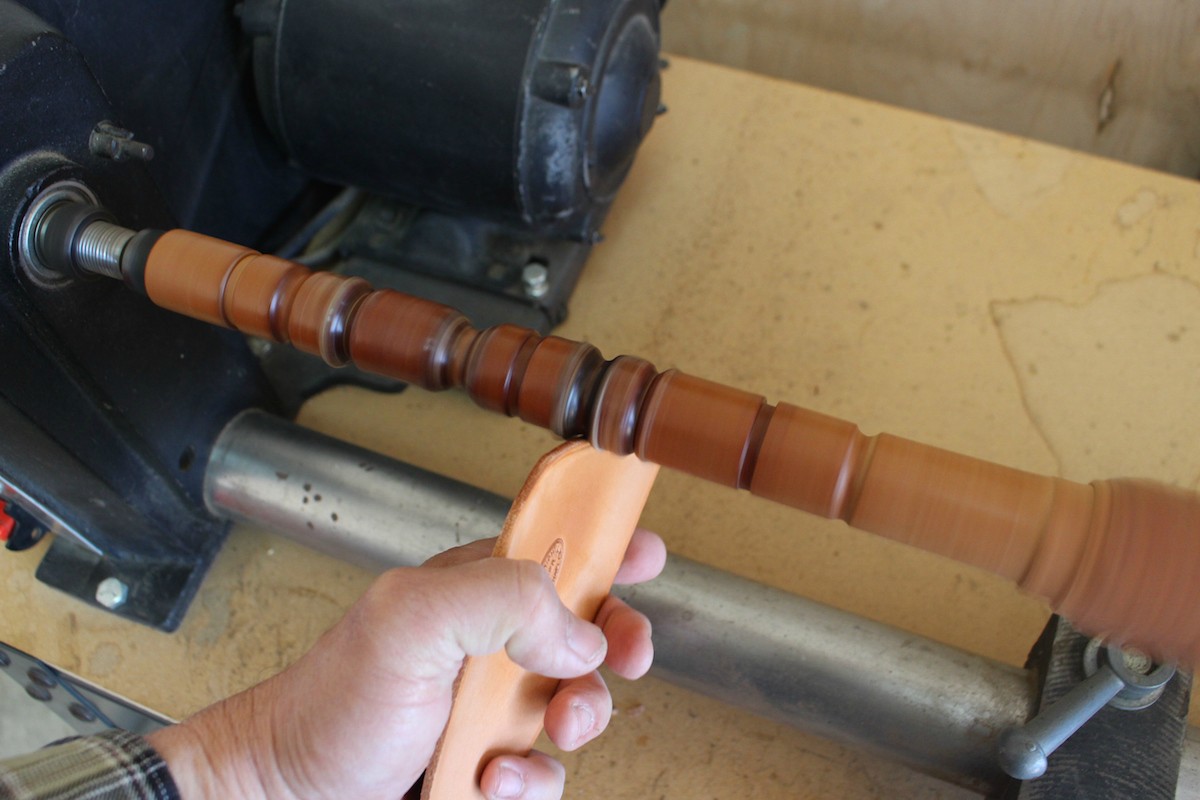
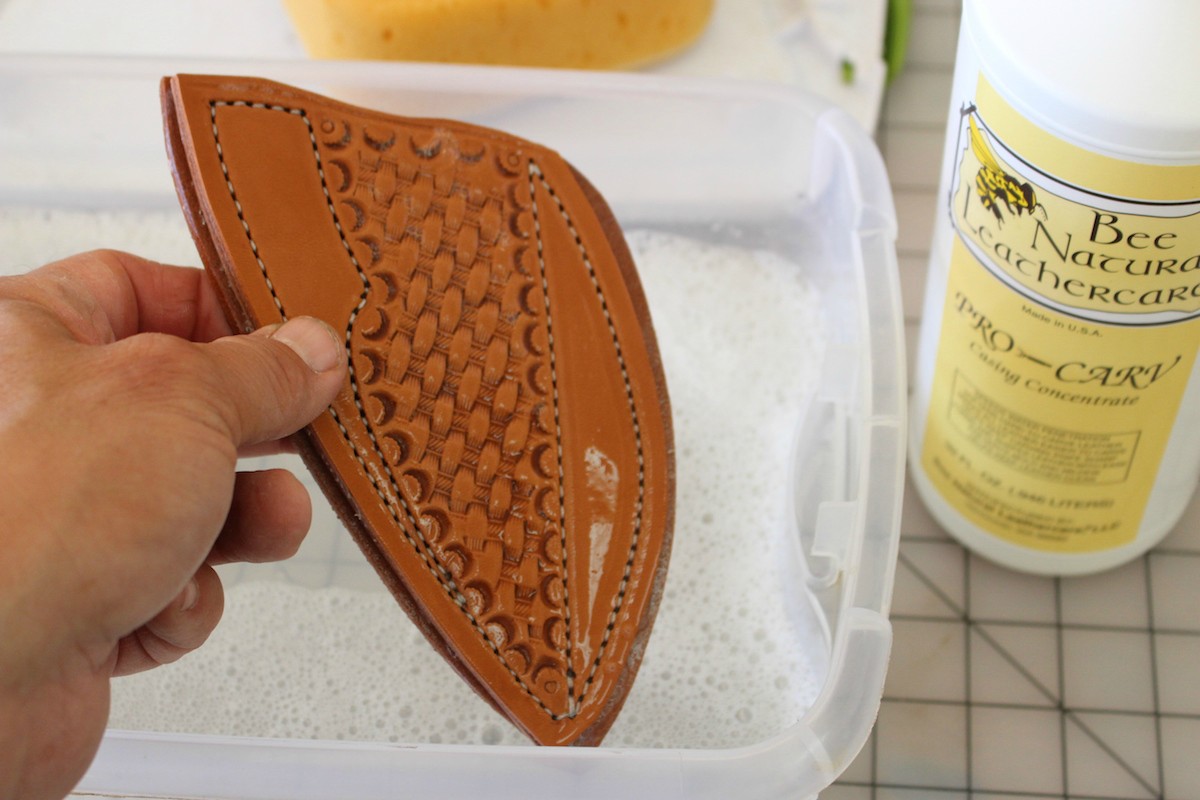
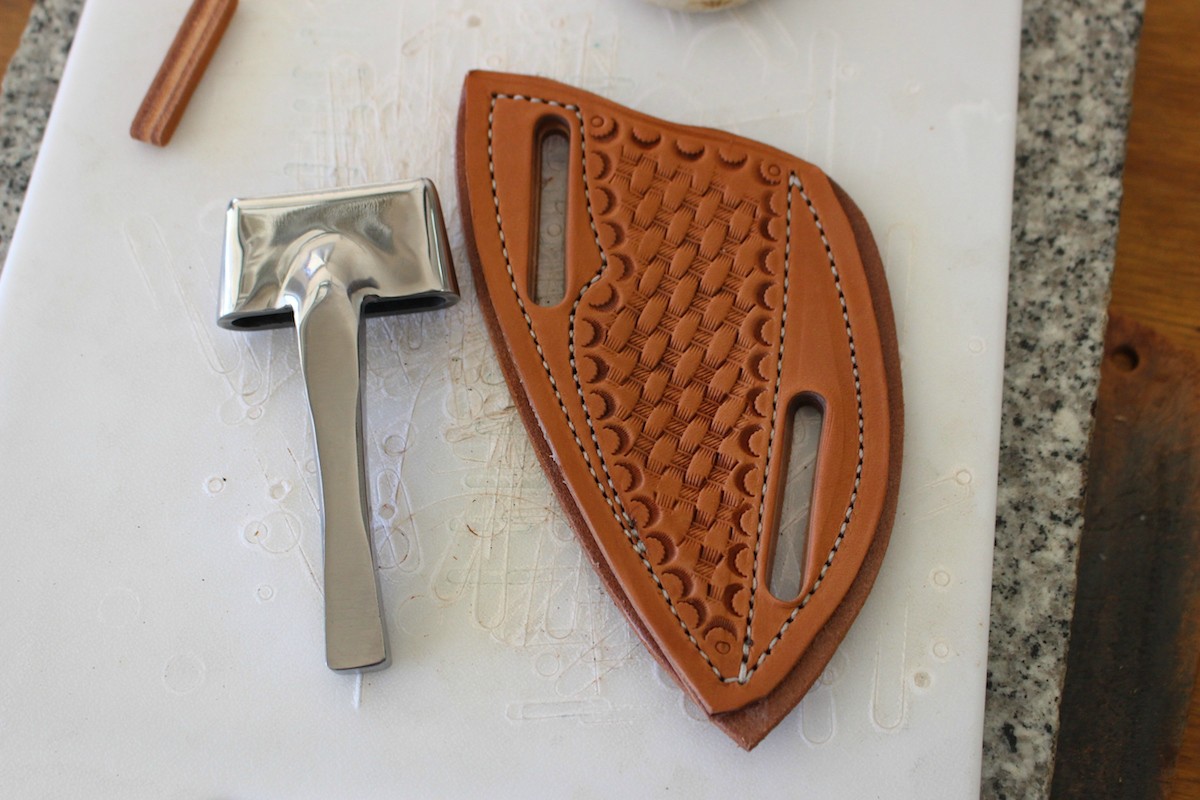
Here I've grabbed a front and a back from my stash of die cut sheath shapes. Leather is Herman Oak holster leather, 7/8 oz and the die cutting is done by Weaver. I've quickly dunked in my water bucket that has a solution of water and Pro Carv in it. This is really fast in and out. Now I'm allowing some of the color to come back. We will be making a right hand, crossdraw sheath to be worn above the left front pocket. I will post this and add as we go. I've been having trouble with everything that I've written going away when I go to get another pic. So you'll see a lot of edits.
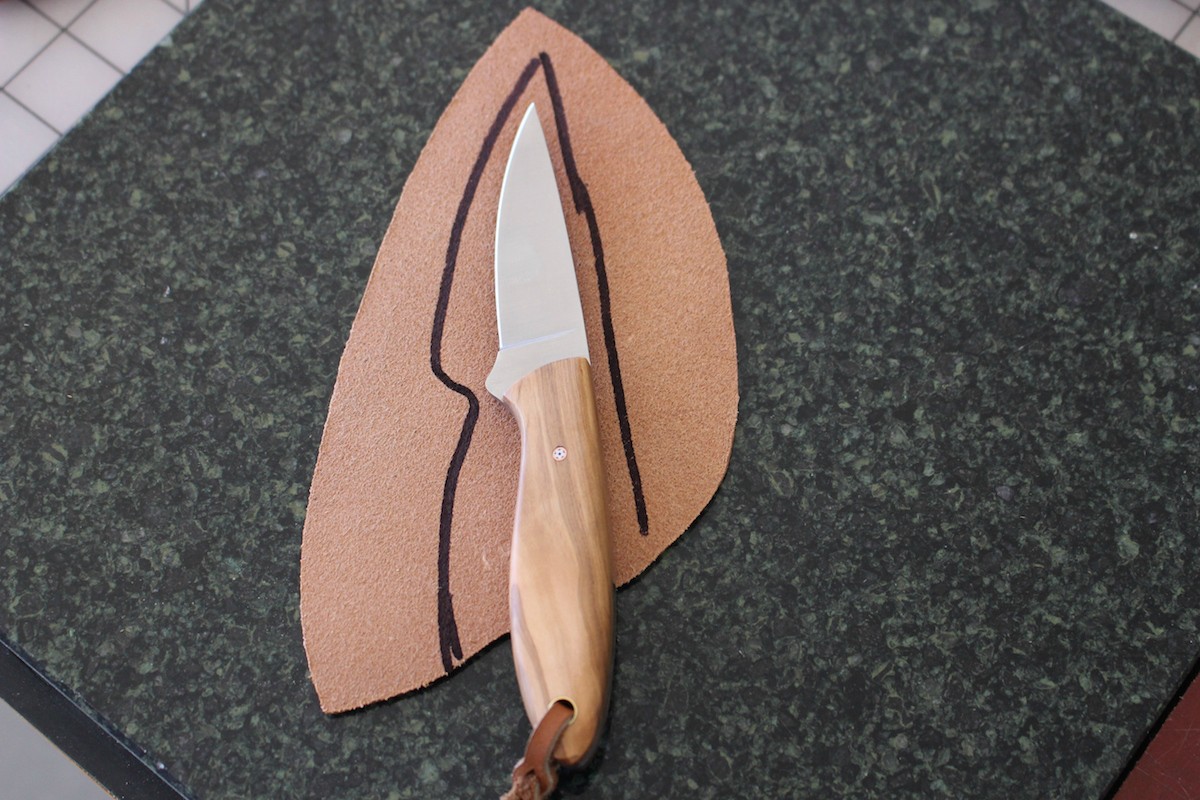
This is probably one of the most important steps and getting this right is vital for the fit and retention of the sheath. I mark with a Sharpie the basic outline of the knife with extra. This is going to be the pocket that the knife will sit in when the sheath is completed. Very important to get that finger guard and the point of the welt just right. That is the widest part of the blade and it has to slide past that welt when inserting the knife. About 3/8" clearance is what I'm looking for here.

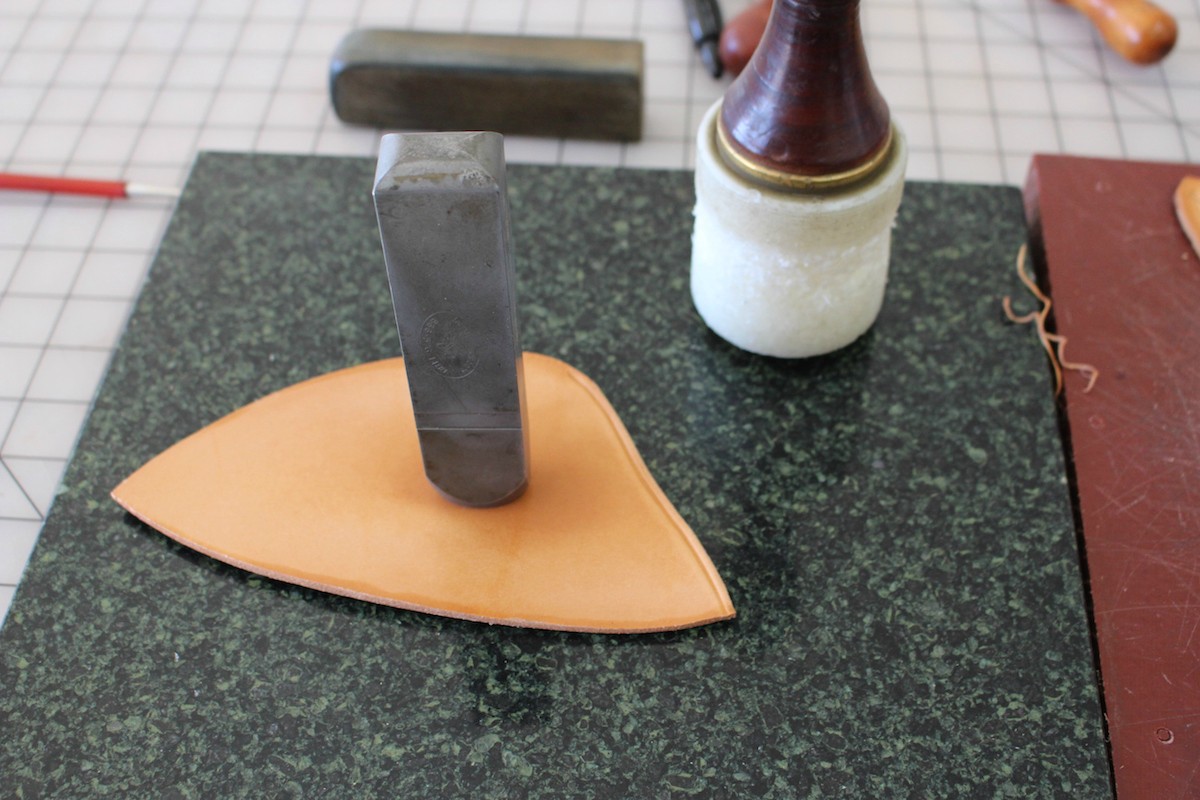
I take my pokey tool and scribe hard on the lines, 3 to 4 times. This transfers the line to the other side.

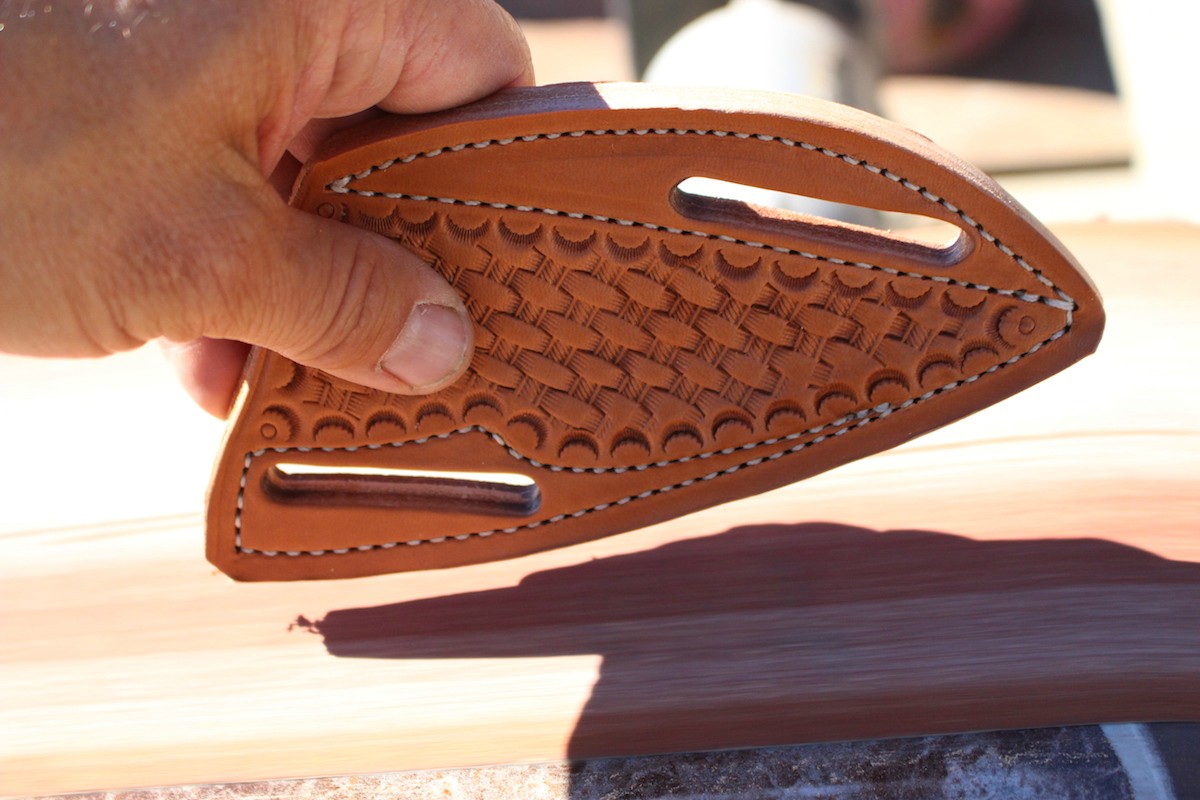
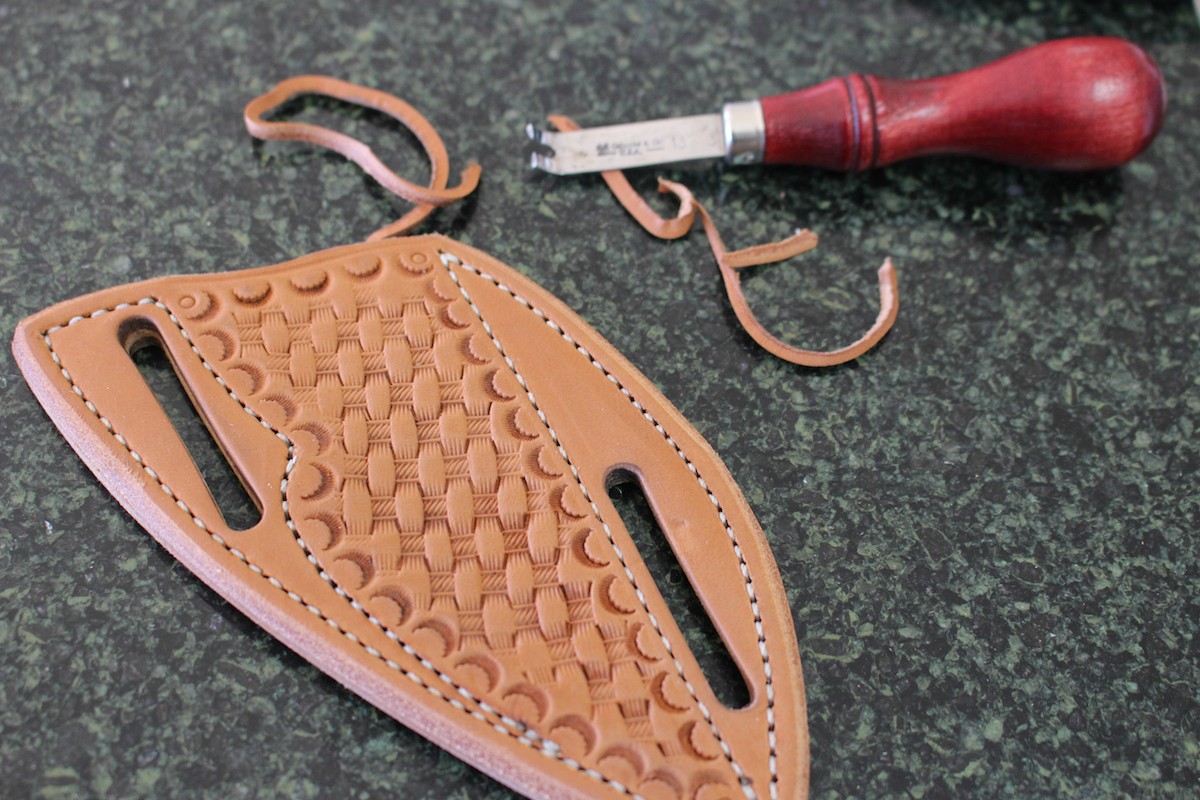
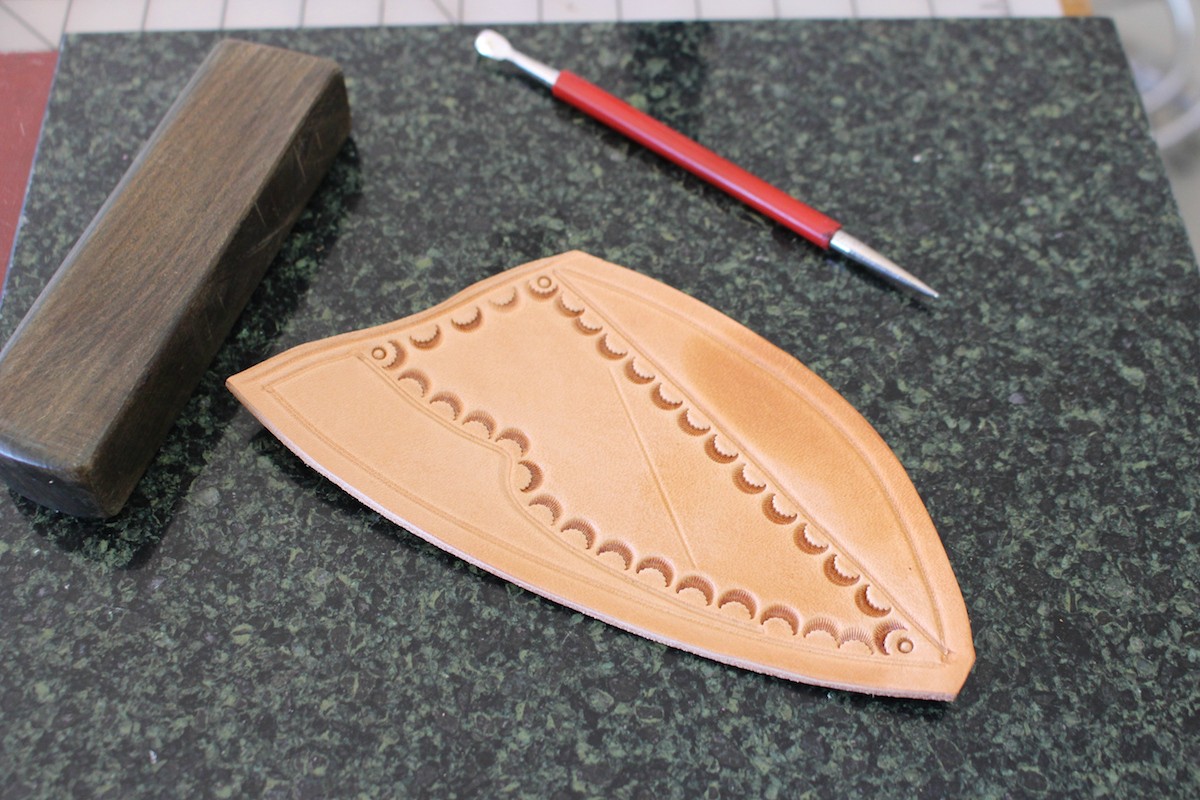
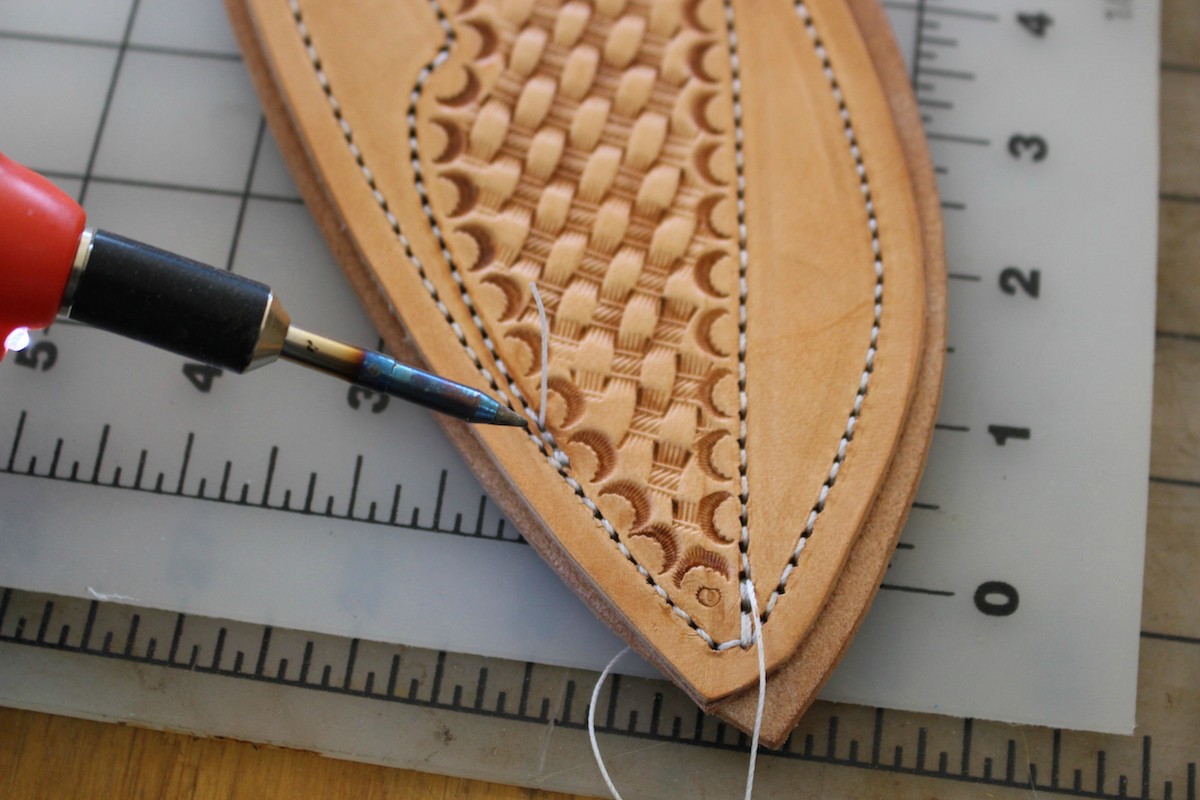
So here we see the lines on the front side of the sheath. These lines are how I base trimming to fit the sheath to the knife, (always looking to be as compact as possible). They also tell me where to put my stitching grooves.

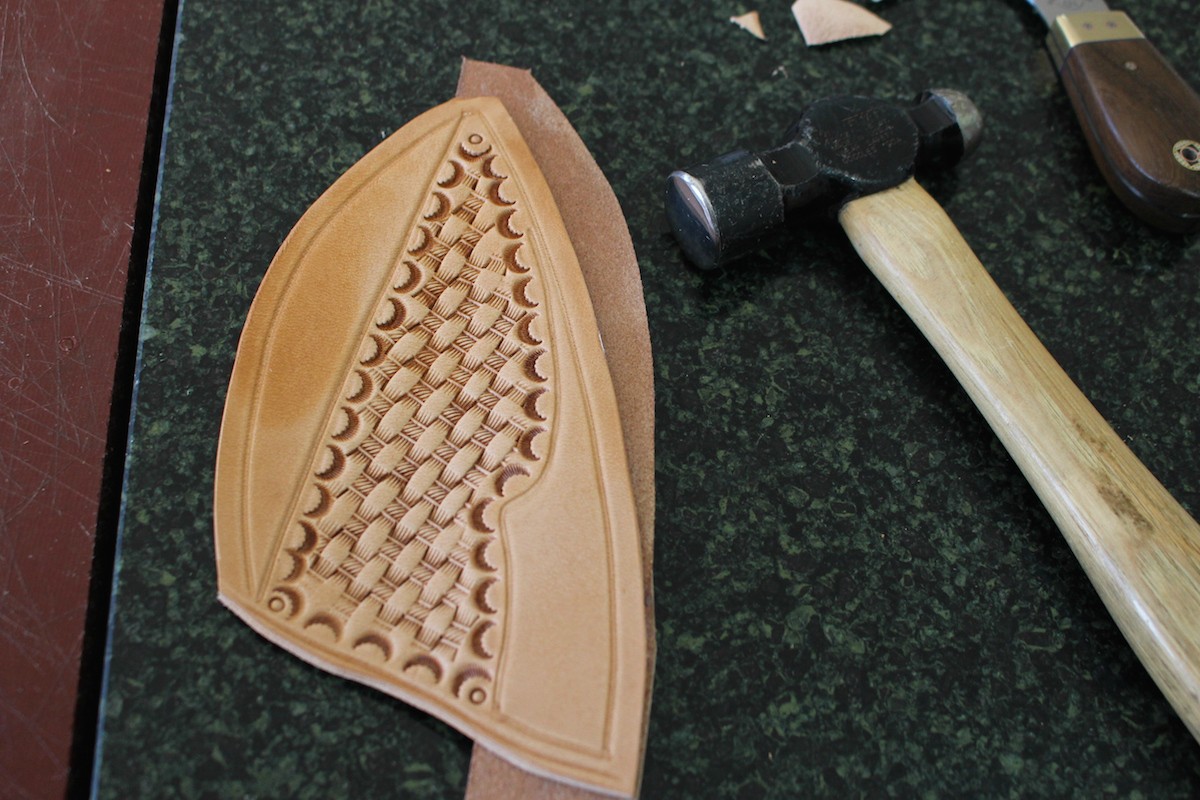
Here I'm using my roundknife to trim the excess off of the front of the sheath. I do this by eye and experience, lots of experience. I havn't always got it right but its been quite a while since I've screwed it up. The hazard here is not leaving enough room for your slots to fit in after you've done your stitching grooves.
Here I've grabbed a front and a back from my stash of die cut sheath shapes. Leather is Herman Oak holster leather, 7/8 oz and the die cutting is done by Weaver. I've quickly dunked in my water bucket that has a solution of water and Pro Carv in it. This is really fast in and out. Now I'm allowing some of the color to come back. We will be making a right hand, crossdraw sheath to be worn above the left front pocket. I will post this and add as we go. I've been having trouble with everything that I've written going away when I go to get another pic. So you'll see a lot of edits.
This is probably one of the most important steps and getting this right is vital for the fit and retention of the sheath. I mark with a Sharpie the basic outline of the knife with extra. This is going to be the pocket that the knife will sit in when the sheath is completed. Very important to get that finger guard and the point of the welt just right. That is the widest part of the blade and it has to slide past that welt when inserting the knife. About 3/8" clearance is what I'm looking for here.
I take my pokey tool and scribe hard on the lines, 3 to 4 times. This transfers the line to the other side.
So here we see the lines on the front side of the sheath. These lines are how I base trimming to fit the sheath to the knife, (always looking to be as compact as possible). They also tell me where to put my stitching grooves.
Here I'm using my roundknife to trim the excess off of the front of the sheath. I do this by eye and experience, lots of experience. I havn't always got it right but its been quite a while since I've screwed it up. The hazard here is not leaving enough room for your slots to fit in after you've done your stitching grooves.
Last edited:


")