Side Project Sabers -

2 of my favorite swords. They don't exactly scream finesse. The Bluchers Sabre supposedly received complaints from the opposing French officers. When I see a Basket-hilted Broadsword I imagine a charge of Scottish Highlanders armed with them & a spiked targe shield. Love the final fight scene in Rob Roy when he hacks down his opponent. BluchersSabre.jpg BaskethiltClaymore.jpg
 
Andy wanted me to post some pics of his bayonet. There is a bit of a learning curve to taking "good" pics of schwords. Im on the uphill climb, hopefully.
2v2JnQbsnxurAoi.jpg

2v2JnQb6yxurAoi.jpg

2v2JnQbbyxurAoi.jpg
 
I'm really looking forward to seeing what you create Andy! Such a cool project!
 
While Andy is grinding this week's knives John started to profile out the first sword
2v2JnbWwNxurAoi.jpg

2v2JnbWKFxurAoi.jpg

she's SPARKY...right in the FACE
2v2JnbgzyxurAoi.jpg
 
Don't you guys know anything? Everybody knows that old cavalry sabers were scandi ground and usually had a serrated spine and a blood groooove for optimum exsanguination... everything you read on the internet is true btw.
 
I'm looking forward to the point where you pull it out of the quench oil and it blows up into a huge ball of fire! Immediately followed by a few taps with a hammer that results in two swords of much shorter lengths....

Just kidding. Keep us posted!
 
LOL. We don´t have the facilities to ht the blade. Our oven is only 15" deep. These blades will be going out to Peters HT. I don´t imagine they will be impressed enough to post the process....
 
The worst thing that ever happened to someone wanting to learn to make and fight sabers is Star Wars. LOL. Just for kicks, google saber fighting...

BTW, It has been impossible for me to find, so far and I'm talking hours and hours here, patterns online for military sabers from the 18th and 19th century. Not interested in modern dress sabers. Extra credit to anyone that can find me a measured drawing for the English 1796 light cavalry saber, and the US 1860 saber.

Try getting hold of Matt Easting I think his name is who runs this site and the Scholagladiatora youtube channel. He has an extensive collection of European (including British) sabres and I am sure he would be glad to get those measurements and any photos and info you would need.

https://m.facebook.com/historicalfencing/

https://m.youtube.com/user/scholagladiatoria
 
Thank you Lapedog Lapedog I sent him a message. I don´t know why it took me so long to just bite down and do that...
 
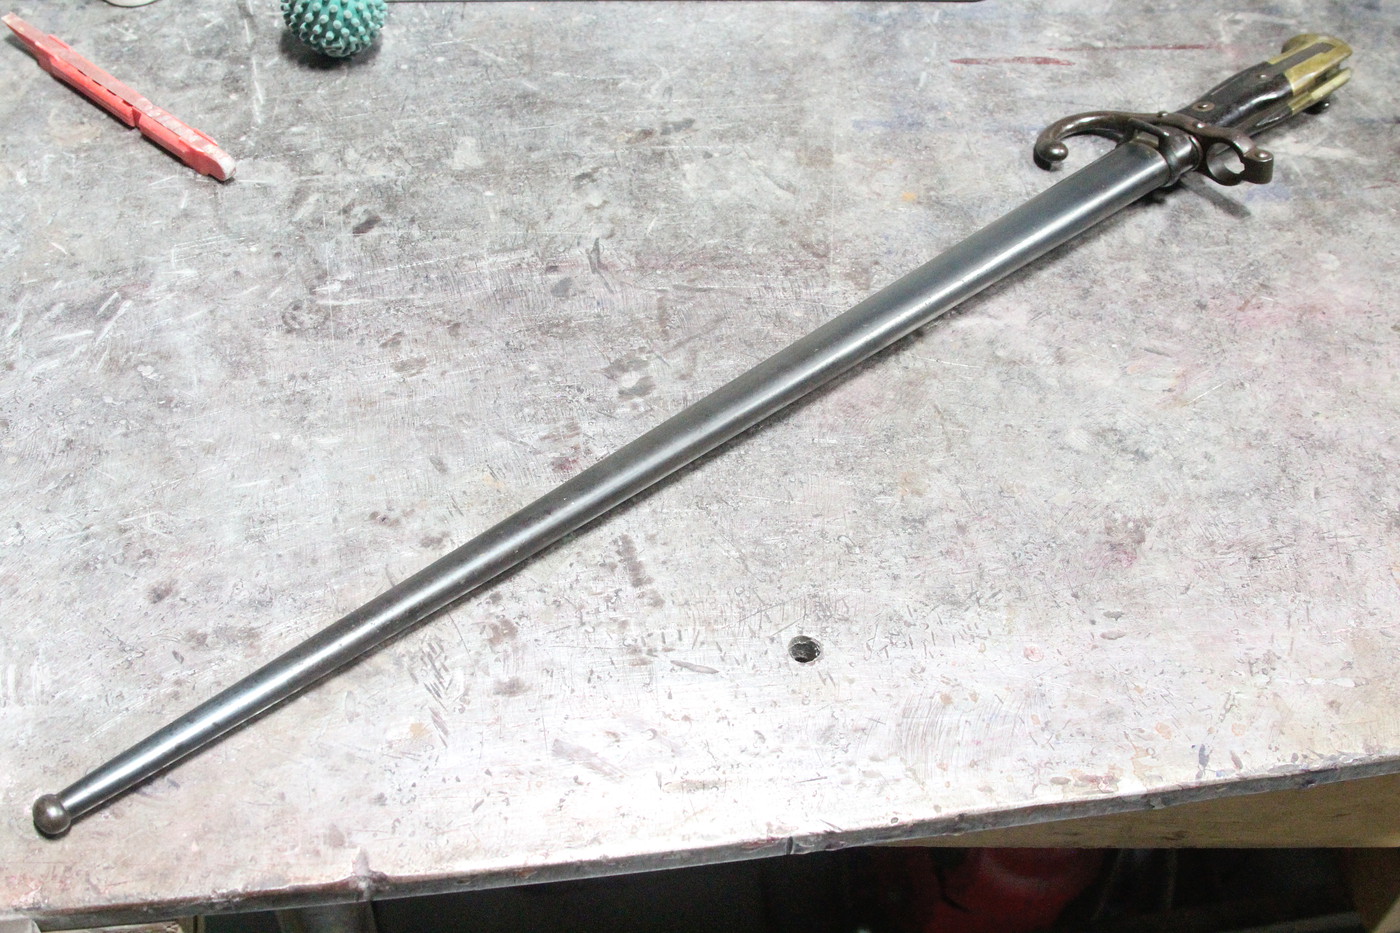
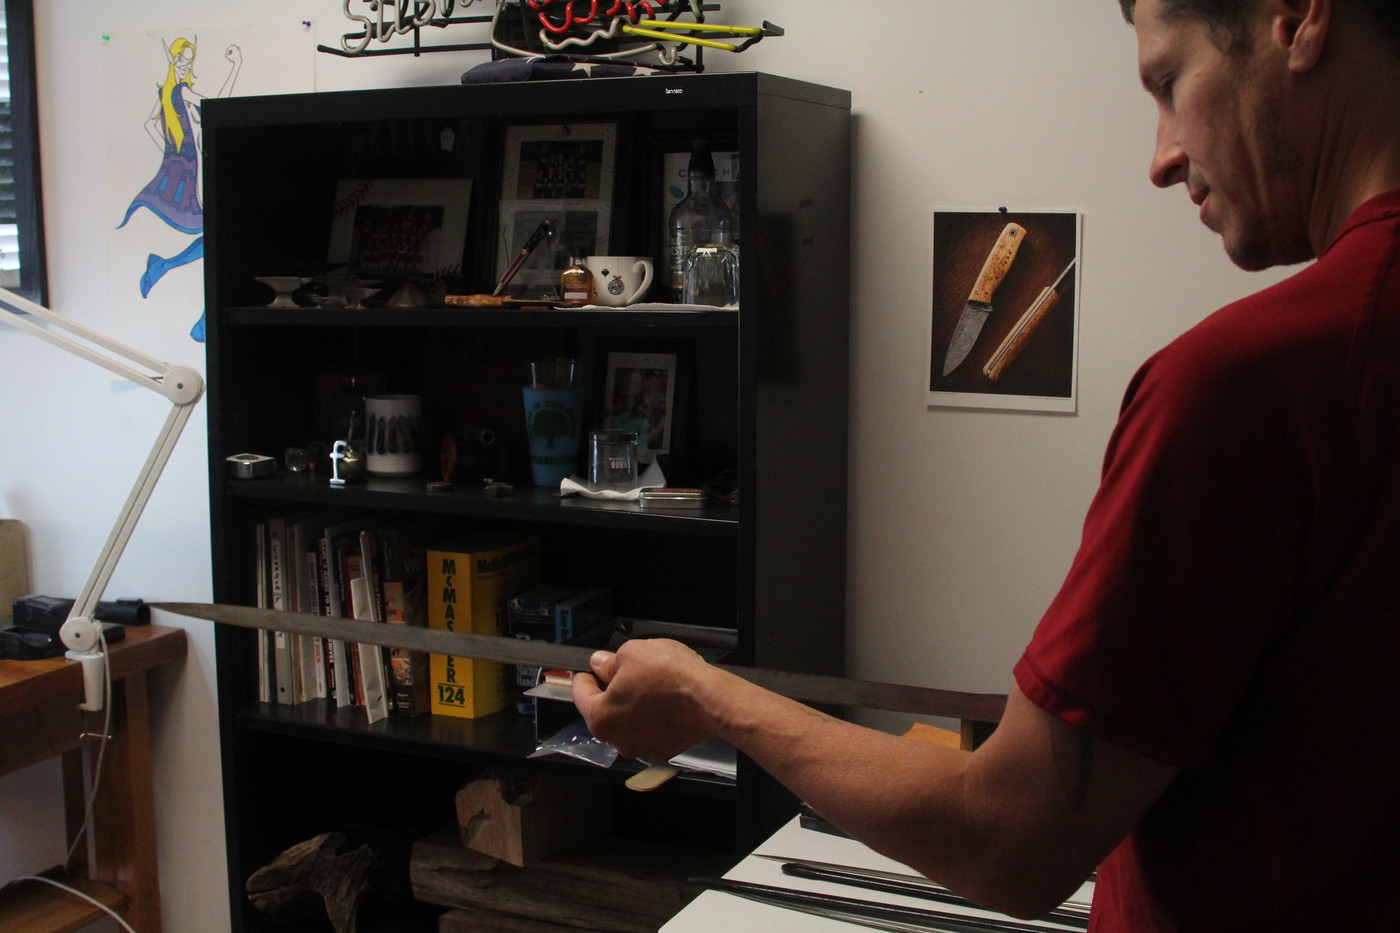
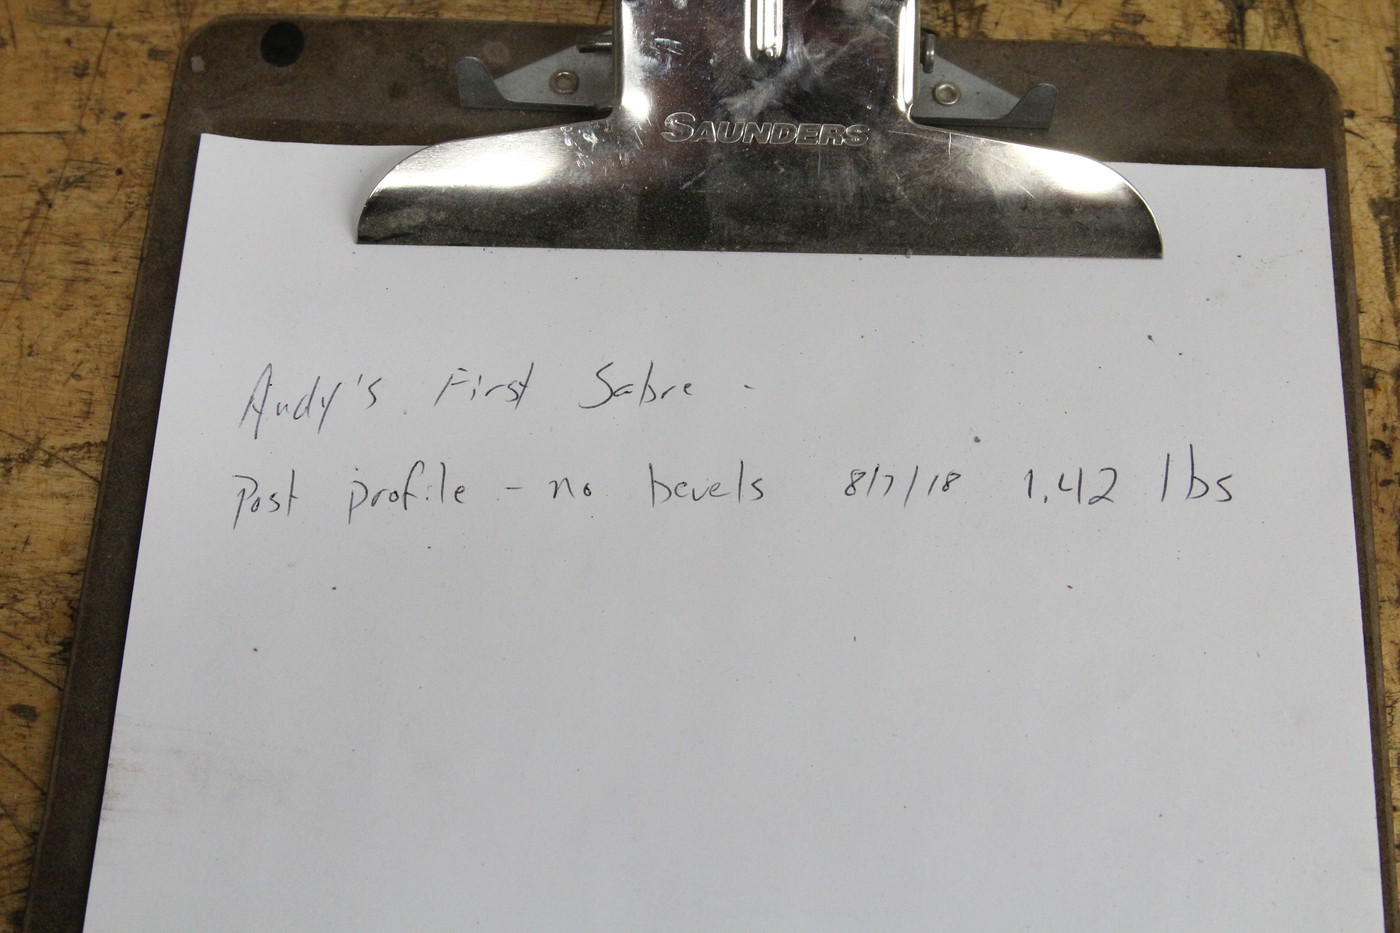
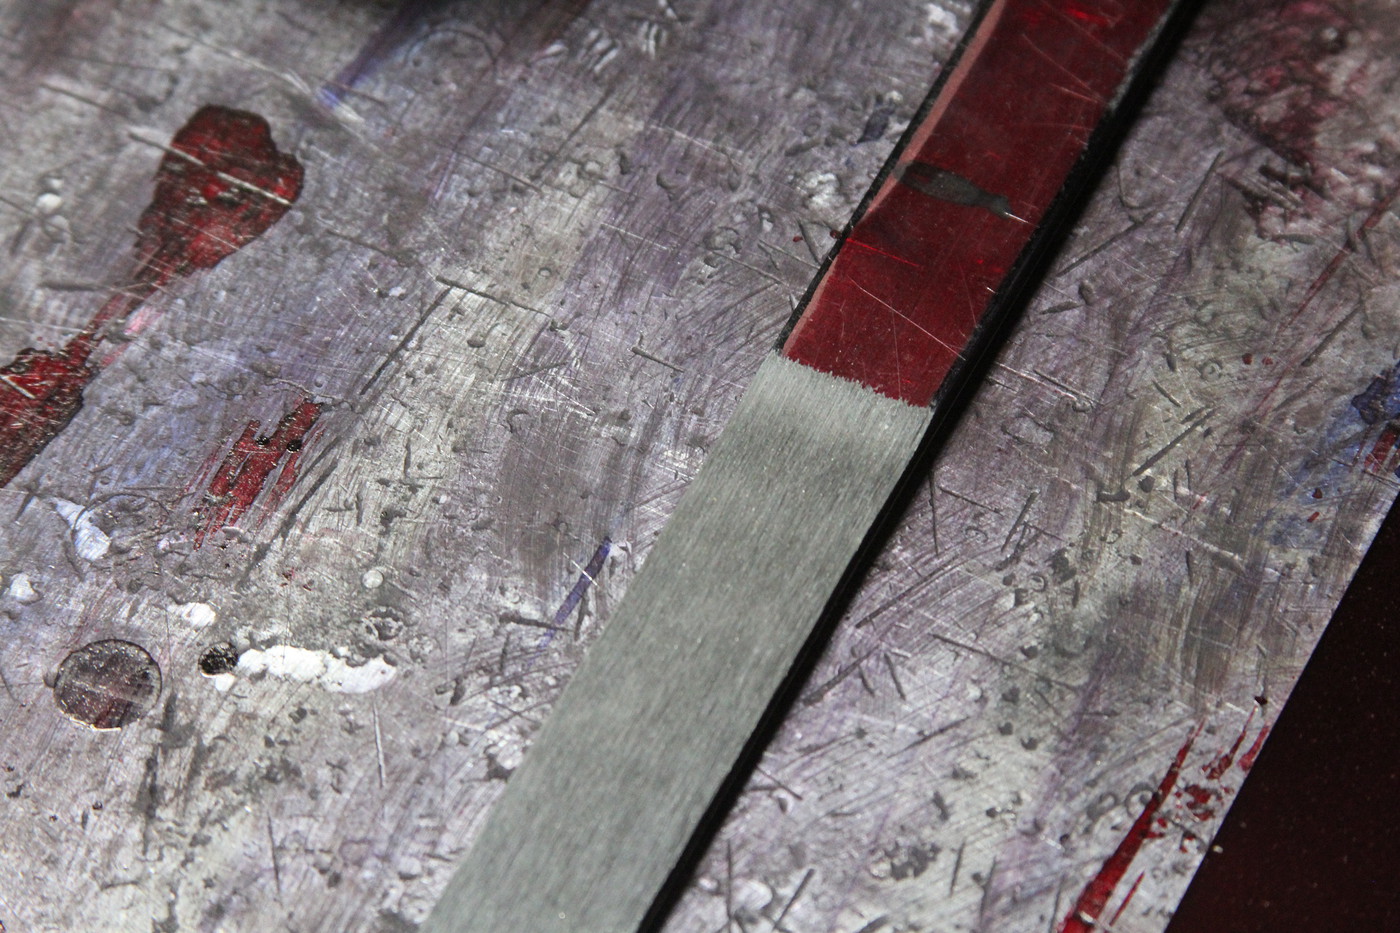
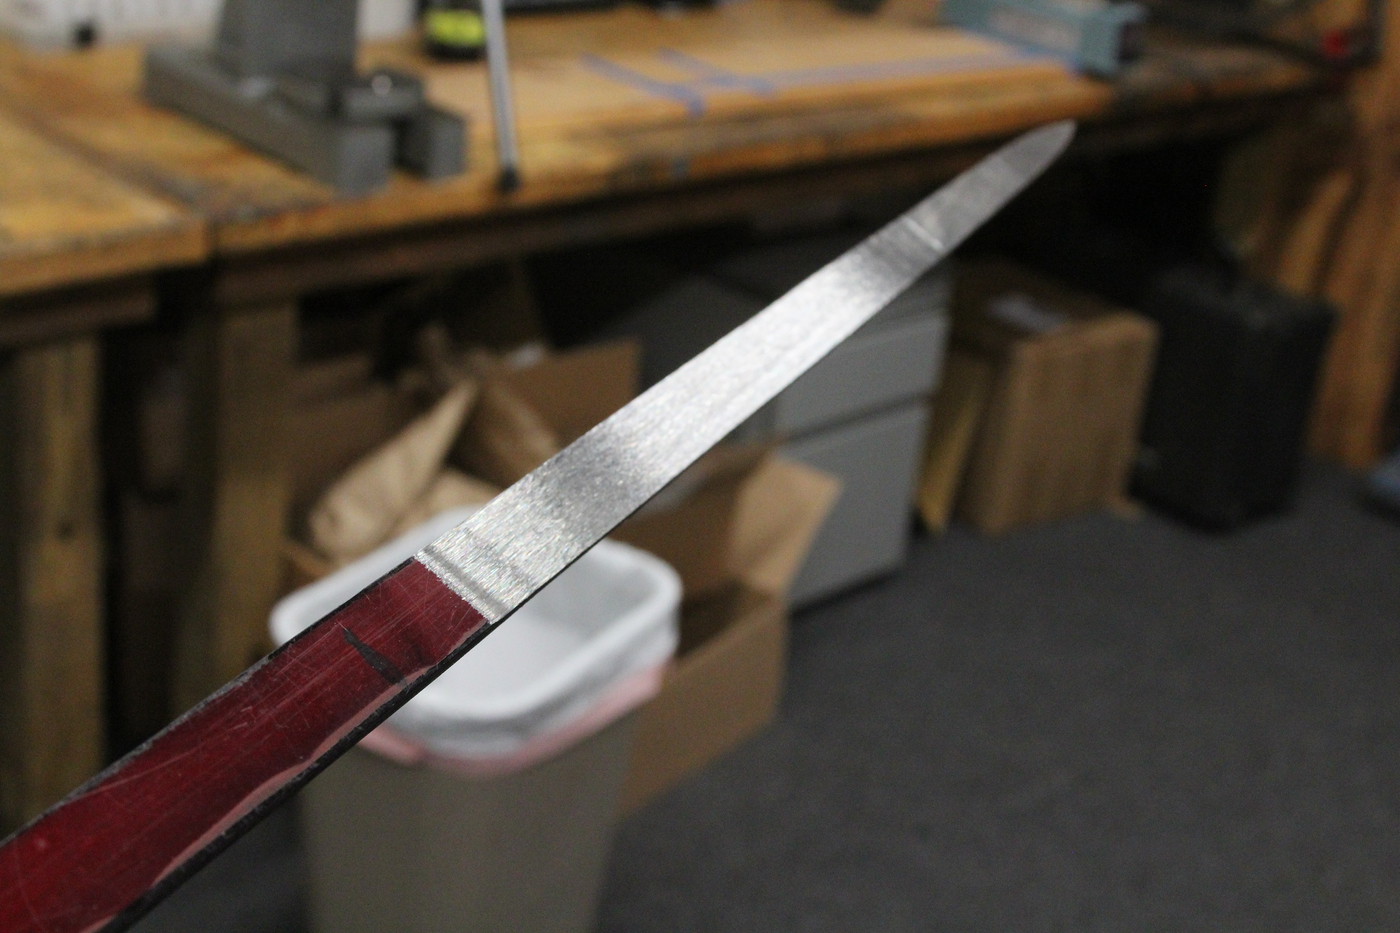
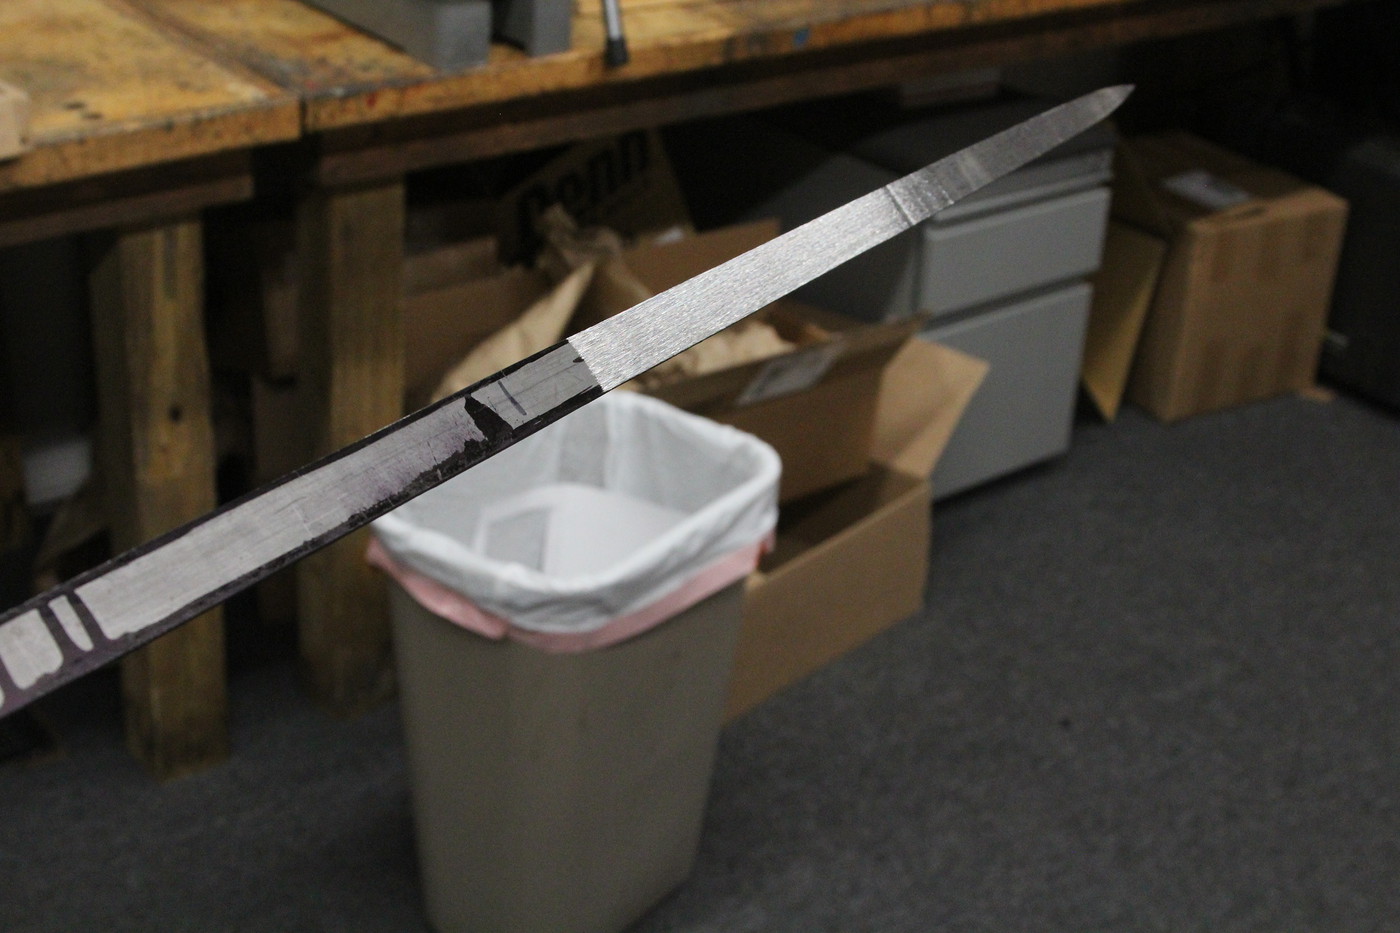
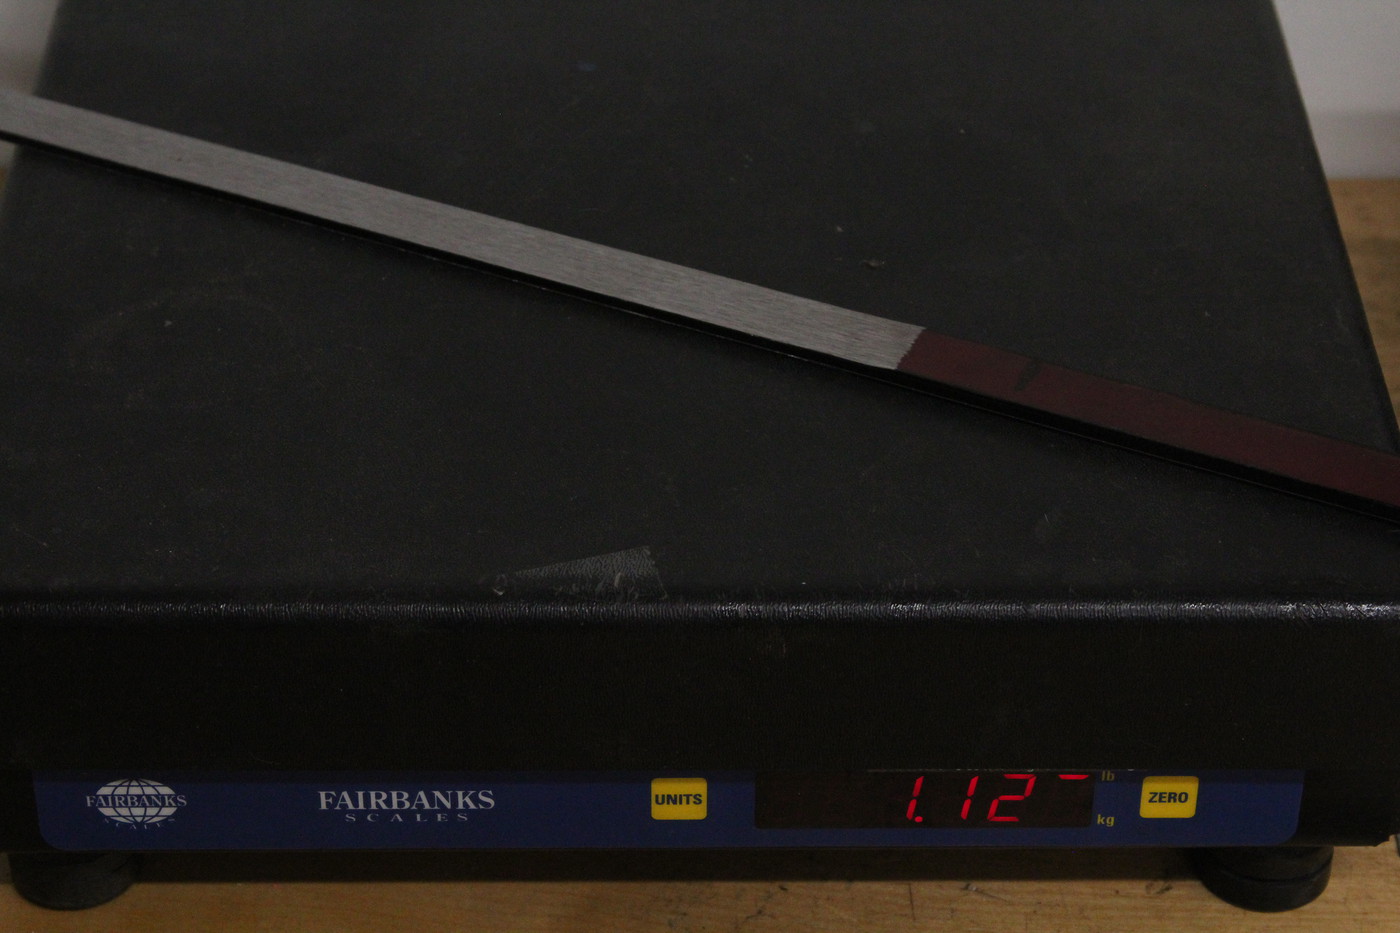
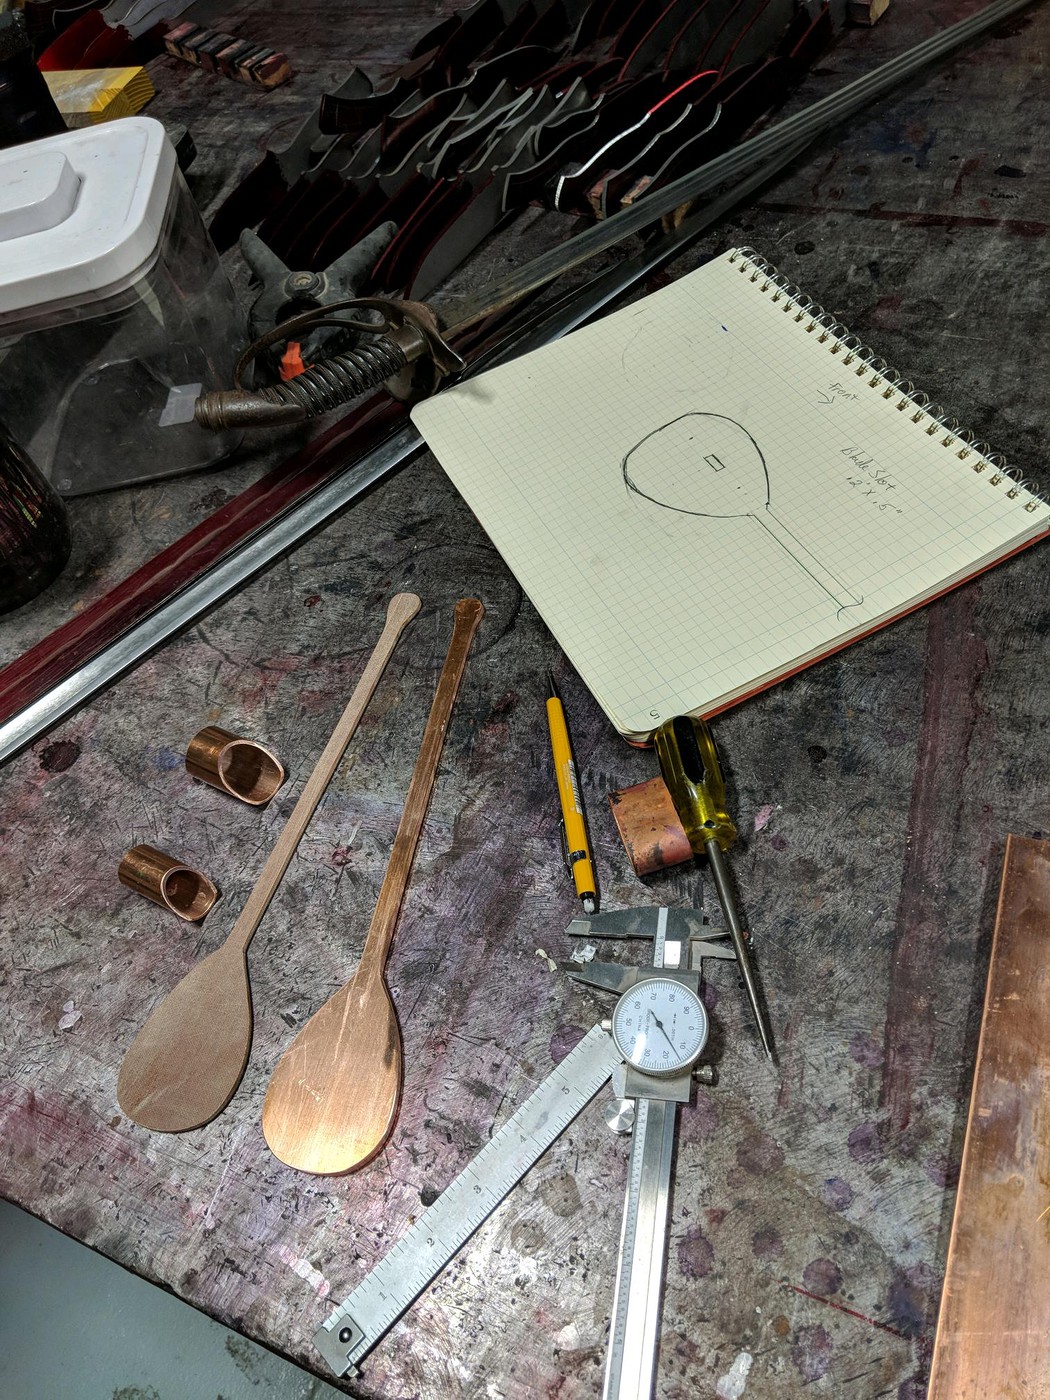
OK. I've spent a couple of Saturdays on this first sword. What I have now is a bade that is ready for HT and my first guard pretty far along. The bladework is totaly different than making knives. There is a distal taper and a fuller that are both tricky to do and kinda compound the difficulty of one another. I think I've figured out a method I like and last weekend I roughed in the fuller. Today I cleaned up the fuller and started the blade grinding which is actually quite simple. This first blade is going to get destruction tested and will likely not even keep its handle. This will give me a couple of chances to make tweaks and changes to the handle, which I will need. Once again, a sword handle is totaly different and I've had trouble designing anything that looks halfway decent.

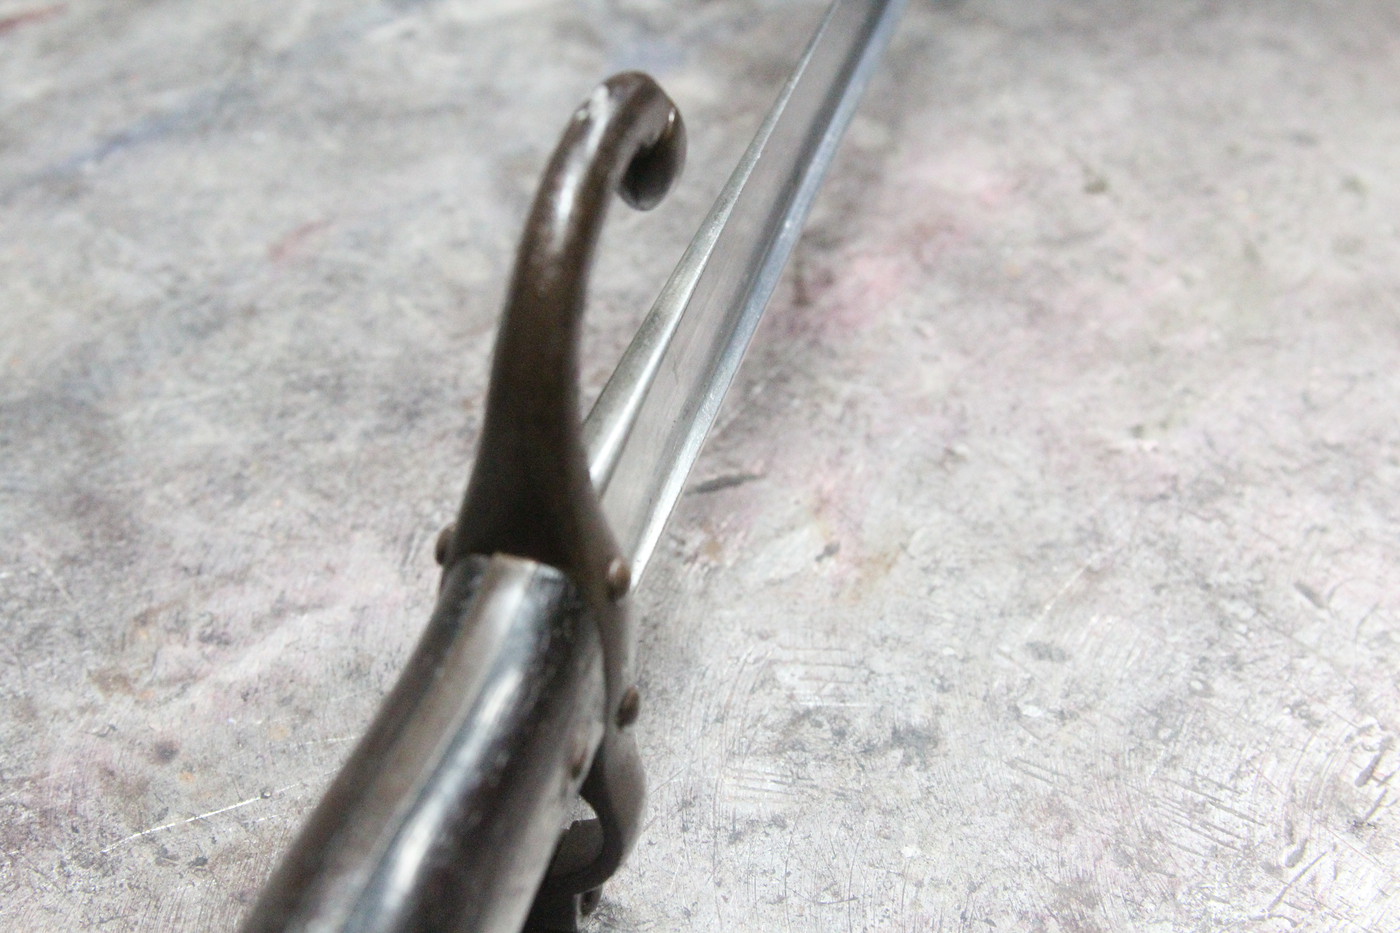
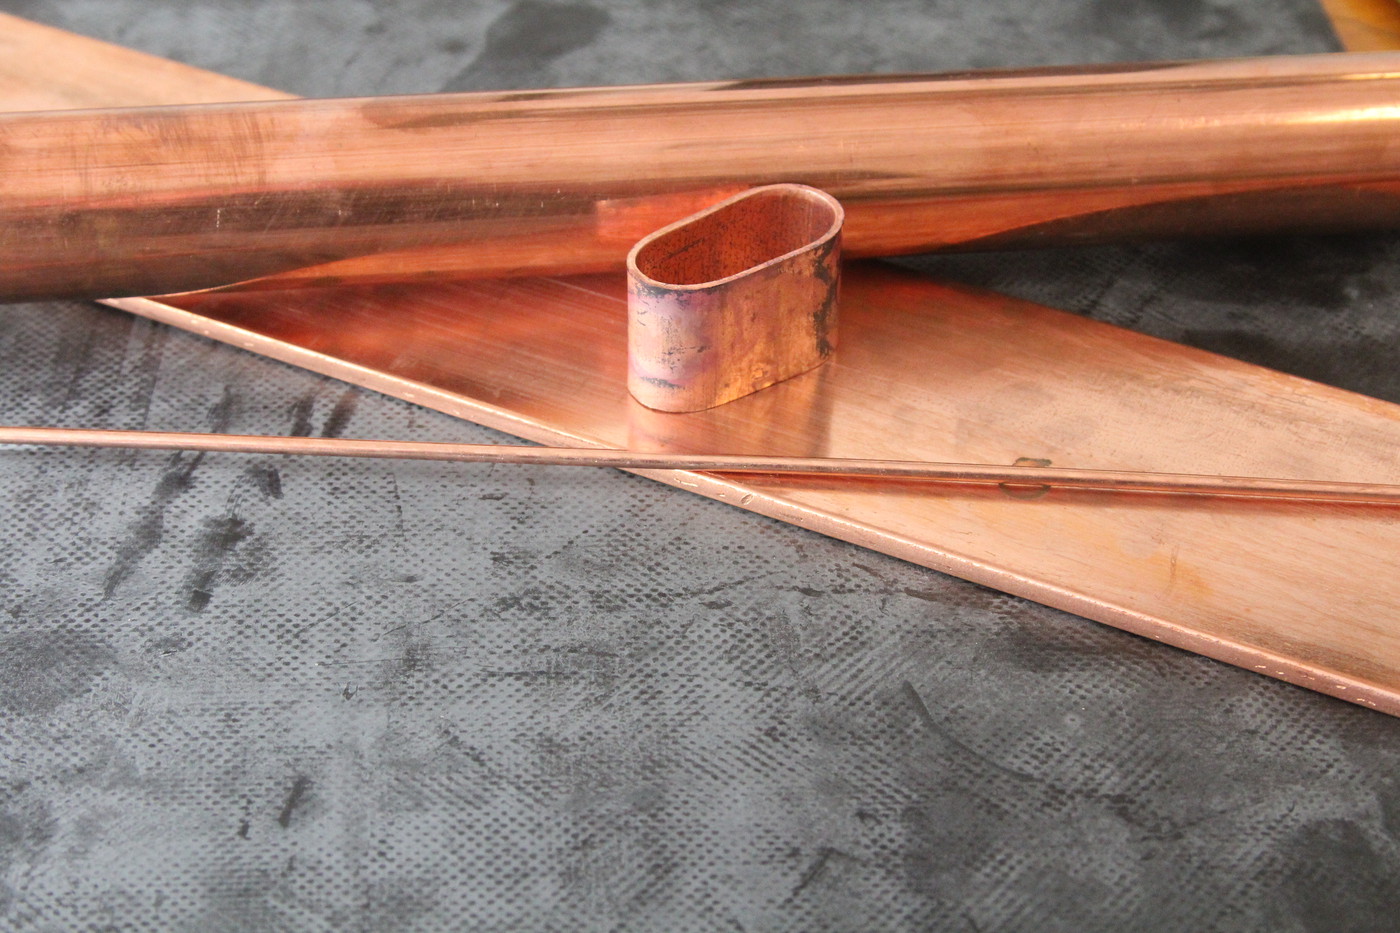
The next part I was having trouble designing was the guard. I've made a first attempt. All of the fittings of the sword are going to be copper. Today I drew up a vague shape to try to produce. I cut a pattern from micarta and a first attempt from copper. Then I hamered the copper guard to shape. I'm pretty pleased. I was able to thicken the stem, which will become the knuckle guard. I even kept it straight. I cut the piece smaller than the finished piece and thinned the guard to the size I wanted. I think I could have gone way farther here, but I got something pleasing and stopped. I have a couple of pics.

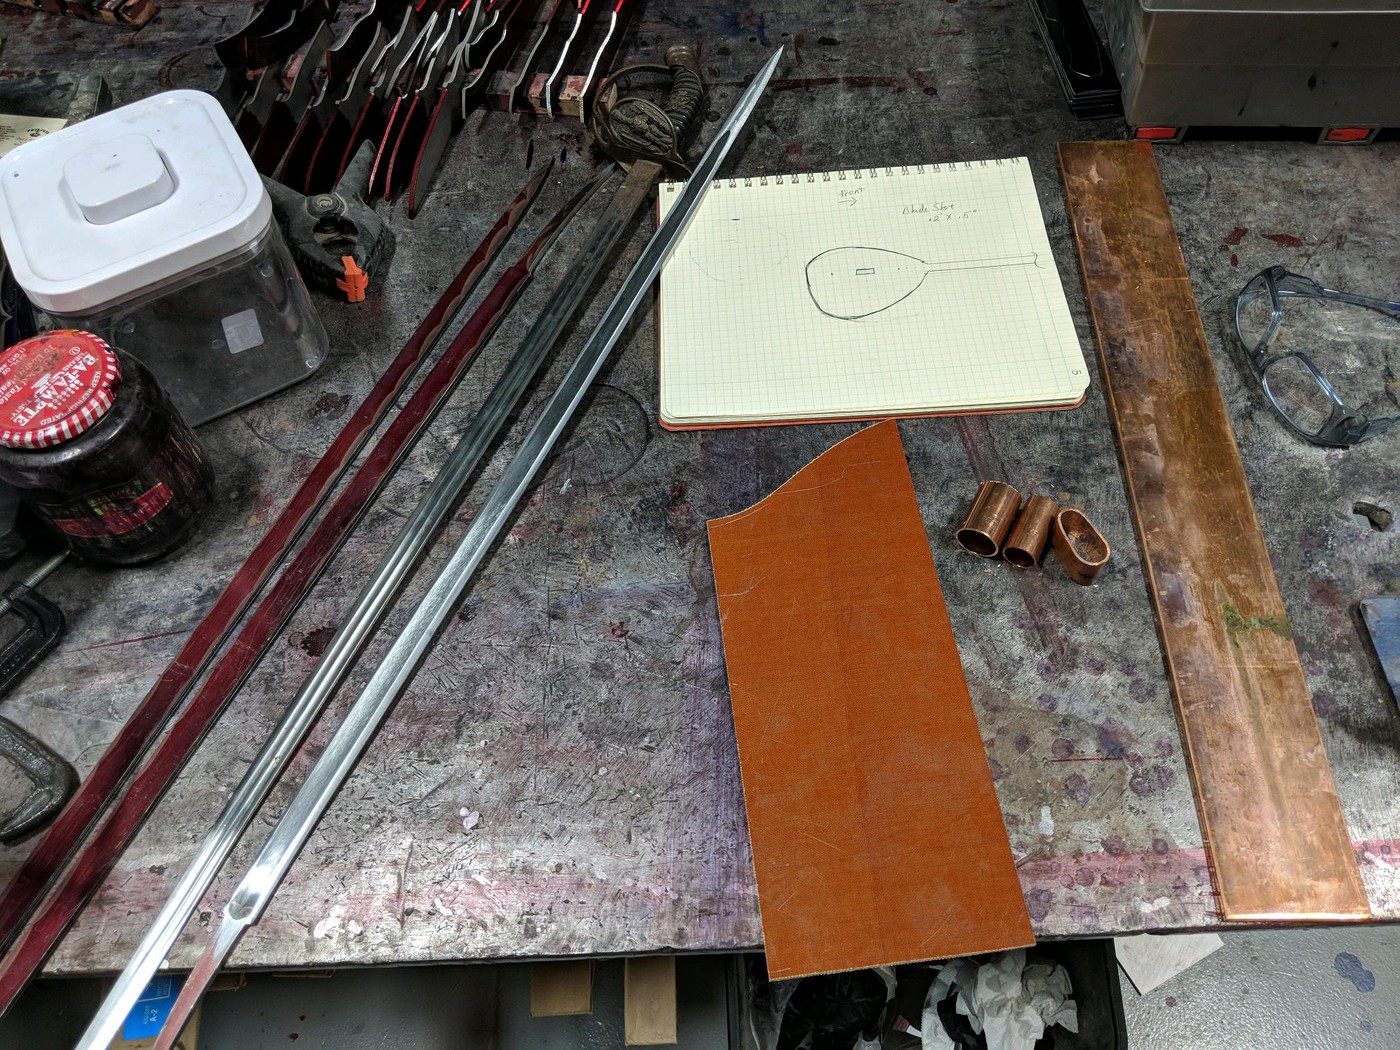
In this first pic I'm getting started with the guard. The blade is roughed, and is sitting beside the notebook. The micarta is sitting out ready to be made into a pattern.

2v2JyTd5nxurAoi.jpg


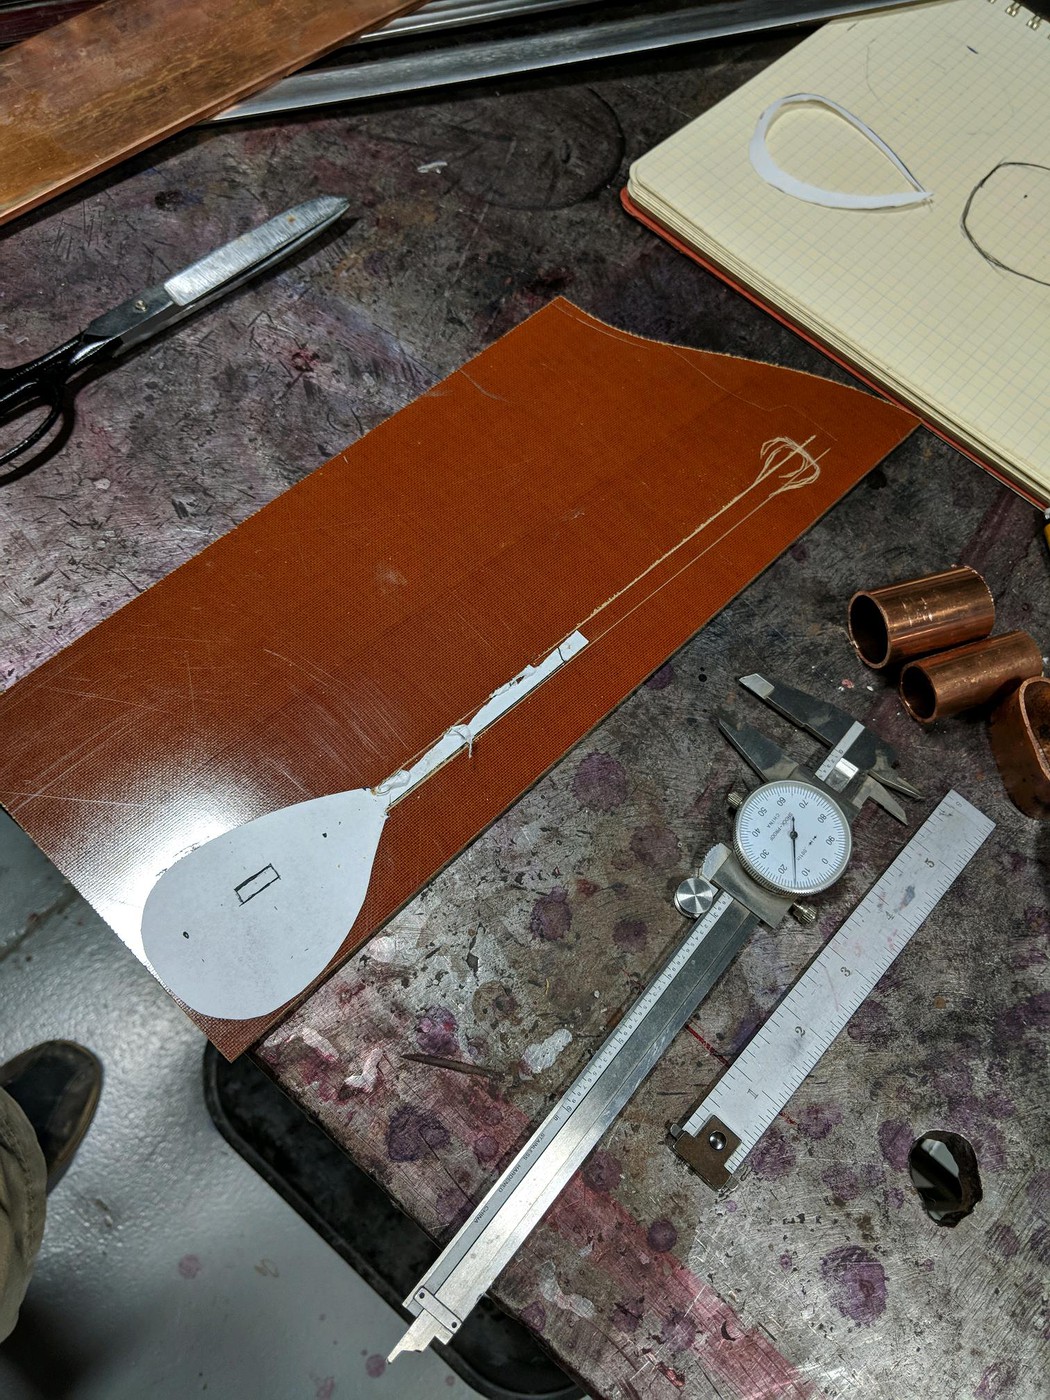
Here you can see the pattern being made. You can see a curl of paper I cut off of the guard, planning to expand the copper to the line in the drawing.

2v2JyTdnCxurAoi.jpg


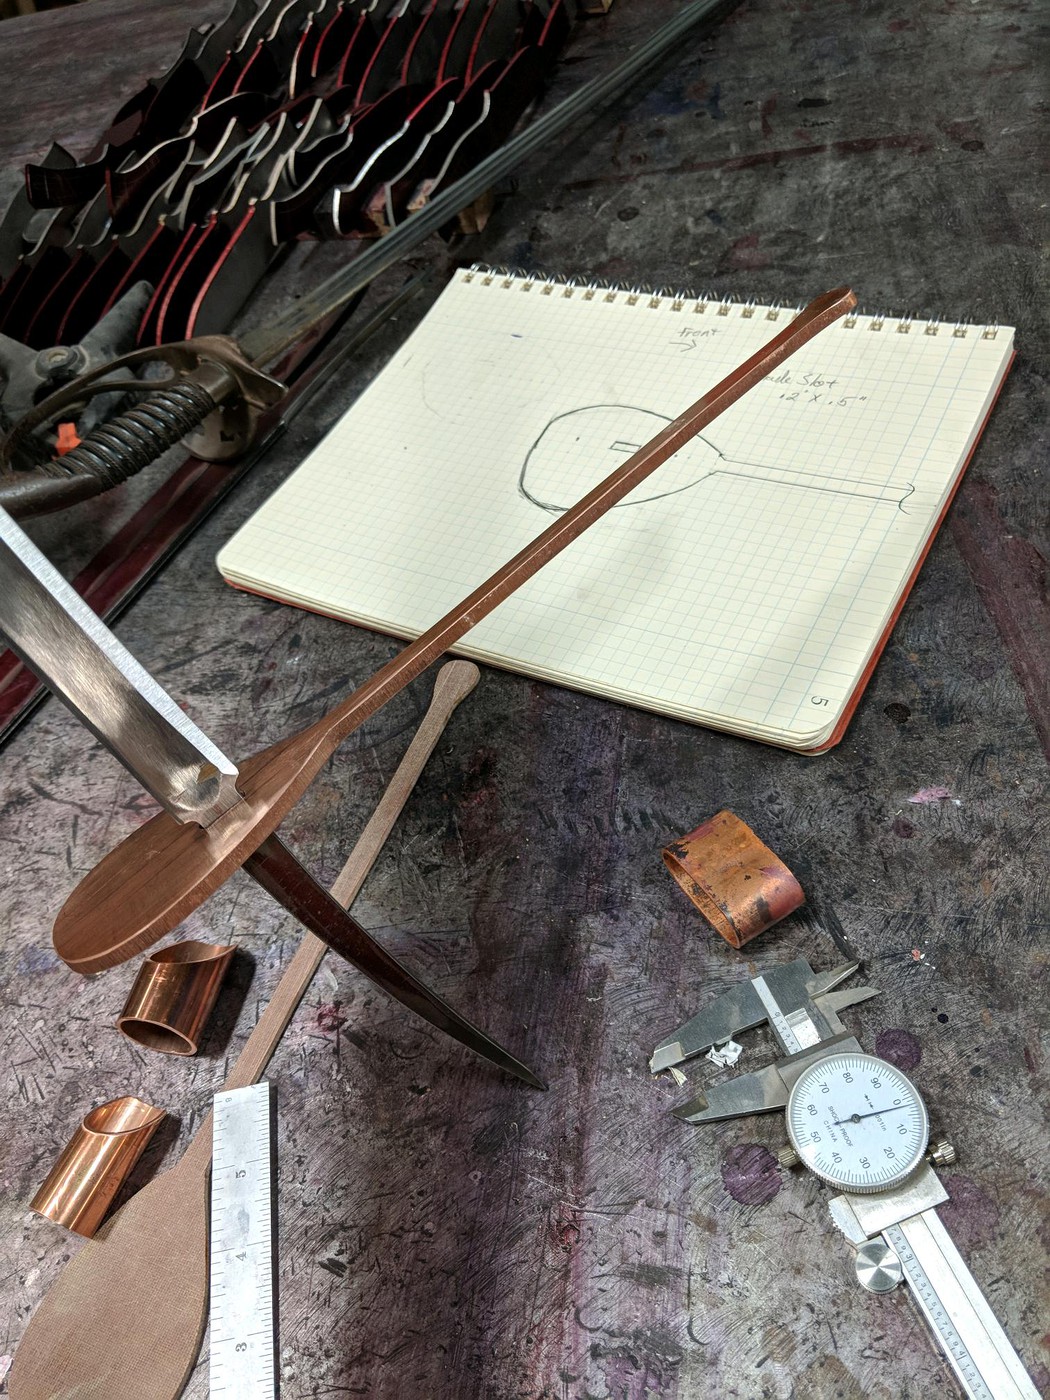
This next pic shows the copper cutout and the micarta pattern. And a coupe of experiments for the pommel.
2v2JyTdLnxurAoi.jpg


This pic shows the blade fitted to a slot in the copper blank.

2v2JyTdCGxurAoi.jpg


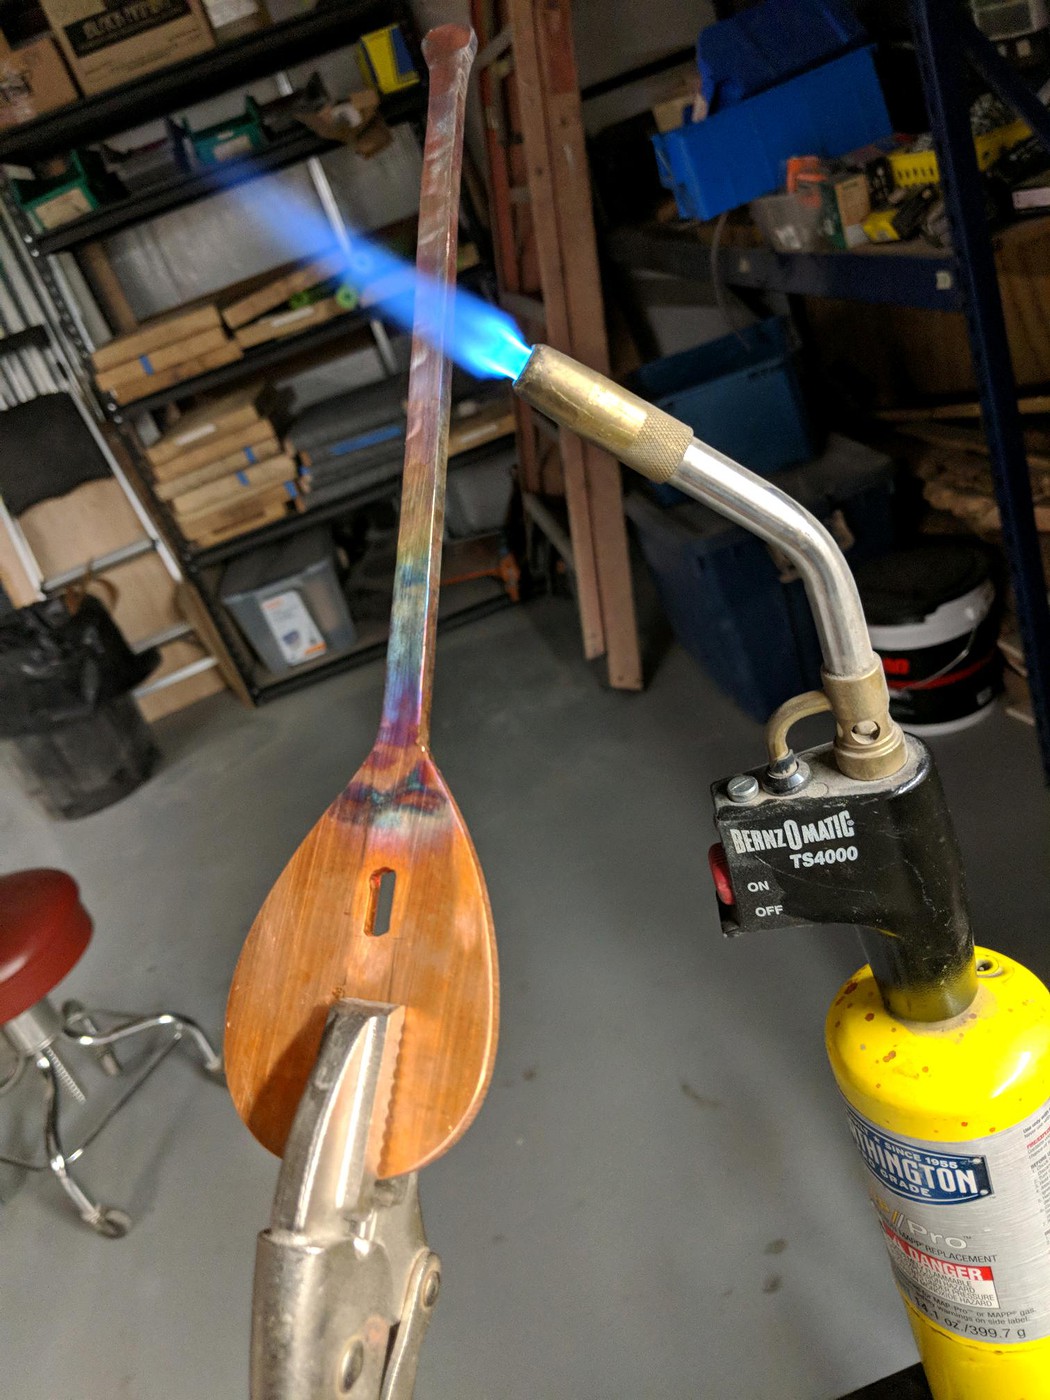
This was after the first heat of hammering. The goal here was to thicken the thinner profile of the copper and keep it straight and squarish.

2v2JyTdTCxurAoi.jpg


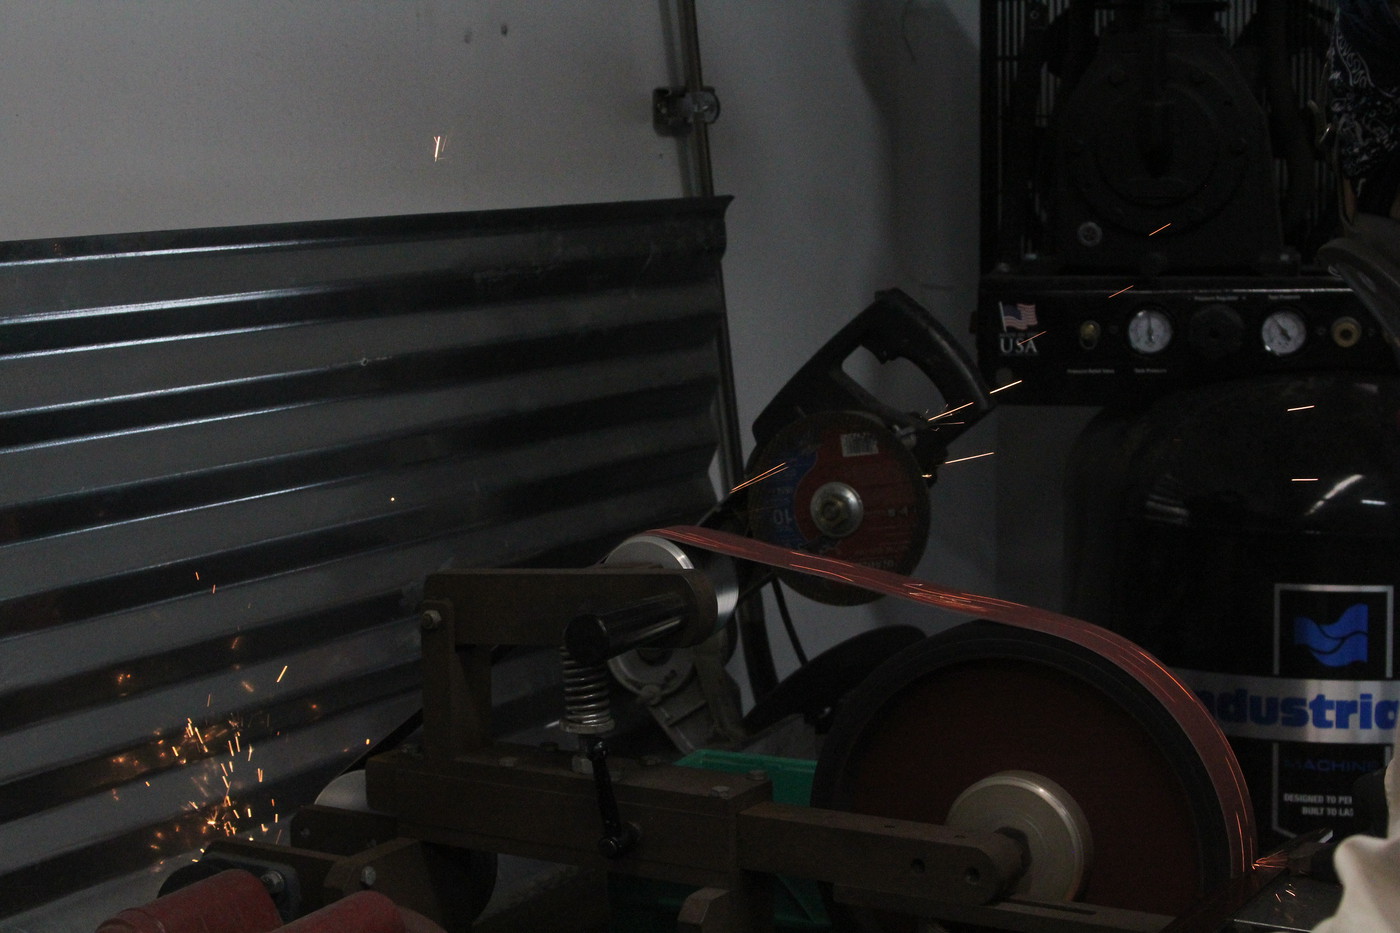
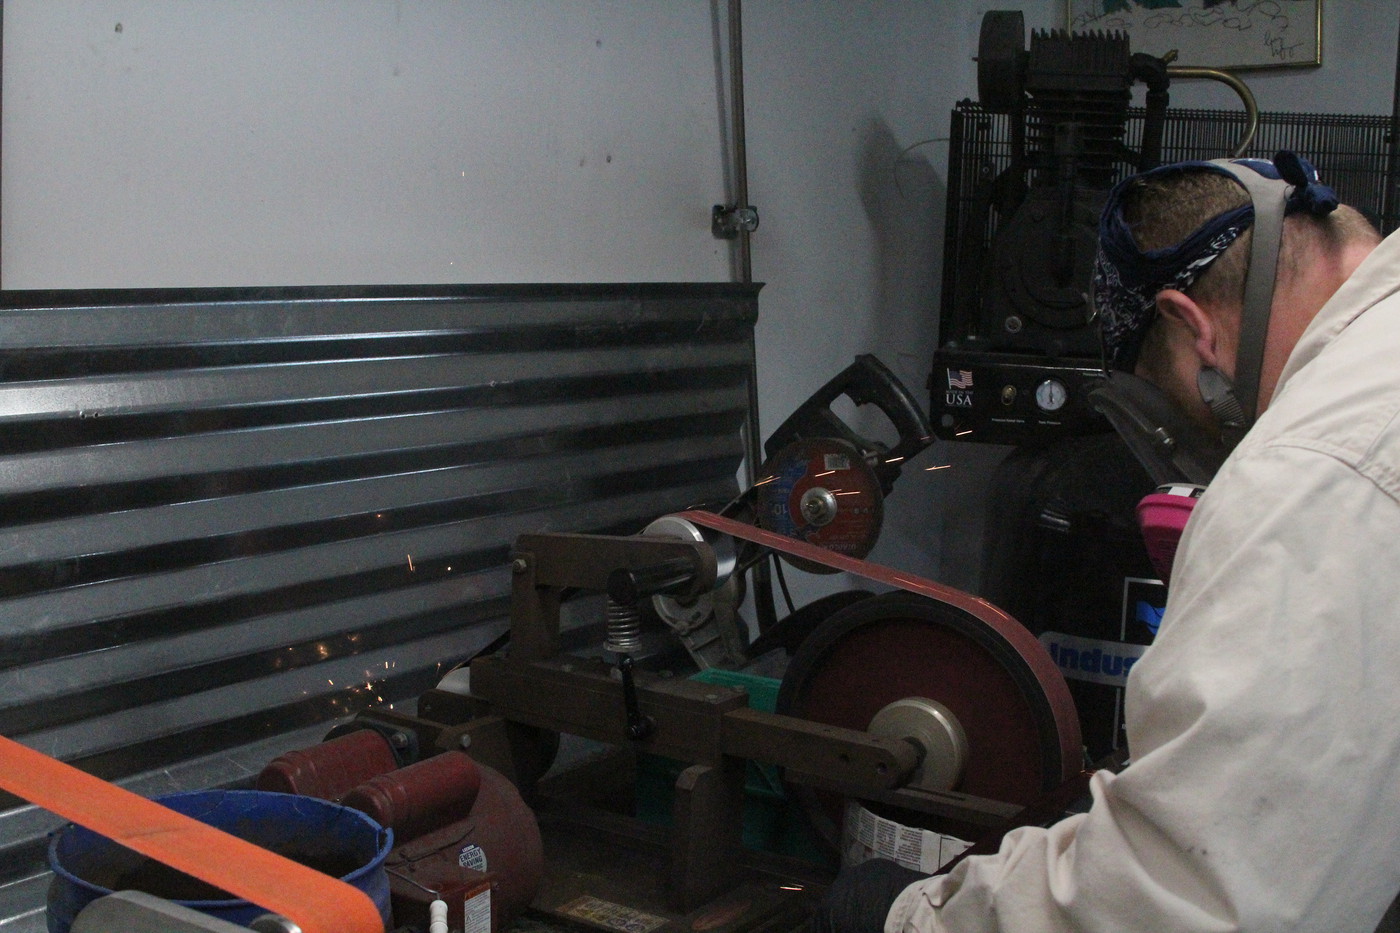
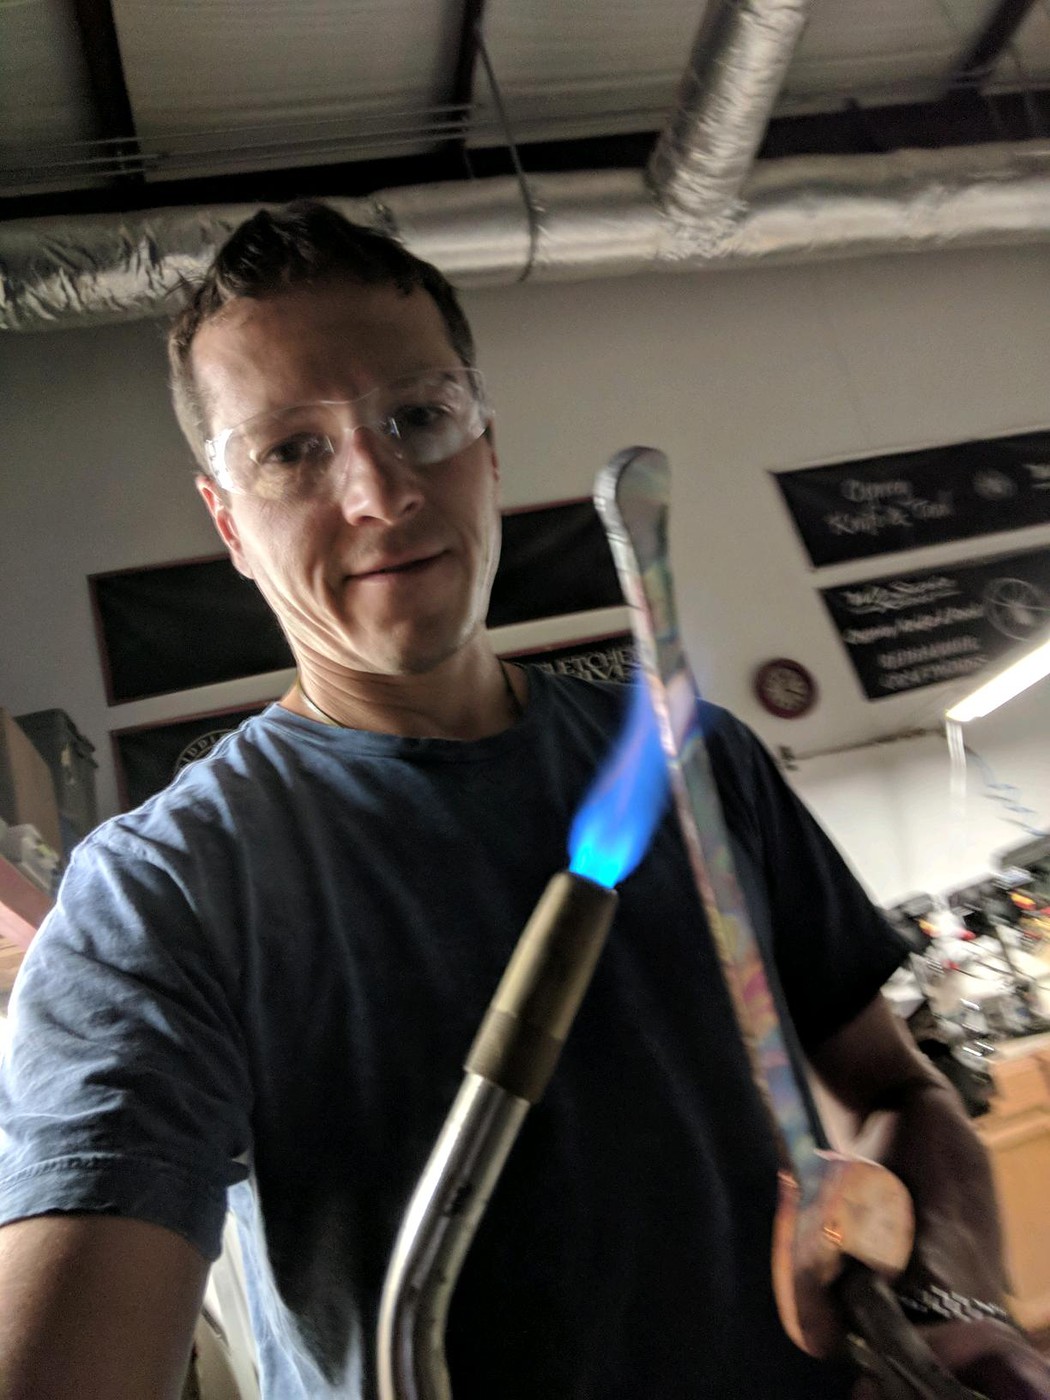
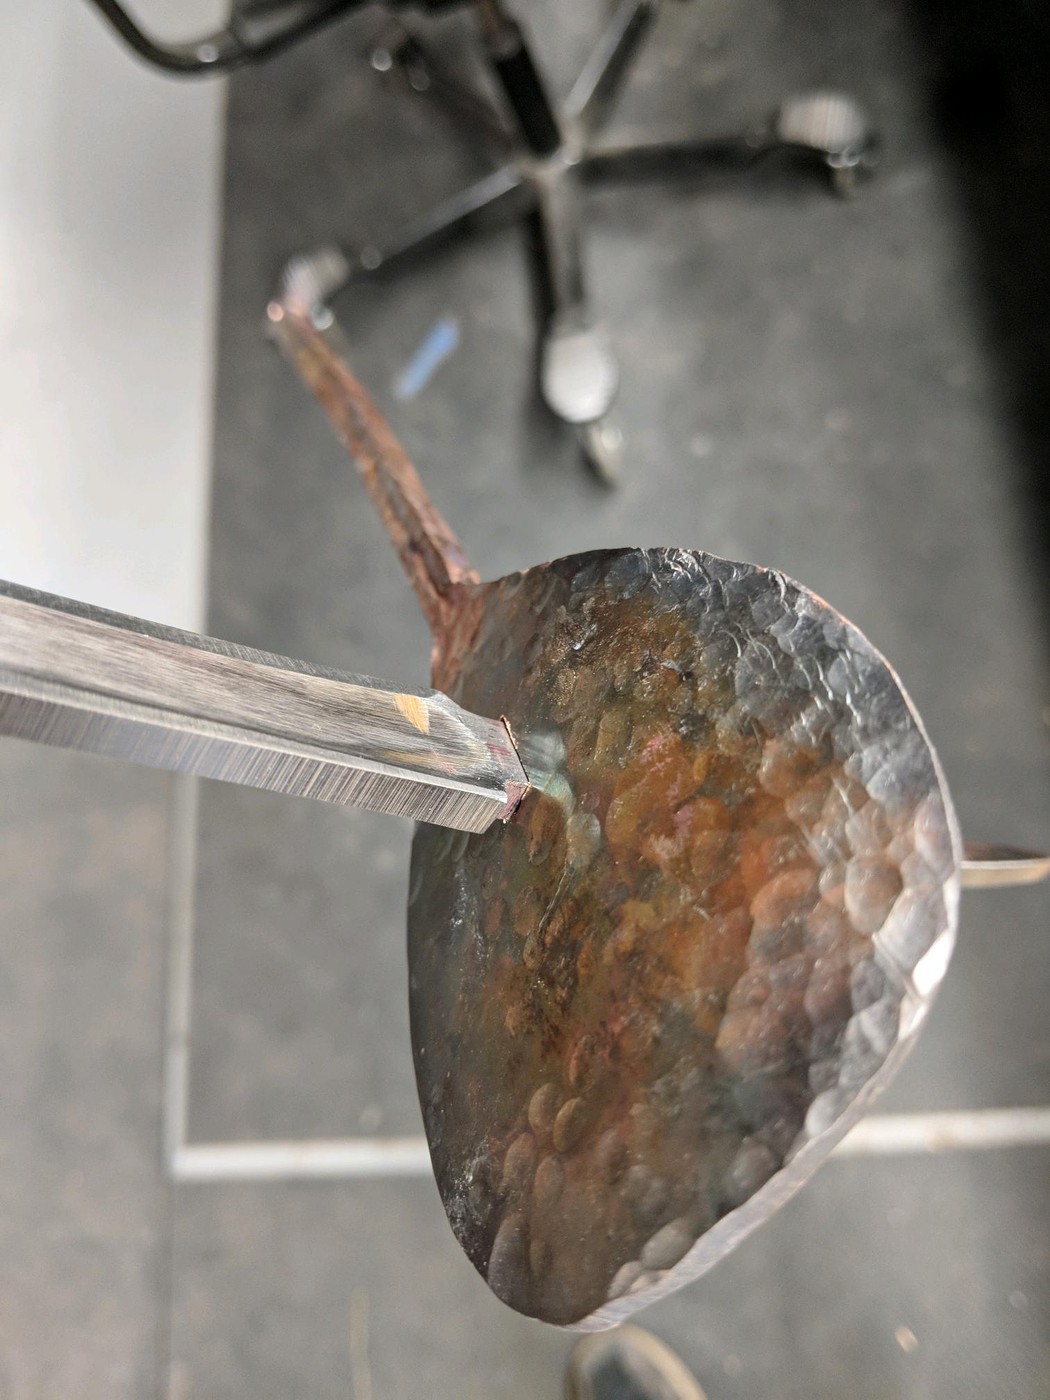
This was a few heats later. The damn forge is in storage so I was using the torch.

2v2JyTd4VxurAoi.jpg


This is where I am at the end of the day. The knuckleguard has not been bent around yet, but is ready to go. The guard is thinned and has the profile to fit the drawing and then given a bit of contour. This will likely be re-worked a few times before the 3rd blade is ready, and the guard has a permanent home (I hope).

2v2JyTdDSxurAoi.jpg
 
Something about copper work hardening very quickly. Heat it often... There that's all I know.
 
Back
Top