Slipjoint pivot not disappearing

Hengelo_77

Basic Member
Joined
Mar 2, 2006
Messages
6,221
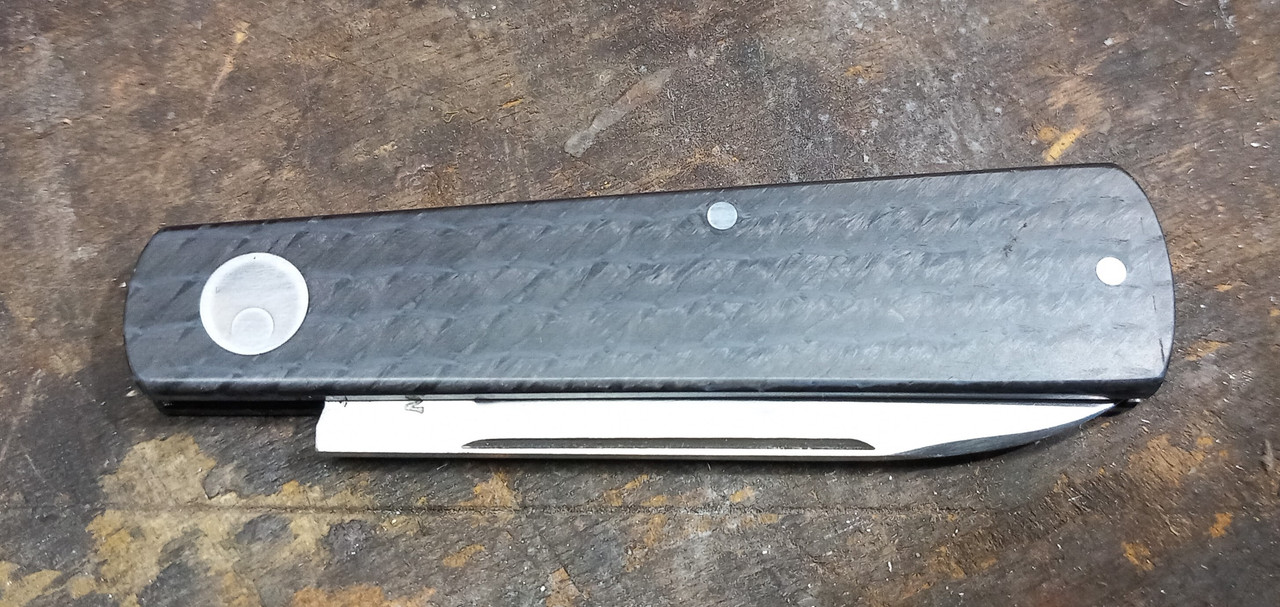
I keep having problems with the pivot pin not disappearing. Grinding after hamering it looks gone but it comes back when I get to the finer grits.
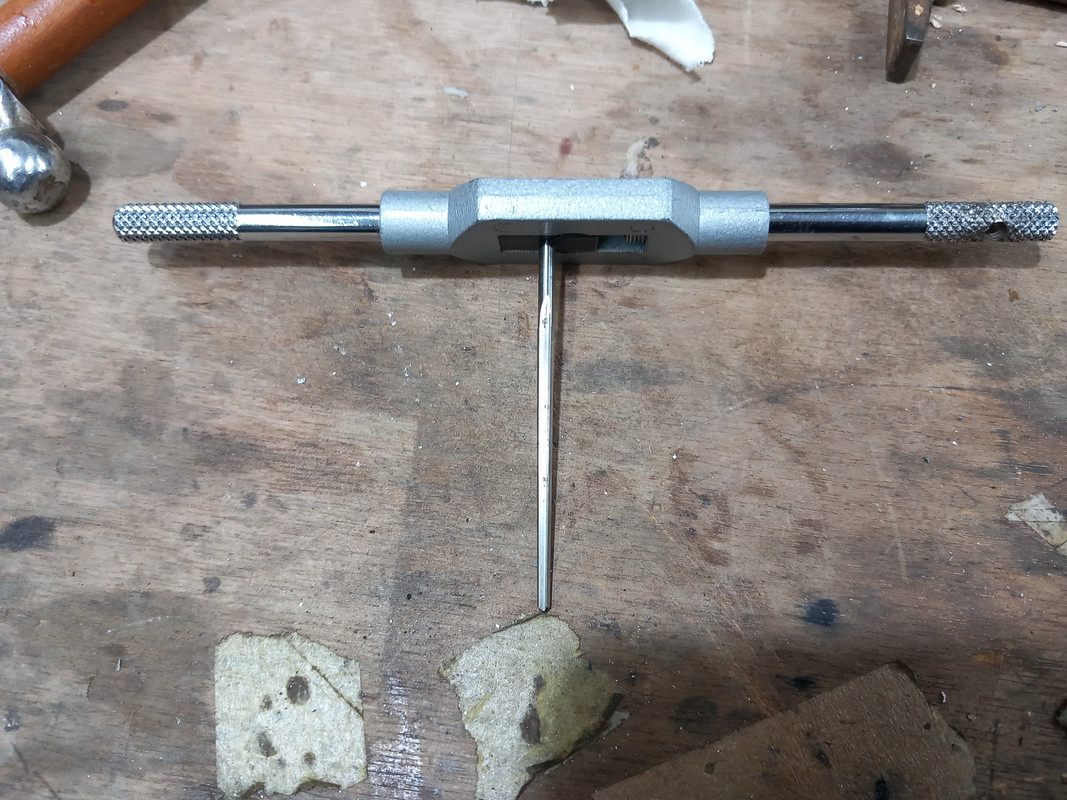
I use a 50:1 conical reamer to remove a very small amount of material and I think that the pin expands at the surface but doesn't fill the cavity a bit deeper.
Is it my hamering technique that causes this?

IMG-20231229-WA0011.jpg


20231230-164203.jpg


20231230-164240.jpg


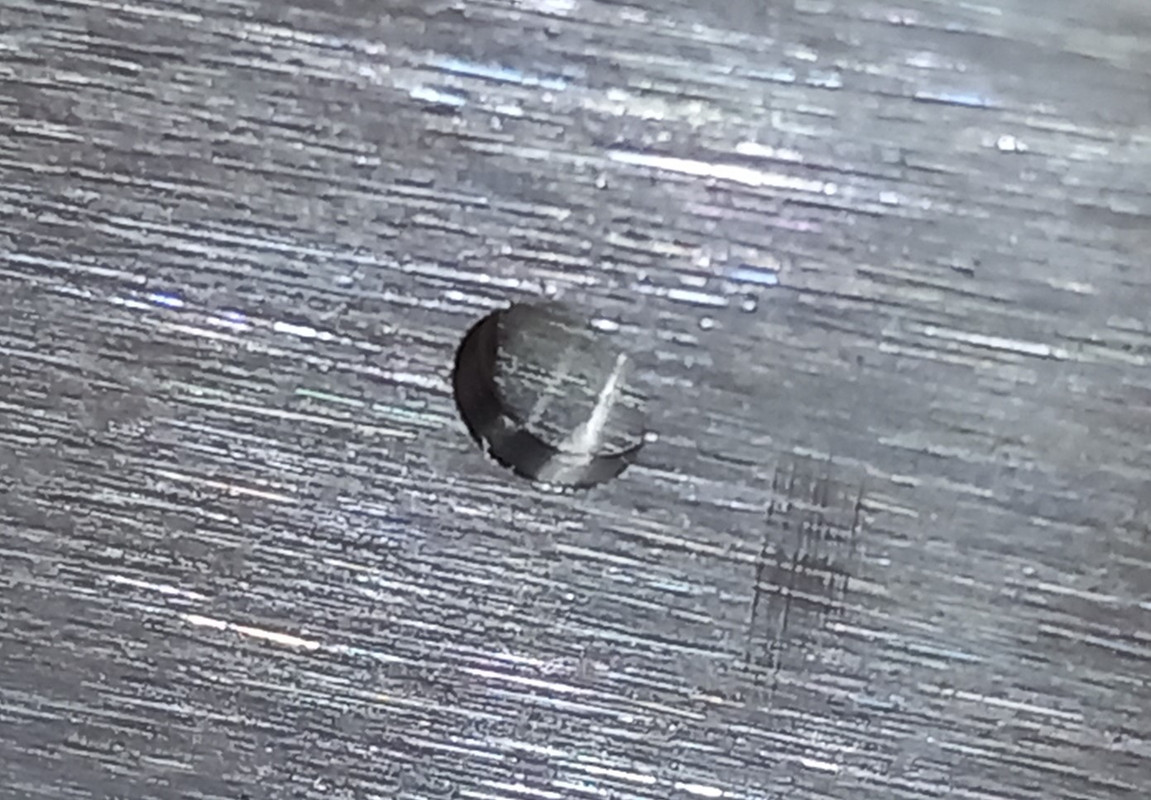
I grind the sides of the pin with 400 grit. I knocked it back up. It is shiny at the top but the cavity goes deeper. So I think there was a hollow under the shiny part.
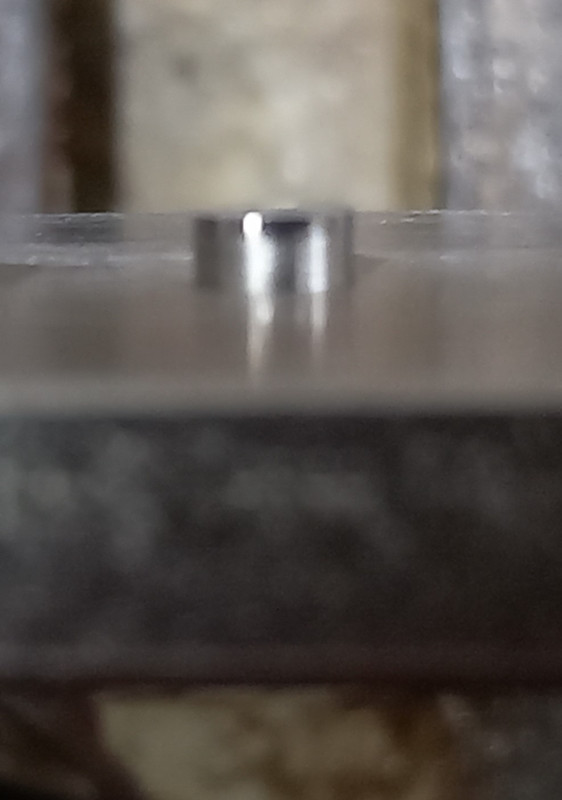
20231230-165236.jpg


Black = bolster
Red = pin
Yellow = cavity as I suspect

pivot.jpg


What do I do wrong?
 
Some suggestions:
Make sure the pin expends about 1.5mm above the surface before peening. This gives metal to expand.
Peen it from the center, not the edge. This expands it sideways, not like a mushroom.
Make sure the pin is annealed so it will expand.
Peen a bit harder.
 
Some suggestions:
Make sure the pin expends about 1.5mm above the surface before peening. This gives metal to expand.
Peen it from the center, not the edge. This expands it sideways, not like a mushroom.
Make sure the pin is annealed so it will expand.
Peen a bit harder.
Thnx, should I hit the pin with the flat or ball end of the hammer?
 
I would have thought that the eccentricity of the outer part is moving independently of the pin. the pin is usually through a soldered bolster is the little round bolster (dont know the correct name) soldered to the liner?
 
You mean the round disk around the pivot? The shadow disc, it is not soldered. But the last two pics are of a testpiece of solid stainless steel bar
 
Hengelo_77 Hengelo_77 I don't see the material identified for the pin. What is the material and how was it annealed? Stacy's right, for that to expand like you want you will need to anneal it. And, remember, it will work harden from the first smack - make it a good one. This isn't doming, as has been mentioned. I'd also consider making myself a pin-setting jig if I was going to make pin-pivots where a small "anvil" and hammer are what set the pin and your hammer hits the head of the "hammer" Instead of the object and the handle scale you just ruined. The flat of our ball pein is great with the bolt/anvils.

You can do this by hand but it is a charlie foxtrot. I use a pair of bolts with divots Dremeled out of the small end. I used a third hand about 5 foot tall and 100 pounds to hold the knife.
 
Thnx, should I hit the pin with the flat or ball end of the hammer?
I use pin on lot of guards and never have that problem . Before peening I shape pin /304 stainless/ like this .I never use ball head hammer .I use ..................have not idea how to call that hammer , it is for autobody work , and it is about 3cm Dia. head and have some big raduis surface .Like part of probably one meter ball :) I will take picture tomorrow

dUnX0yl.png
 
Yes they are the same steel even from the same supplier.
I annealed to a bright orange and let it air cool. Is that hot enough?
 
Yes they are the same steel even from the same supplier.
I annealed to a bright orange and let it air cool. Is that hot enough?

1010-1120C (1850-2050F). That's a shade or so brighter than orange, more yellow to my eye. Cool rapidly, as in stick it in water. Slow cooling allows carbide precipitation and hardening. You want to treat the nickel like it's in brass.
You might also end up with different "colors" of the same steel if one is softer than the other by a lot. Not always, but you can tell it on 410 and 416. You may want to treat the disc the same way, but that's your call.
 
Bill Ruple has a video where he says that he doesn't taper holes in metal (i.e., bolsters and birdseye pivots like you have) and that makes it easier to hide pins. To my eye, my tapered reamer looks even less aggressive than yours, but it may not be. I do not try to mushroom over the pin tops. I bang on them straight on with a (mostly) flat hammer. The end result is not a pretty domed head, but a stubby pin.
 
Ream your hole until there is a slight burr all the way around.
Sand your pin to give a clean surface.
Use acetone to clean the pin and the hole until there is no oil or residue on either of them.
Peen the pin until if fills the void, then keep peening until there is zero blade play.

These helped with vanishing the pin.
 
Here is advice given to me by Mike Rothman at Rothman knives as well as some from Matt Collum from a podcast he was on
-sand off the scale by putting pins in hand drill and spinning while holding sandpaper on them
-clean holes and pins with acetone
-use tapered reamer but sparingly. In the pod cast interview with Matt Collum, he said something about just enough that you can feel tiny burr sticking up

-I am not qualified to give advice on the peening part!. so go about best way you can or take advice of others.

.
.
-once peened, use wheel (4-6") with 400 grit belt to grind down but only till you still have small bit still showing and looks like halo around the pin
-then go to flat platen and the slack portion that is in between the platen and the wheels above the platen
-use 1000grit or fine grit. roll the bolster inthat slack belt portion to take down the last part of the pin and blend

I like scotchbrite belts too as they seem to blend things together.
 
Back
Top