I managed to do it but I took the knife apart again. I think I figured out what the problem is.
I was working on a linerless slipjoint with thin CF scales. Because they are not as stiff as metal liners the knife bounds up before the pin has swolen enough to disappear in the hole. I'll first work on two slipjoints with stainless liners before coming back to this one.
I did some tests on how strong a stainless pivot actuallly is.
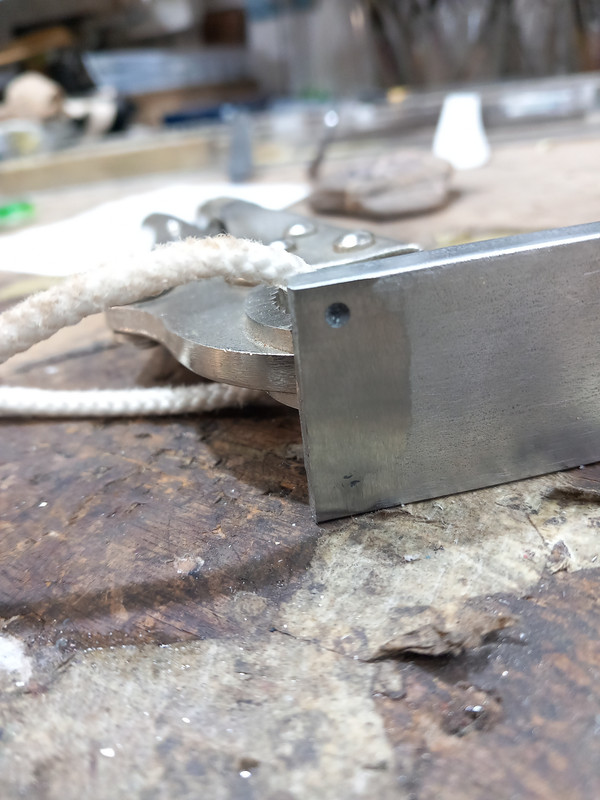
I use 3mm pin stock and I reamed the hole one 360degree turn with a 1:50 reamer.
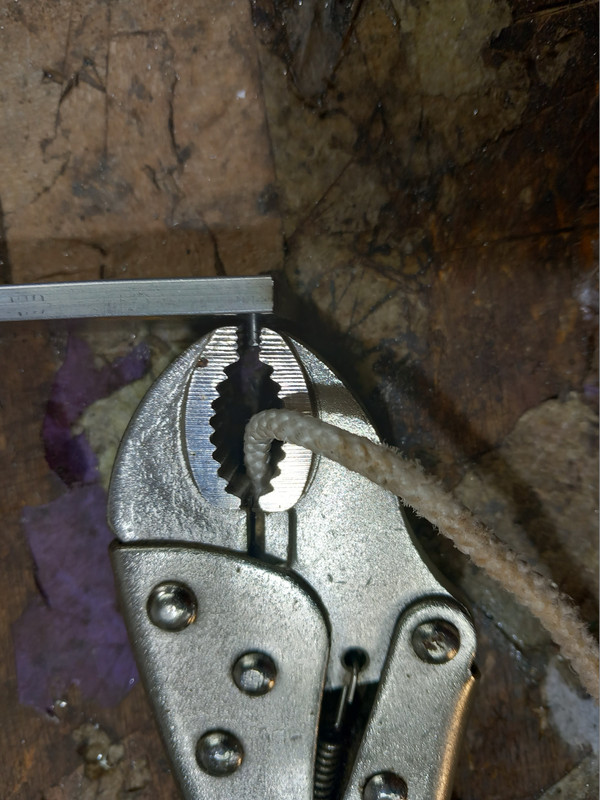
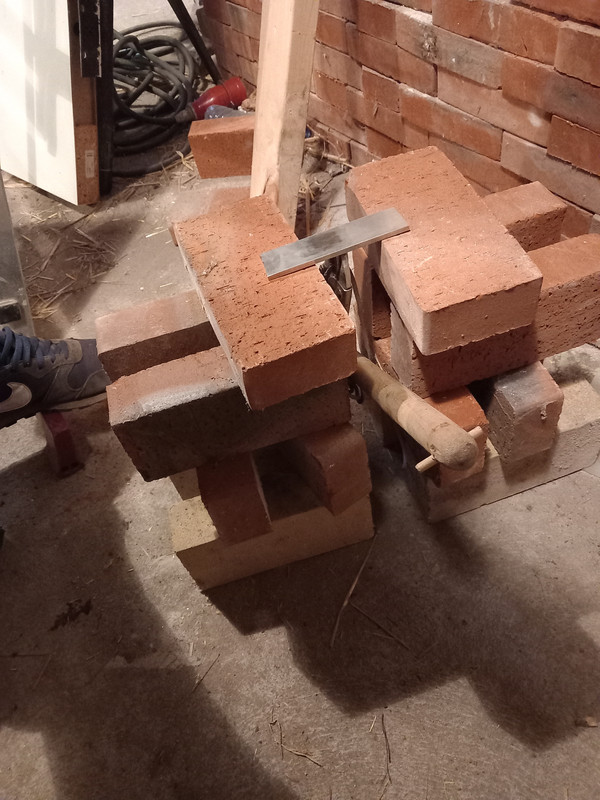
I ground it down like normal, put a vice clamp on the other side of the pin and stood on it with my 185lbs body weight.
It held and still didn't show on the other side!
No way on earth a slipjoint will ever experience such forces in the real world!
So that gives me confidence that I'm using the right tools and technique. Unbeleivable how strong a very small bit of stainless is!


")


