- Joined
- Aug 27, 2004
- Messages
- 2,701
I hope I am not overstepping here, but I would like to give a few suggestions and points that helped me make a nice working, smooth slip joint , single or multi blade.
I know that the tools and my processes maybe out of the reach of some, especially the guys starting out with slip joints. My processes worked for me and may not work with your style , tools , experience. And please do not think that a slip joint can not be made to be buttery smooth with proper walk and talk etc if not done my way. (just ask, if we could, the old Sheffield and early American slip joint makers! )
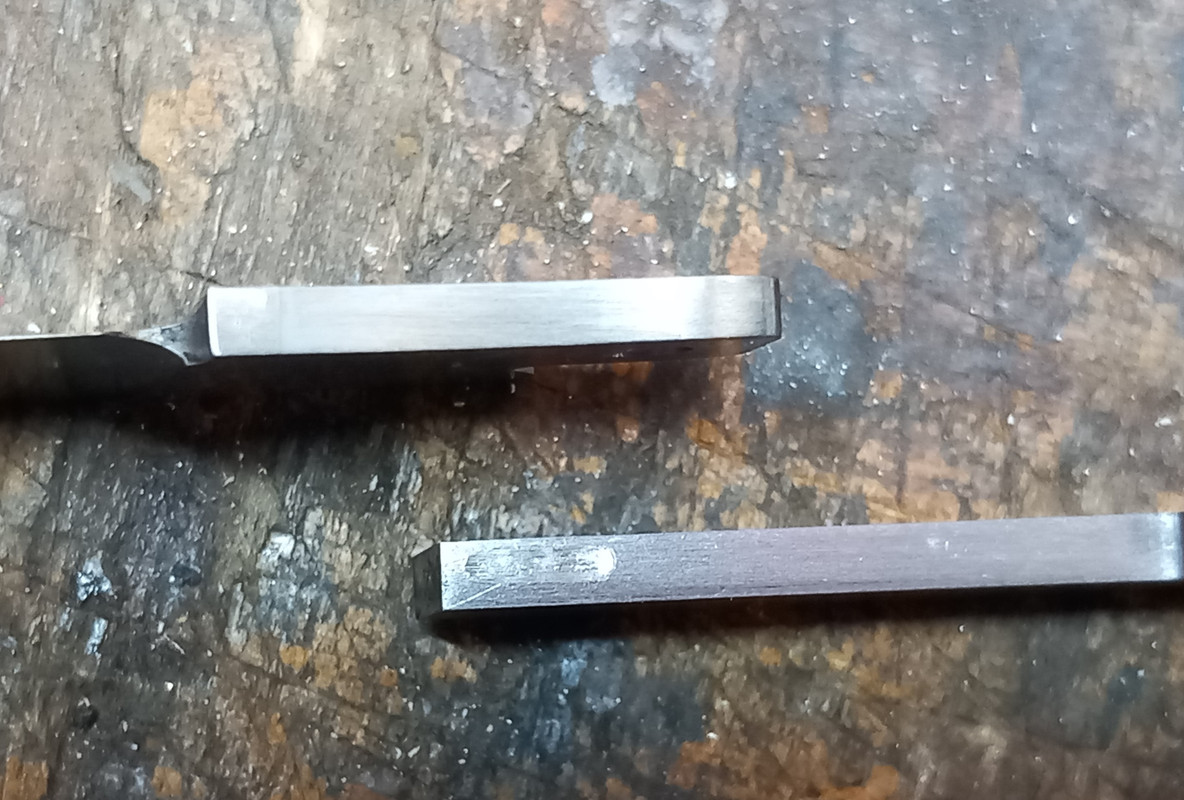
1. Good quality jobber style drill bits for pivot holes, edited to reflect that I use stub length drill bits.
2. Drill press with minimal runout and SQUARE to table.
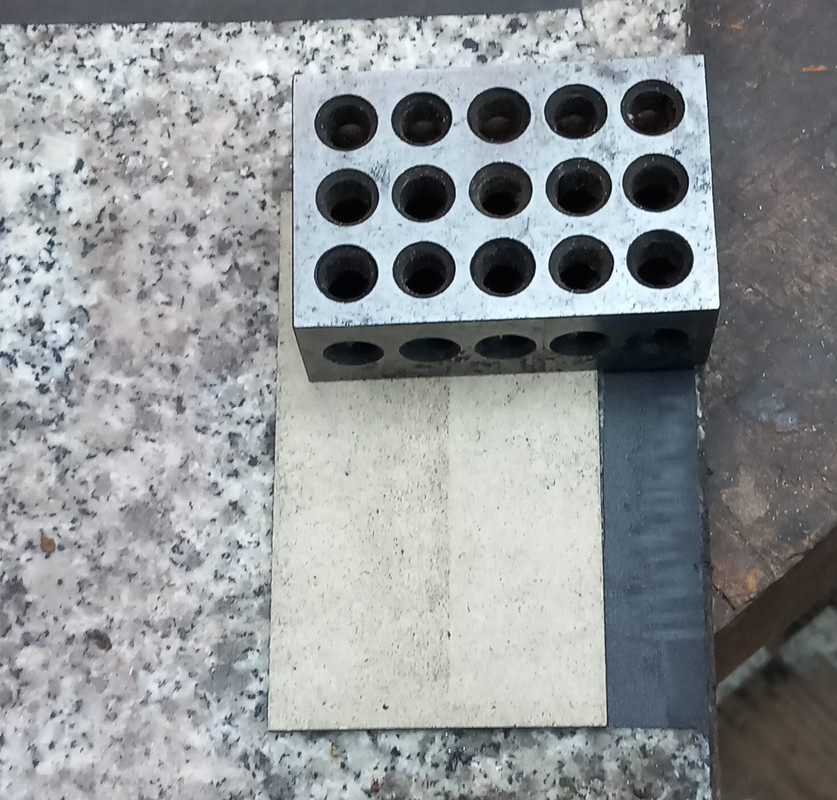
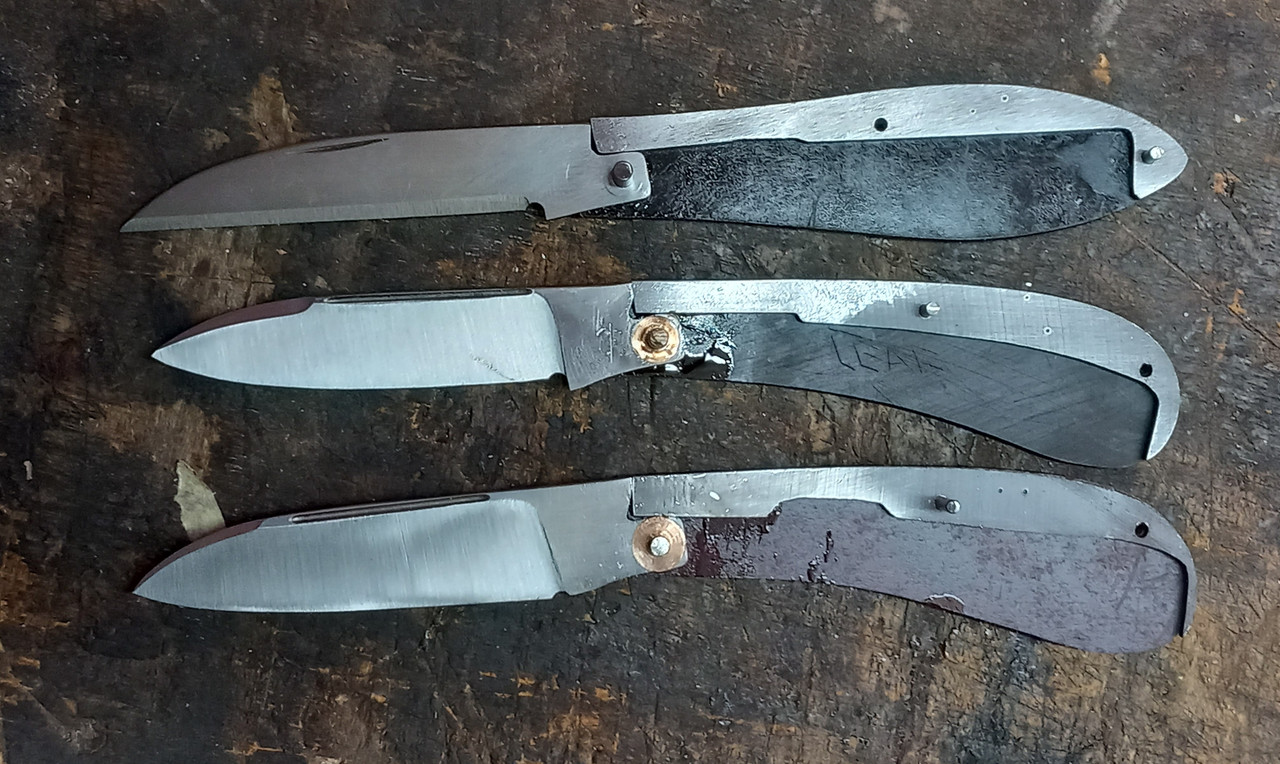
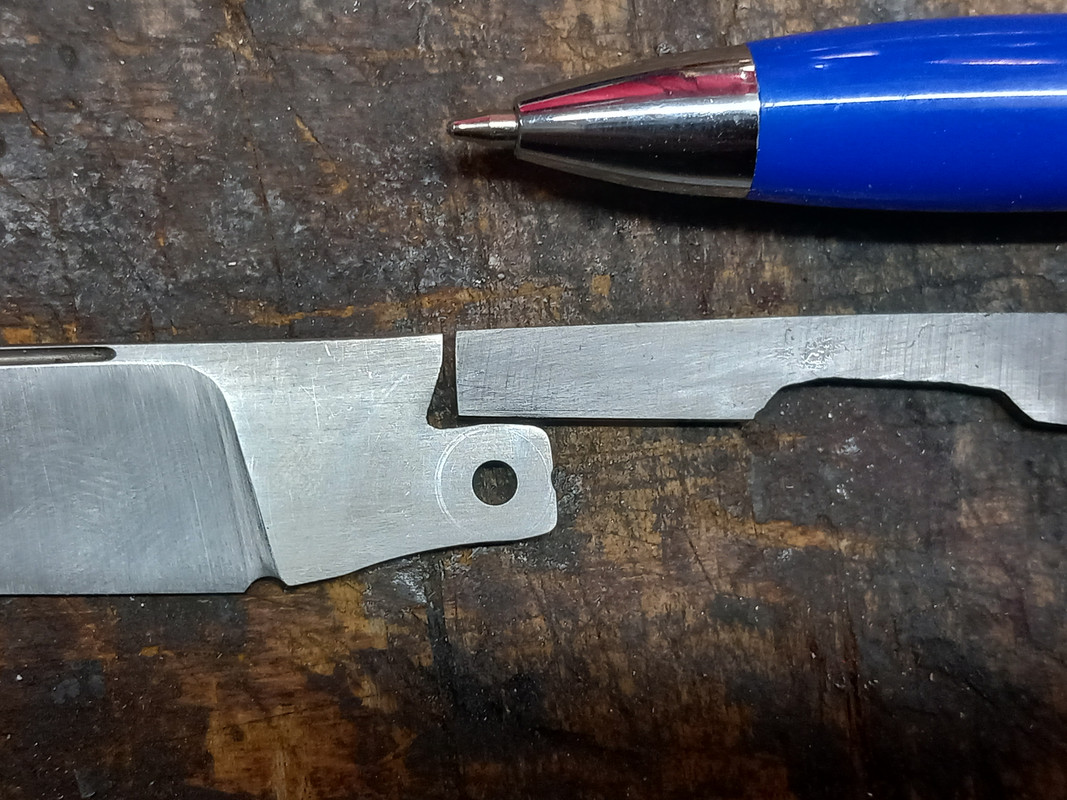
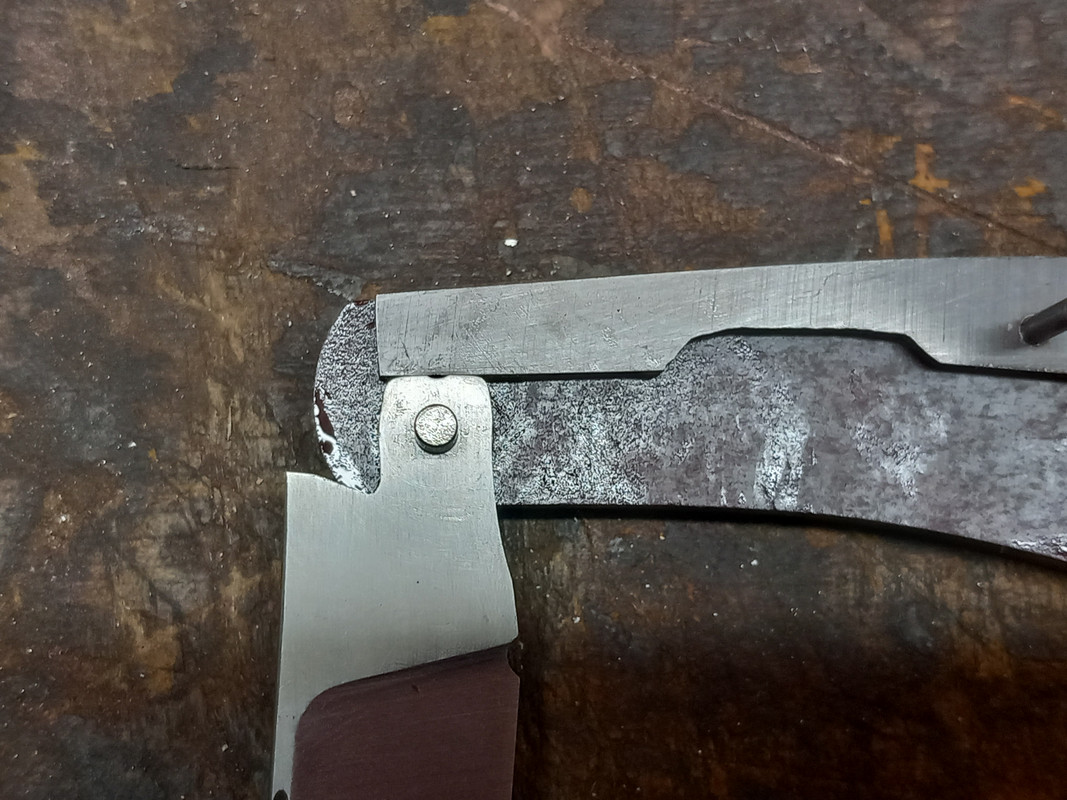
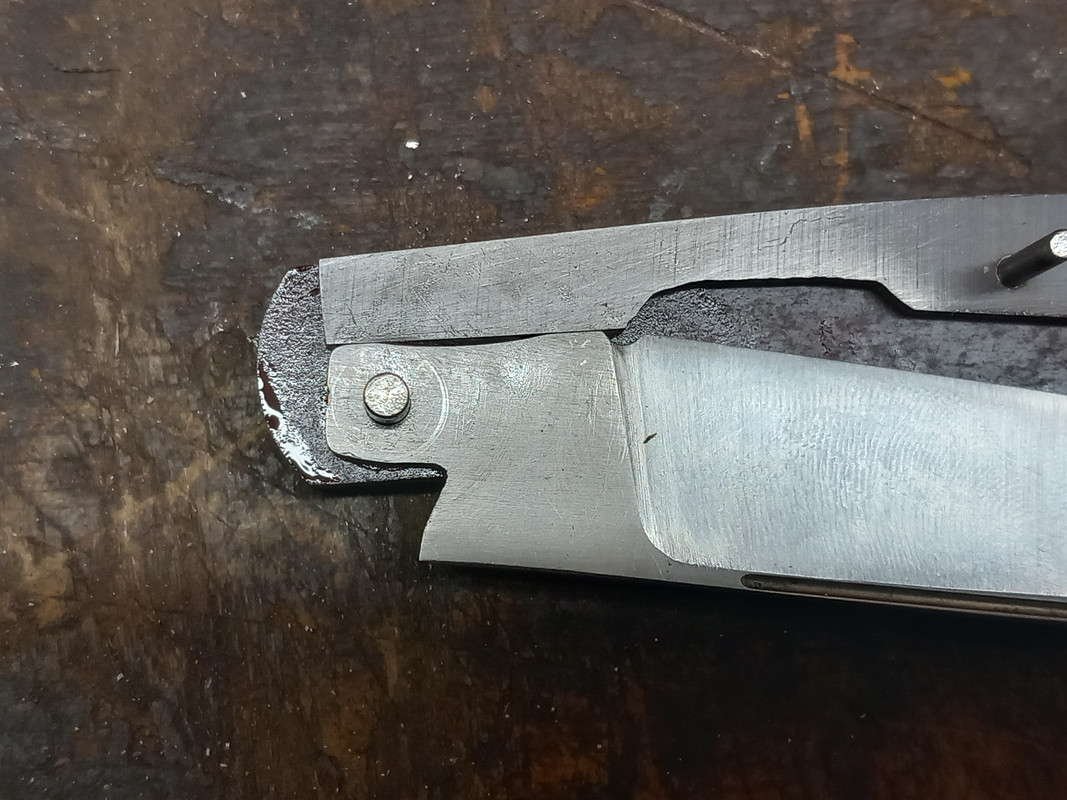
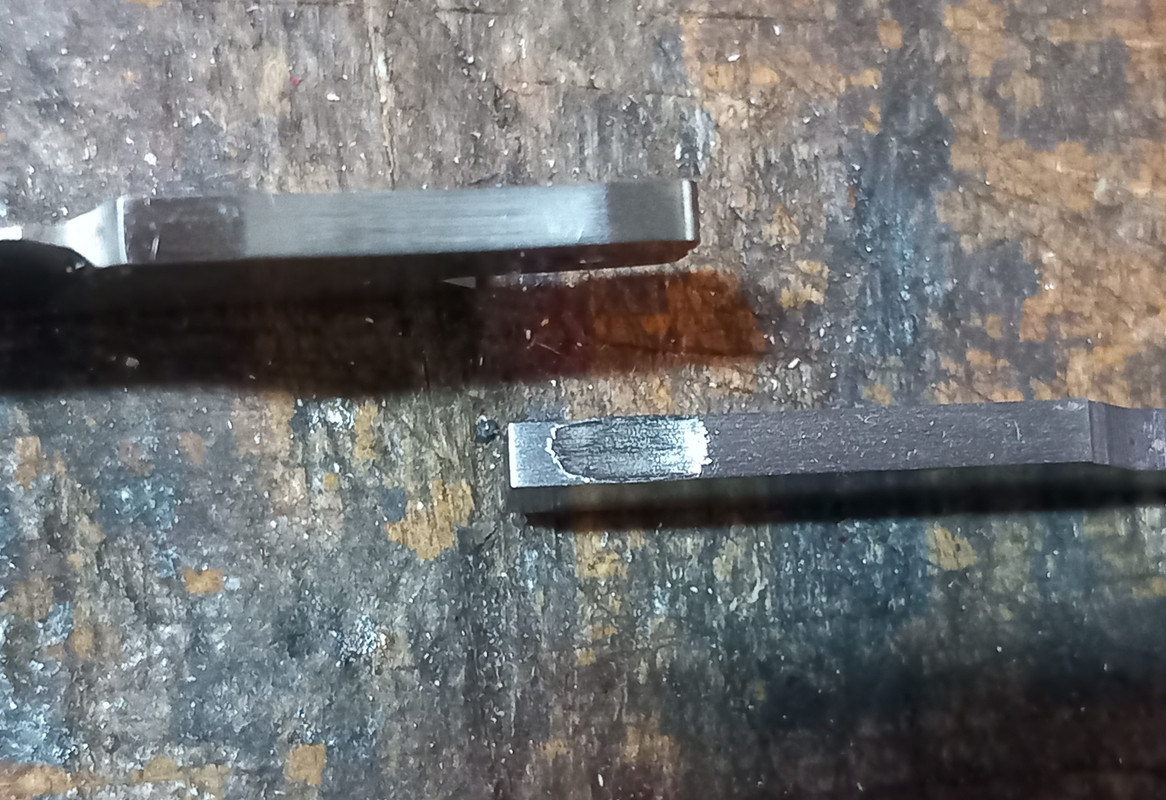
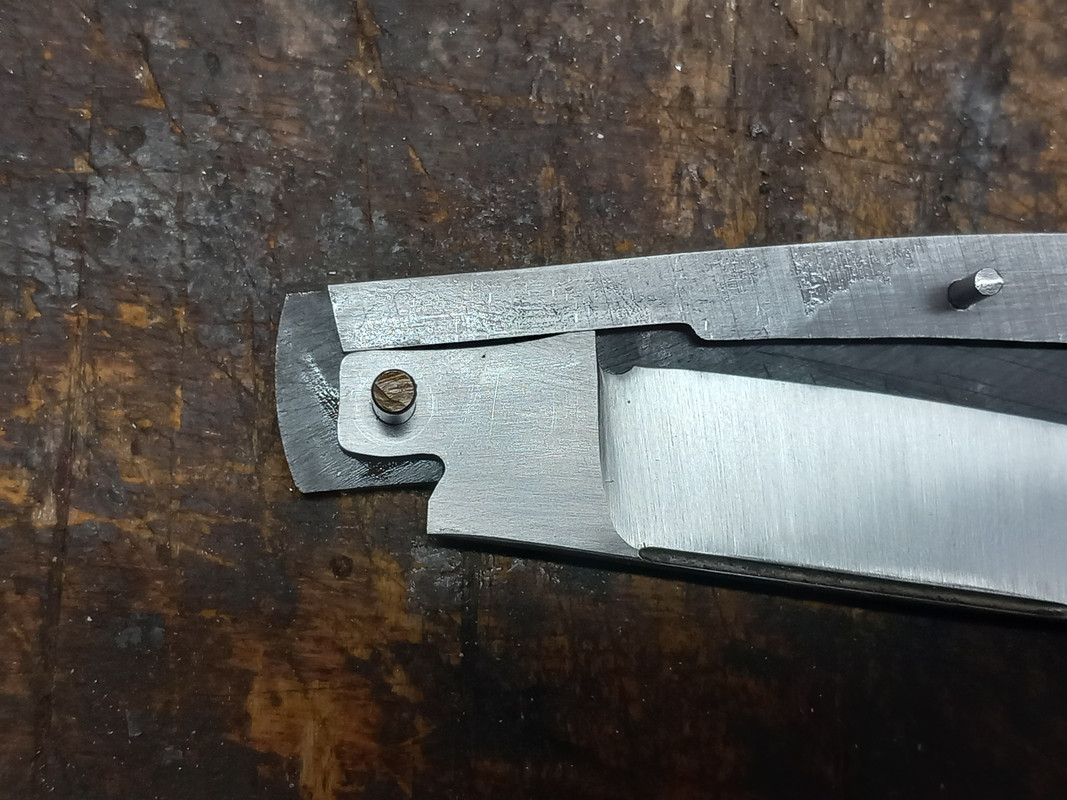
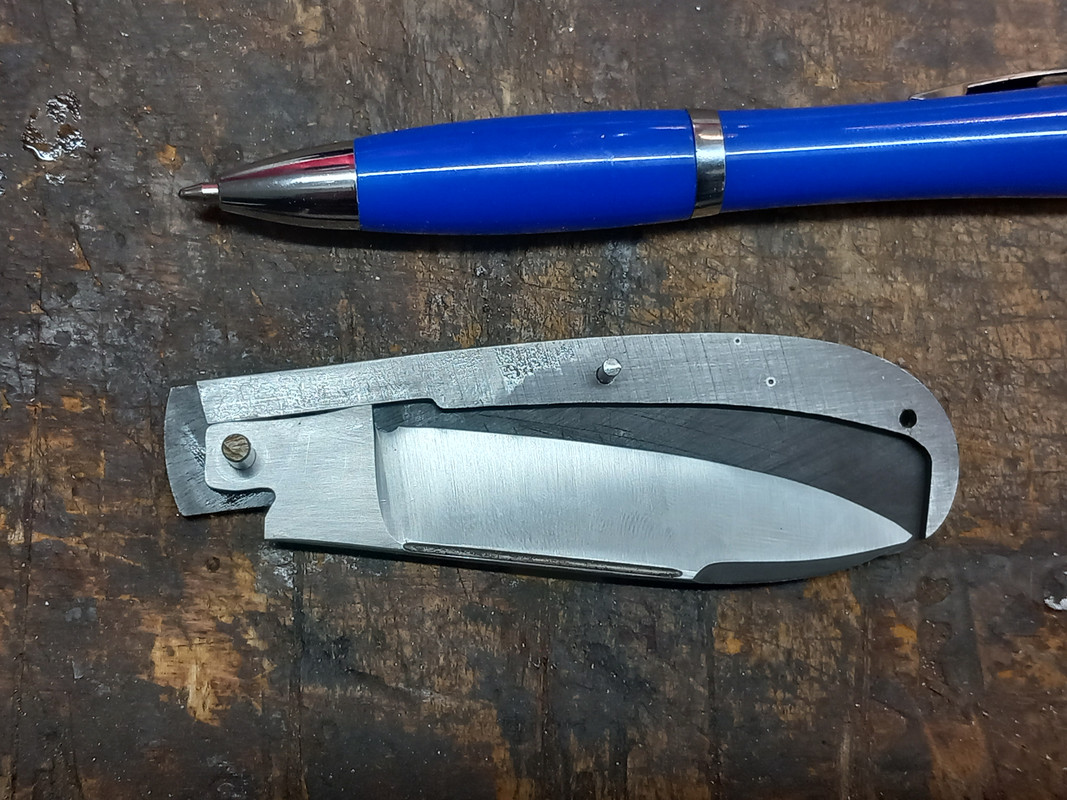
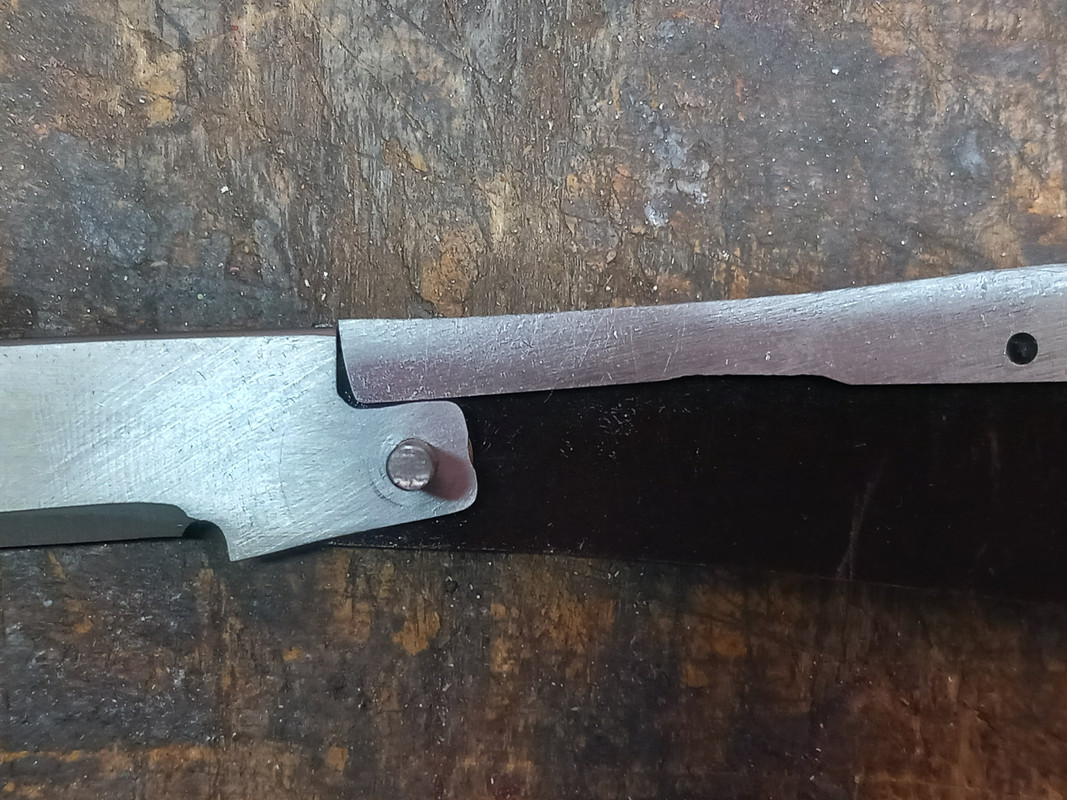
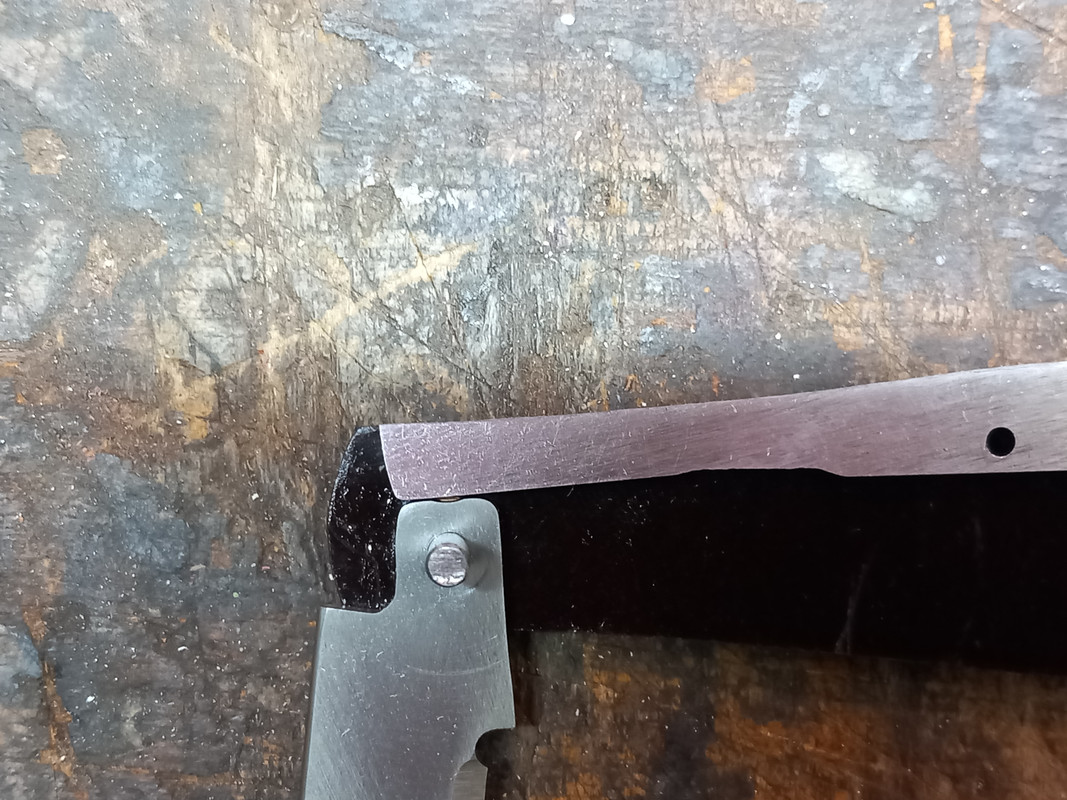
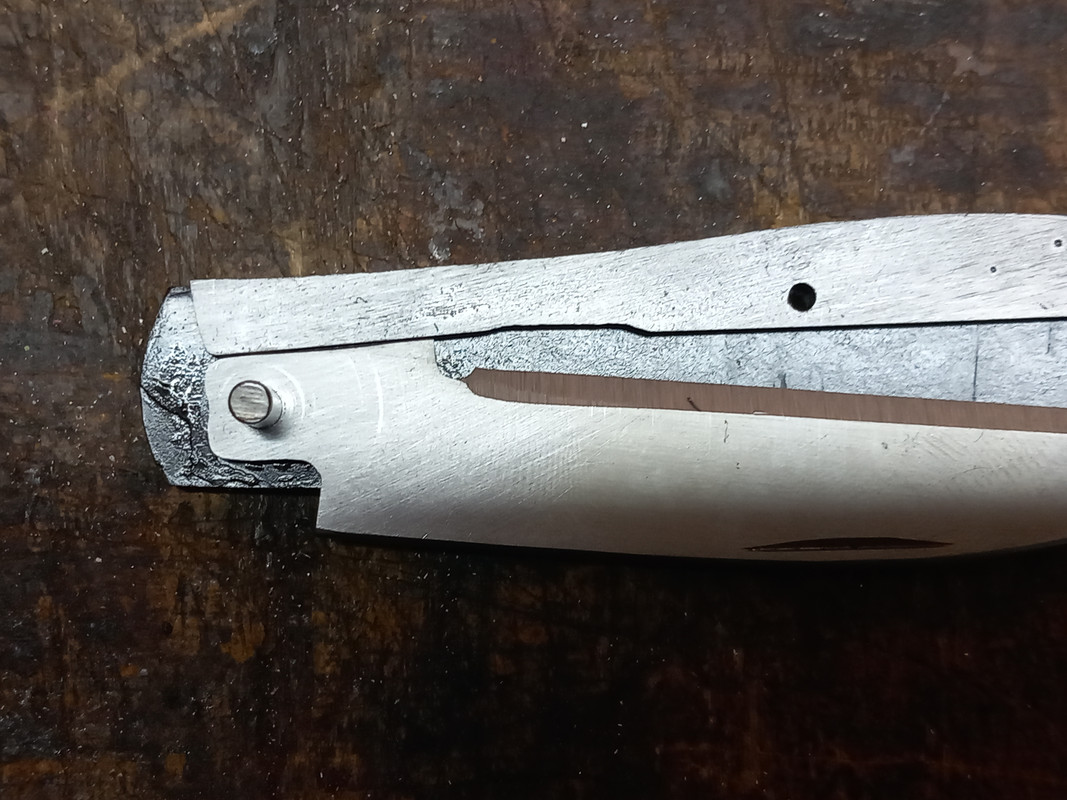
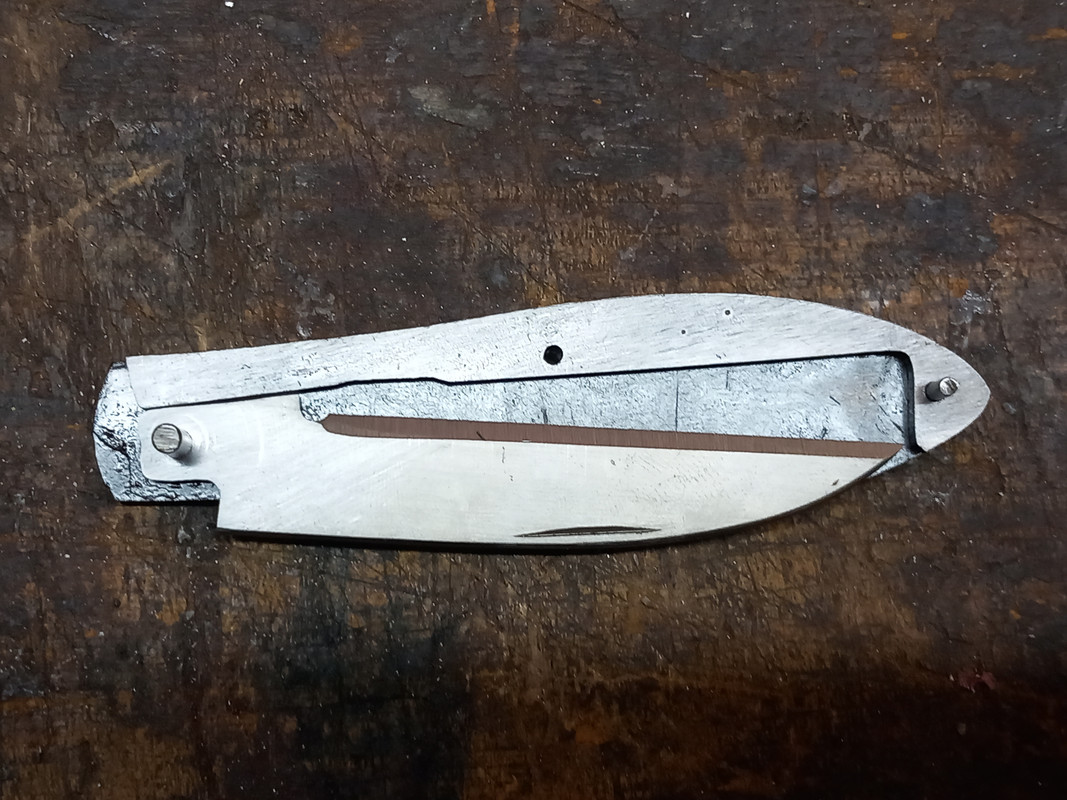
3. I had the good fortune to have a good surface grinder and would surface grind the blade and spring together to get truly parallel parts after heat treat and draw. I used no washers but would mill reliefs and as such both spring and blades would be the same thickness.
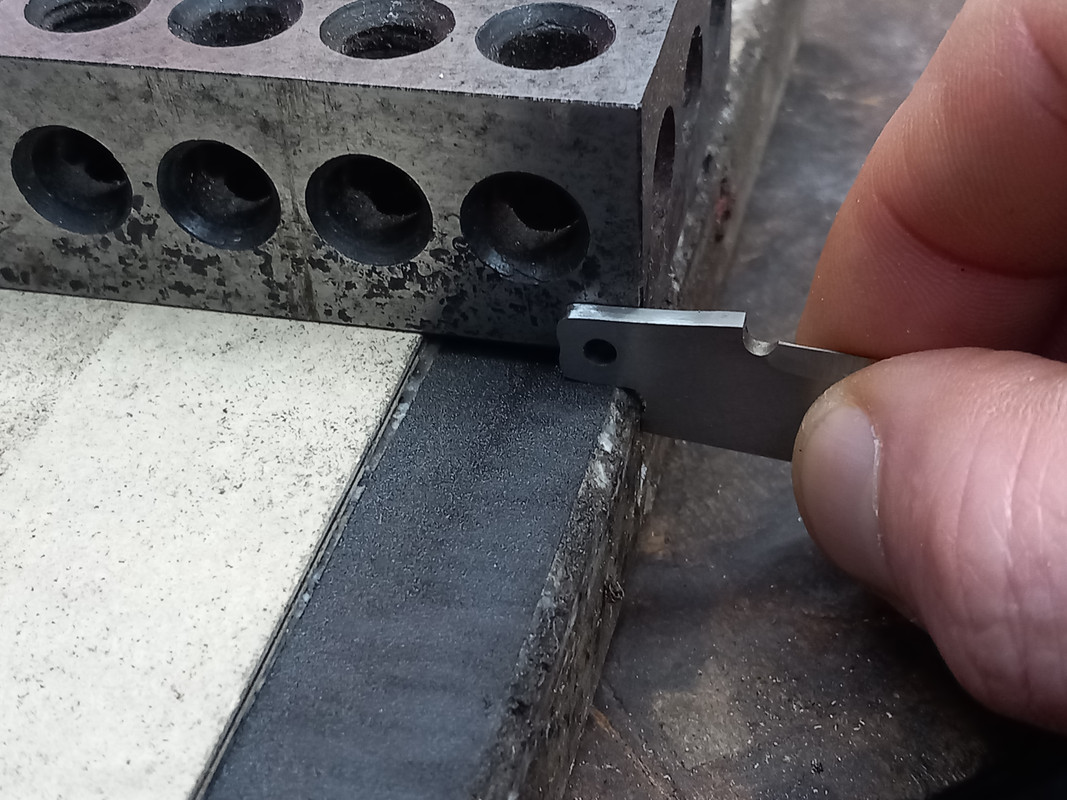
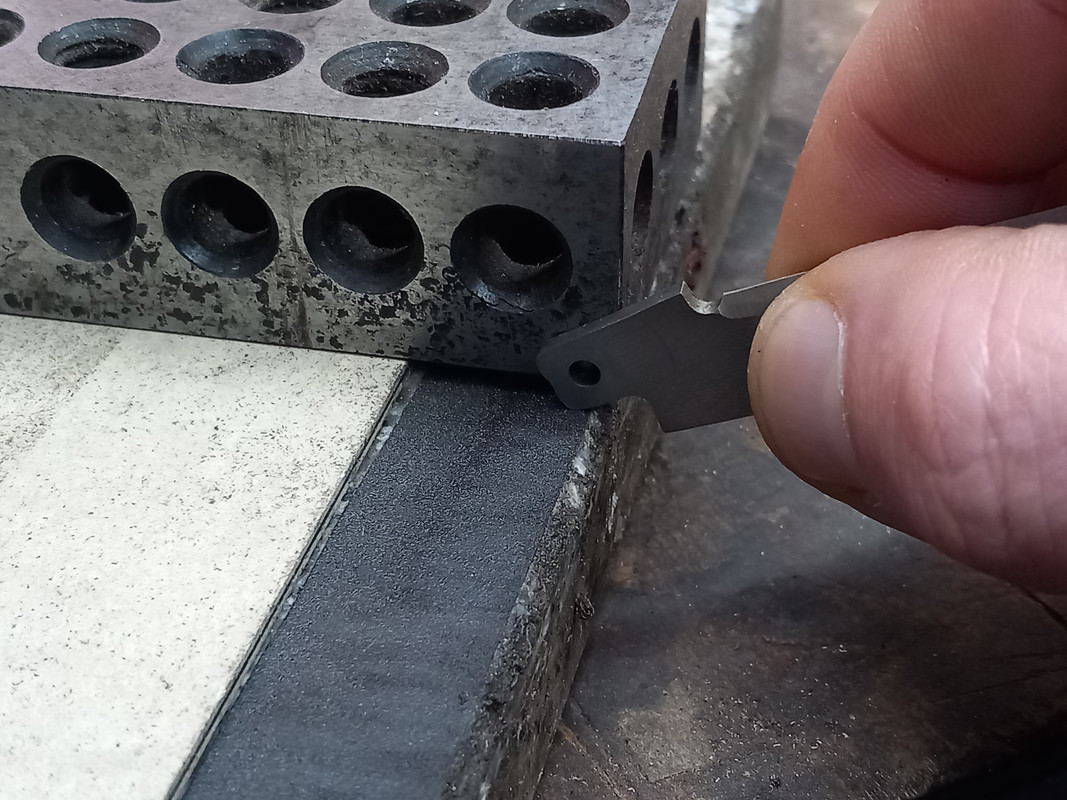
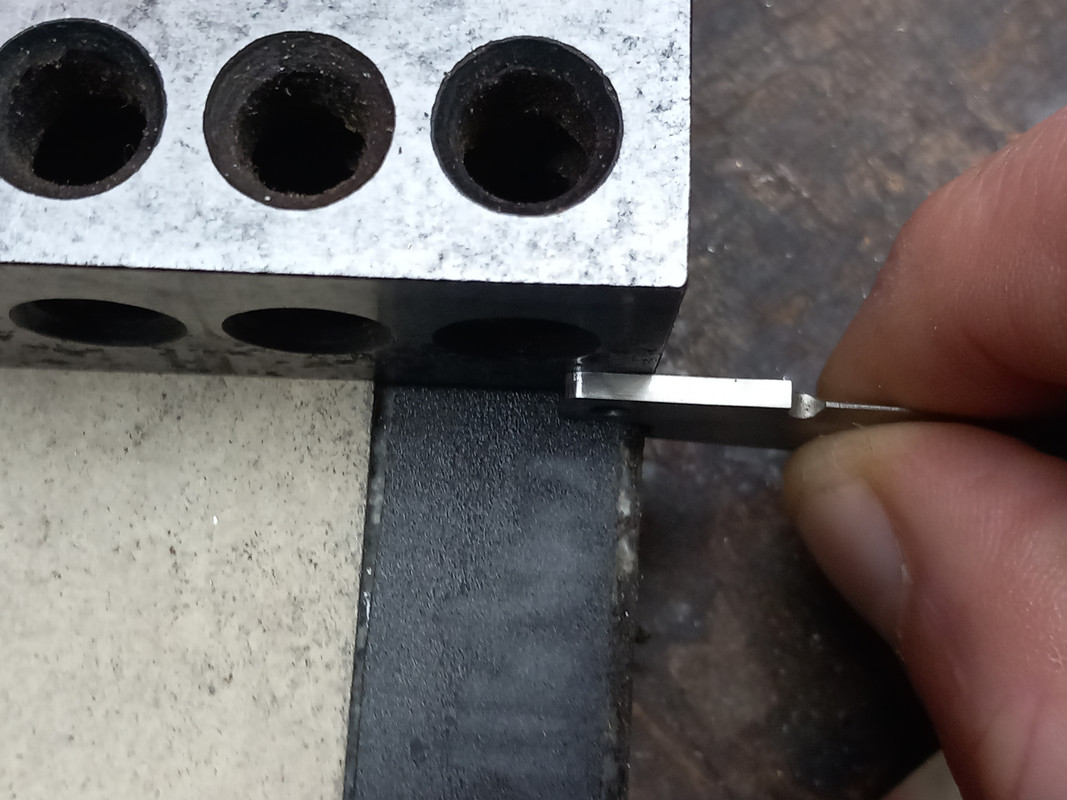
4. I used integral 410 liners/bolsters and would surface grind the inside surface of each side to insure they were flat and square with the pivot holes.
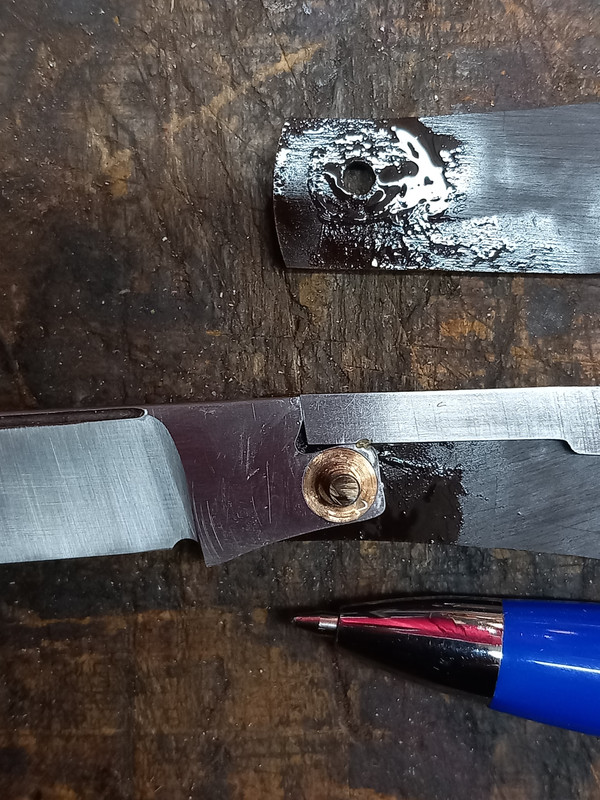
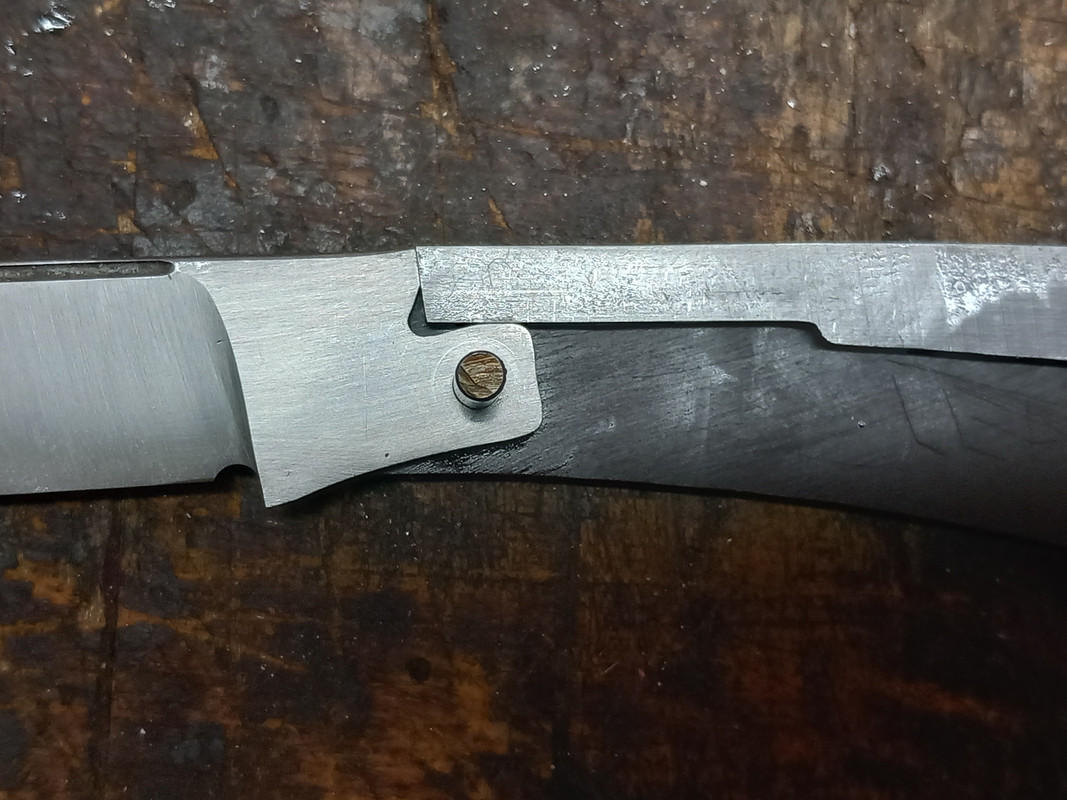
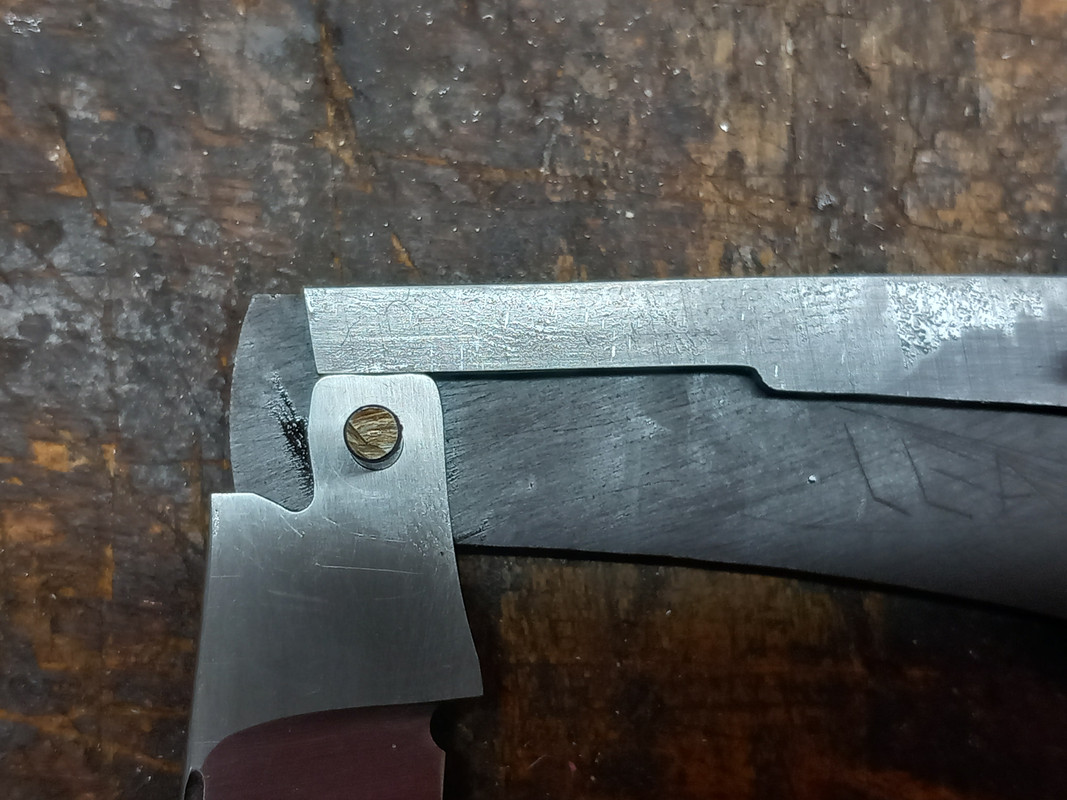
I did all the fitting of the blades and springs sandwiched between the two integral liners bolsters BEFORE milling the bolsters and mill reliefs. This also greatly aided me in grinding the backsrping flush with the liner while keeping things square.
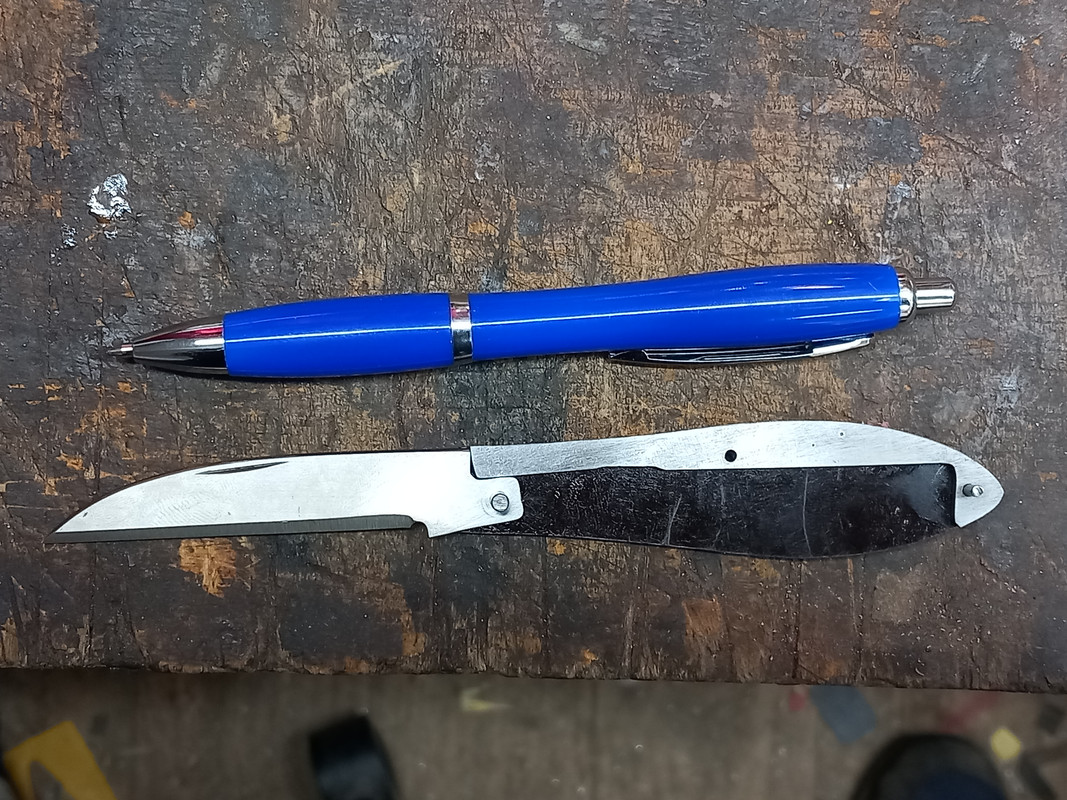
I believe these things eliminated a lot of the fitting issues and greatly helped in getting that great, smooth blade walk and talk. In my mind, hard to build a great house if starting with a foundation that is all cattywaumpas.
Again, if this is too much unwanted information I apologize .
I know that the tools and my processes maybe out of the reach of some, especially the guys starting out with slip joints. My processes worked for me and may not work with your style , tools , experience. And please do not think that a slip joint can not be made to be buttery smooth with proper walk and talk etc if not done my way. (just ask, if we could, the old Sheffield and early American slip joint makers! )
1. Good quality
2. Drill press with minimal runout and SQUARE to table.
3. I had the good fortune to have a good surface grinder and would surface grind the blade and spring together to get truly parallel parts after heat treat and draw. I used no washers but would mill reliefs and as such both spring and blades would be the same thickness.
4. I used integral 410 liners/bolsters and would surface grind the inside surface of each side to insure they were flat and square with the pivot holes.
I did all the fitting of the blades and springs sandwiched between the two integral liners bolsters BEFORE milling the bolsters and mill reliefs. This also greatly aided me in grinding the backsrping flush with the liner while keeping things square.
I believe these things eliminated a lot of the fitting issues and greatly helped in getting that great, smooth blade walk and talk. In my mind, hard to build a great house if starting with a foundation that is all cattywaumpas.
Again, if this is too much unwanted information I apologize .
Last edited: