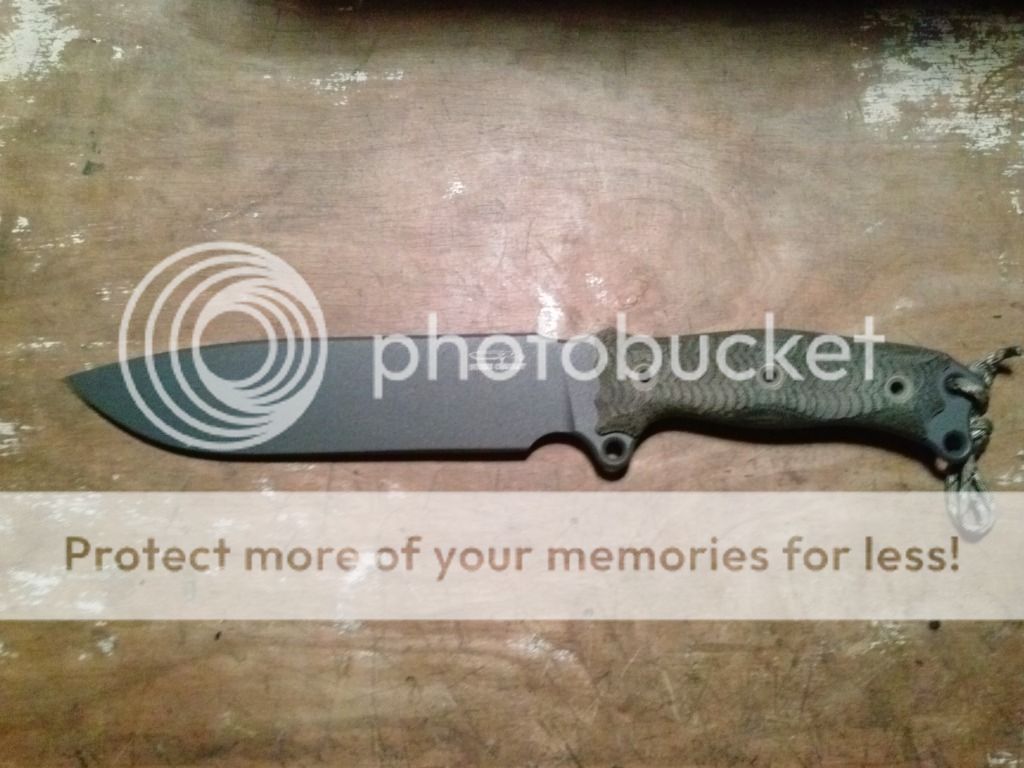
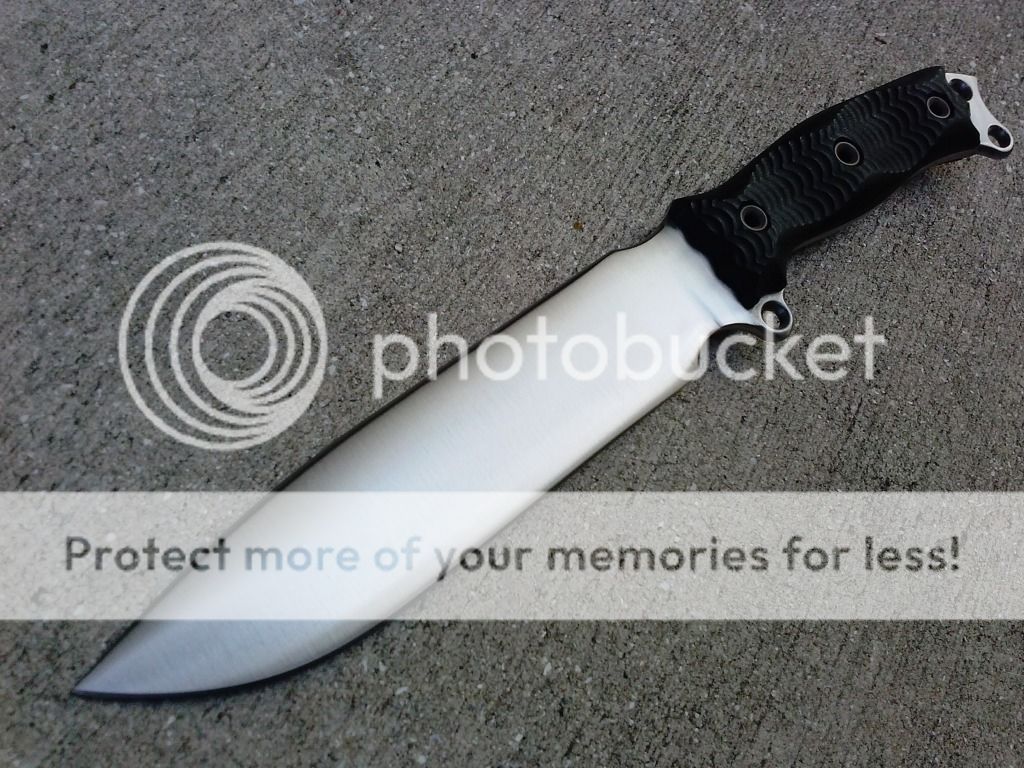
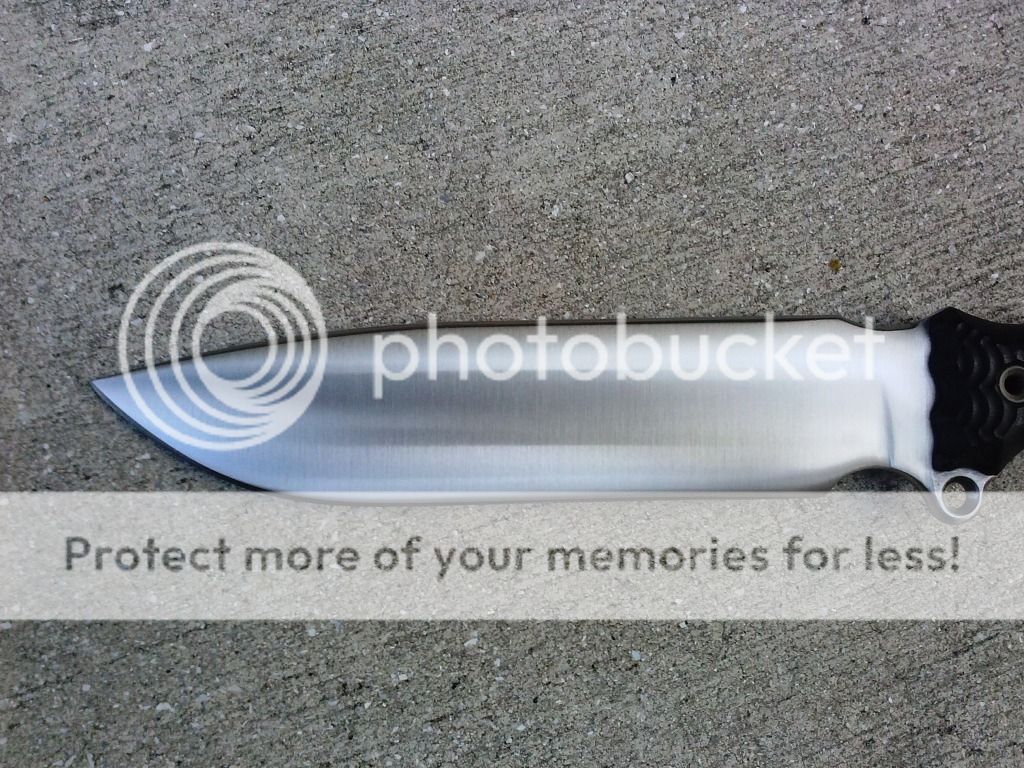
Stripped my TGLB tonight

Im kinda worried about the areas right next to the handles that i might not have gotten all the decarb off of, id hate for it to rust :eek:

I am obsessive about the areas near the handles also, here's how I tackle it--I'm sure someone else has come up with a better idea, but here's my method, take it for what it's worth:

I use a wooden shim sandwiched in between a folded over piece of sandpaper...it's fairly labor intensive hand work, but you'll be surprised how close you can get...

I've used a putty knife with the sandpaper but it tends to cut thru the paper faster...

You'll find you have more "pride of ownership" in a stripper, at least I do :thumbup: :D
 
question on the pcb etching:
do you just scrape/carve over the Busse logo with the solution on the point of a metal handle, or do you pour the solution completely over the area where the logo is.

that looks fantastic btw.


This is how I did my Ratmandu -


Pour it on - let sit - rinse - repeat
 
exactly what he said just dab it on with a q-tip, then every hour I scrubbed it with a q-tip and change to the solution
 
Yeah, pretty much once you get enough time and money invested to get them to strip... you can have a lot more fun with them! :p
Great job on making her all yours!
 
I used that same epoxy stripper to strip a cold steel recon 1 tanto that my lady used to cut up some carpet. The coating was all scratched up by the sand in the carpet. It literally fell off the blade after a few minutes. I also got a drop and my hand and let me tell you I think it might remove skin too if left on. It imediately began burning. I rinsed it well and had no lasting issues but that's some strong stuff. The TGLB looks great. I haven't had much chance to use mine yet. But this spring and summer I'm gonna make sure it gets some work time. Last year the FBM got all the love.
 
Oh I forgot to mention that recon 1 had a very nice stonewashed finish under the coating. Not sure why they coated it in the first place lol
 
You just cover the logo with the etchant. You don't need much. Then clean and reapply. I used a tooth pick to get in there and clean it up good to make sure new solution was nice and even.


question on the pcb etching:
do you just scrape/carve over the Busse logo with the solution on the point of a metal handle, or do you pour the solution completely over the area where the logo is.

that looks fantastic btw.
 
After viewing this thread a few times I couldn't resist.

You made me do this:

Before


After


This one didn't go so well, the coating didn't bubble up and peal right off like the last one I stripped. I had to scrape it with a putty knife and wire brush. The whole thing Underneath was covered in dull grey decarb. It took a bit of work to bring it back.
 
Wow that's a beauty! What did you use to polish her up?

I used a belt sander with 80, 120, 220 grit. Then, 400 and 600 grit trizact belts. Finished with coarse then fine Scotch Bright belts.
Did the nooks and crannies with a small wire wheel on the dremel. It sounds like a lot but it really wasn't bad and I enjoyed doing it.
Its instant gratification seeing the progress getting better with each pass.

The last NMSFNO I stripped, the coating came right off and was almost perfect underneath. No decarb at all, the blade was just about satin and the flats were smooth and shiny. You never know what your going to get into when you remove the coating on a BUSSE.
 
Back
Top