My File Knife Project
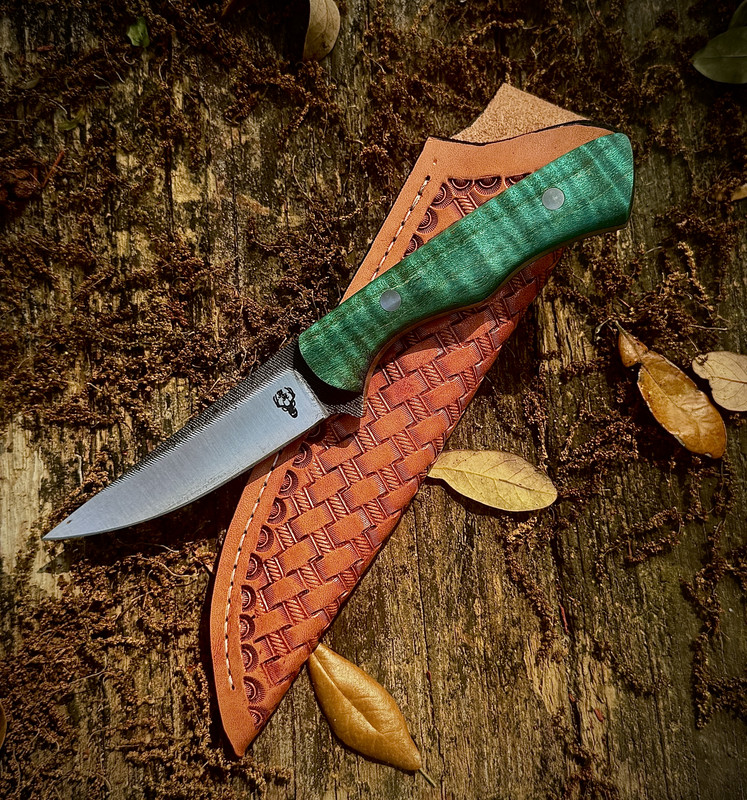
The forge is demolished and there won't be any forging for a couple of months. I was out there cleaning things up and getting another pile of debris ready for the City to pick up and took a break. I decided to do my file knife today. I made a puukko shaped blade and went with a stag handle. I'm calling it a patch knife.
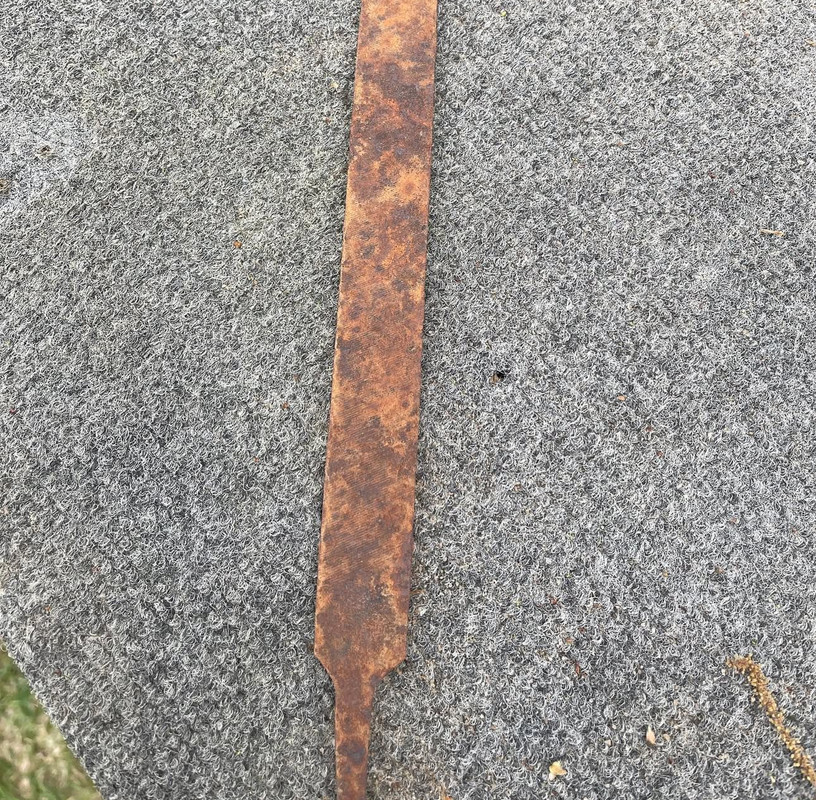
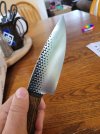
Step 1 - Find a rusty old file that is not too thick. I had one in a box of old files I bought at a tailgate that was perfect. About 8" long, .125" thick, and .650" wide. It was suitably rusty, too.
Step 2 - Grind in the basic tang and set the place where the shoulders will go. This took about 2 minutes on a 60 grit belt. Leave it full length. You can cut off the excess later.
Step 3 - Grind in the profile. I slowed the belt down and shaped the belly, dipping it in the water can every few passes to keep it cool. This took about 1 minute.
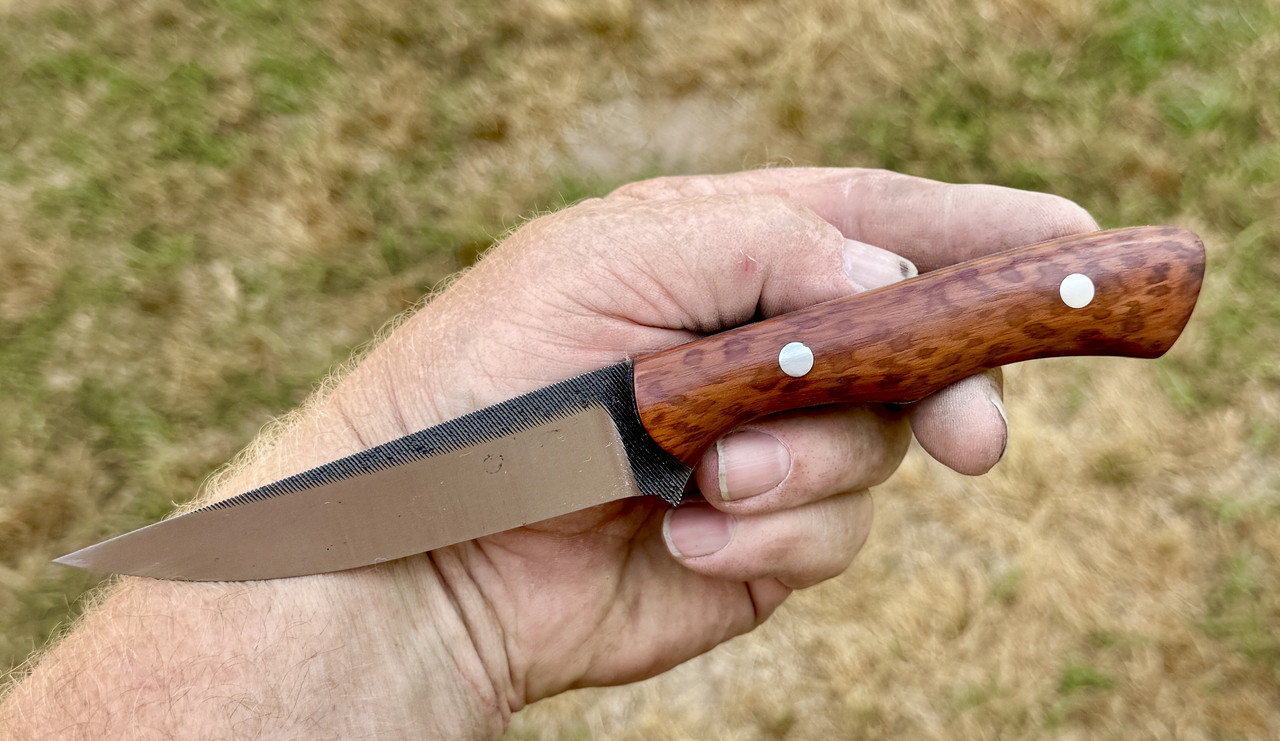
Step 4 - Grind in the bevels. I used a 120 grit belt to make simple bevels, dunking often, and then a 220 grit belt. I only went halfway up in a Scandi grind. You want to keep the file lines on the upper bevels and spine or defeats the purpose of using a file. The bevels took maybe 3 minutes.
Step 5 - Set the shoulders and final tang shape. It took just another minute to clean it up. The basic knife took about 10 minutes to shape.
Step 6 - Anneal the tang and draw the blade temper back a bit. I used my jewelers torch, but any hobby or plumbers torch would do fine. Once I heated the tang red, I walked the red down to the shoulders and let it cool. Then I drew the spine of the blade with the torch and watched the golden brown color run toward the edge. I let it go about half way and dunked the blade. This gave me a hard edge , medium spine, and soft tang that I could bend and peen the end. At this point I put a clamp on the tang and suspended the rusty blade in my jug of Evapo-Rust. 30 minutes later it was lovely. A rinse and wire brushing, and it looked perfect. The chemical also leaves it black.
Step 7 - Find a suitable handle. I was going to do a puukko style, but decided to save time and use stag. I grabbed the box of small stag handle pieces and found one with a little brow tine at the base. I usually cut those off and grind it smooth, but this one called out to me to do something different. I made a finger grip from it.
Step 8 - Drill the stag from both ends, meeting in the curve. This is simpler than it sounds. Sticking a piece of round stock in one hole helps you visualize where the drill bit is heading from the other end. Wiggle the drill bit around to open up the part for the tang through the stag's curvature.
Step 9 - Shape the tang to go through the hole. This required just a little curve and bend, plus a little angle where it came out at the crown so the peened part would be straight to the crown. Because it was softened, these bends and curves were easy with a pair of pliers and a small hammer.
Step 10 - Make a front bolster. The slot I made drilling out the front of the antler was pretty snug to the ricasso, and I could have just seated the blade in the front of the antler, but a cut-off of stabilized bog oak was sitting in the tray of useful pieces and cut-offs I keep in the bench drawer, so I used it as an accent and slotted a tight fitting bolster to the blade and antler. It fit really snug. I also found a 30-cal pistol shell in the "Odds-and-Ends" tray and cut it off about 1/4" long for the tang washer. This is a really good trick, and makes a rock solid washer to peen the tang on. Just de-cap it and drill the hole as needed. I also do this for peened rivets on scales. It makes a great accent. It also protects the wood from a missed blow.
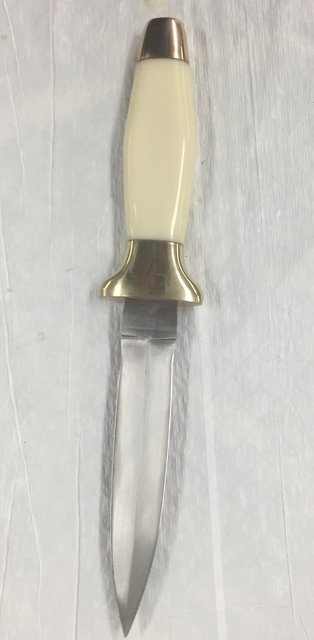
Step 11 - Assemble everything for a last test fitting and peen the tang. All fit well. It fit so snug that I decided not to use epoxy in the handle and kept it authentic for selling at a Rendezvous. I tacked the bolster on with some CA and sanded it flush. I reassembled everything, cut off the excess tang, and used my carbide straightening hammer to peen the tang. This is another good trick, as the ball on the end of the hammer really moves the steel and leaves shiny divots. Everything was so tight I couldn't move or wiggle the blade.
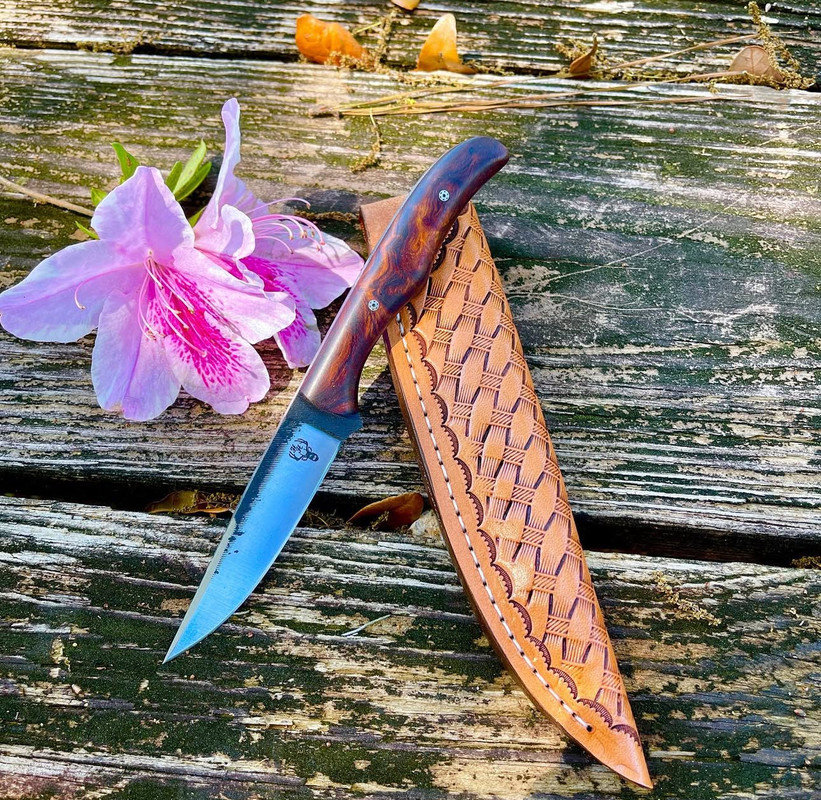
Step 12 - Finish everything. I gave the bolster/antler seam and the blade/bolster slot a drip of thin CA to seal it. I then sanded the bolster/antler junction one last time and buffed it.
I'll put a razor


edge on it tomorrow and make a sheath.
Total time start to finish was less that 3 hours.