Tanto curving in quench

Joined
Oct 19, 2017
Messages
325
Hi,

I have a question please.

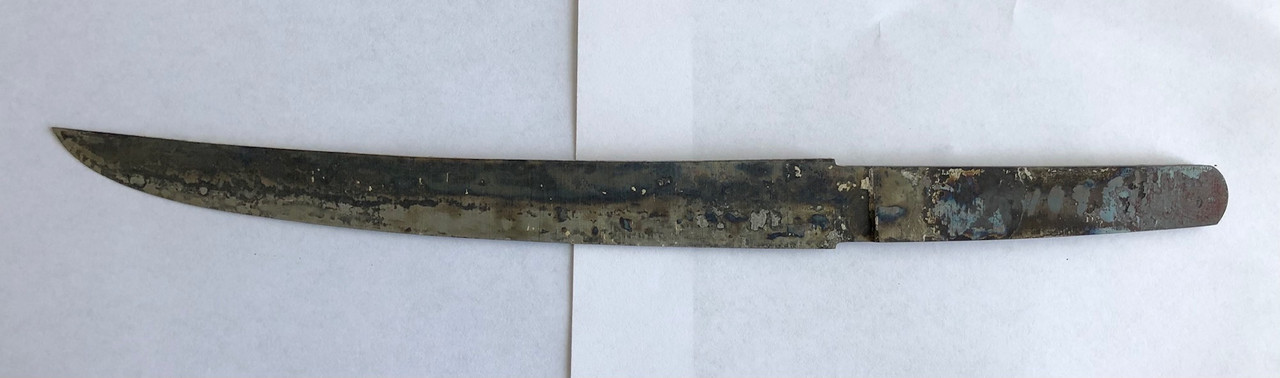
While I was quenching a 1095 Tanto blade, it curved downwards.

It was clayed up for a Hamon and I have inserted the blade in the water, edge down.

Just for clarity, I quenched in water for the first 4 sec, then into 130F canola oil.

How do you prevent this from happening and what causes it?

Thanks in advance,
 
Another piece of detail, I inserted the blade almost vertical, maybe at a slight angle , since my quench tanks are metal buckets.

Also, the blade is 4.8mm at the spine and 0.5mm at the edge.

thanks,
 
Maybe search the forum for "reverse sori". The first hit gave me an explanation by Kevin Cashen from 2006 (Questions about sori...)
This is what I came up with; Oil it seems cannot cool the spine quick enough to lose the more ductile austenite in the spine before martensitic expansion begins. Under these conditions the spine doesn't anchor anything but instead gets pulled along with the expansion, causing no significant curvature. Then when the elongated spine does complete its expansive transformation the rigid edge is instead the anchor and the blade curves in reverse.
 
I'm sure the sword folks will chime in, but it's my understanding that this is due to a combination of the shrinking of the steel that happens during the quench and the geometry of the blade. This is how Katanas and other longer blades get their curvature. There's a video on Youtube of someone quenching a sword at a demo in a fish tank and the blade that was straight before the quench first curved down after the first dunk in the tank, and then curved up on the second dunk into the quench tank.
 
There is also this article I found in a search a few weeks ago when searching for an explanation why my blades picked up a curve when plate quenching. I don't recall if they explained why the reverse curvature gets locked in, but their models show that this curvature (gyaku sori) does occur at some time during the quench.
 
Yes, I am aware of the katana video where it first curved down, then up.

My problem is my tanto never recovered from the curved down position. Ok, stop laughing now.

I would have been very happy if the final curvature was upwards, but it was the opposite.

Just for clarification, I’m not looking for the technical reason, unless someone wants to offer it, more like what should I do in order to get a straight or a bit curved up blade.

thanks again,
 
Use Water canola oil is way too slow, when you quench a long clayed blade during yaki ire the blade first curves down, then it curves upwards. So your blade curved downwards and stopped mid process, if you used water it would have continued and curved back upwards during rapid cooling.
I do quite a lot of water quenching, that's actually how I started making blades, I'm not an expert but i've done enough water quenching with clay to give a few tips. the longer the blade the more it will curve, small knives wont even curve. I quenched a 5 inch drop point and a clip point and neither of those curved. A tanto with a length of 1+ shaku can curve, but sometimes they don't either. Not sure if spine thickness and depth of shinogi and niku can effect rate of curving in tanto.
But ditch that canola oil for yaki ire, it's just too slow, good for high manganese steels like O1, don't be scared to use water, I get quite a high success rate, haven't had much warping or cracking honestly.
 
Use water for yaki-ire on a short blade. Canola is too slow for any sort of sori quench. Parks #50 will work so-so, but the clay has to be right.

The simplest method of getting the exact curvature on a tanto is to forge/grind it in and oil quench.
 
Ok, thank you all, I will go with water only.

Now, should I interrupt the quench, or just keep the blade in the whole time.

If interrupted quench, how many seconds in, out and back again. E.g, 4s in, 4s out, then back in until completion.

Will an interrupted quench result in more pronounced sori? Or the other way around?

thanks again,
 
Last edited:
Oven is heating up.

I’m going for an uninterrupted quench. I believe this will give me the most sori.

I also believe the interrupted quench is less stressful on the blade, but will produce less sori.

So I guess, if I would like a straighter blade, probably the interrupted quench will be the best, These are all assumptions and I could be totally wrong.

I’ll let you know how it turns out, hopefully will still have a blade at the end, if not, it will be displayed in my shop. Pretty cool either way.

thanks again,
 
Yaki-ire takes some practice to get down pat. Broken blades or failed sori are part of the learning curve. I usually do a slightly interrupted quench. In the quenchant - 1-2-3- out -1-2-3, in until cooled.

The concentration of the brine quenchant and its temperature are very important. 8-10% salt content and 100-120°F (40-50°C)
 
Well, no bueno.

I did an uninterrupted quench, water at 75F.

I’m pretty sure I felt a ping, didn’t hear it, but felt it through the tangs. When I removed the blade it had a nice sori, was in one piece, however it took a lateral bend.

I did the usual, clamping the blade against the bend and was waiting to start a tempering cycle, than about 5 min in, the blade just snapped in half, sitting on the table.

Should have done an interrupted quench and now I see, the water was a little too cold as well. Also, should have moved to the tempering cycle faster, but I don’t think it would have matter, since the blade was probably compromised by a fissure anyway.

Well, good learning experience. I’m looking forward to the next and will follow Stacy E. Apelt - Bladesmith Stacy E. Apelt - Bladesmith advice above.

thanks again,
 
Use brine, not pure water.
Tempering of a yaki-ire blade must be immediate. Cool it down after the quench in running water and them get it into the oven ASAP. It can crack sitting on the bench for 10 minutes. Do nothing to the blade until after the first temper.
NEVER clamp a blade to straighten any warp below the tempering point. Only straighten on the second ( or more) temper cycles. Let the blade sit in the oven for 15 minutes, remove and put in the clamp, return the clamp/bade to the oven for 1 hour. Adjust clamp and repeat until it is straight.

Great, thanks again Stacy, makes a lot of sense.

On a second inspection, I could actually see many cracks perpendicular to the edge, probably 6 of them. The pings I felt were actually these cracks forming. I thought maybe it was the clay popping off, but now I know what I felt.

On the next one, I will formulate a plan of attack based on what I learnt and perhaps create a new post to get it validated with you guys, before proceeding.

Again, thanks for all your input, really appreciated.
 
And here is a pic of the resulted sori. Of course, useless since the blade didn't survived, but just wanted to share. I never expected to curve this much. Well, hopefully next one will survive.

Tanto-sori.jpg
 
I don't know if anyone mentioned this or not, but make sure that any scratches on the blade edge are parallel to the edge.

Heavy grit scratches perpendicular to the edge can lead to cracks
 
Back
Top