Tanto curving in quench

I don't know if anyone mentioned this or not, but make sure that any scratches on the blade edge are parallel to the edge.

Heavy grit scratches perpendicular to the edge can lead to cracks

Didn’t know that, thanks a lot.

This means more initial work before the quench, so it will hurt even more when it fails .
 
Another question please, will a horizontal quench tank increase the chances of success?

Thanks again,
 
Last edited:
Concentration is always by weight. People use from 7% to 10%.

If you used the custom search engine in the sticky, and typed in "Brine Quench" it will give you hundreds of threads with the info.

Here is one I made a while back:
A 9% solution is .75 pounds of salt to 1 gallon water .... or .... 1 pound salt to 1.33 gallons water. Most folks make a mix with three pounds of salt and 4 gallons water to get sufficient volume. Warm the solution to 100-120F.
I use a 7% solution which is 2.5 pounds salt in 5 gallons water. Others use 8% or 9%.
Great, thanks again.
 
1Pyv6qq.gif


2o5zdVR.gif
 
Hi again,

Just wanted to close the loop and mention that following your advice I have successfully quenched a 1095 test/sacrificial blade in brine. AWSOME!!!

I followed Stacy E. Apelt - Bladesmith Stacy E. Apelt - Bladesmith recommendation and went with a 7% brine and did an interrupted quench. I also finished the quench in canola oil, don’t know if that kept the blade from shattering, but I thought, may as well go with it and see what happens. After that, tempered at 400F, twice for 2 hours. And I’m talking right away, say 2 min the most, after the quench, as instructed.

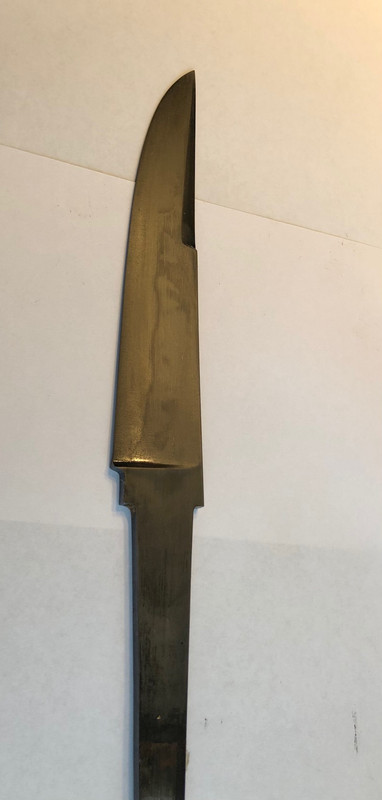
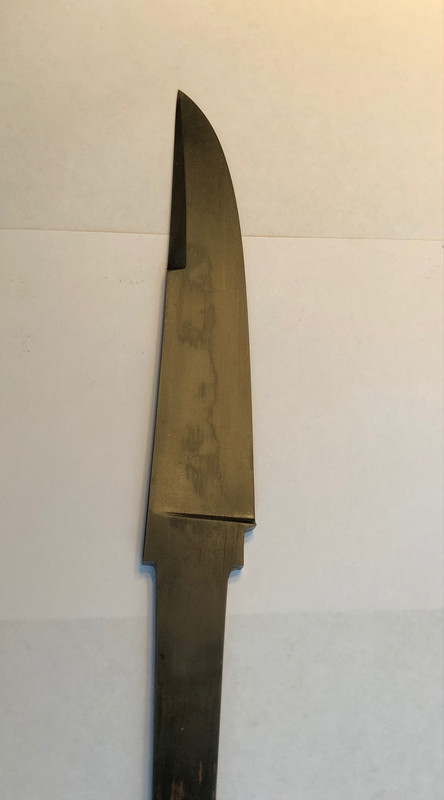
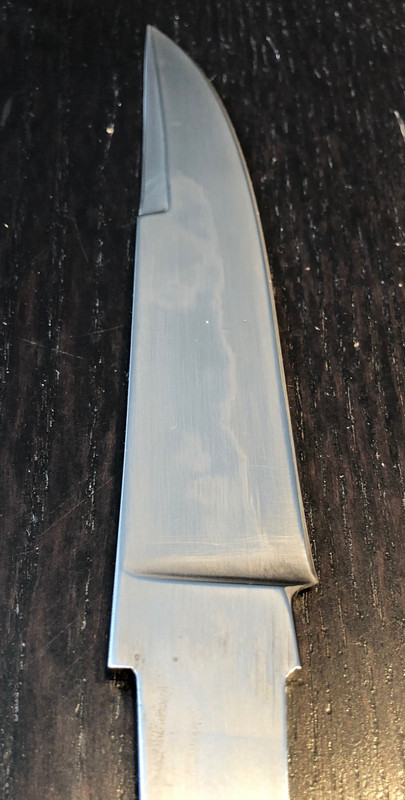
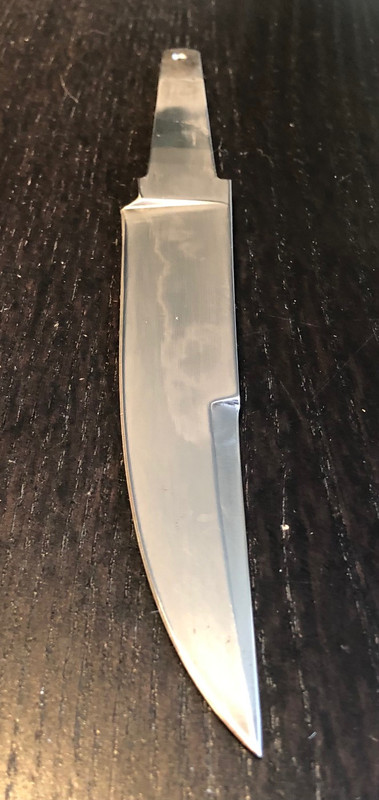
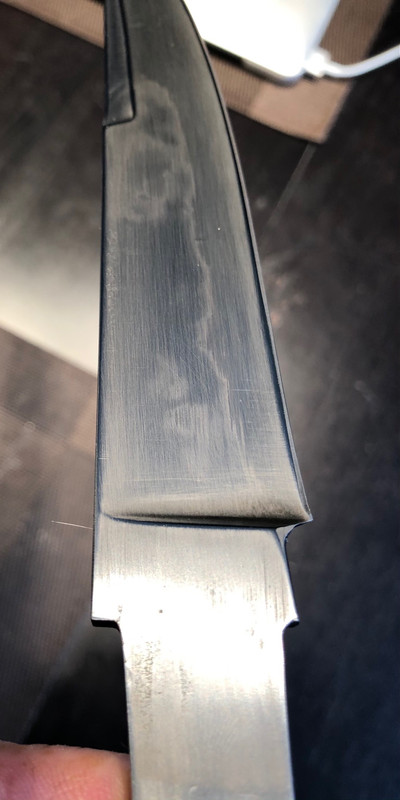
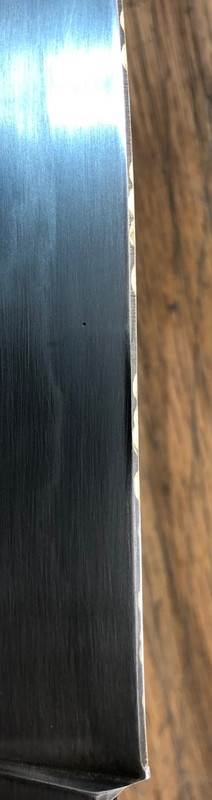
The next day, I put the blade in acid for a few minutes, just to see if I can see a hamon. Please see below, but it looks to me that whatever that activity is, it followed the clay pretty close, I say 1/8” inside of the clay line.

Other thing to mention, I went with 1440F for the aus temp and soaked for about 15 min, instead of recomended 1475F. Just to keep the quench less violent, or at least that was my reasoning/understanding from reading other posts.

Also, the brine was at 120F and oil at 130F.

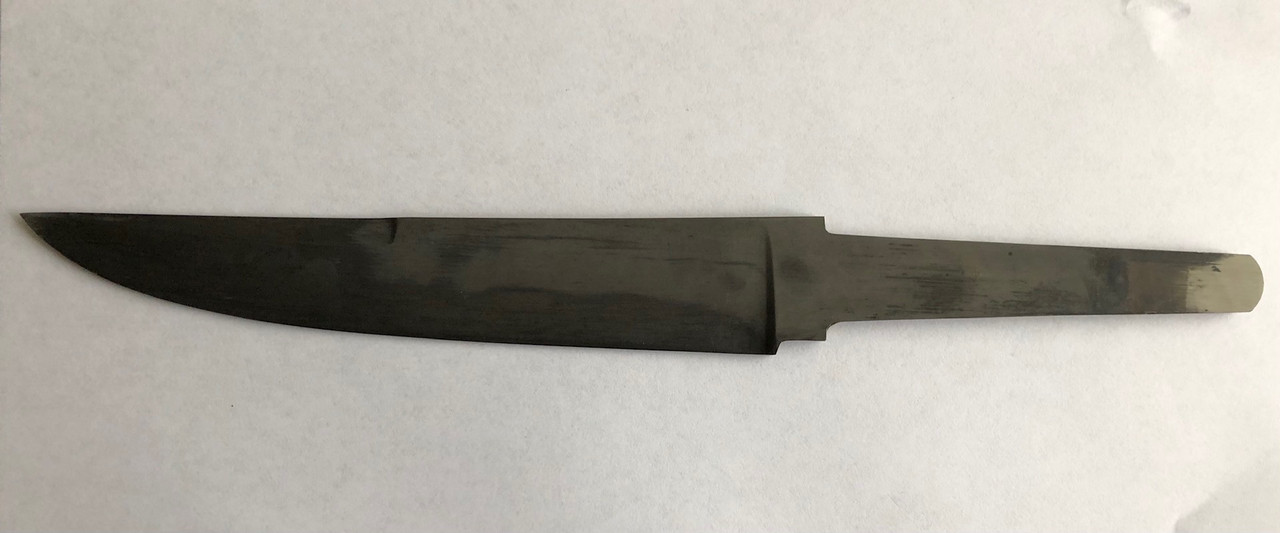
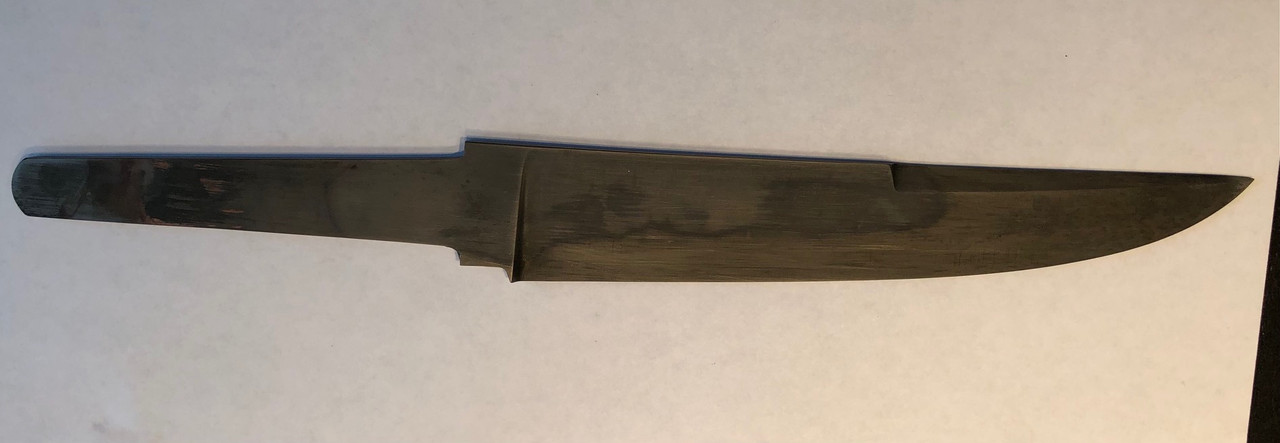
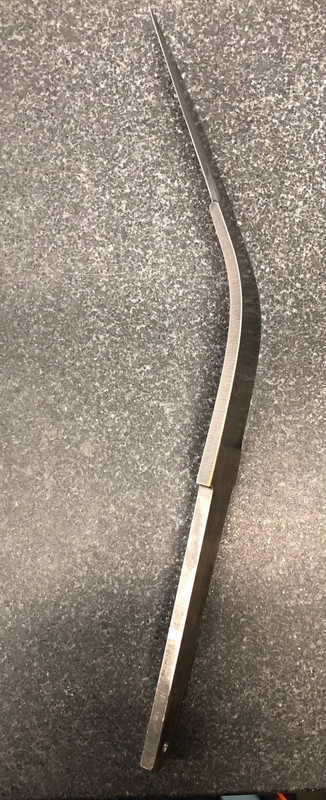
The quench even gave the blade a sori. This is a short blade, 6.2” from ricasso, but i think this happened because of the distal taper and the false edge on the spine, a few inches from the tip.

Here are some pics, please let me know if you think that is a hamon, I think it is, but just in case. It follows the same pattern on both side of the blade. IT HAS TO BE...

IMG-2849.jpg


IMG-2850.jpg


IMG-2851.jpg


IMG-2852.jpg


Thanks again guys, you helped me end up with a one piece blade after a brine quench, and hopefully my first hamon, I’m elated!!!

Constantin
 
Nice, please update once you invest some hours polishing and etching.
Thank. Not in this blade. It was just for testing so I can get an idea of the hamon and if I can still have a blade after quench. I plan to test the edge and see how that feels, since I went lower than 1475F.

I will probably try a few test coupons to get a good idea of what hardness I get at what temps.

I have a tanto next and if it survives, I plan to finish the blade and bring out the hamon. I will definitely create a post to show it.
 
Excellent results. I'd polish the blade out a bit to see what else shows up in the hamon.
The lower austenitization temp you did keeps the available carbon lower and helps the steel act more like a true eutectoid. This will increase hamon activity and lessen cracking.
 
Thanks again Stacy E. Apelt - Bladesmith Stacy E. Apelt - Bladesmith .

OK, I “polished" the blade a bit, 320grit and etched in acid. I don’t plan to finish the blade, it was just a test to see if it would survive in the quench and get an idea of the hamon.

Also, my next step is to learn about clay application and polishing. I bought Walter Sorrell’s videos and will watch them in preparation for the next blade.

Here are a few more pics.


IMG-2858.jpg


IMG-2859.jpg


IMG-2861.jpg


Thanks again for your help,
Constantin
 
And after conducting some destructive tests on the blade, here are some pics.

Here I smashed that edge against a brass rod. As you can see, no chips or rolls.

IMG-2862.jpg


Here, it bent this much after snapping.

IMG-2863.jpg


So I guess in conclusion, it tested well. What do you think?

Thanks again,
 
Last edited:
Back
Top