Jason B.
Knifemaker / Craftsman / Service Provider
- Joined
- Jun 13, 2007
- Messages
- 11,223
The first sharpening of a knife when you decide to set your own bevel, fix damage, or simply make it sharper always sounds a lot easier than it often is. A factory bevel usually set in place by a belt sander of some sort is very fast but not much for precision, if your lucky enough to get a bevel where the curve of the blade has been properly followed and even pressure was used things are not so bad but that's very rare. Often when you start grinding you see high and low spots on the bevel that have been created by the uneven use of pressure from the factory belt grinding. Along with inconsistent angle control, recurving starting after the choil, obtuse angles, and excess removal of metal all make for a long day when trying to make your edge right.
I've been given the chance to sharpen a high end knife and thought it would make for a good example and thread, it was actually the idea of a new member and owner of said knife so Rick this ones for you")
The knife is a CRK Umnumzaan and I must say it was one of the nicest factory bevels I have ever seen. High level of sharpness and very even grinds. I decided to start with a coarse DMT as there was a minor deformation and the factory finish was finer than normal and did not need a coarser stone.
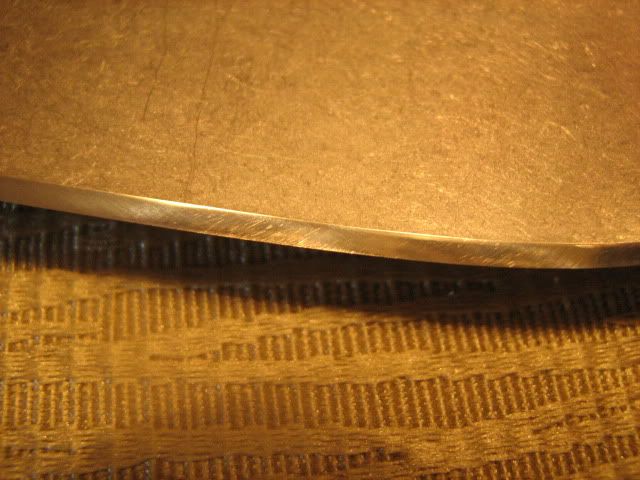
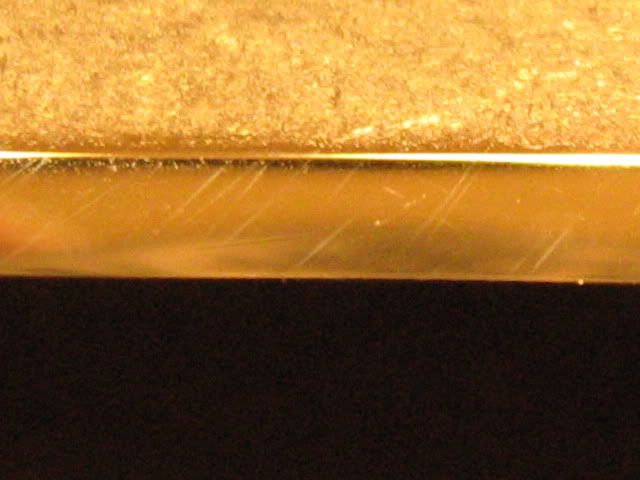
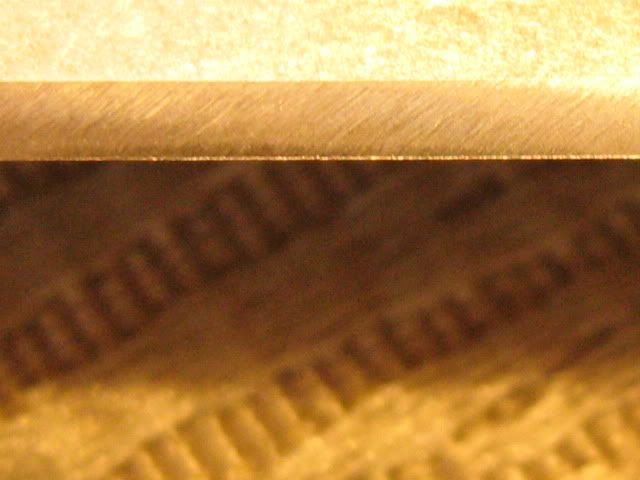
Factory edge.

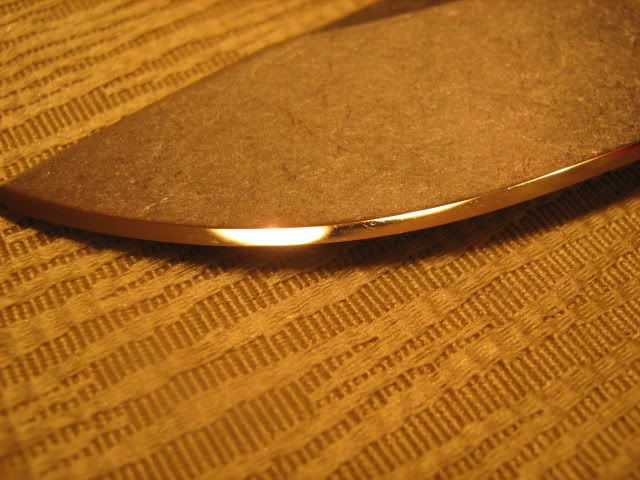
Small deformation.

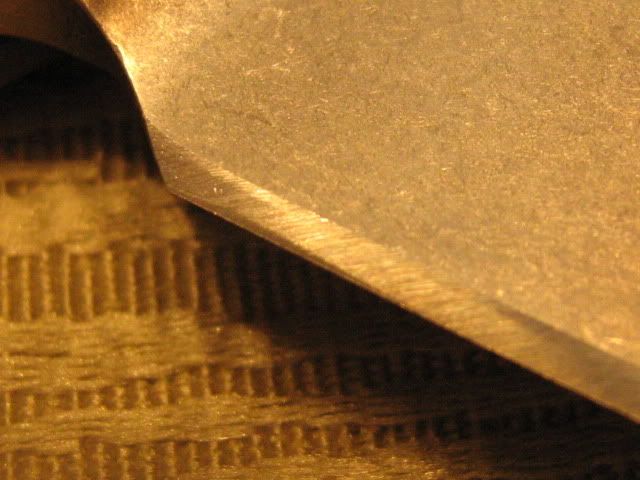
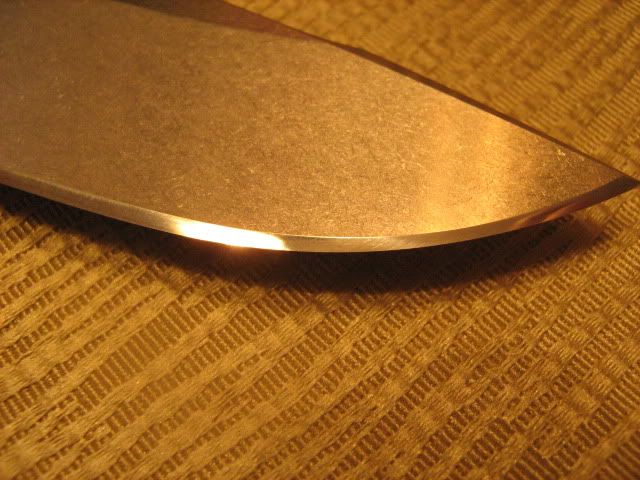
Coarse DMT

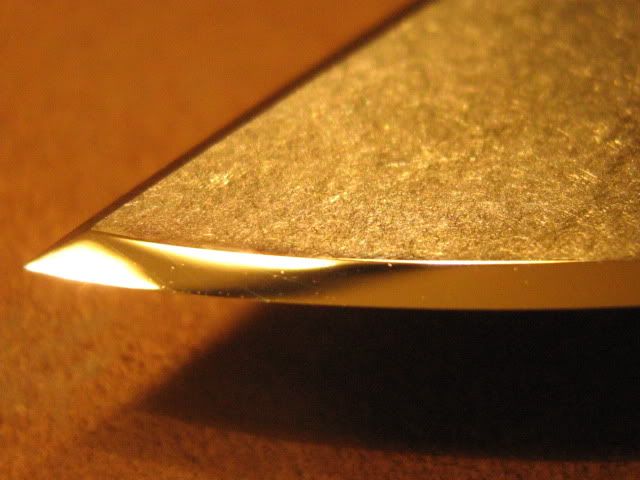
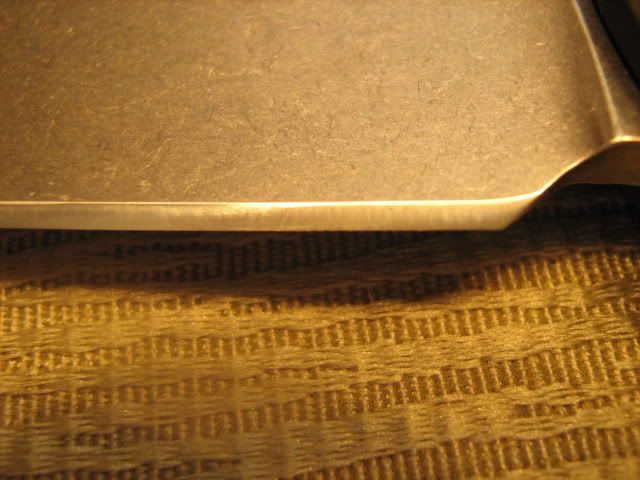
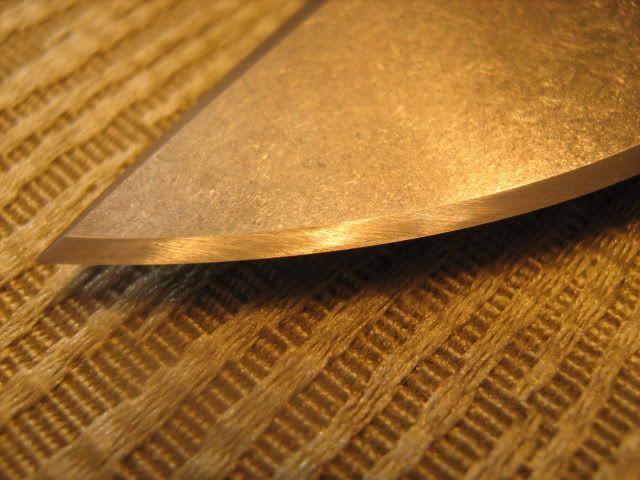
Fixing some incorrect angles near the choil.
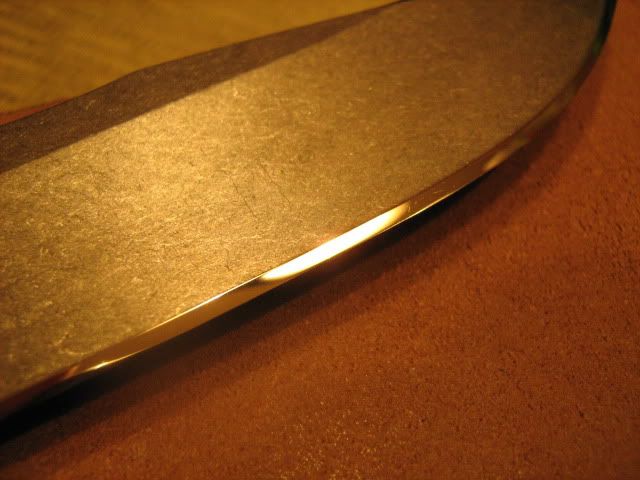
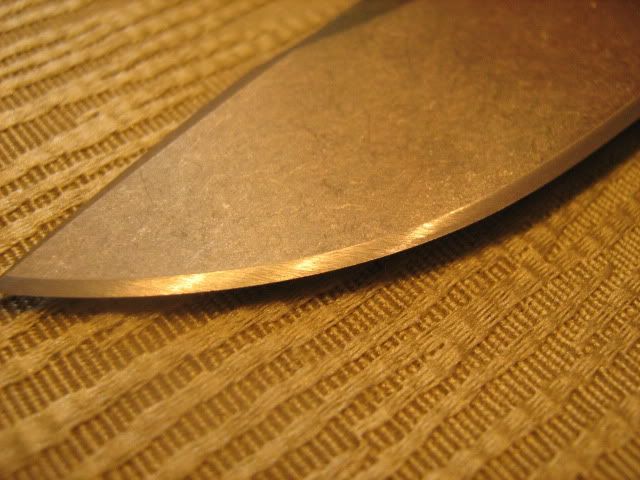
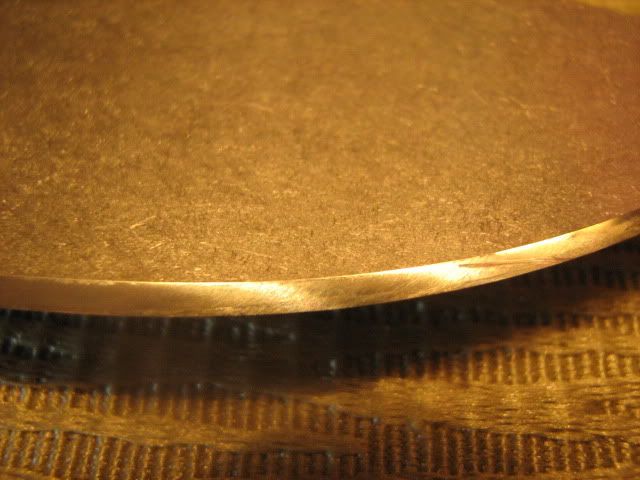
And correcting a very small recurve just in front of it.
I've been given the chance to sharpen a high end knife and thought it would make for a good example and thread, it was actually the idea of a new member and owner of said knife so Rick this ones for you
The knife is a CRK Umnumzaan and I must say it was one of the nicest factory bevels I have ever seen. High level of sharpness and very even grinds. I decided to start with a coarse DMT as there was a minor deformation and the factory finish was finer than normal and did not need a coarser stone.
Factory edge.
Small deformation.
Coarse DMT
Fixing some incorrect angles near the choil.
And correcting a very small recurve just in front of it.


")