- Joined
- Feb 24, 2000
- Messages
- 1,957
This is a very informative post.
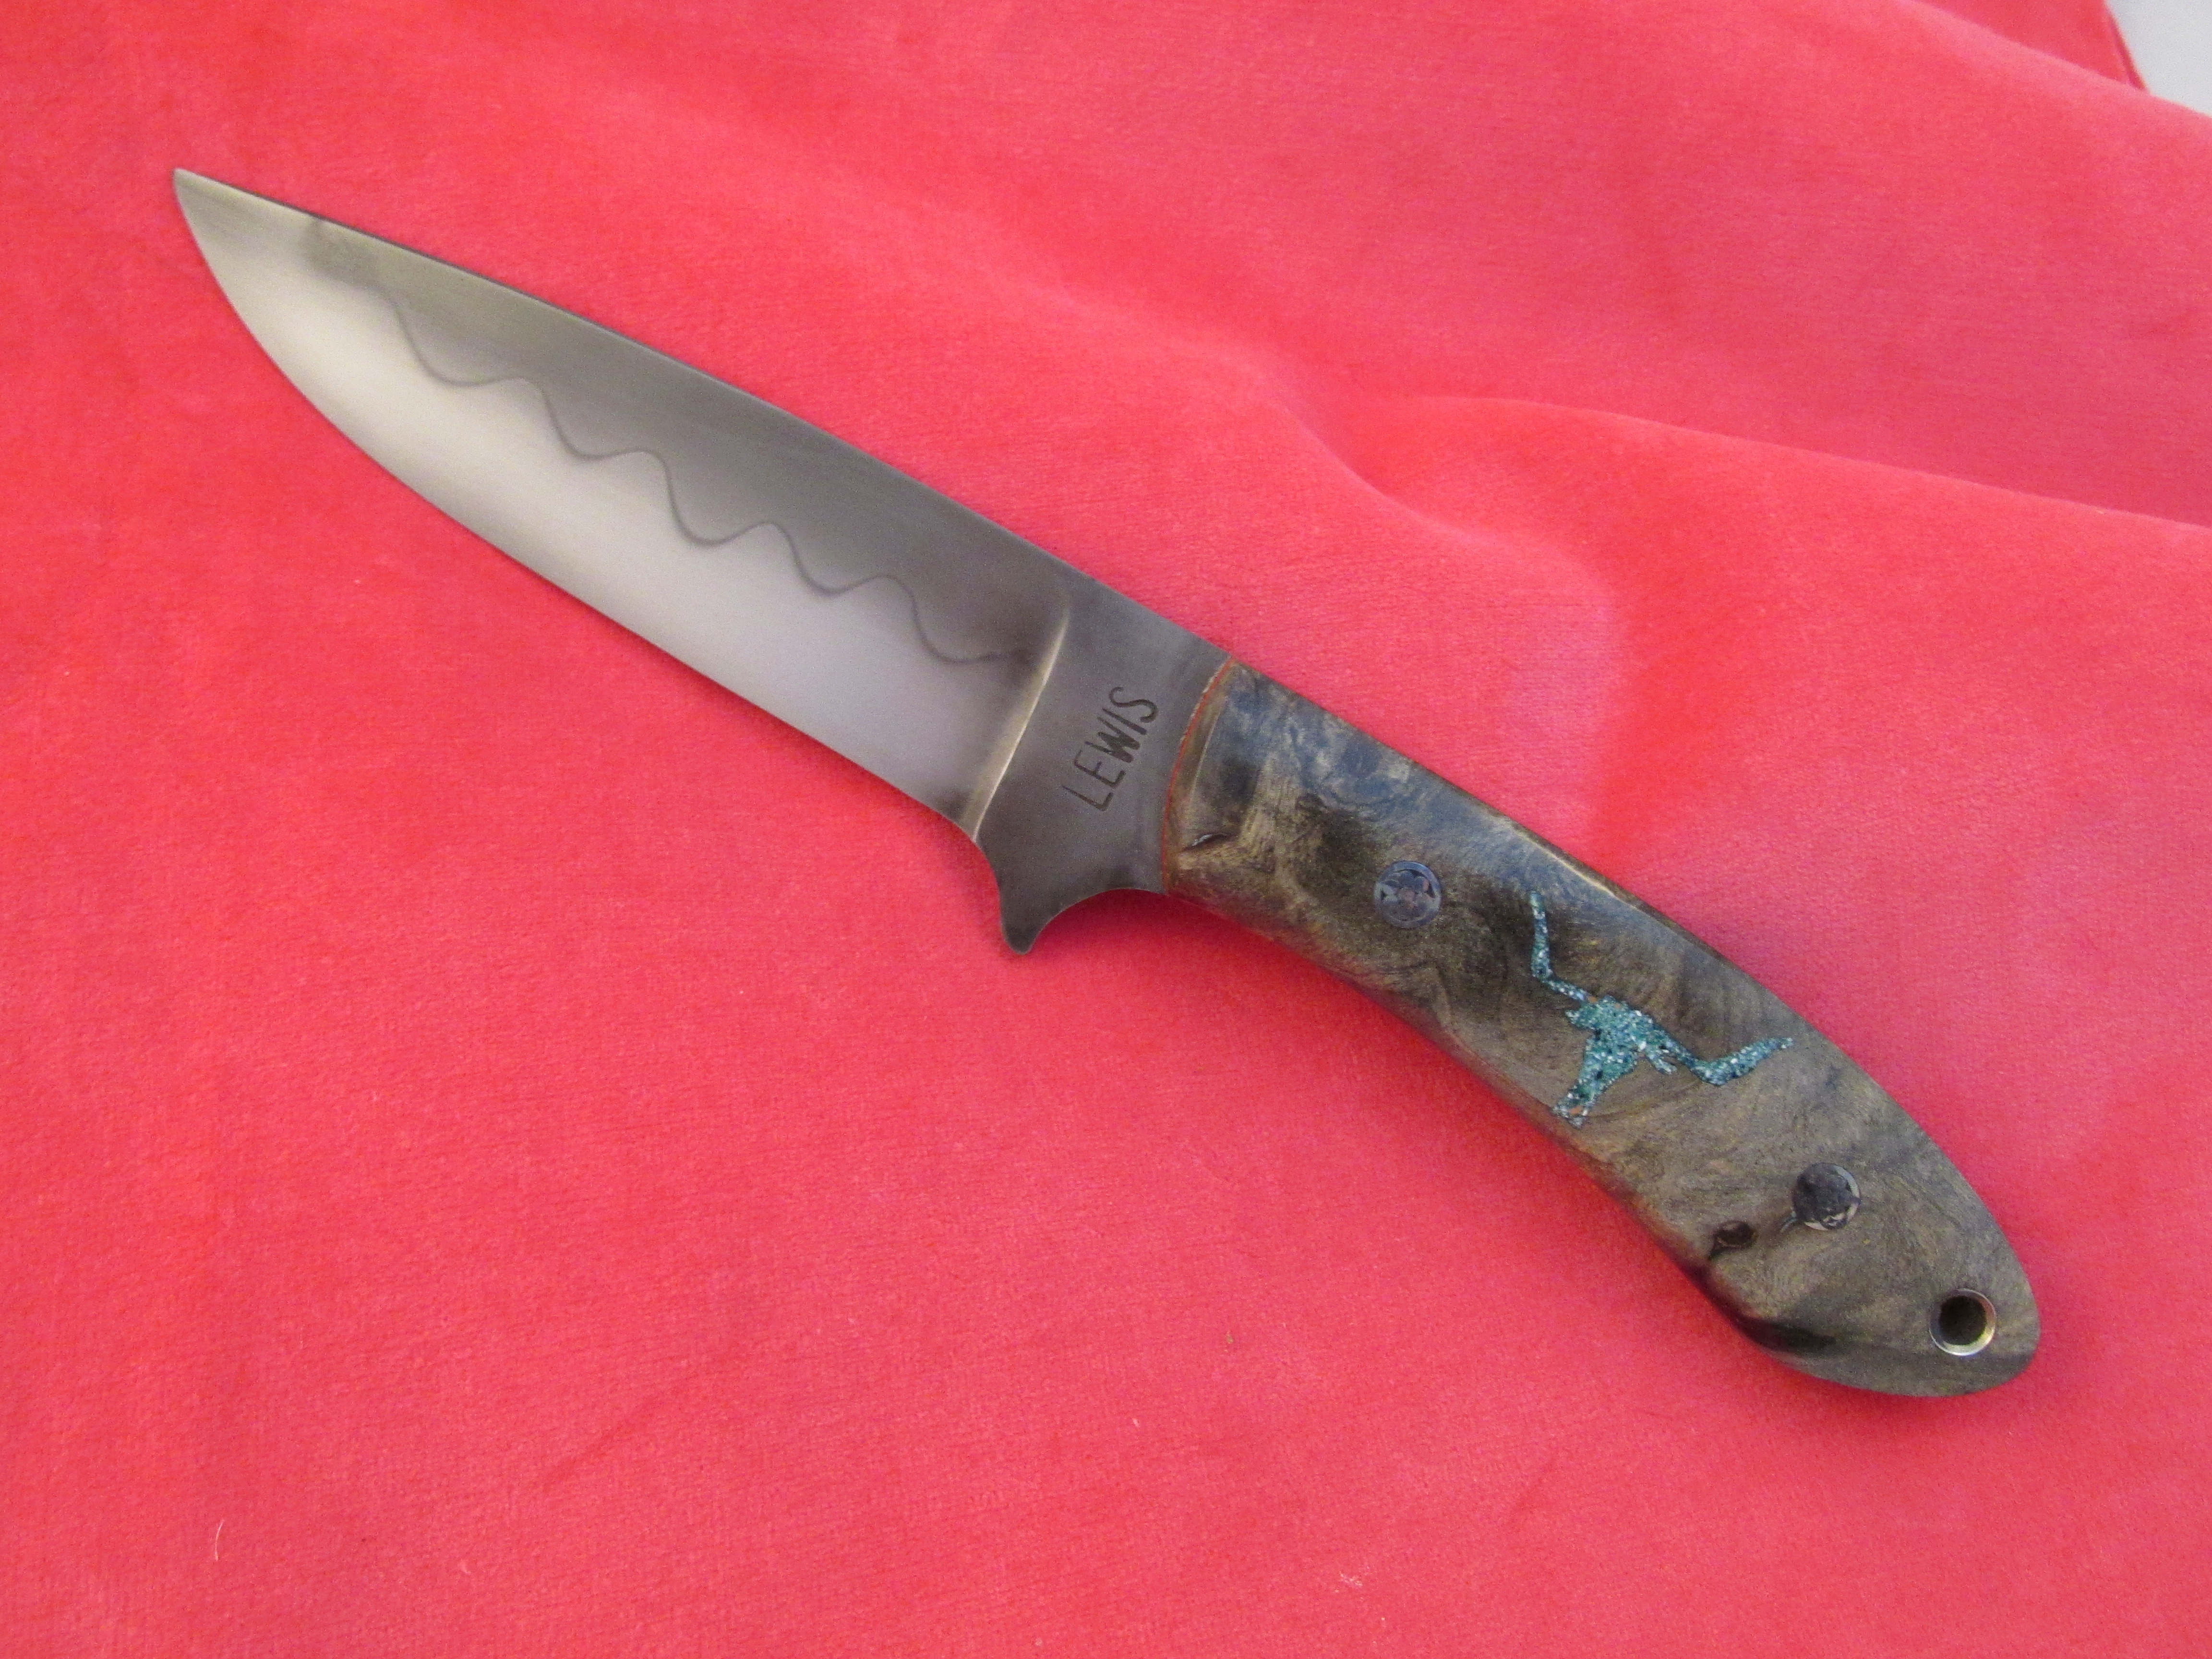
I like my hamons to be dark above the temper line. To get this, I use Rutlands stove cement for clay. After heat treat I dip in 1part FeCl and 3 parts water several times and scrub the blade with 0000 steel wool between etches. Then I use make up pads and use 1500 silican carbide. I concentrate on the bottom part of the blade.
It takes a total of maybe 20 minutes to get this result. For what I sell my knives for I don't want to spend a lot of time bringing out the hamon.


") hamons are an art in themselves. you can follow someones recipe exactly but it never looks like theirs. it seems how you execute the technique is more important than what technique or type of clay you use. i have never had one come out the way i wanted, its a big mystery. someone mentioned the will morrison hamon earlier, i was amazed by that when i saw it too.
hamons are an art in themselves. you can follow someones recipe exactly but it never looks like theirs. it seems how you execute the technique is more important than what technique or type of clay you use. i have never had one come out the way i wanted, its a big mystery. someone mentioned the will morrison hamon earlier, i was amazed by that when i saw it too.