- Joined
- Oct 20, 2008
- Messages
- 5,547
Hello all you excellent BladeForumites out there. Come one, come all to the Virtual BBQ. We have marvelous makers with masterful methods melding materials, hillbillies hucking hawks and hooting 'n hollerin' at this hoedown, and a rag tag band of miscreants making acoustic music for the masses of party goers. Just smell that good food in the air, hear the hammers beating steel and grinders snarling and abrading. Welcome. This is SHOPTALK.
My humble contribution is as follows. If anyone has comments, questions, or a better way to do something (likely) pipe right on up. Enjoy!
Several months ago, a BF member from China who goes by "hammerfall" sent some samples of a new blade alloy to some makers on the forum. We were to make knives of it and return some feedback. At long last, I'm using my chunk.
It's called GNiCr40Al4. That's a Chinese alloy designation, it's 54% nickel, 40% chromium, and 4% aluminum. The remaining 2% I believe are trace proprietary ingredients, perhaps some TI, don't know what else. No iron. It was used in Soviet nuclear submarine bearings and such, cold war tech stuff invented by the Russians.
It's supposed to be very tough, VERY corrosion resistant, and it age-hardens (precipitation) to 57-58 Rc, at which point it should be highly wear resistant. Yeah sure, I'll take a free sample to try!
This will be a frame lock folding knife, the lock side being .160 6Al4V titanium, the obverse being a toxic green G10 scale and TI bolster over a 410 SS liner.
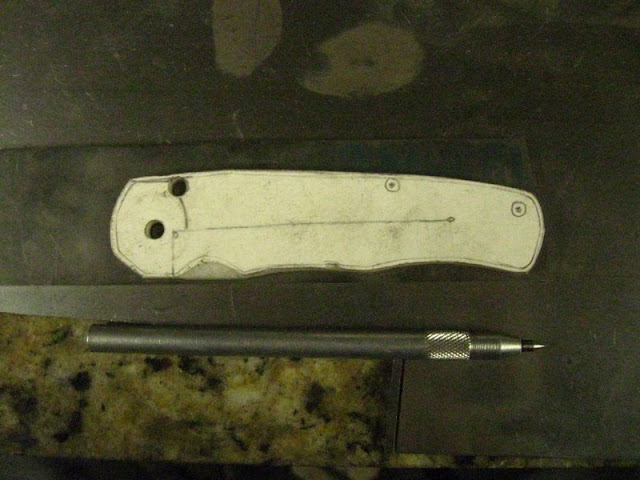
Here's a pattern made from white acrylic. I used it to scribe out all the major pieces onto the raw materials.


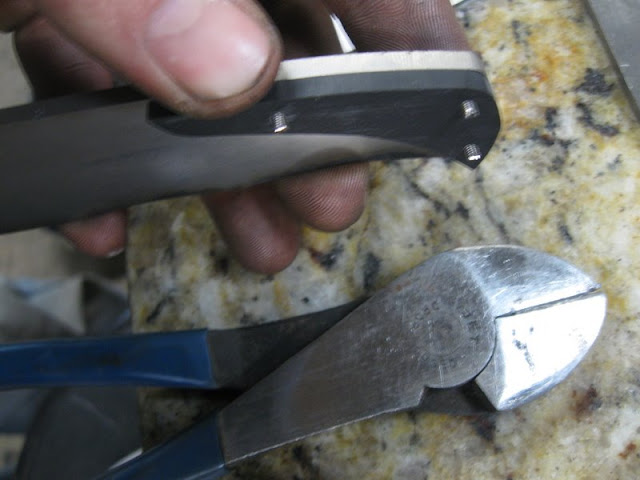
I made a card stock scale/bolster pattern and cut them out to scribe the bolster and scale. Since the bolster will be dovetailed with the scale, I added 1/8" extra length to the front of the scale when cutting.


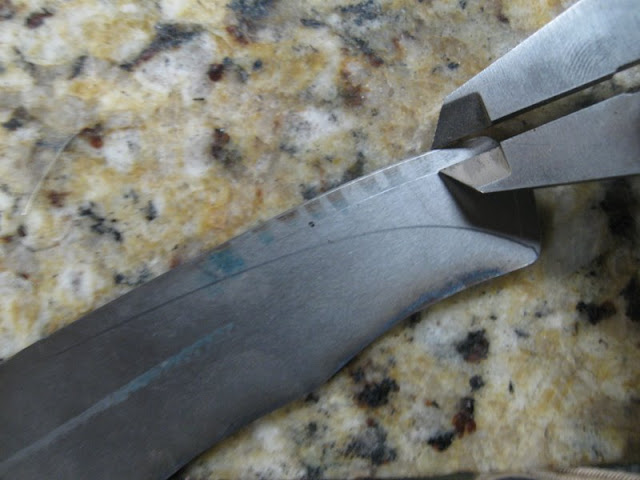
The GNi cuts OK in it's unhardened state. Not like butter, though. About like the titanium does.


Looks super great already, huh?

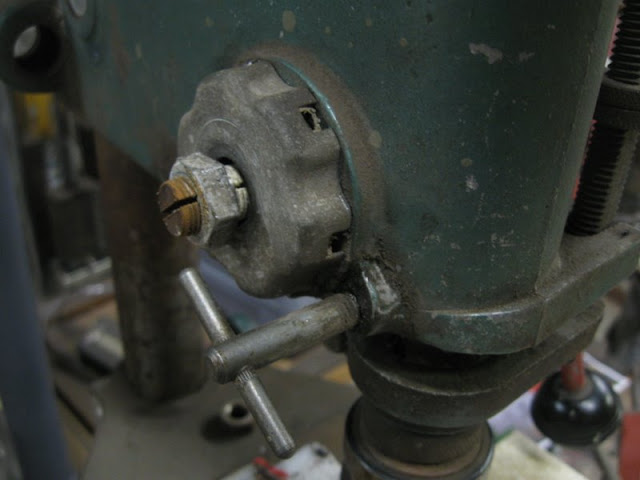
On the table in the grinding room, a batch of 52100 hunters with various grinds, tangs not yet tapered...

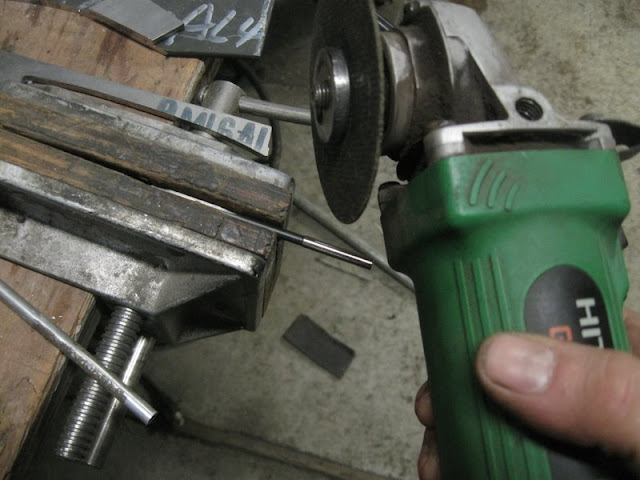
After rough cutting everything, I went and profiled right down almost to the line on everything. I left a little for adjustment.

I dropped the liner into the spark bucket. Ew, freezing chunky tainted grinding water up past the wrist. Love it when that happens.

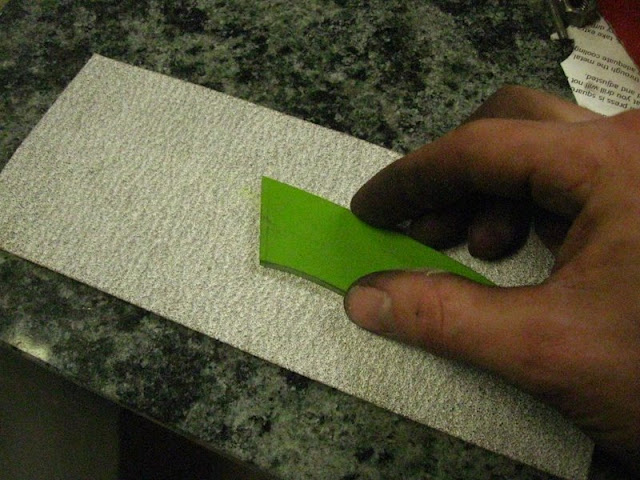
The G10 (from AKS, like most of this stuff) was 1/4" thick, a bit hefty for a folder scale. The bolster is .160 stock, and I'll want a little palm swell in the scale, so I milled it down to .187.


I flattened it further on granite with paper.

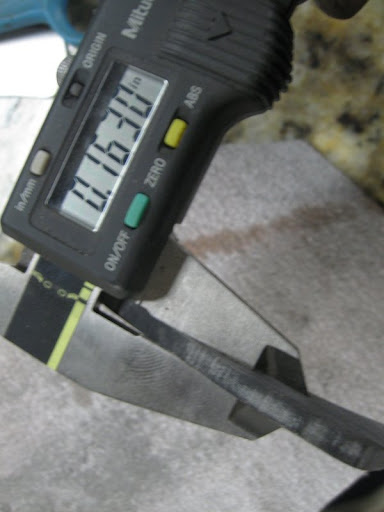
The blade stock was a rolled out bar of uneven thickness. It was thinnest near the heel of the blade, so after clamping to the mill table, I lowered the 4 flute HSS end mill until it was lightly cutting the heel, then traveled with several passes and plenty of oil at slow speed and feed to flatten half of the blade, then with the cutter still locked in height, re-clamped and cut the other side flat. This stuff mills OK too, just slow with HSS.

I ground the milled surface, then flipped the blade and milled the other side. Finished thickness ended up at .135. A little thinner than I'd first projected, but fine all the same.

This is fun. I haven't made myself a knife in a LONG time. And, I like the materials on this project.
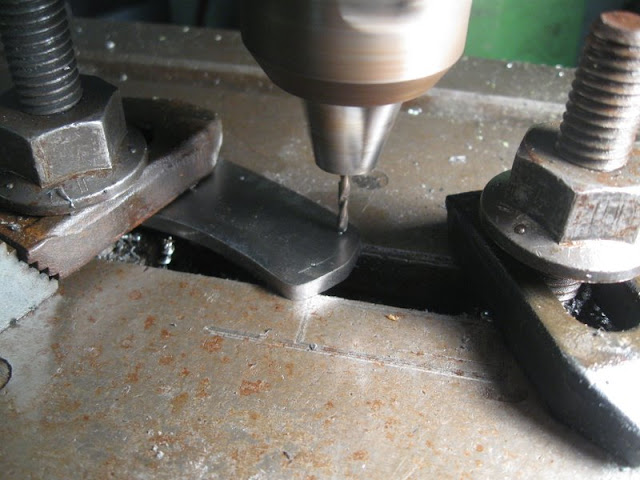
Stay tuned, some drilling and grinding, etc. coming up next time I can spare a few hours.
Now, I'd better get over to that bowl of chips before Sam and Stacy eat them all...
My humble contribution is as follows. If anyone has comments, questions, or a better way to do something (likely) pipe right on up. Enjoy!
Several months ago, a BF member from China who goes by "hammerfall" sent some samples of a new blade alloy to some makers on the forum. We were to make knives of it and return some feedback. At long last, I'm using my chunk.
It's called GNiCr40Al4. That's a Chinese alloy designation, it's 54% nickel, 40% chromium, and 4% aluminum. The remaining 2% I believe are trace proprietary ingredients, perhaps some TI, don't know what else. No iron. It was used in Soviet nuclear submarine bearings and such, cold war tech stuff invented by the Russians.
It's supposed to be very tough, VERY corrosion resistant, and it age-hardens (precipitation) to 57-58 Rc, at which point it should be highly wear resistant. Yeah sure, I'll take a free sample to try!
This will be a frame lock folding knife, the lock side being .160 6Al4V titanium, the obverse being a toxic green G10 scale and TI bolster over a 410 SS liner.
Here's a pattern made from white acrylic. I used it to scribe out all the major pieces onto the raw materials.
I made a card stock scale/bolster pattern and cut them out to scribe the bolster and scale. Since the bolster will be dovetailed with the scale, I added 1/8" extra length to the front of the scale when cutting.
The GNi cuts OK in it's unhardened state. Not like butter, though. About like the titanium does.
Looks super great already, huh?
On the table in the grinding room, a batch of 52100 hunters with various grinds, tangs not yet tapered...
After rough cutting everything, I went and profiled right down almost to the line on everything. I left a little for adjustment.
I dropped the liner into the spark bucket. Ew, freezing chunky tainted grinding water up past the wrist. Love it when that happens.
The G10 (from AKS, like most of this stuff) was 1/4" thick, a bit hefty for a folder scale. The bolster is .160 stock, and I'll want a little palm swell in the scale, so I milled it down to .187.
I flattened it further on granite with paper.
The blade stock was a rolled out bar of uneven thickness. It was thinnest near the heel of the blade, so after clamping to the mill table, I lowered the 4 flute HSS end mill until it was lightly cutting the heel, then traveled with several passes and plenty of oil at slow speed and feed to flatten half of the blade, then with the cutter still locked in height, re-clamped and cut the other side flat. This stuff mills OK too, just slow with HSS.
I ground the milled surface, then flipped the blade and milled the other side. Finished thickness ended up at .135. A little thinner than I'd first projected, but fine all the same.
This is fun. I haven't made myself a knife in a LONG time. And, I like the materials on this project.
Stay tuned, some drilling and grinding, etc. coming up next time I can spare a few hours.
Now, I'd better get over to that bowl of chips before Sam and Stacy eat them all...
 :thumbup: