bacustomknives
FULL THROTTLE / FULLTIME KNIFE MAKER
- Joined
- Sep 3, 2008
- Messages
- 13,078
OK GUYS THERE HASNT BEEN A WIP THREAD ON THE FORUM YET SO I DECIDED TO DO ONE TODAY ON IMWILSON'S ORDER, THESE ARE THE STEP BY STEP PHOTOS OF HOW I MAKE MY KNIVES,I FREE HAND AND HARDLY EVER DRAW OUT PATTERNS I GO BY LOOKS AND FEEL SO THATS WHY YOU DONT SEE ANY LINES DRAWN ON THE BILLET OF SAN MIA,WATCH YOU ARE ABOUT TO SEE A RAW FORGED BILLET OF W2 AND 203E MADE INTO A KNIFE,FOR MY CREWS VEIWING PLEASURE, HERE WE GO
I KNOW FOR MOST WTF IS THAT, WELL THATS THE SAN MIA BILLET NOT VERY PRETTY HUH?? WELL JUST IMAGINE WHAT I GO THREW ON EACH KNIFE,IT ISNT EASY TO BE CHEESY
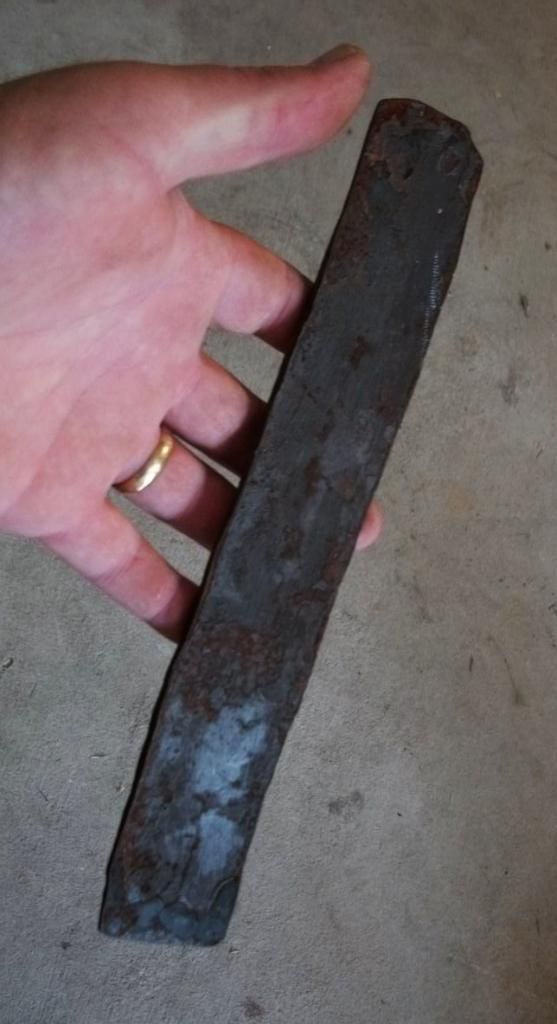
PROFILING NO PATTERN DRAWN,THIS IS HOW U GET ONE OF PEICES
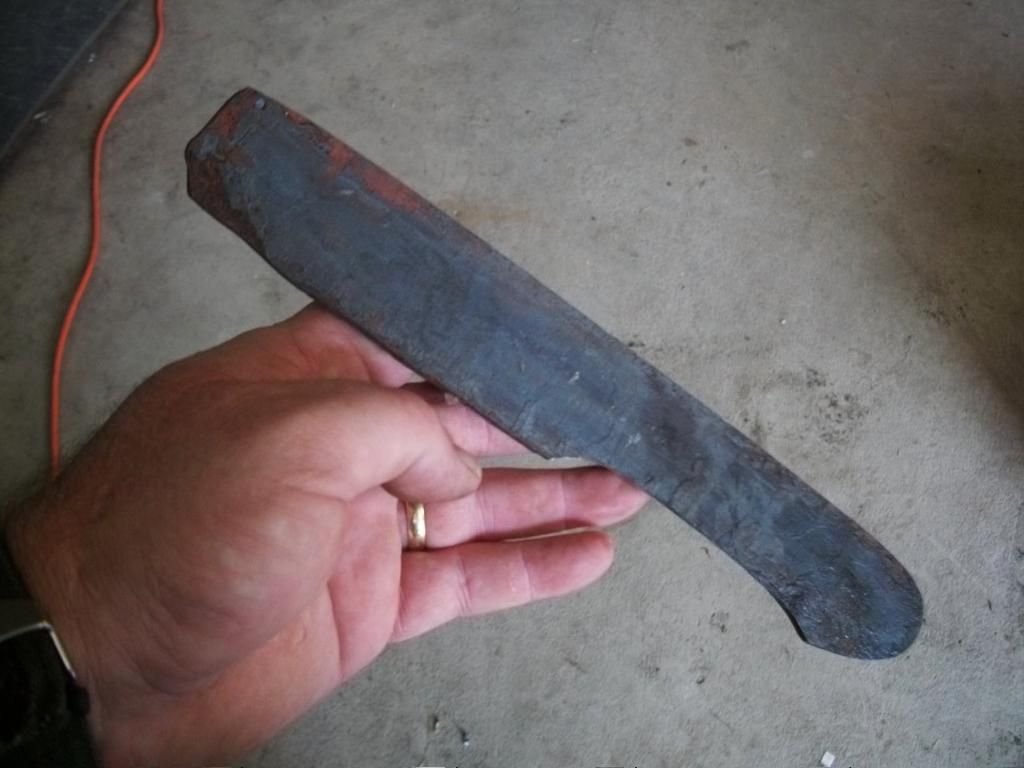
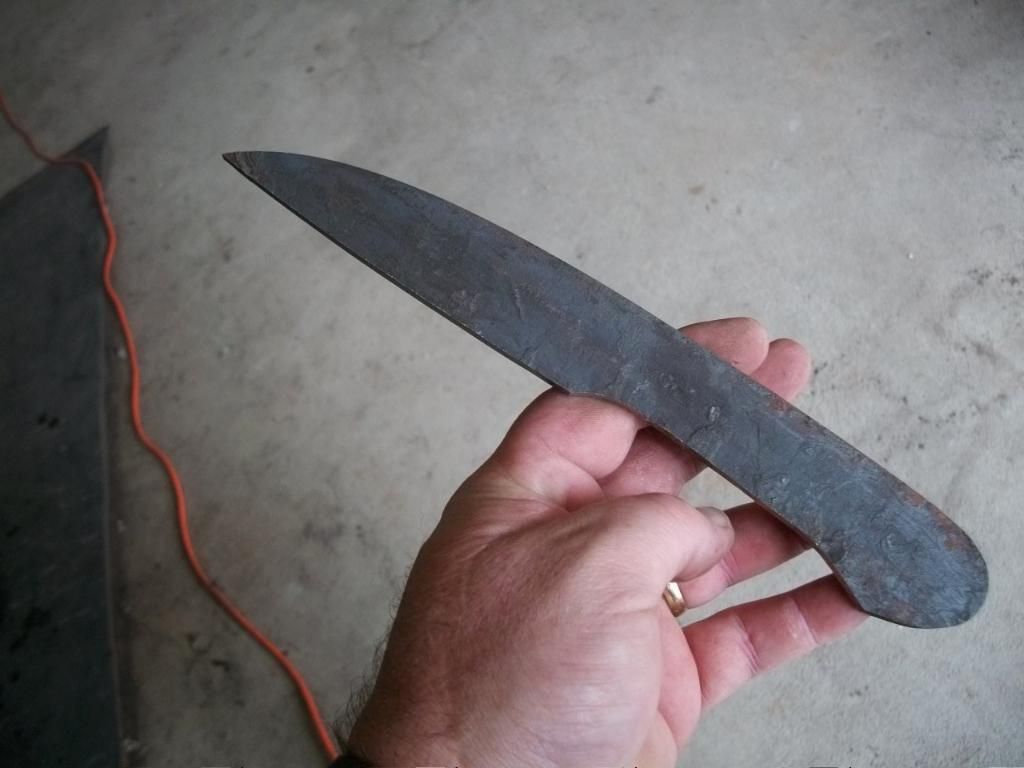
STARTING MY GRIND
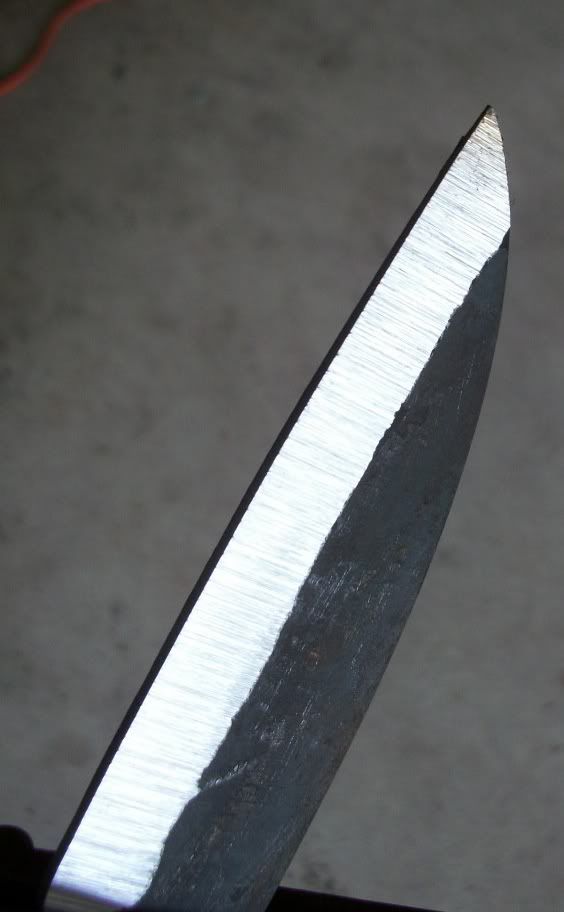
IM ROUGH GROUND NOW DABBED ACID ON THE BLADE TO FIND MY PATTREN OF 203E ON THE BLADE
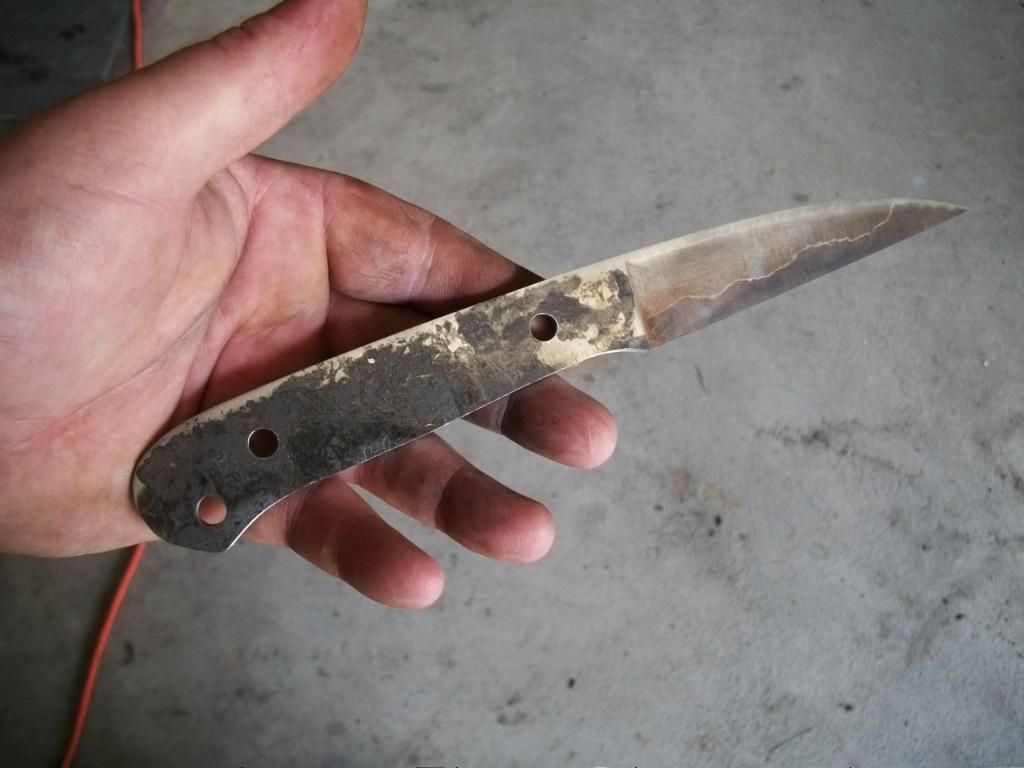

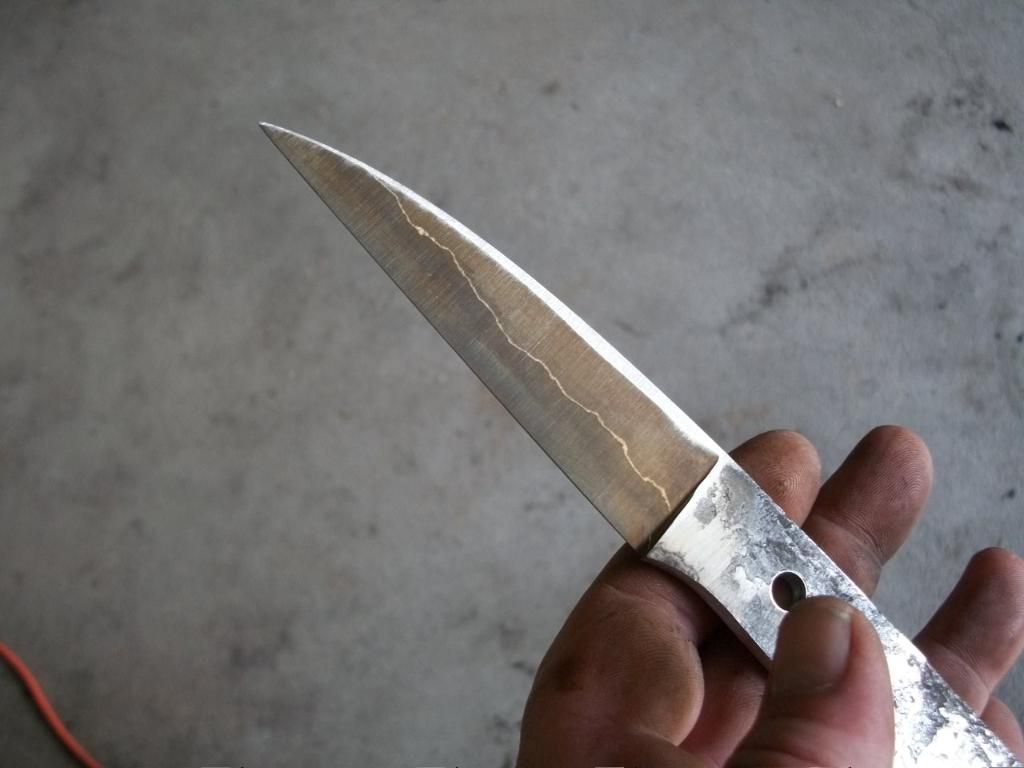
NOW IM READY TO PUT THE BLADE IN THE FORGE TO BRING IT UP TO PROPER TEMP TO TAKE A QUICK BATH IN MY QUENCH OIL TO HARDEN IT,IMAGINE HOW FUN THIS WAS HOLDING IT WITH ONE HAND AN TAKING PICS WITH THE OTHER???
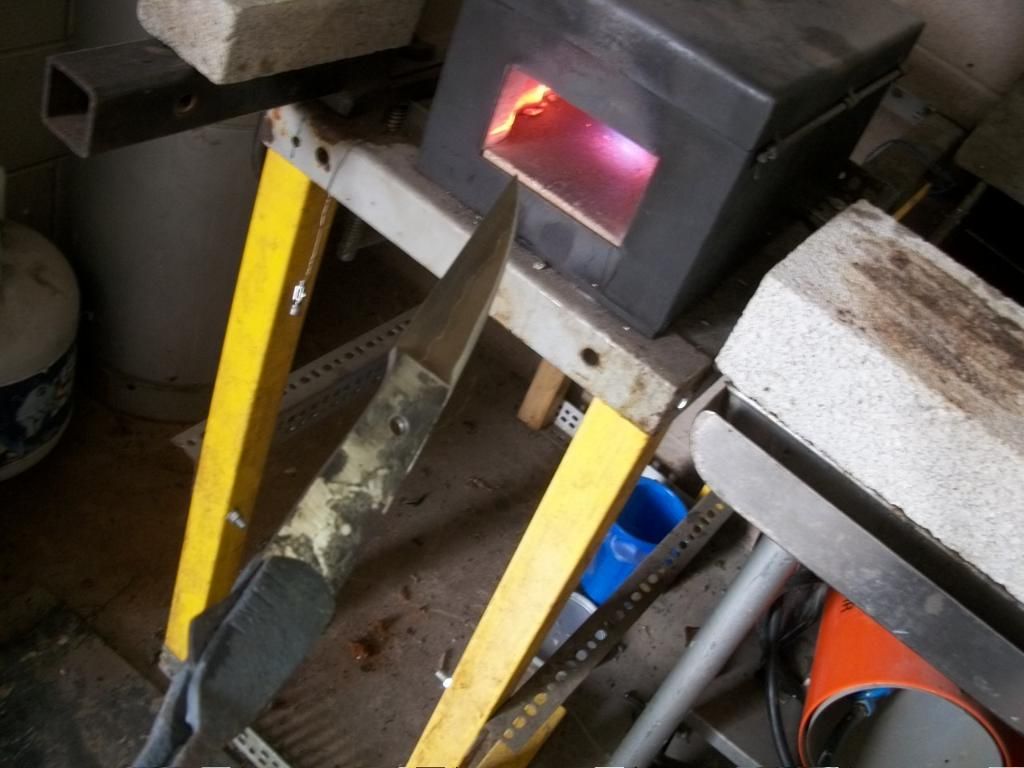
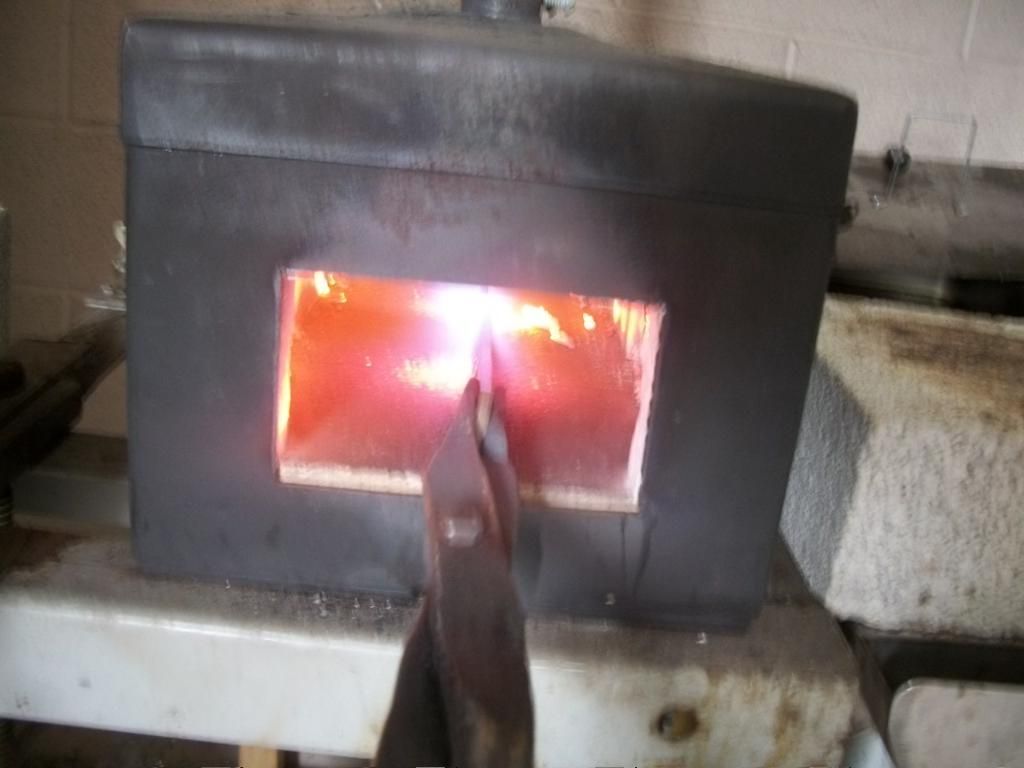
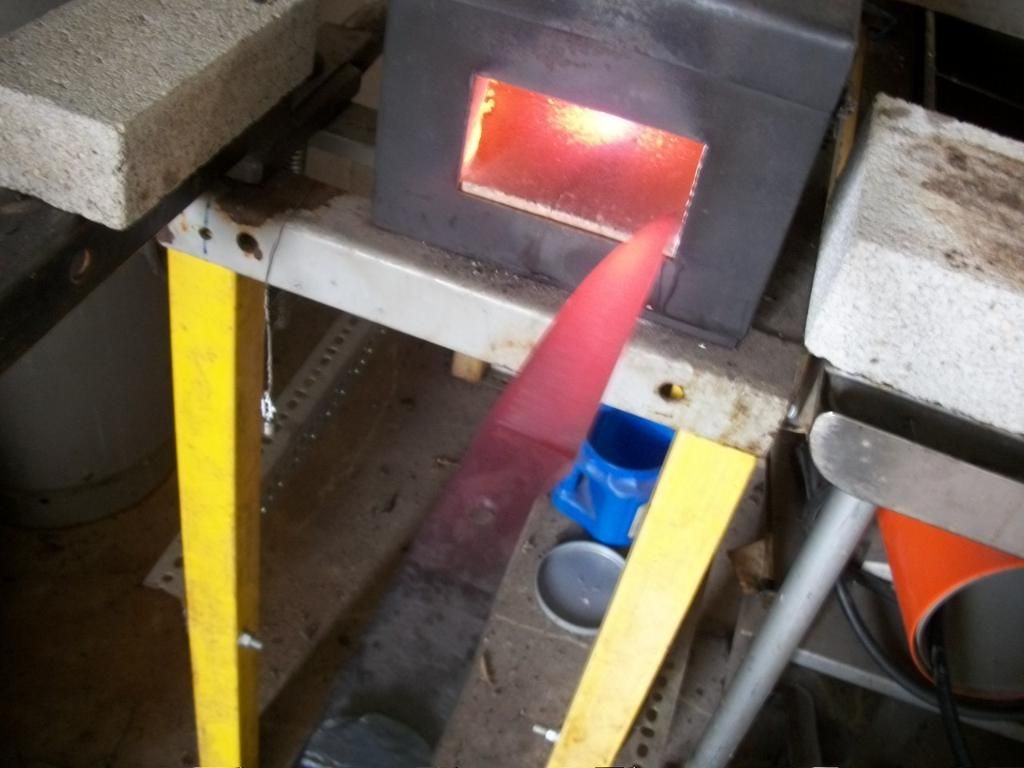
STRAIGHT OUT OF THE FORGE INTO THE QUENCH TANK
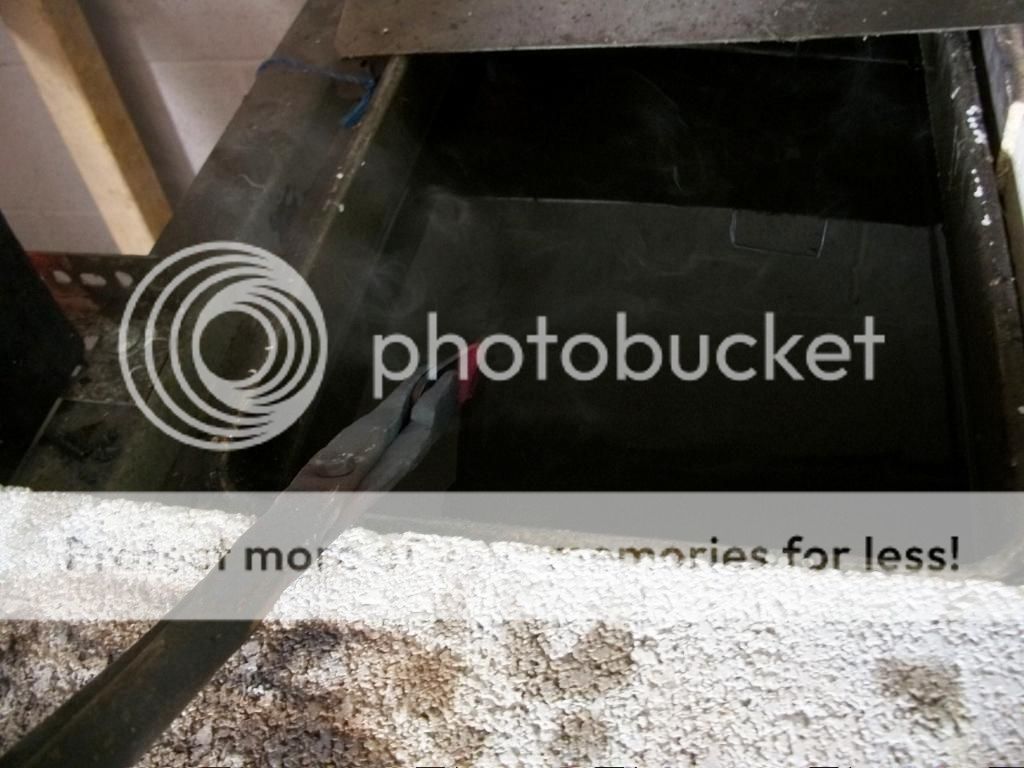
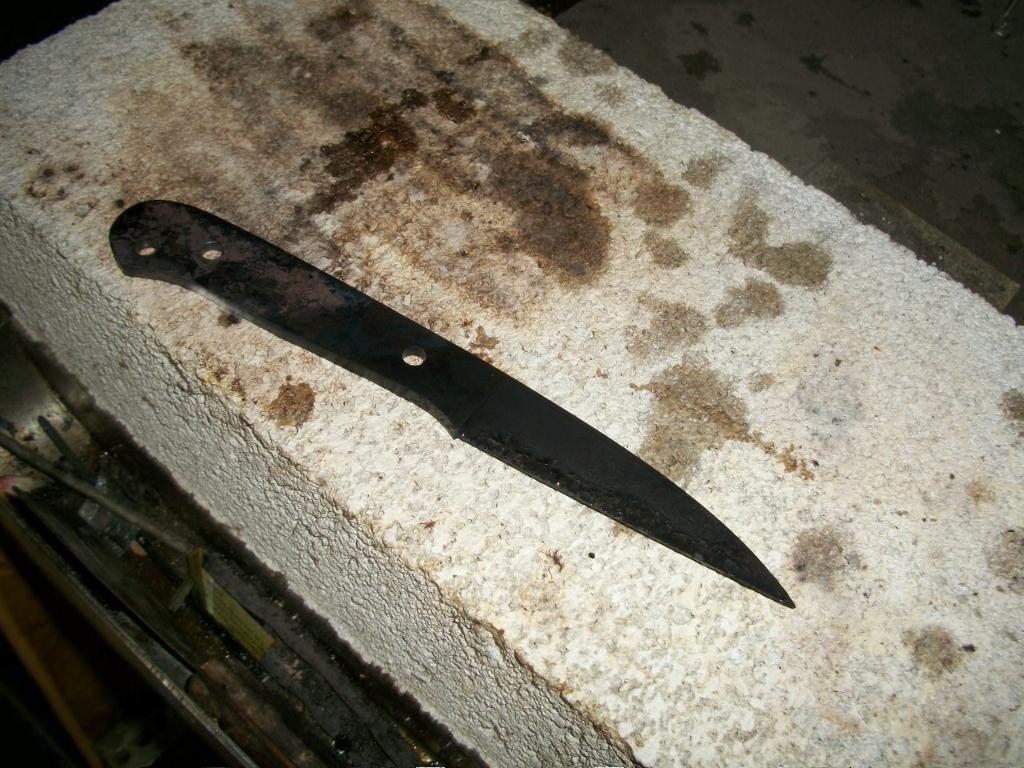
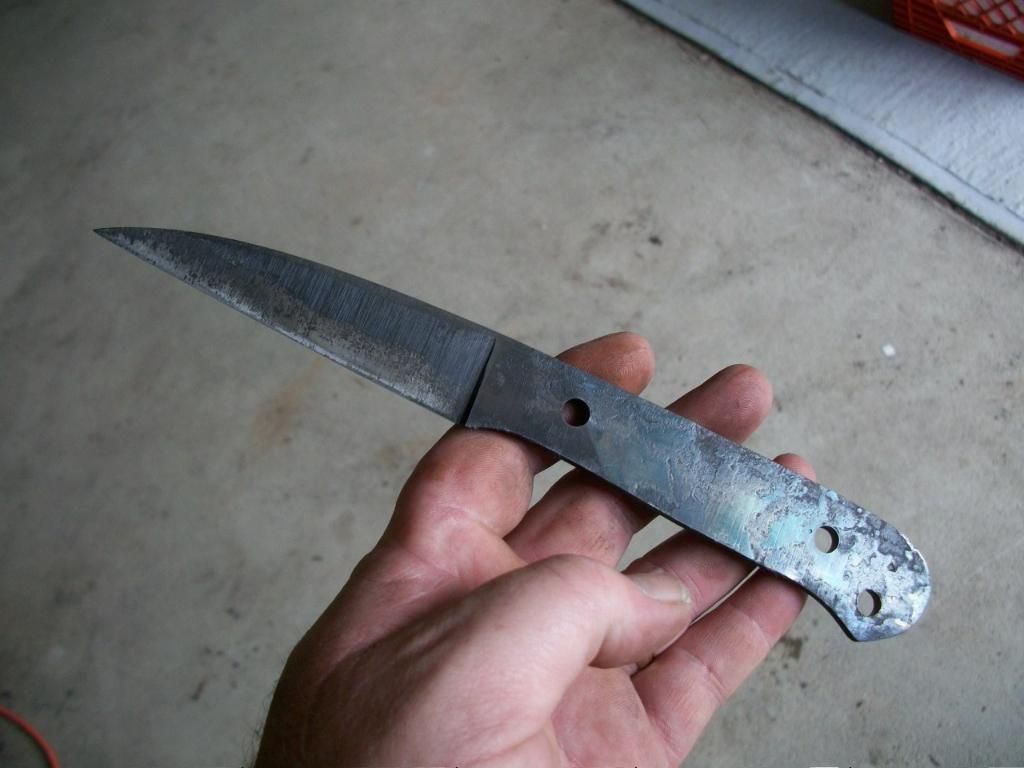
NOW I PERSONALLY REGRIND MY BLADE UP TO 1000 GRIT BEFORE I PUT IT IN THE TEMPER OVEN TO SEE IF I HAVE ANY CRACKS OR DEFECT FROM THE QUENCH CYCLE,AND SAVES ME THE TROUBLE OF HAVING BAKED ON OIL I HAVE TO CLEAN AFTER THE TEMPER
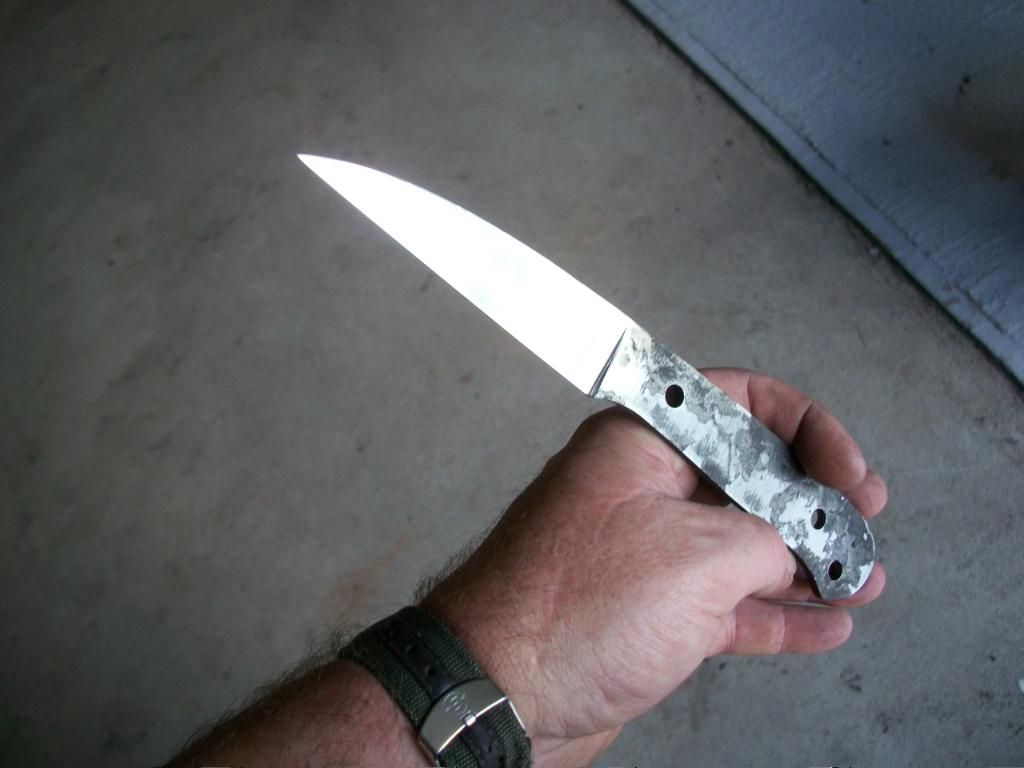
BLING!!
NOW INTO THE OVEN WE GO FOR 2 CYCLES OF TEMPERING AT 400 DEGREES FOR 1HR EACH I LIKE A STRAW TO GOLD LOOK ON MY BLADES MAKES THEM RIGHT!
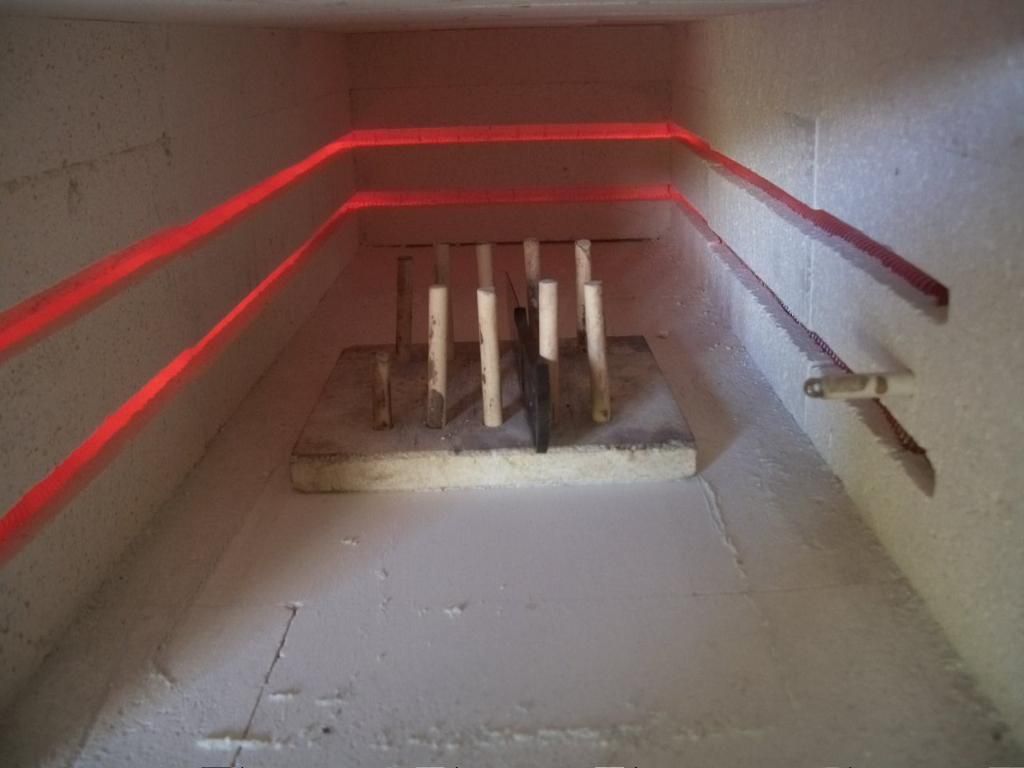
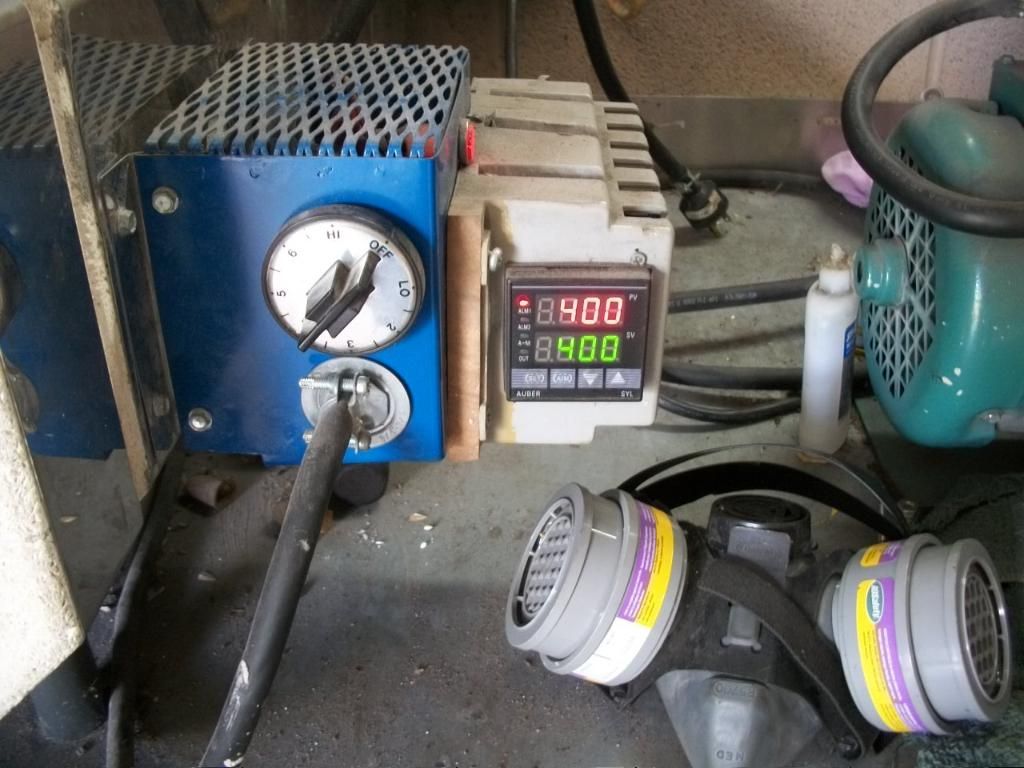
WERE OUT OF THE OVEN AFTER AIR COOLING
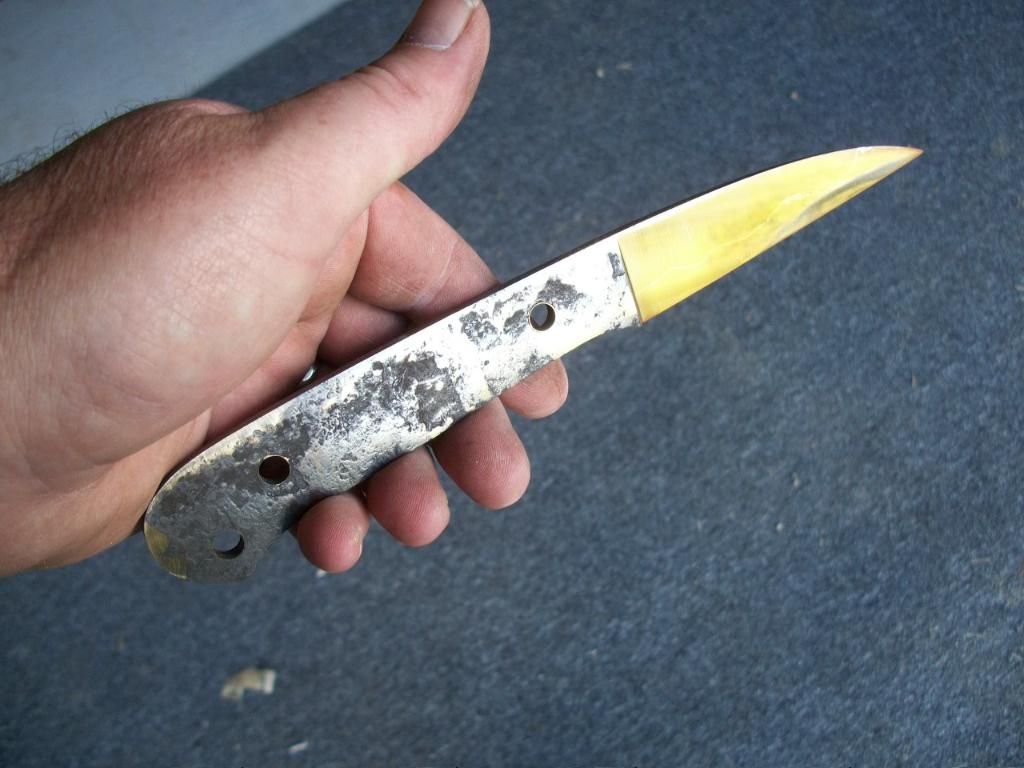
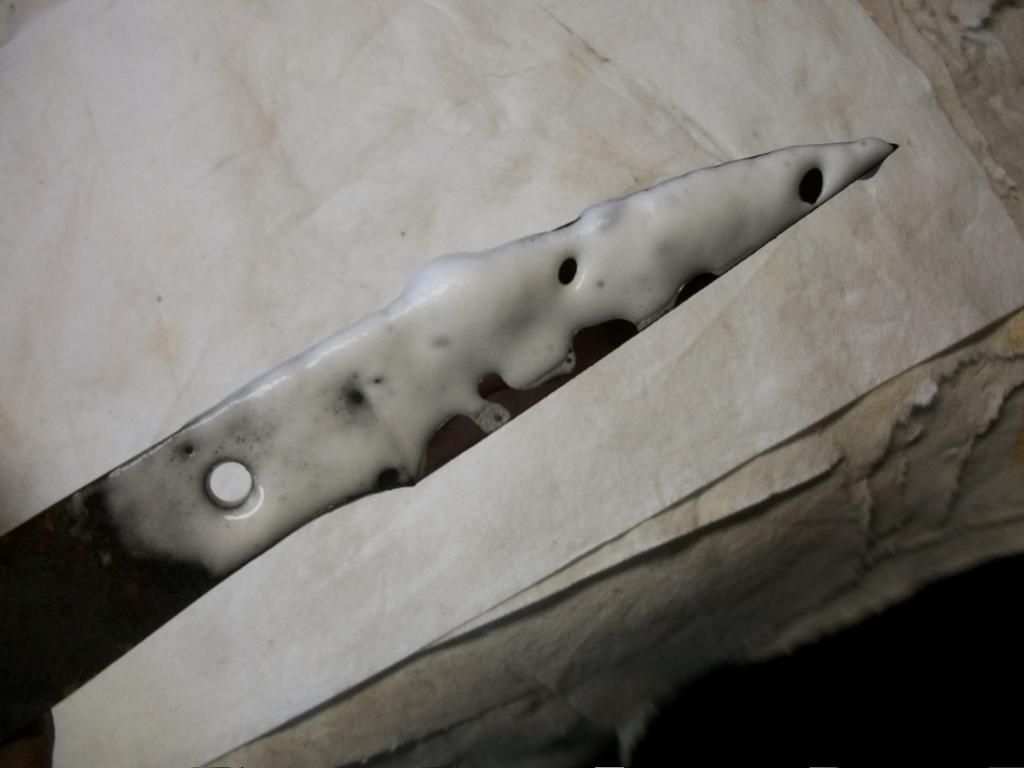
NOW I GIVE THE BLADE A GOOD HARD BUFF AND CLEAN IT UP WITH GLASS CLEANER AND HEAD FOR AN ACID BATH FOR A CPL MINS


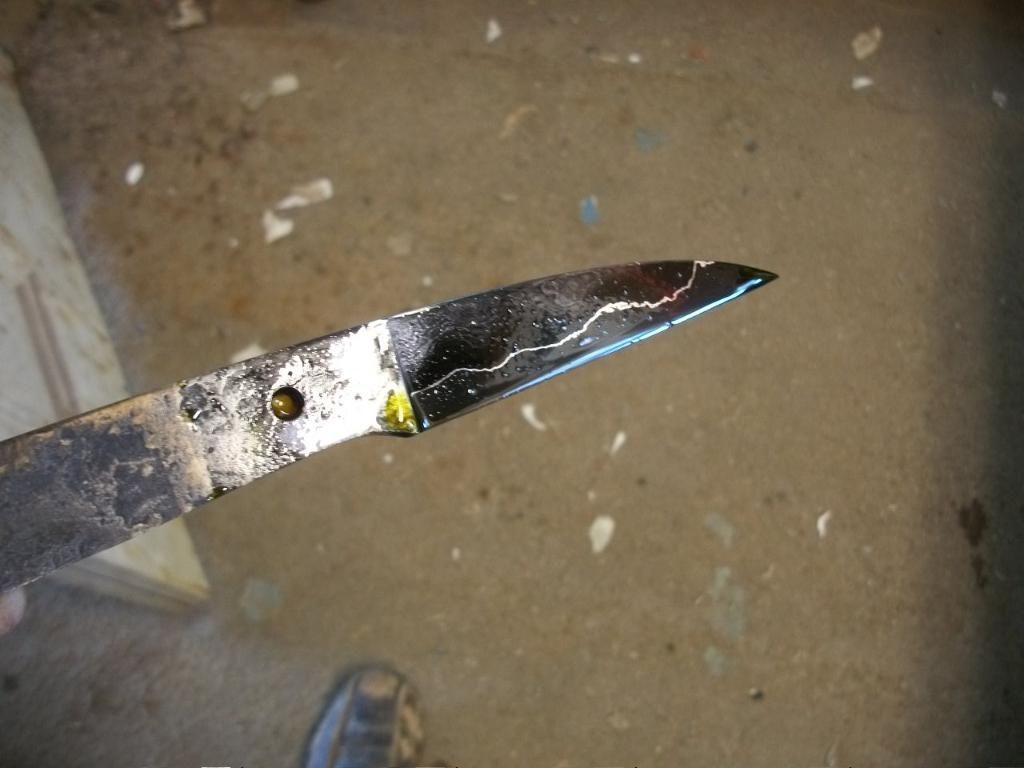
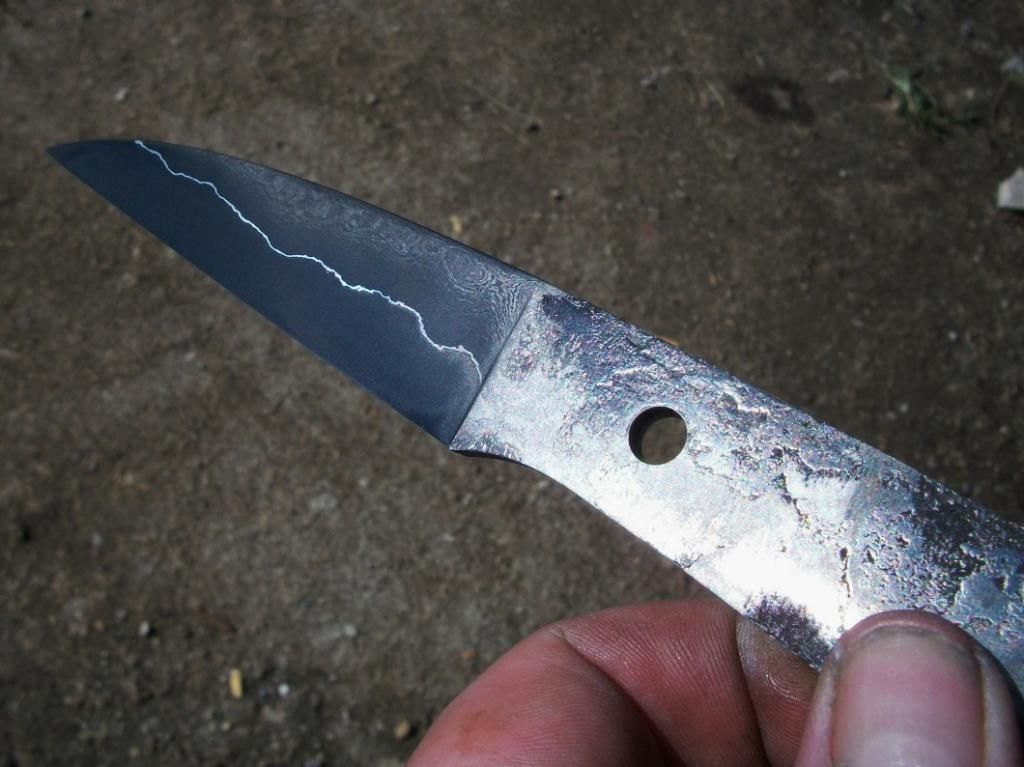
NOW I HAND RUB THE BLADE UNDER WATER TO REMOVE THE EXCESS ACID THE GIVE IT A SOFT BUFF WITH WAX TO SHOW ITS PATTERN
NOW WERE READY FOR SCALES WILSON WANTED SOME DYED MAPLE BURL SO THATS WHAT HE GOT IM GLUED UP ON ONE SIDE AND READY TO DRILL HOLES AND APPLY THE OTHER SIDE

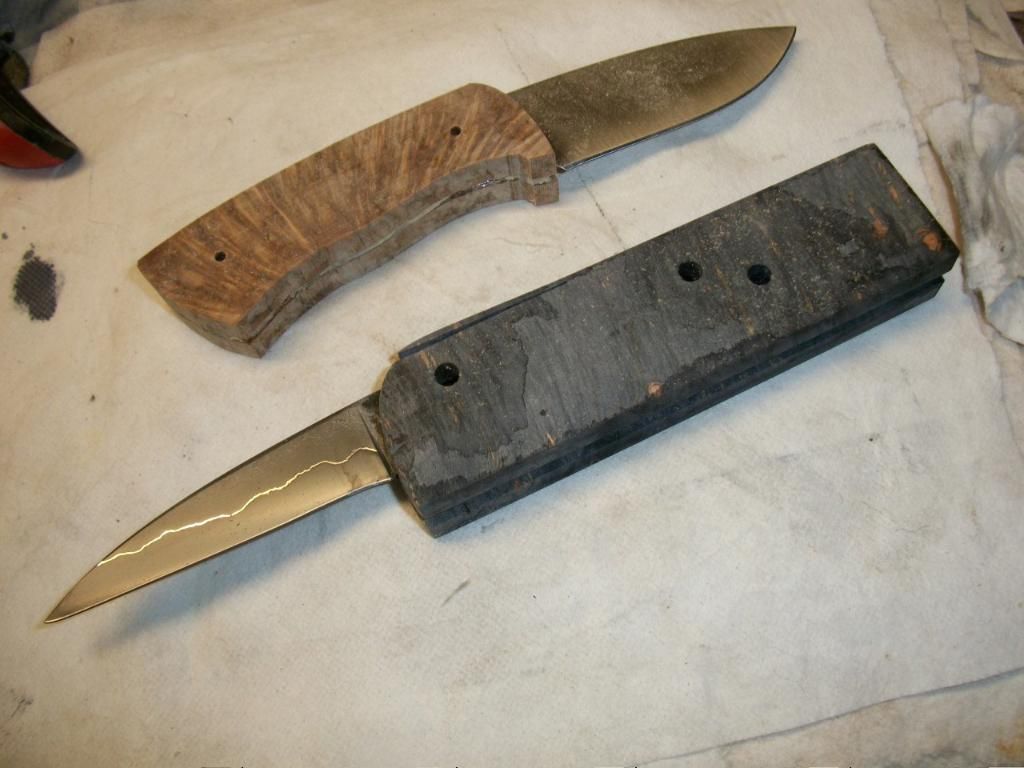
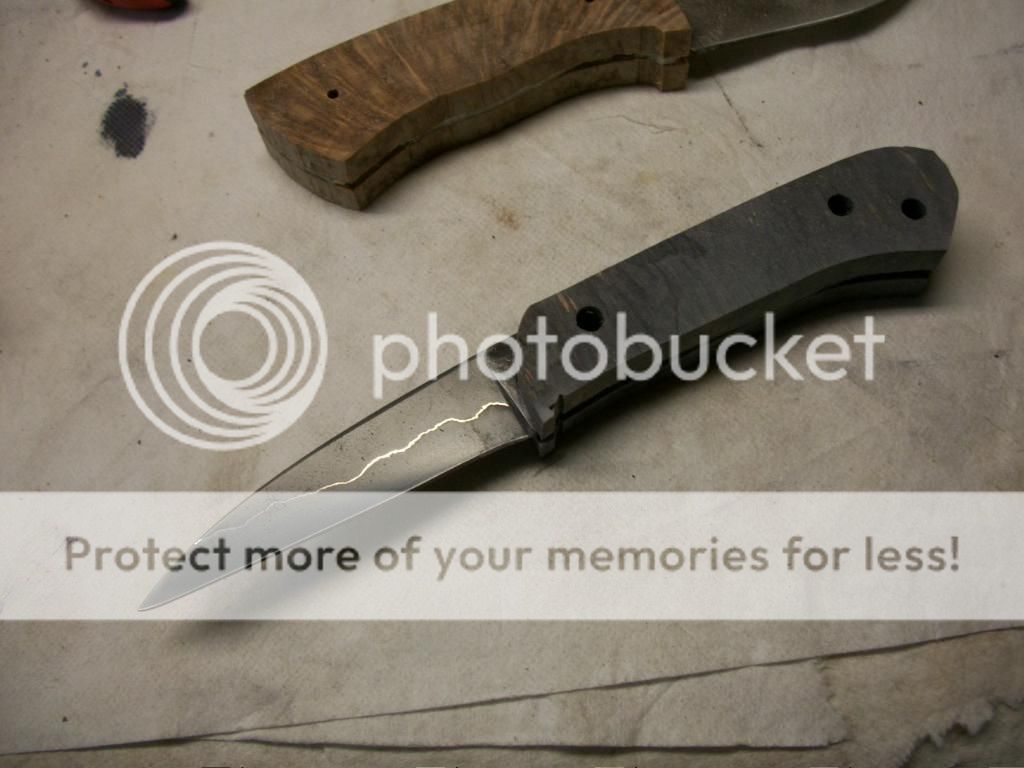
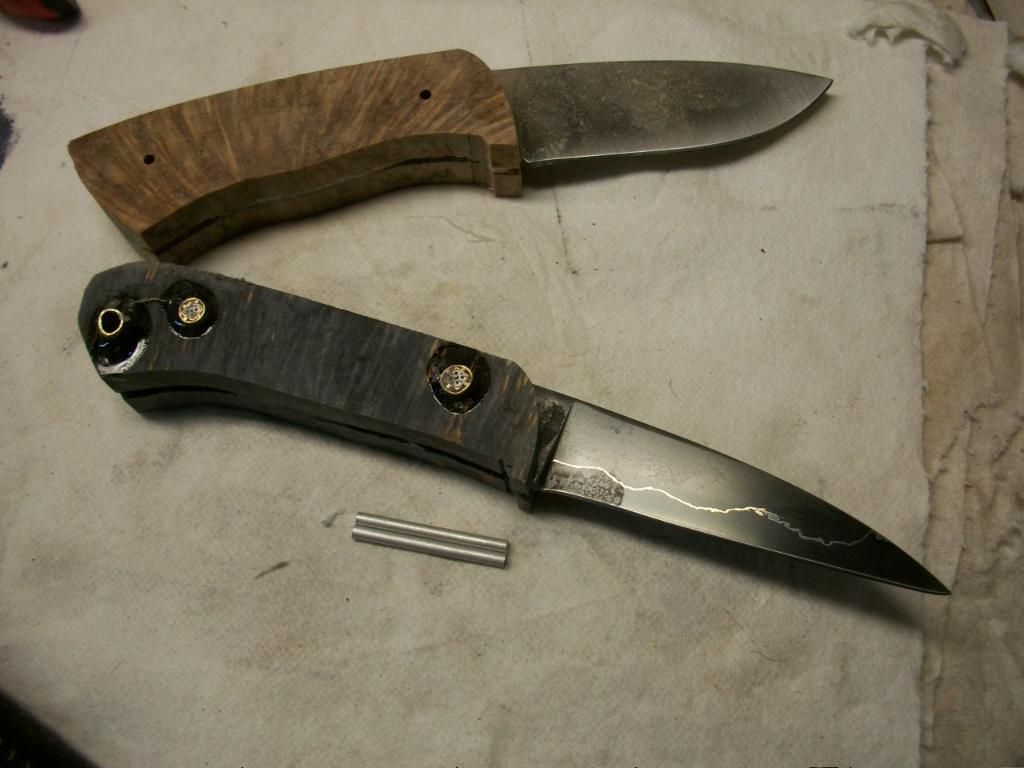

NOW I START PROFILING THE SCALES WITH A 60 GRIT BELT,THEN I START HAND SANDING FROM 120 TO 1500 GRIT THEN PUT THE SPIT SHINE ON!!
2 DIFFRENT BUFFS THEN A WAX COAT,PICS DO IT KNOW JUSTICE GUYS
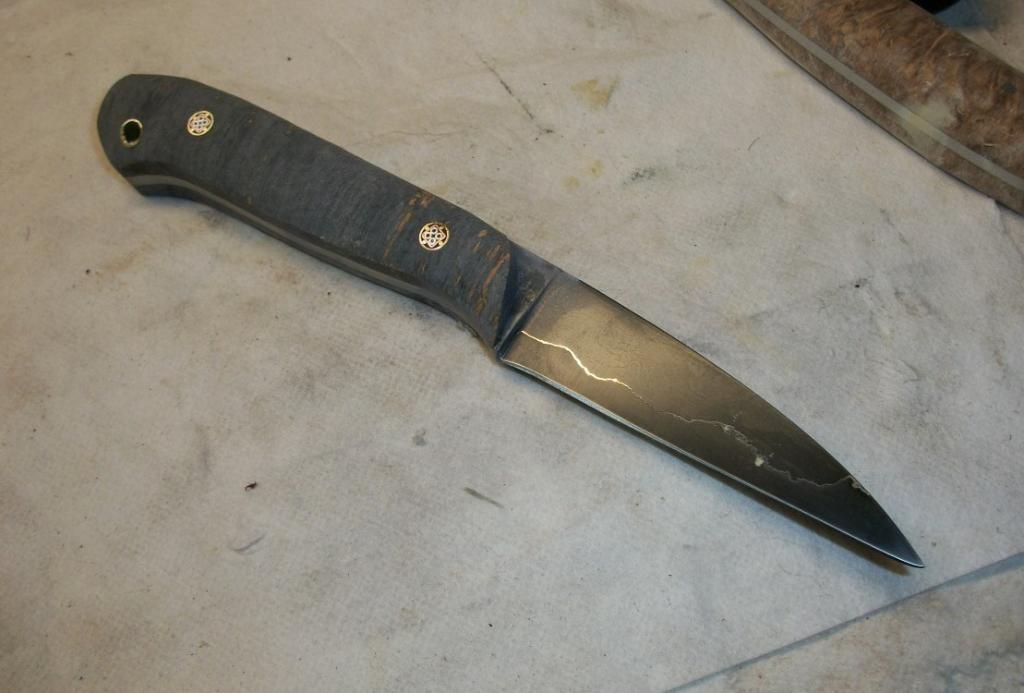

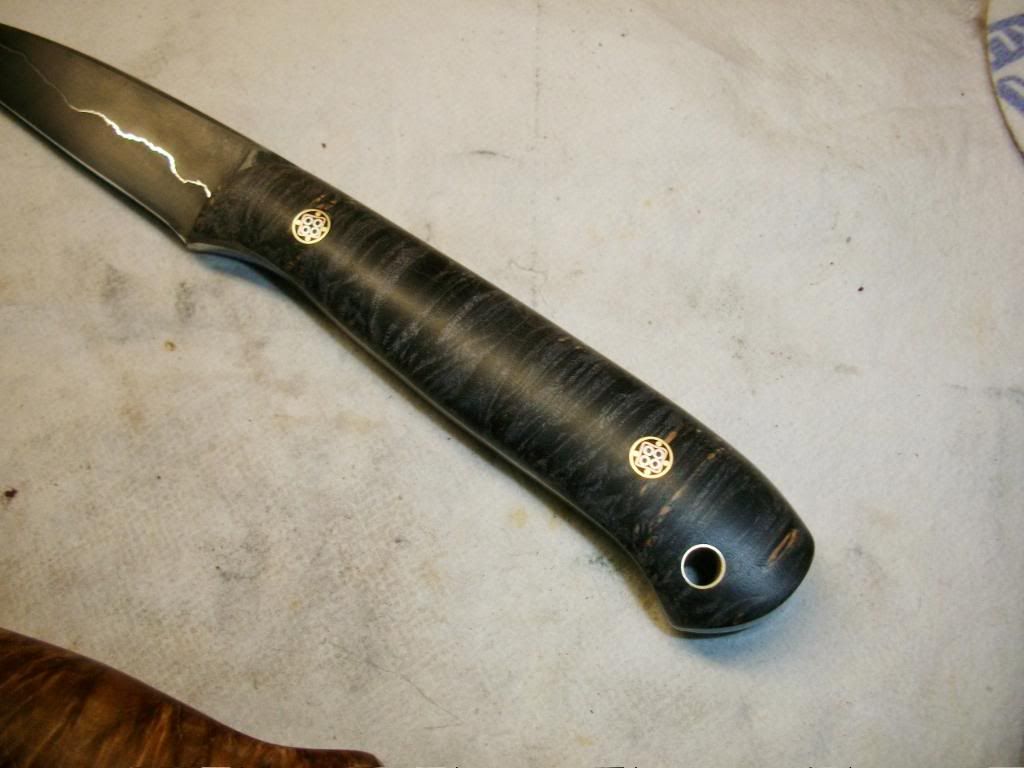

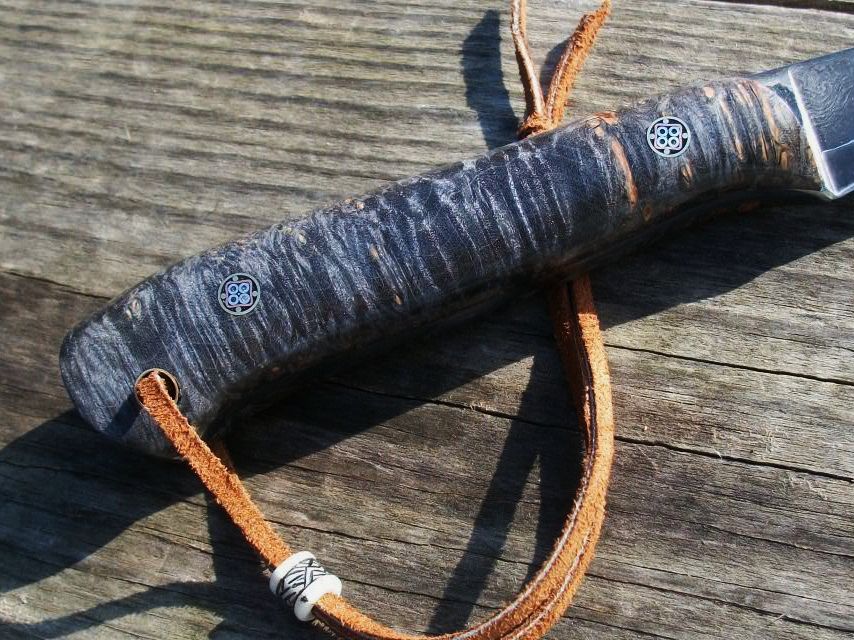
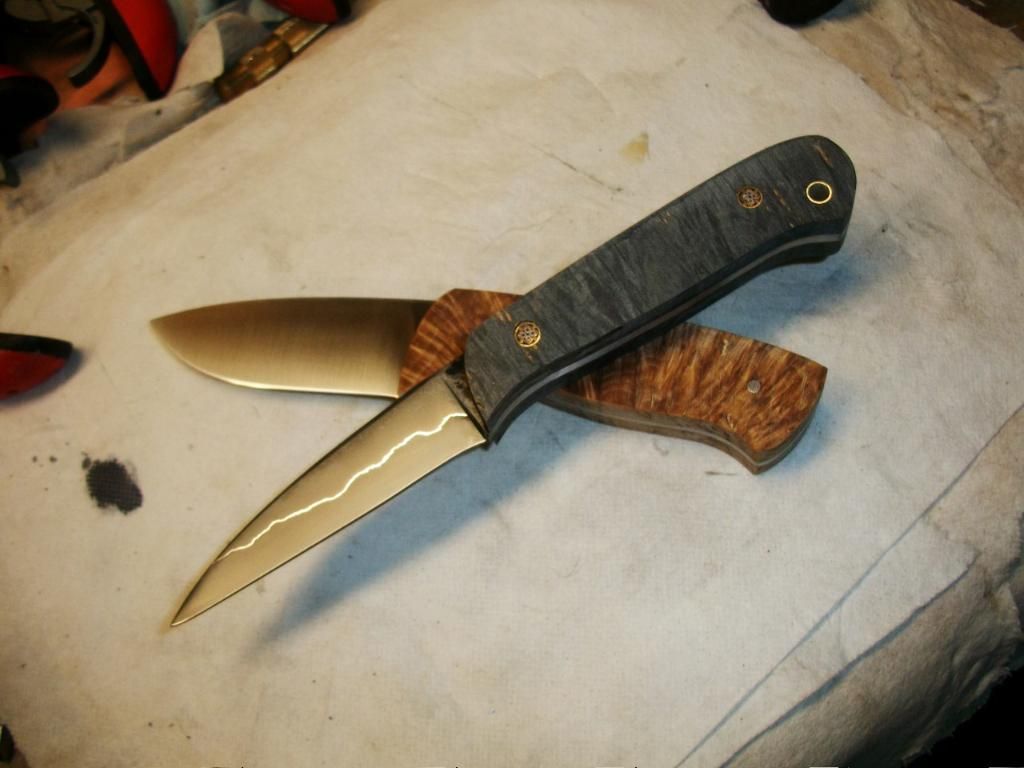
WELL AFTER ALL THAT HERES THE FINNISHED PRODUCT PICS DO IT NO JUSTICE ILL TRY GET SOME OUTDOOR PICS TOMMOROW
LANYARD AND BEAD WILL BE ADDED, 8 3/8 OAL WITH A 3 3/4" BLADE

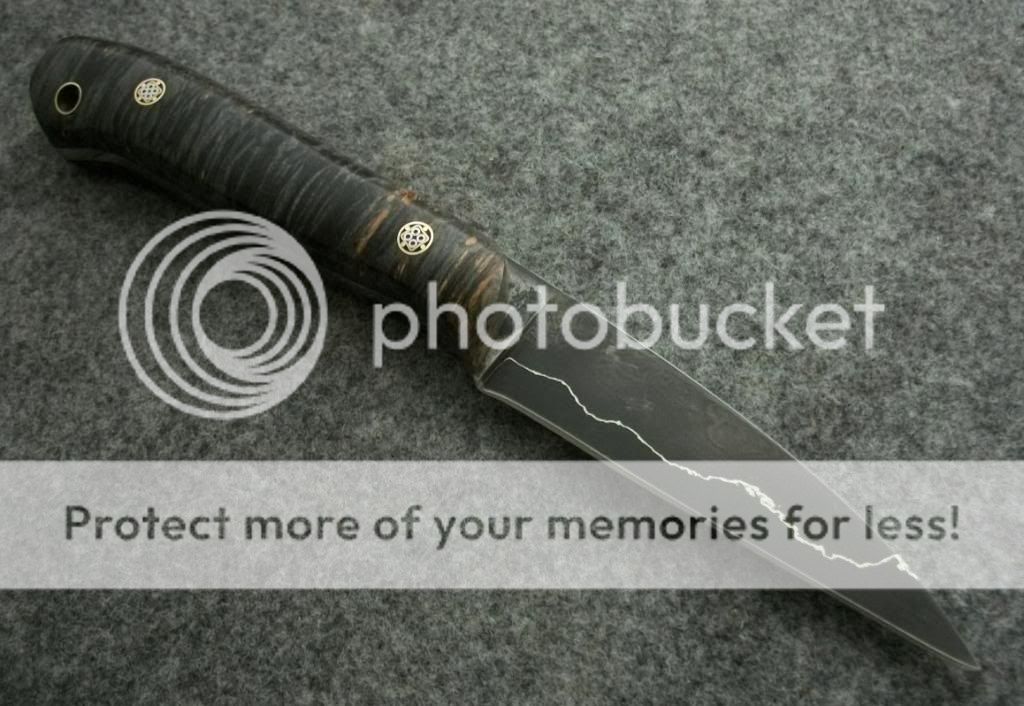

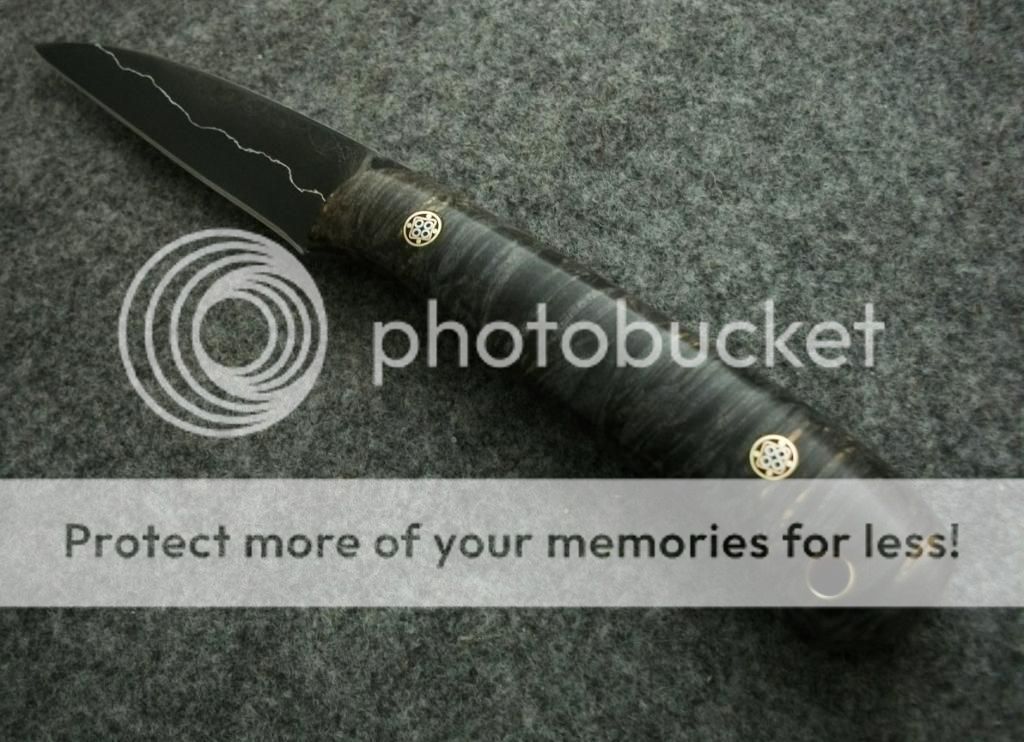

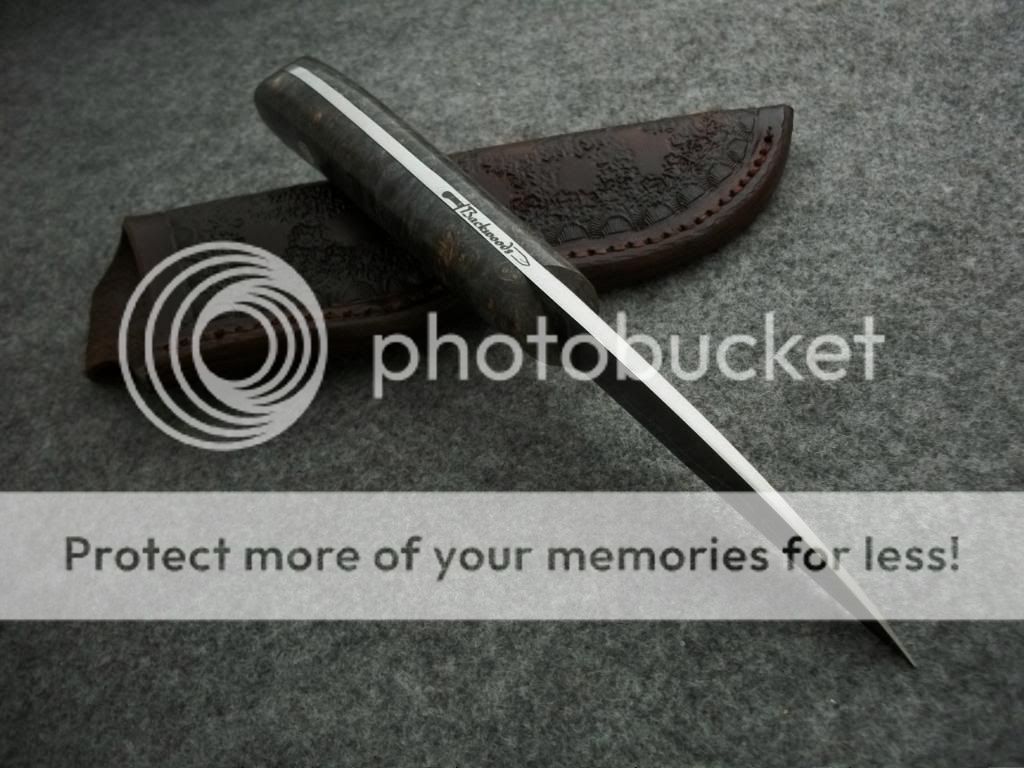
FINNISHED:thumbup:
I KNOW FOR MOST WTF IS THAT, WELL THATS THE SAN MIA BILLET NOT VERY PRETTY HUH?? WELL JUST IMAGINE WHAT I GO THREW ON EACH KNIFE,IT ISNT EASY TO BE CHEESY

PROFILING NO PATTERN DRAWN,THIS IS HOW U GET ONE OF PEICES


STARTING MY GRIND

IM ROUGH GROUND NOW DABBED ACID ON THE BLADE TO FIND MY PATTREN OF 203E ON THE BLADE


NOW IM READY TO PUT THE BLADE IN THE FORGE TO BRING IT UP TO PROPER TEMP TO TAKE A QUICK BATH IN MY QUENCH OIL TO HARDEN IT,IMAGINE HOW FUN THIS WAS HOLDING IT WITH ONE HAND AN TAKING PICS WITH THE OTHER???


STRAIGHT OUT OF THE FORGE INTO THE QUENCH TANK


NOW I PERSONALLY REGRIND MY BLADE UP TO 1000 GRIT BEFORE I PUT IT IN THE TEMPER OVEN TO SEE IF I HAVE ANY CRACKS OR DEFECT FROM THE QUENCH CYCLE,AND SAVES ME THE TROUBLE OF HAVING BAKED ON OIL I HAVE TO CLEAN AFTER THE TEMPER
BLING!!

NOW INTO THE OVEN WE GO FOR 2 CYCLES OF TEMPERING AT 400 DEGREES FOR 1HR EACH I LIKE A STRAW TO GOLD LOOK ON MY BLADES MAKES THEM RIGHT!


WERE OUT OF THE OVEN AFTER AIR COOLING

NOW I GIVE THE BLADE A GOOD HARD BUFF AND CLEAN IT UP WITH GLASS CLEANER AND HEAD FOR AN ACID BATH FOR A CPL MINS


NOW I HAND RUB THE BLADE UNDER WATER TO REMOVE THE EXCESS ACID THE GIVE IT A SOFT BUFF WITH WAX TO SHOW ITS PATTERN

NOW WERE READY FOR SCALES WILSON WANTED SOME DYED MAPLE BURL SO THATS WHAT HE GOT IM GLUED UP ON ONE SIDE AND READY TO DRILL HOLES AND APPLY THE OTHER SIDE


NOW I START PROFILING THE SCALES WITH A 60 GRIT BELT,THEN I START HAND SANDING FROM 120 TO 1500 GRIT THEN PUT THE SPIT SHINE ON!!
2 DIFFRENT BUFFS THEN A WAX COAT,PICS DO IT KNOW JUSTICE GUYS


WELL AFTER ALL THAT HERES THE FINNISHED PRODUCT PICS DO IT NO JUSTICE ILL TRY GET SOME OUTDOOR PICS TOMMOROW
LANYARD AND BEAD WILL BE ADDED, 8 3/8 OAL WITH A 3 3/4" BLADE


FINNISHED:thumbup:
Last edited:


