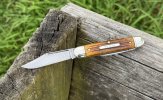
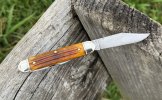
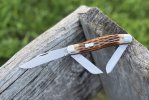
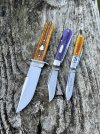
Custom Dyed GEC’s by Nathan & Travis

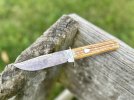
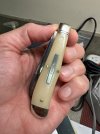
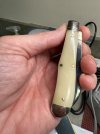
Nathan’s latest project was an underwhelming looking 39. Here are the before pics:
2R2AU3y.jpeg

1RWsNBX.jpeg

luxS8dW.jpeg

I have to say, I was kind of into thr pre-dye version on this one. It was unique.

As for every single other one, the dye job has been a marked improvement.
 
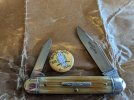
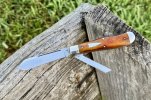
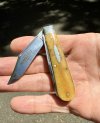
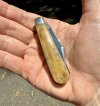
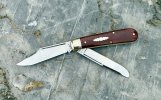
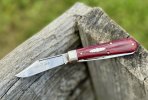
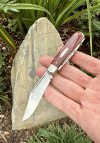
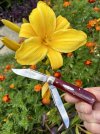
Here is a recent job we did on my washed out looking Cowhide Jigged bone 68. Sorry I can’t find the orginal pictures, probably because I didn’t take many pics since it was a unloved knife. The main blade did not have great action and took about 4 years to flush out and the color just wasn’t very good. So, I will use a picture I found on the Internet looks like my knife for now. The one we started with had almost no color at all.
IMG_4438.jpeg

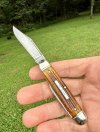
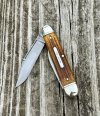
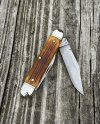
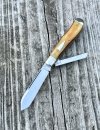
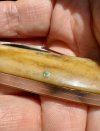
At first we added brown into the middle sections. Later, we added yellow and gold brown to make sure the edges near the bolsters had some color.
IMG_4425.jpegIMG_4429.jpeg
IMG_4430.jpeg
IMG_4427.jpegIMG_4428.jpeg
 
Last edited:
Here is a recent job we did on my washed out looking Cowhide Jigged bone 68. Sorry I can’t find the orginal pictures, probably because I didn’t take many pics since it was a unloved knife. The main blade did not have great action and took about 4 years to flush out and the color just wasn’t very good. So, I will use a picture I found on the Internet looks like my knife for now. The one we started with had almost no color at all.
View attachment 2938148

At first we added brown into the middle sections. Later, we added yellow and gold brown to make sure the edges near the bolsters had some color.
View attachment 2938136View attachment 2938131
View attachment 2938133
View attachment 2938134View attachment 2938135
This one may be a contender for my favorite in the thread. Very nice!
 
Here is a recent job we did on my washed out looking Cowhide Jigged bone 68. Sorry I can’t find the orginal pictures, probably because I didn’t take many pics since it was a unloved knife. The main blade did not have great action and took about 4 years to flush out and the color just wasn’t very good. So, I will use a picture I found on the Internet looks like my knife for now. The one we started with had almost no color at all.
View attachment 2938148

At first we added brown into the middle sections. Later, we added yellow and gold brown to make sure the edges near the bolsters had some color.
View attachment 2938136View attachment 2938131
View attachment 2938133
View attachment 2938134View attachment 2938135
Looks Great Travis! Was hoping you'd try one of these. Nice job with it guys. I know it's too early to tell but do you think the color will hold better than the original factory dye job?
 
Looks Great Travis! Was hoping you'd try one of these. Nice job with it guys. I know it's too early to tell but do you think the color will hold better than the original factory dye job?
Thanks. Unfortunately, all dye has the potential to leach out under warm salty, sweaty, & moist conditions.

All of knives we work on our thoroughly washed and dryed. Next, the knife is polished with a buffing wheel and polishing compound. Then we wash & dry them again. Finally, we oil them. By the time we are done, we know the dye has absorbed down into the bone it’s not just sitting near the surface.
 
You do amazing work. You have a good eye for how much color is Not Enough vs Perfect vs Too Much. Well done.
Thank you. You are correct, it is often tempting to keep going, but if you go too far, you can’t come back easily. On these last two knives I posted, it was hard knowing when to stop. It helps to take breaks and then take the knife outside to see what it looks like with outside lighting versus inside lighting.
 
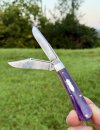
I’ve been having fun with this one quite a bit lately. I carry it in a large GEC leather belt sheath.

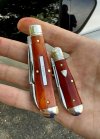
Thank you, Nathan for dyeing this one for me. It is one of your more subtle dye jobs. It looks like what we would’ve wanted from the factory. No longer is it washed out looking.
IMG_4312.jpeg
IMG_4313.jpeg
 
Back
Top