Logo Etching for INFI, need help please

Joined
Oct 7, 2015
Messages
1,290
OK Hogs, I need some advice. To start off, I have never etched anything other than a circuit board in and slightly after college. That was a long time ago. Now with that in mind. I have fell in love with striping the finish off and presenting INFI in its full nakedness. I love the feel of the raw steel. Just love it. Now here is the bad part. When I strip it, the Busse Logo is just about gone or so light you can't see it. I stripped a TGLB and the logo is gone. Just no more at all. :confused:I am seeing where many of you have been stripping then etching the logo, or do you etch then strip. Also what procedure are you using to etch. I have read and read and I am just not getting the full information. I went on several search engines and found various methods from lemons to batteries. Still have not gotten a procedure I feel comfortable using. So.....with no further ado, would you all mind sharing your etching knowledge. I have no clue what to use on INFI and how to make it look good. I am so nervous about screwing up a nice blade with a hack etch job. Would any of your etch masters be so kind as to share your process and products used in etching. I have seen some real professional looking etching going on here. Any advice is certainly appreciated. :confused:
 
Etch then strip. I have only used a car battery and salt water and cotton bal, worked really well and fast plus don't have to really buy anything or worrie about chemicals
 
OK thanks. How do you get the etch to match the letters? The one video I saw they laid tape down to get the letter shapes and even then the process was not perfect. That is one reason I have not done this yet. So to clarify you are just etching with the coating on and using that to keep the rest of the blade safe? So its not possible to etch a blade that has already been stripped because there is nothing to hold the shape of the letters themselves?

On the cotton ball answer. You are laying the cotton ball loaded with salt water on top the letters to etch them. I have seen one vid where they use clay to build a dam around the letters so as to not get on the sharp edge.

This is why I am asking. I have seen some really nice etching on here. Just want to match your all process to get the same results.
 
I made a lil dam around the logo with duct tape the attached the cotton ball to the wire leads off the battery take the other wire to the bare metal part of the blade with duct tape ( I stripped a small patch of coating near the tip to tape the positive wire to the blade) then dip the cotton ball in the salt water and run it back and forth over the logo the wipe it off dip the cotton ball in salt water and do it again and again. If you etch to much you will loose detail in the logo so just be careful and keep checking how deep it is between dipping.
 
It won't etch through the coating so the letters come out really nice. If the blade is already stripped then idk lol
 
Etch before stripping.... build a dam around the Logo with hot melt glue gun then use PCB etchant (ferric chloride get it at radio shack). Allow the etchant to work for 20-30 minutes no electrical requirement to produce this type of etch. Rinse with water and neutralize with baking soda. I use a cotton swab or an eyedropper to apply the solution. You may want to check periodically to see how deep your etch is and apply more solution or rinse and neutralize you will get a feel for it as you do more etching/stripping.

Since you have already stripped this one it may be a tough one to tackle. You can try to build a dam and if you have the patience and steady hand use a pin and some grease or vaseline between the letters to keep the etchant from getting out of what is left of the logo.
 
I don't dam up the area around the logo. The etchant has enough surface tension to keep it from running off the logo. Then every 20 minutes or so I use a dry q-tip to soak up the old etchant. Then I use another one reapply fresh etchant and I also scrub the logo to remove the blackened steel so the etchant can get a fresh bite on some clean metal.I repeat it for two or three hours.
 
I did not etch my rodent 6 when I stripped it and I wish I would have but I did not want to try and recreate the SR logo and end up with a mess or crappy looking logo. Might be best off leaving it sterile
 
One thing I'll add is that when I did one in the green that has the same texture as the hammered silver (not sure if that would be moss or jungle green) the etchant pentetrated the "fish eyes" of the coating and left some dots etched around the logo.
 
I etched some Cold Steel tomahawks using PCB etchant (sp) from Radio Shack.

First, I stripped the hawk head using citristrip. Then, I masked off what I wanted to etch with masking tape, and spray painted the head with a cheap paint to protect against the etchant. Once that dried, I peeled off the tape, exposing the bare metal in the design I wanted.

Next, you can either make a dam with clay, or suspend the blade in etchant. I chose to make the dam. I poured the etchant, and let it work for an hour or so. Then I checked the progress, and repeated until I got to the depth I desired.

Keep in mind, if you go too deep, the etchant will start under cutting the design.

Finish up with a water and baking soda bath, strip the paint, and you're good to go.
 
No Busse content, but I only had a Becker that I etched to show.

I did this using an old phone charger with the wires stripped and alligator clamps attached in place of the part that goes into the phone.
My method was as follows:
Hot water and stir and add salt until it doesn't really dissolve any more.
Dip a Q-tip end into the saltwater mix and clamp that into your negative side and while having the positive side attached to bare metal, makesure the clamp is contacting the saltwater soaked tip.
Now start making your passes over your logo.
After a few blottings/passes/dabbings, the Q-tip will be black, use the other side next and just keep going til you have the required depth.

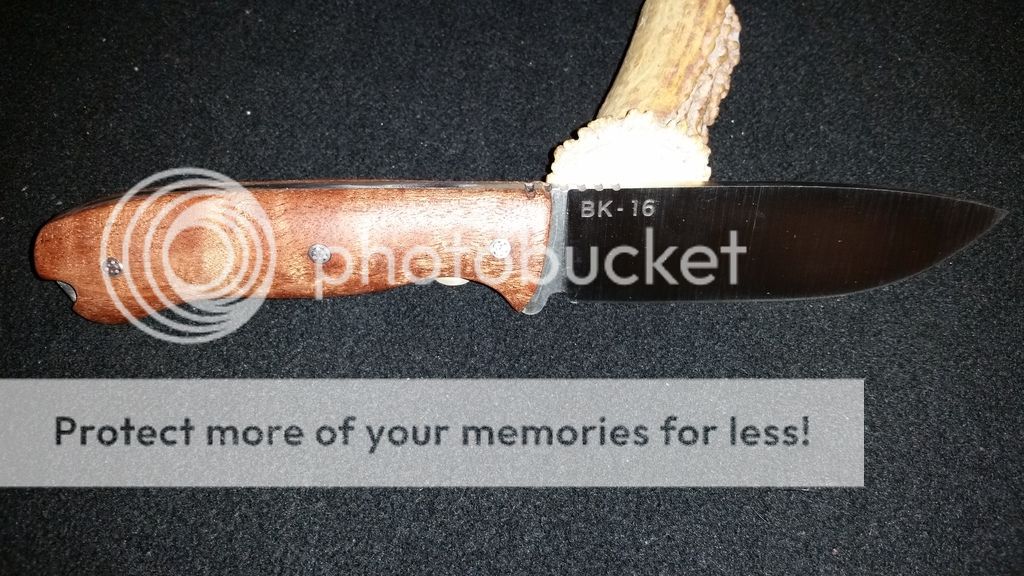
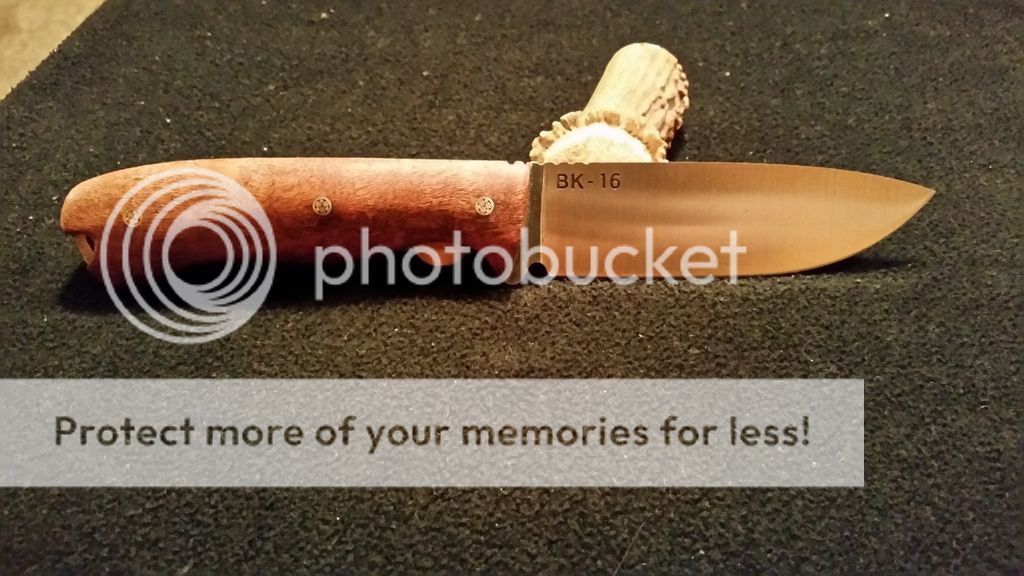
Scrub it as you like, it would only help, but it is not necessary. I did not for the BK-16 shown below.

 
Electro-etch all the way!!! I just use a 12v, 7-9 Amp-hour battery, and some simple salt water. The coating is enough mask to get the job done, but you do have to be careful with the moss green coating, as some of the dimples in the coating do go down to bare steel (don't know about the new hammered silver coating yet as I haven't tried it, but it looks similar to the moss green).

I have had good luck in using the handle tube rivets as a contact point for the negative lead. Every knife I've tried has had at least one rivet that worked. If you have an electrical test meter, just put it on the continuity setting and see if you get a connection between a handle rivet and the bare steel in the logo you want to etch.

To start, I mix about a teaspoon of table salt with just a little bit of water, usually not more than a 50/50 mixture. Stir it well until as much of the salt is dissolved as possible. This will give you a nice, strong electrolytic solution to use for your etchant.

I bought a set of small alligator leads somewhere, and just use those. First, connect them to the battery. Next, I stick the negative positive lead down into the handle rivet that has continuity with the blade, then grab a cotton swab near the inside edge of the cotton with the positive negative clip, and then dip the end of the swab into the salt water solution. Next, begin rubbing the swab around on the logo, and you should see it bubbling. Continue until it stops bubbling. You'll notice that the swab looks pretty nasty by this point, so I remove it from the alligator clip, and change it to the other end. Before starting again, I clean off the logo with a paper towel or a napkin. Repeat until the logo has reached the desired depth, and then go a little further for good measure, because they're never as deep as you thought once you get the coating and decarb layer off.

One warning, take care not to touch the two alligator clips together, or you'll get one heck of a spark! :eek: Also note, the positive negative alligator clip will eventually corrode and dissolve and need to be replaced.

HTH! :D

Edited: Had my polarity backwards... :o :foot: Sorry about that.
 
Last edited:
Thanks guys, I cant tell you how appreciative I am. This clears it up so nicely. I have found many methods, but none really explained them. Thank you a million. Pics to follow hopefully this weekend.
 
If you get nervous about it, you could always take it to a pro for a laser etch. I am not sure, but I think a lot of those operate with the use of a computer, so getting the detail, corners, etc. should be no issue. Just another thought.
 
I posted a thread a while ago with a pic laden version of electro etching with an 18v battery (Even though I did it the dumb way...).

It's pretty simple after a fashion- You'll need:
Cotton q-tips
'gator clips
Wire
Battery
Vinegar
Salt


Make a saturated salt/vinegar solution in a cup
Soak q tip in the solution
Link one end of the 'gator clip to the - end, the other to the now soaked head of the q tip
Link one end of another 'gator clip to a bare spot on the blade, other to the + side
Soak, etch, soak etch, etc.
Should be readily evident if you're getting an etch or not. Be sure to watch and check that the coating isn't coming off around the logo, lest it get washed out.
 
Guys, the electrolysis etch works a LOT better if you connect the + side of the battery to the swab, and the - side of the battery to the blade. I've noticed a couple folks here saying to do it the other way around.

My bad. :o Corrected: the electrolysis etch works a LOT better if you connect the - side of the battery to the swab, and the + side of the battery to the blade (or handle rivet tube in my case).
 
Last edited:
Back
Top