- Joined
- Sep 19, 2011
- Messages
- 461
I
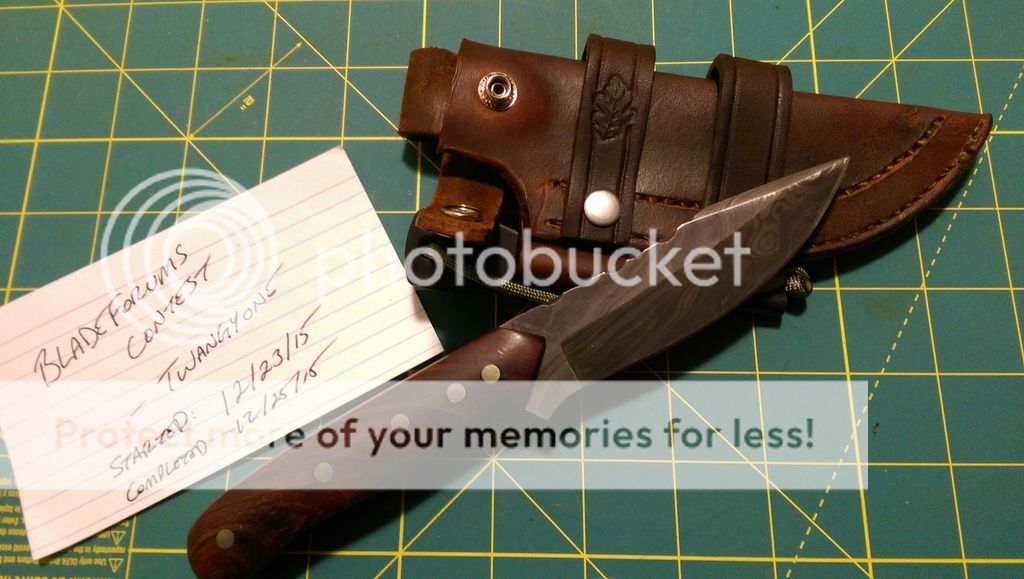
Thanks for the tips. Learning is what this is all about! Tapping down the stitches made it a little cleaner looking and made it feel better on the back side.
To cut a stitching groove on the back side, are you doing this after glue up to ensure that all the spacing and placement will be consistent with the top? I have been cutting my welts and back pieces about 1/16-1/8" oversized and then trimming them down to fit the top panel so that the welt is 100% solid with no visible low spots on the outside.
Your sheath looks great.
Since you asked for tips...
Try not running the drill press with your home made awl.
I just use a drill bit a little smaller than my needle and the slowest speed on my table top drill press.
You may want to cut a groove for your stitches on the back as well as the front, so the stitches sit flush with the leather.
The back of the sheath is the only place they will consistently rub and possibly wear.
As they are now you could tap them with a mallet. Something I do anyway.
I also gave up on the clamps when glueing the sheath up.
Contact cement on both pieces and allowed to dry, then stuck together, will stick fine.
I give those glued edged a tapping with the mallet as well.
Thanks for the tips. Learning is what this is all about! Tapping down the stitches made it a little cleaner looking and made it feel better on the back side.
To cut a stitching groove on the back side, are you doing this after glue up to ensure that all the spacing and placement will be consistent with the top? I have been cutting my welts and back pieces about 1/16-1/8" oversized and then trimming them down to fit the top panel so that the welt is 100% solid with no visible low spots on the outside.


