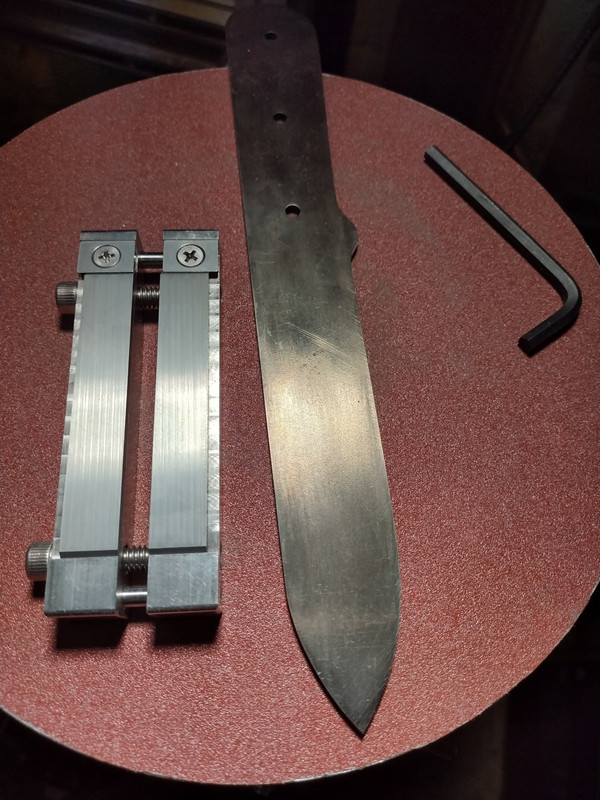
Here's how far I got with this................... My first convex and like it ")


what is hidden also matter to me


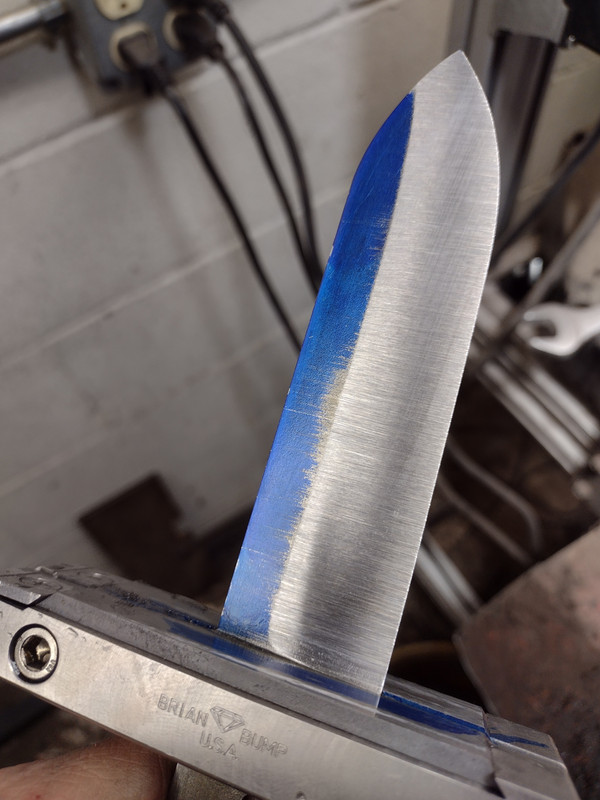
Seems spine and handle are flat I glued this piece of micarta to jig so I don t need to adjust blade position every time I switch sides .I grinded several bevels in different angle and then all that grinded on slacked belt .........with my jig of course .
Forgot to take a picture of all those bevels. they looked so cool


And here it is ....................it is 0.10mm on edge , I will sharpen it in normal way on 20 degree and then flush everything with hand on soft backed sand paper ...I like how stiff is blade , if it was full flat it would flex lot


I tapered one side of handle and I after that drilled holes for pins .I almost forgot to do it before I taper other side What I will change are pins , I will use one 3mm then 6mm and last one 9mm .I also drilled that two holes to remove some weight from tang . I have scale from walnut only 10 mm thick , that is not enough to make that *guard * ? It is to late now so I will taper tomorrow other side, thickness would be 1.5mm .


what is hidden also matter to me
Seems spine and handle are flat I glued this piece of micarta to jig so I don t need to adjust blade position every time I switch sides .I grinded several bevels in different angle and then all that grinded on slacked belt .........with my jig of course .
Forgot to take a picture of all those bevels. they looked so cool
And here it is ....................it is 0.10mm on edge , I will sharpen it in normal way on 20 degree and then flush everything with hand on soft backed sand paper ...I like how stiff is blade , if it was full flat it would flex lot
I tapered one side of handle and I after that drilled holes for pins .I almost forgot to do it before I taper other side
What I will change are pins , I will use one 3mm then 6mm and last one 9mm .I also drilled that two holes to remove some weight from tang . I have scale from walnut only 10 mm thick , that is not enough to make that *guard * ? It is to late now so I will taper tomorrow other side, thickness would be 1.5mm .
Last edited:
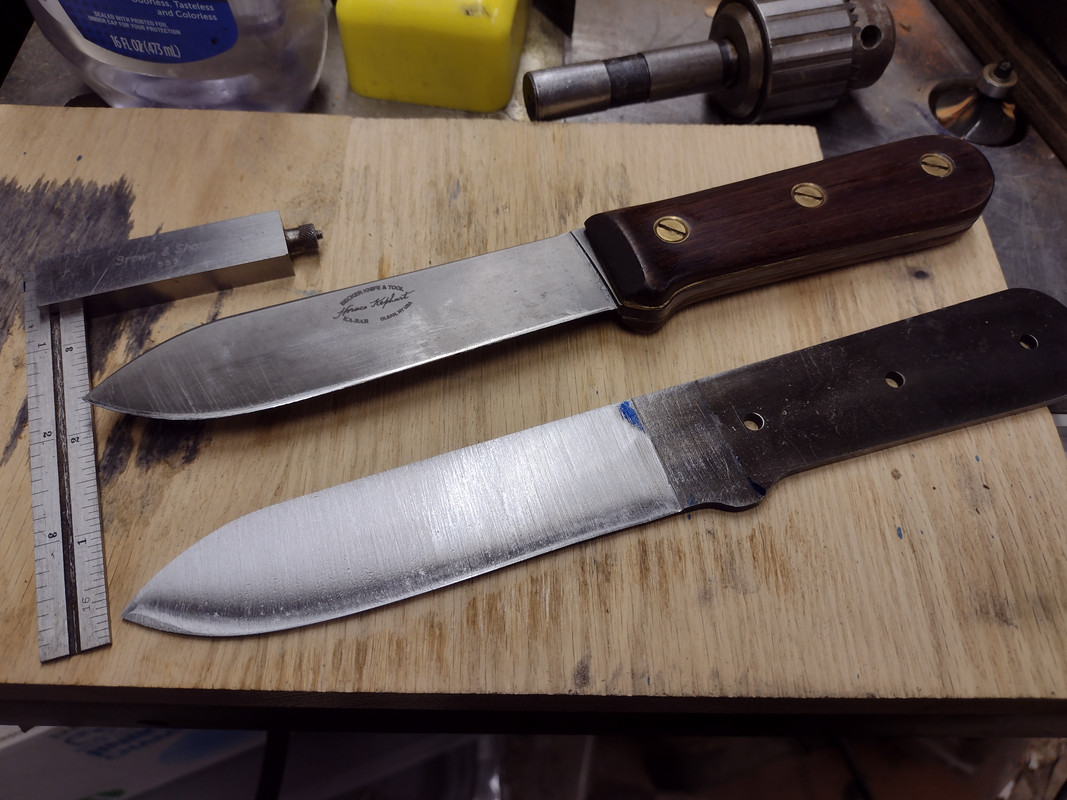
 I reshaped the tip of the blade and done job ...... live and learn