- Joined
- Apr 3, 2011
- Messages
- 6,023
Man, you need to bring a folder to the market.....
Make a small run and give all the buyers some options on grinds/geometry.
Just remember who gets the first one!
You got it if I ever get one done!
")
The BladeForums.com 2024 Traditional Knife is available! Price is $250 ea (shipped within CONUS).
Order here: https://www.bladeforums.com/help/2024-traditional/
Man, you need to bring a folder to the market.....
Make a small run and give all the buyers some options on grinds/geometry.
Just remember who gets the first one!
You got it if I ever get one done!

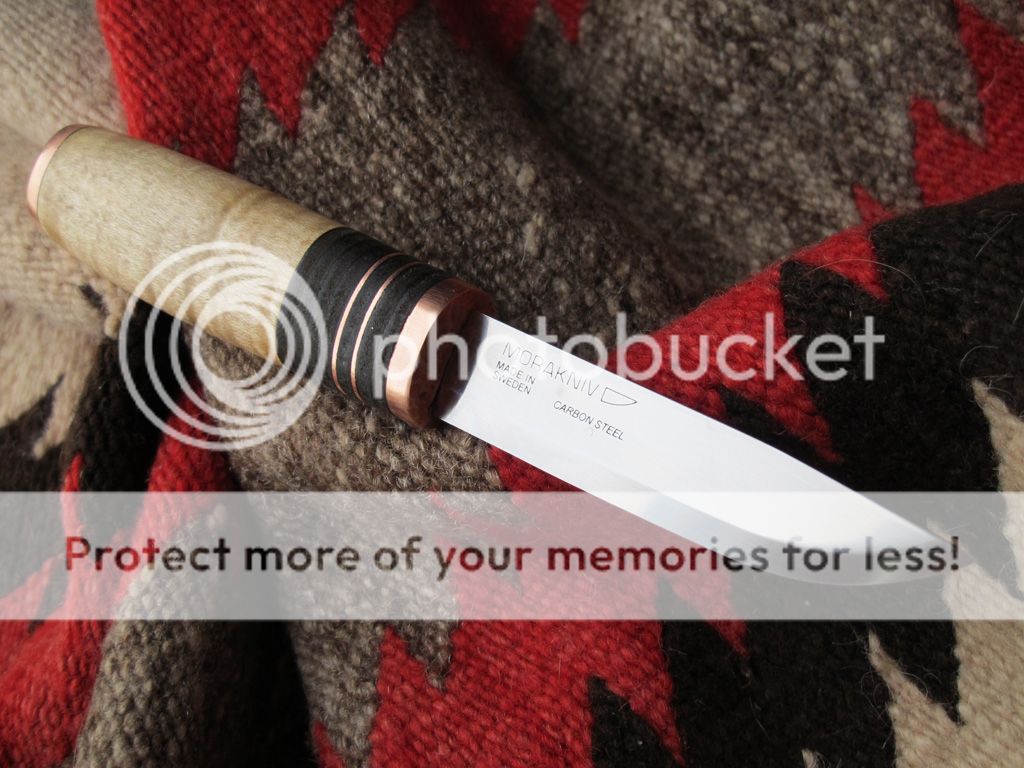
Did up a Mora.
From This...

To This
I know it's in the works, but no need to rush into that man, you're offering an exceptional service right now that is making so many knives better....and keeping you busy!
My crazy sharpening session from last weekend has really paid off.
After using this Insingo a ton this week, including some gardening (soil is not great for edges) I decided to touch it up.
I used a lot of what I learned last weekend, but it's mainly translated to my technique.
Everything I was doing made so much more sense, and that feels strange to someone who's been getting great edges free handing for years, but the point was to evolve/improve, and I feel much better about my edge and how I am getting there.
The biggest difference I have noticed is an improvement in push and draw cutting....and it bites like a champ.
I wish I had the means to show the beautiful scratch pattern from my 600G stone, but this is all I got;


I was able to get my scales on and sanded down. Now just need to finish the wood and get a good edge on it.
I tried using the grinder to sharpen the blade but just hit my edge and ended up having to re sand the dang thing down. I gave up for the day [emoji20]


Wow, awesome dagger regrind!
I think I should send you my stilettos for some treatment...


