Welding table WIP

Thanks Richard. No offense taken at all. I didn't even think about the possibility that they might have been 240v. I was just "Ooooo! Free lights!!"

I just didnt want you thinking I was trying to put down your thread. the older lights where 277V only the newer ones are smart balisc ones.
 
I just got word that my table top has been cut and is sitting at "his brother's house."!! Maybe this Saturday I can convince the wife to take a drive with me.....

I'm going to have to get some flap wheels, cutting discs, and welding rod and get busy with this thing!
 
If you want to build a nice welding table I suggest you go have a look in Weldingweb forum. There are hundreds of threads about welding tables. From the thinnest most modest ones all the way up to accorn cast iron tables. You will get tons of ideas before putting anything togheter and regreat it afterwards.

Just a quick tip. Build the frame and bolt the top to it. You can either bolt from the top to the bottom using countersunk head bolts or if the top is thick enough... bolt it from the bottom up. Whatever you do, DO NOT WELD THE TABLE TOP. No matter how small you make the weld beads or how thick the top is. The top is going to warp and won't be flat any more. Or at least not as flat as it was before. And if the table is not flat, your won't be able to do precise work. I am not telling you to put the table together and then have it blanchard ground... but only to avoid warping it more than is needed.

Good luck!

Mikel
 
Haha. Mikel, I actually have a thread going over at Weldingweb.

Here's where I'm at right now.

IMAGE_1000001242.JPG


About a third of the paint has been removed with a flap disc and the back upright has been removed.

Here's the steel top too.

IMAGE_1000001249.JPG
 
I will look it up over there too ;)

Another quick tip, if you have time, I suggest you recess the shelf a little bit. Otherwise you will be banging your knees against it all the time and won't be able to sit comfortably in a chair/stool for delicate work (say TIG).

Mikel
 
Recess all the shelves? Or just the bottom ones? Or what? The top is over hung 4" all the way around as well for ease of clamping.

I also cross posted to Garage Journal forum. So here, WW, and GJ. Lots of advice. Lol
 
Oh, and btw, I checked on the light voltage. They are 120VAC. Here is a light lit up by sticking the wires in an extension cord.

IMAGE_1000001253.JPG
 
Ok, here's where I'm at now. I didn't get enough flap disks, so I'm about 20-30 worth of sanding away from being ready to start marking and cutting. Sucks, because I had the time to mess with it tonight, but didn't have the equipment. Hate when that happens!

I changed the plans a bit. I'm going to run angle for the front and rear middle legs. I have a couple questions though.

On the front, I'm going to use a piece of thin wall square tube for the top shelf support. The shelf is pretty narrow top to bottom, so this will keep it from having an annoying lip. I plan to keep my slag hammer and electrodes on that shelf and don't want to have to reach over a lip every time. Can I just cut a short piece of tube, weld it into place, and cut the next piece of tube and weld into place for the front support?

On the back, I planned to use a piece of angle for the shelf support. How do I run a angle across, a angle down, and an angle through? I am having issues picturing it.

Basically, the front left center leg has one piece of tubing running perpendicular to it. The back left middle leg has two pieces running perpendicular through it, and the back right middle leg has one piece running perpendicular through it.

Maybe a picture will help?

IMAGE_1000001257.JPG
 
Not sure I follow your welding fit-up questions. Couldn't you just butt joint and/or notch your pieces where needed to make your intersections line up and fit?
 
Recess all the shelves? Or just the bottom ones? Or what? The top is over hung 4" all the way around as well for ease of clamping.

I also cross posted to Garage Journal forum. So here, WW, and GJ. Lots of advice. Lol

In the previous picture I can see only one shelf, but if there are more... I would recess all of them a little bit. Anyway... it is looking good. Can't wait to see it finished!

Mikel
 
Not sure I follow your welding fit-up questions. Couldn't you just butt joint and/or notch your pieces where needed to make your intersections line up and fit?

Yeah.......I don't really follow them and I wrote them. I guess I will just post questions about the joints one at a time as they come up. Or, I could number the joints on the plans and ask about a specific number. That might work ok.
 
In the previous picture I can see only one shelf, but if there are more... I would recess all of them a little bit. Anyway... it is looking good. Can't wait to see it finished!

Mikel

There are three shelves total. One across 2/3 of the top, and two that are lower on each side.
 
Got the legs and shelf supports all cut to length.

IMAGE_1000001258.JPG


I have to get my 240V outlet switched to one compatible with my welder and I'll be
ready to start fabbing! Hopefully I can go find one tomorrow.
 
Also, now accepting color and primer/paint suggestions. I don't have a HVLP gun or air compressor, so will need either rattle can or brush on. I'd like it not to be black. I need a rust preventative primer as there is still a bit of rust I can't get sanded off.

So far I've spent:

$25--frame
$20--flap disks

Still need paint and primer.
 
You're a lot more sophisticated than I am. I'd not bother with paint. Nice to be able to ground your buzz box wherever. I presume you're referring to just the frame?

If paint you must, primer gray and be done with it. Or maybe you're into some fruity or pastel colors, or want to match your Lincoln? Be careful, you could set the color pallet for your whole shop with this decision. Next you'll be wanting to match that vise restoration to it and your next grinder build and....
 
Believe me Phil, I've already considered the ramifications of choosing the wrong paint color with regards to the paint scheme of the whole shop. I've already got my little table that matches my welder. I thought about doing Rustoleum's verde green hammertone, which is a dead ringer for Wilton's original color on their vises. :D
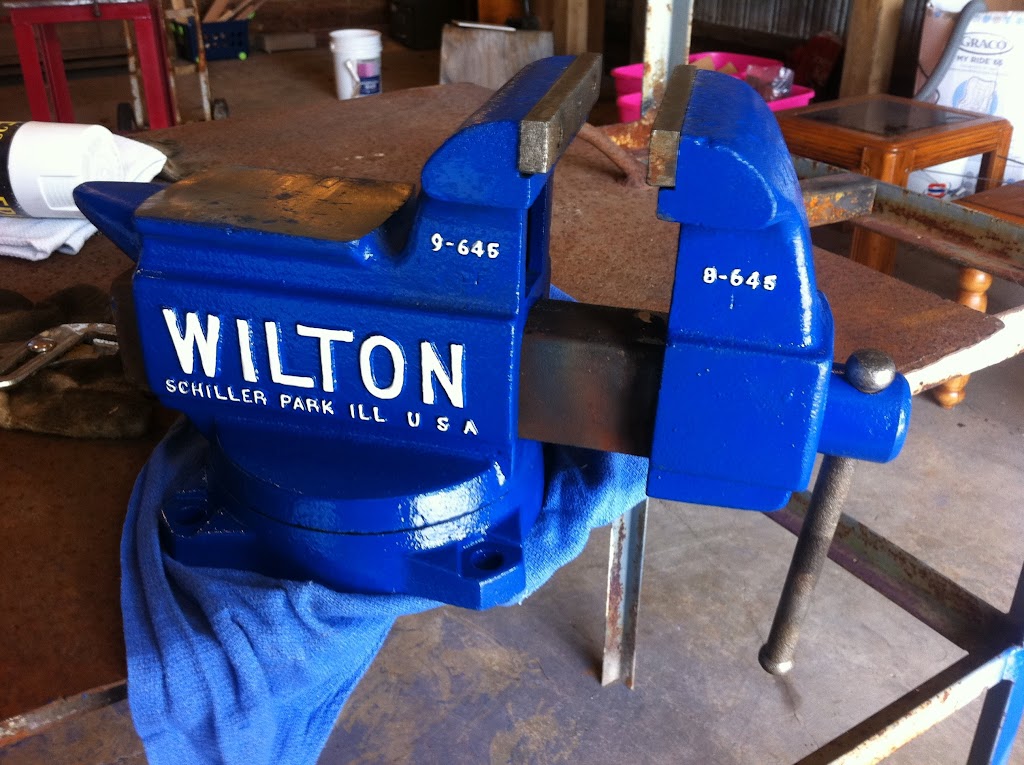
. I've also thought about Cat yellow or the blue like my first Wilton vise restore.

IMAGE_1000001117.JPG


IMAGE_1000001192.JPG
 
I just reread your post Phil. Do they make pastel pink spray paint?? That might be a very pretty option.........:D
 
Back
Top