Welding table WIP

Looking GOOD! Watch out for those sharp corners. I'd be jabbing myself on them and would be tempted to cut little 45° pieces off the fronts if the bench didn't get tucked in against the wall enough. Hear ya about wishing for a heavier/thicker top. Not sure about good way to attach it. My little table just has it resting on it.
 
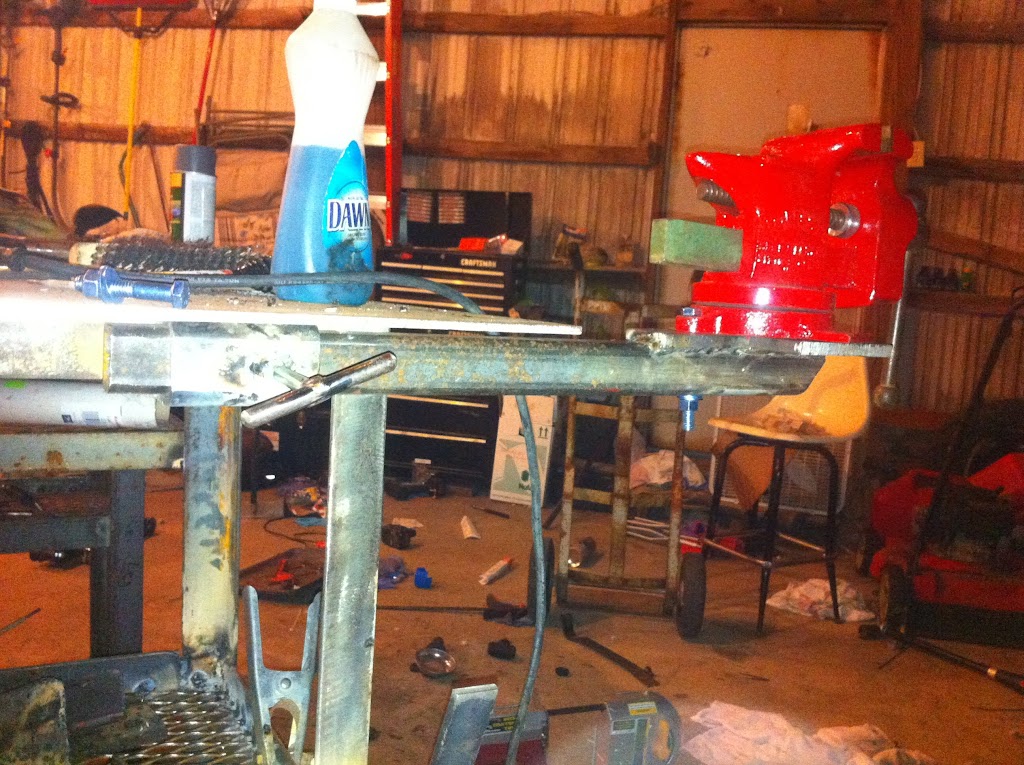
I decided on red, to match my welder. Big shock, I know.


I had been playing with an idea in my head to make a modular system for holding a vise and possibly bending studs/holes for decorative iron work. This table is more than just a welding table, it my general metal work table as well.

I started by painting a Littleton USA 4" vise I bought cheaply a long time ago. I didn't go hog wild with the paint because this is going to get banged up pretty good working with steel.

IMAGE_1000001389.JPG


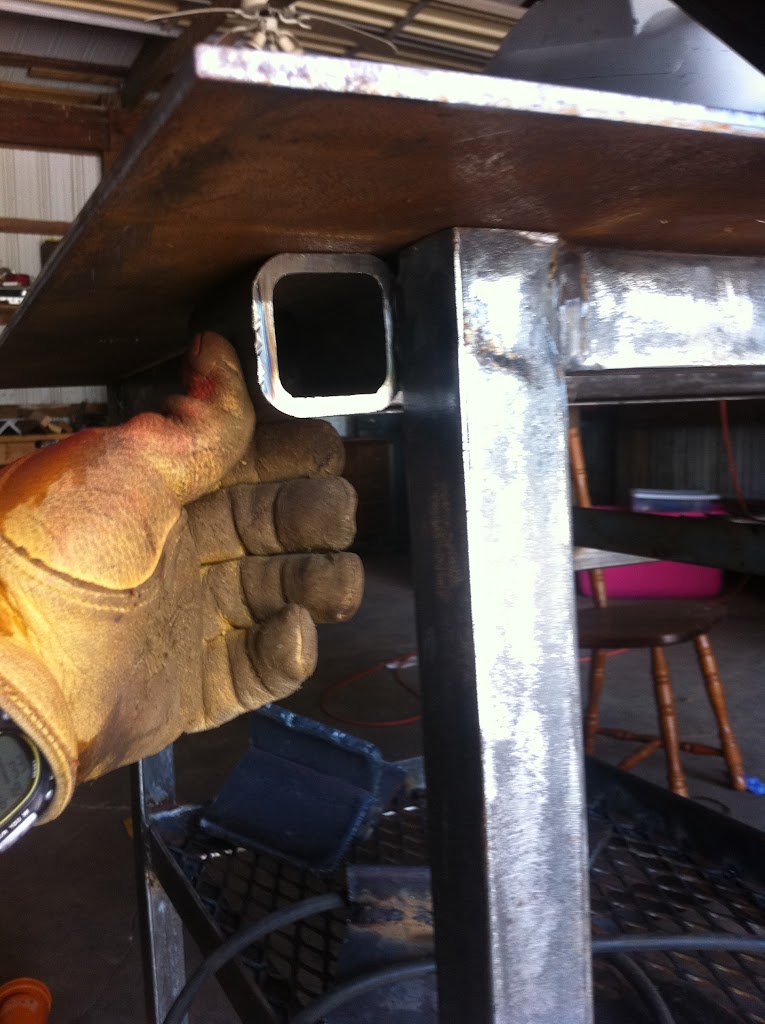
Pieces of the nested tubing. They are a perfect fit, with some filing and grinding of course. The big tubing I got from the steel yard scrap bin, and the smaller stuff I got in my initial trade with the guy down the road.

IMAGE_1000001390.JPG


Placement of the holder, on the left side, near the front of the table.
IMAGE_1000001391.JPG


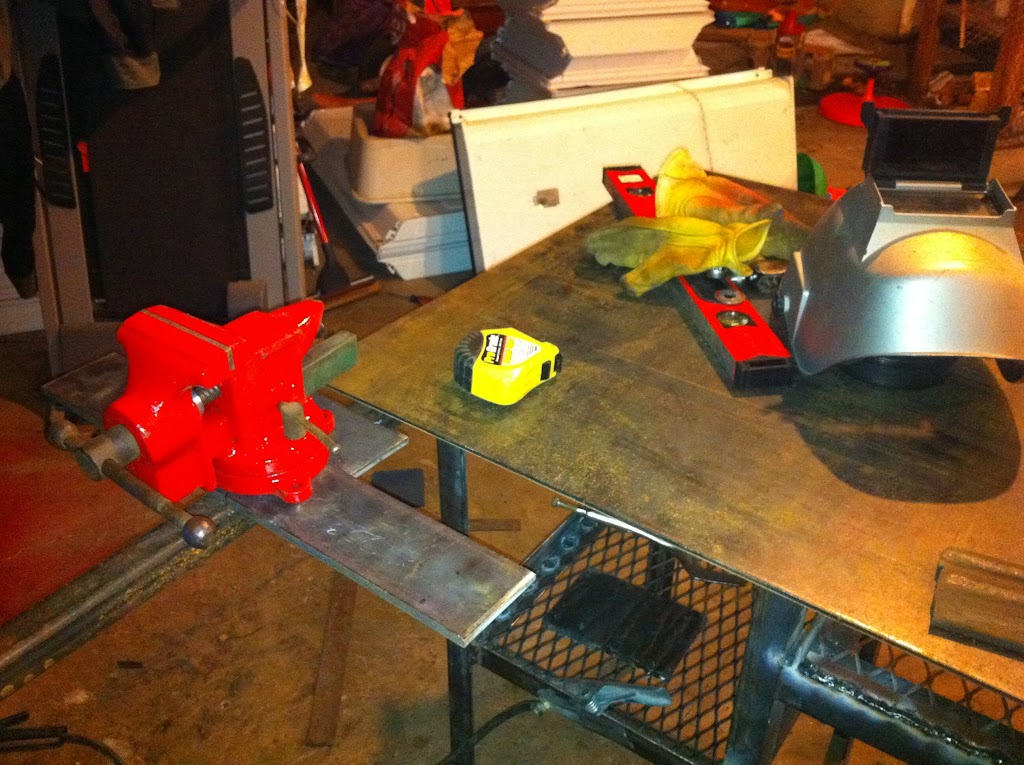
The following pictures show how everything will fit together. Of course, all of it will be welded, there will be a set screw/bolt on the bracket, and every thing will be painted black.
Sorry they are such crappy photos.

IMAGE_1000001392.JPG


IMAGE_1000001393.JPG


IMAGE_1000001394.JPG


IMAGE_1000001395.JPG


So, whatcha think? I think it will work fairly well for light weight clamping and hammering. Nothing too much or it'll tip the table.
 
So, whatcha think? I think it will work fairly well for light weight clamping and hammering. Nothing too much or it'll tip the table.

As long as you don't weld the ouside tube to the table top... you should be ok. Maybe add some gussets from the tube to the frame and you will be all set.

Good job!

Mikel
 
Thanks Mikel. Do you mean gussets from the receiver tube to the frame or the other tube to the frame?

I was able to get in out ambulance shop and use the
torch to bend these brackets. They will be used for the
stinger and ground clamp cables.

They still need trimmed up a bit and I may have to shorten the
upright to table connection point length a little as well.
I don't want to catch myself on them when I walk past the table.

IMAGE_1000001396.JPG
 
Last edited:
Lol. Thanks Phil. I'm just working within my limited skill set and limited funds. With a few hundred dollars to spend I could have made this thing AWESOME, but as it is, I have $25 in the steel. So kinda cool will have to do. :)
 
So, whatcha think? I think it will work fairly well for light weight clamping and hammering. Nothing too much or it'll tip the table.
Be CAREFUL setting yourself up for mishap. There's plenty of chances for accidents as it is, no need to make them even more likely. Minimize the risks if you can. Maybe make the vise on the end instead so it has the whole table's length as counter ballast? Or weight or anchor your table in some way? You do NOT need to be worrying about, or actually HAVING, the whole thing tipping over!!!
 
I had a light fixture that I needed to repaint, I sprayed with a hammer tone and then a final color over the hammered finish, ended up looking really nice and hides the majority of the pitting in the cast aluminum housing, just tossing you an idea for the table frame. Just make sure the hammered finish is dry before top coating it or it will look like crap with the top layer cracking, allowing the base coat to show through.

Table looks good, hope it works out for you. Like the wilton resto job, nice to see old tools brought back to life.
 
Just left the hardware store. I got 6, grade 5, 3/8 fine thread bolts and the appropriate tap for the table top. I decided I liked drilling through holes in the frame and tapping the top better than welding the top. I am afraid it would end up warping. There should be 4.5 threads in the 3/16" top.

I also got the bolts and nuts for the t-handled clamping mechanisms. Hopefully I can get them mocked up today or tomorrow. I got the bolts for the vise as well, so hopefully I can get it done too.

I'll do the final sanding/grinding on the frame and everything else over the next few days and then be ready for primer and paint! Let's do this!!
 
It has been HOT here and we've been busy with finishing up softball season, so haven't had a chance to get out and work on the bench before tonight.

I welded the lead brackets on and cleaned up the top edge of the middle shelf with the grinder. I have a lead (no pun intended) on some used leads I can buy cheaply to extend mine. I can't afford $4.49/ft for lead wire.

I'd been toying around with an idea for grinder and grinding wheel storage on the bench. I hate hunting around for my angle grinder and especially that stupid wheel/arbor wrench. I always lay it down and can't find it when I need it.

IMAGE_1000000954.JPG


I think I'm going to add another set of grinder hooks, because changing back and forth from cutting to grinding disks all the time is really annoying when I'm fabricating, and 4 1/2" angle grinders aren't all that expensive, even for decent ones, which I do not have yet.

I almost have the vise mount and the first vice clamp done. I need to get a few more receivers filed down and welded on.
Sorry for the horrible pictures. I need to get those lights up soon!
IMAGE_1000000958.JPG

IMAGE_1000000959.JPG

IMAGE_1000000955.JPG


I couldn't find any oil, so I used Dawn for cutting fluid. It worked decent. Damn 118* drill bits suck. I couldn't find any 135* split points tue correct size at the hardware store though.
 
Looking good! But you may want to round the pieces of round stock used to hold the assortment of 4 1/2" discs you have there. I can't tell if they are fully covered by the overhang of the top plate or not... and if not... the sharp edges may catch on your clothes when you walk by... or worse... your flesh!

Mikel
 
Wow! Has it really been 3 1/2 months since I worked on this?? Apparently! Life got very busy with my wife intermittently being very sick and working both jobs and just plain raising a family! I finally had time tonight to go out to the shop and finish this table off.

Here's the finished thing!

IMAGE_1000001513.JPG

IMAGE_1000001519.JPG

IMAGE_1000001521.JPG

IMAGE_1000001523.JPG


I ended up just tack welding along the inside of the top rail. The top didn't warp, and it is secure to the frame, so it worked fine.

I'm glad it's done. Now to get some wire and move the table and 220 outlet across my shop.........
 
Oh, and once I get some longer leads, they will be routed differently. For now though, I will have to keep them in front so I have the most room to move.
 
Back
Top