- Joined
- Feb 28, 2006
- Messages
- 3,494
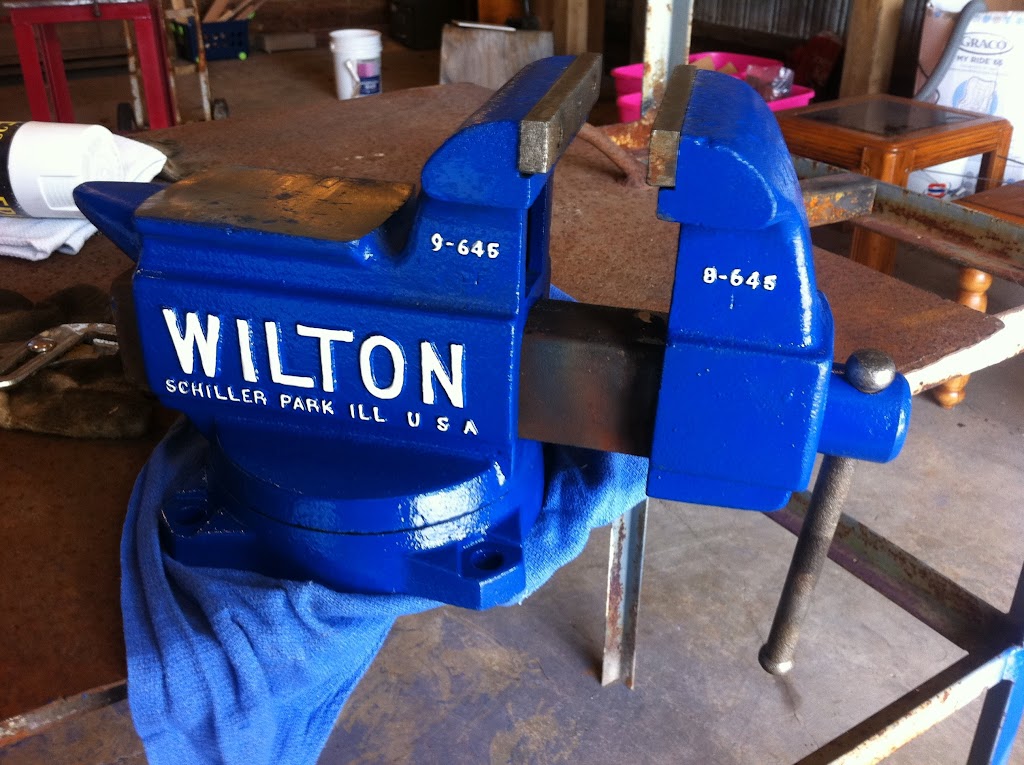
Not sure about that, but pink trim instead of white on that most excellent Wilton restore would have looked stylish. 
The BladeForums.com 2024 Traditional Knife is available! Price is $250 ea (shipped within CONUS).
Order here: https://www.bladeforums.com/help/2024-traditional/
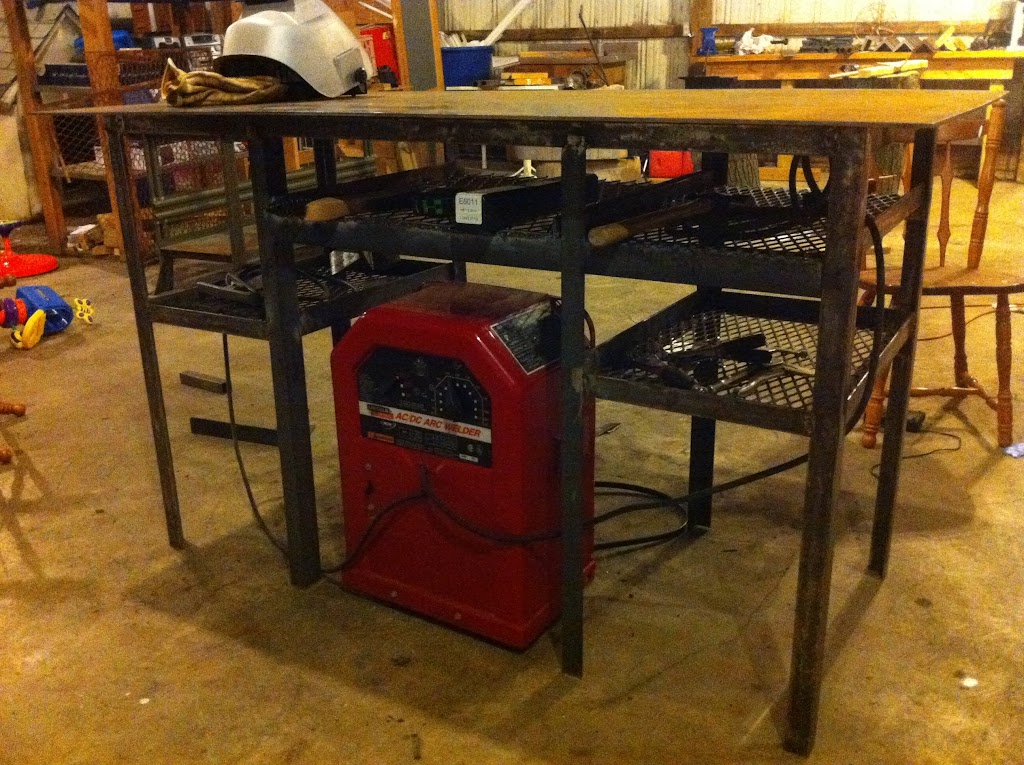
Believe me Phil, I've already considered the ramifications of choosing the wrong paint color with regards to the paint scheme of the whole shop. I've already got my little table that matches my welder. I thought about doing Rustoleum's verde green hammertone, which is a dead ringer for Wilton's original color on their vises.. I've also thought about Cat yellow or the blue like my first Wilton vise restore.

Not sure about that, but pink trim instead of white on that most excellent Wilton restore would have looked stylish.


")
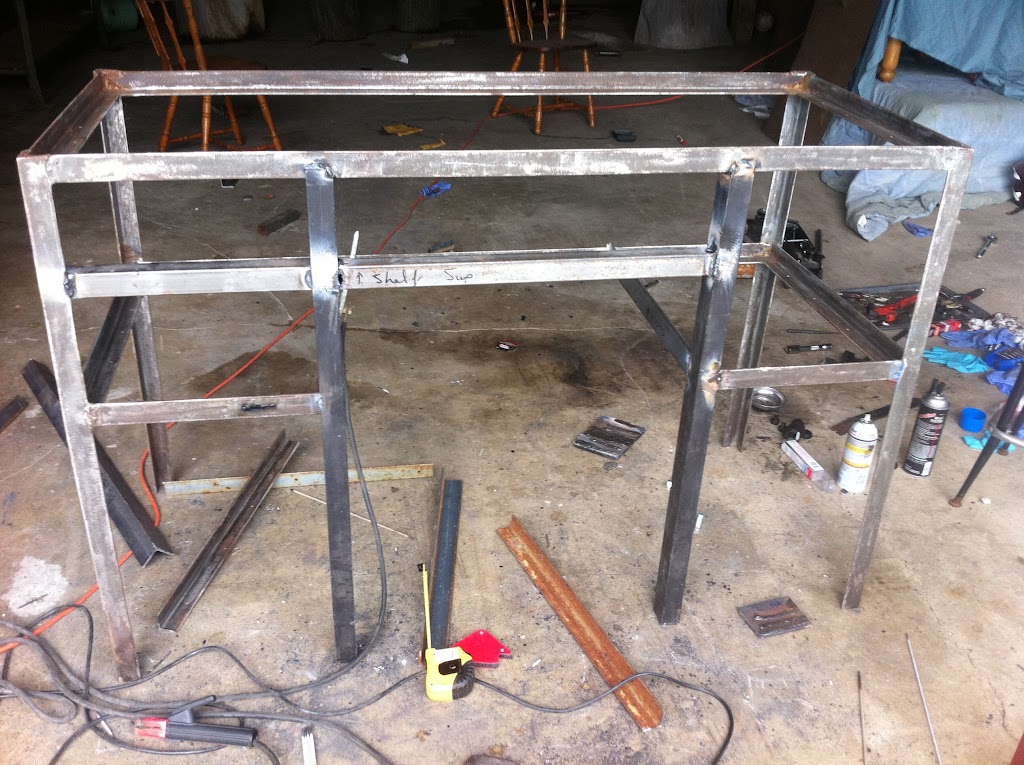
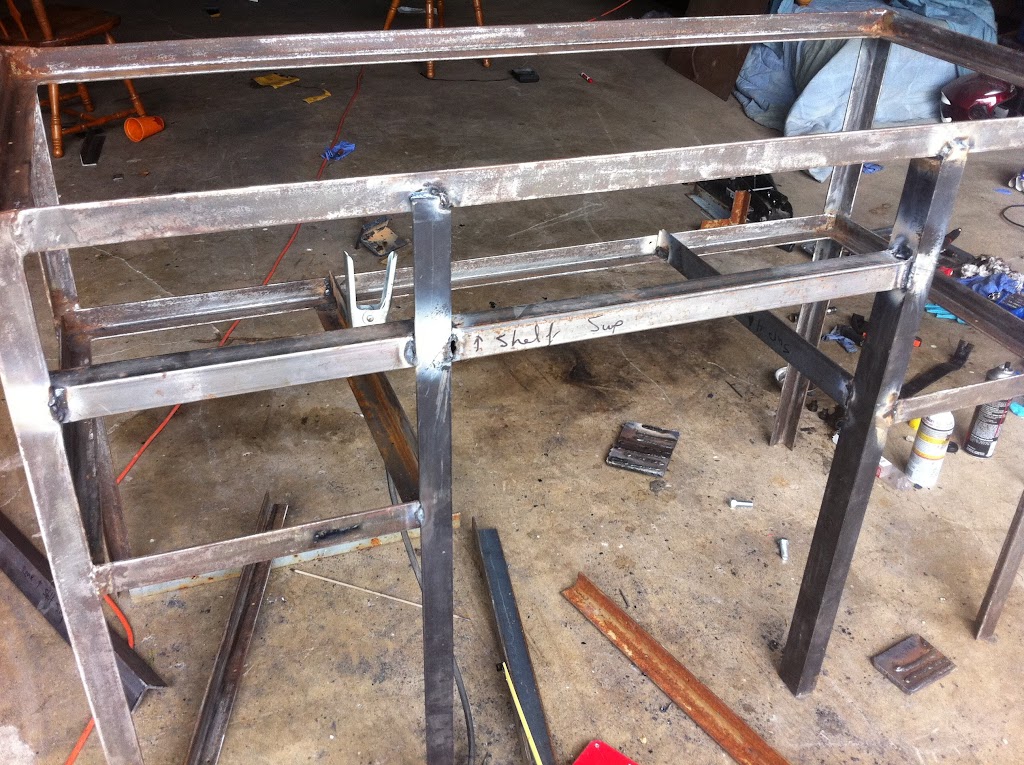
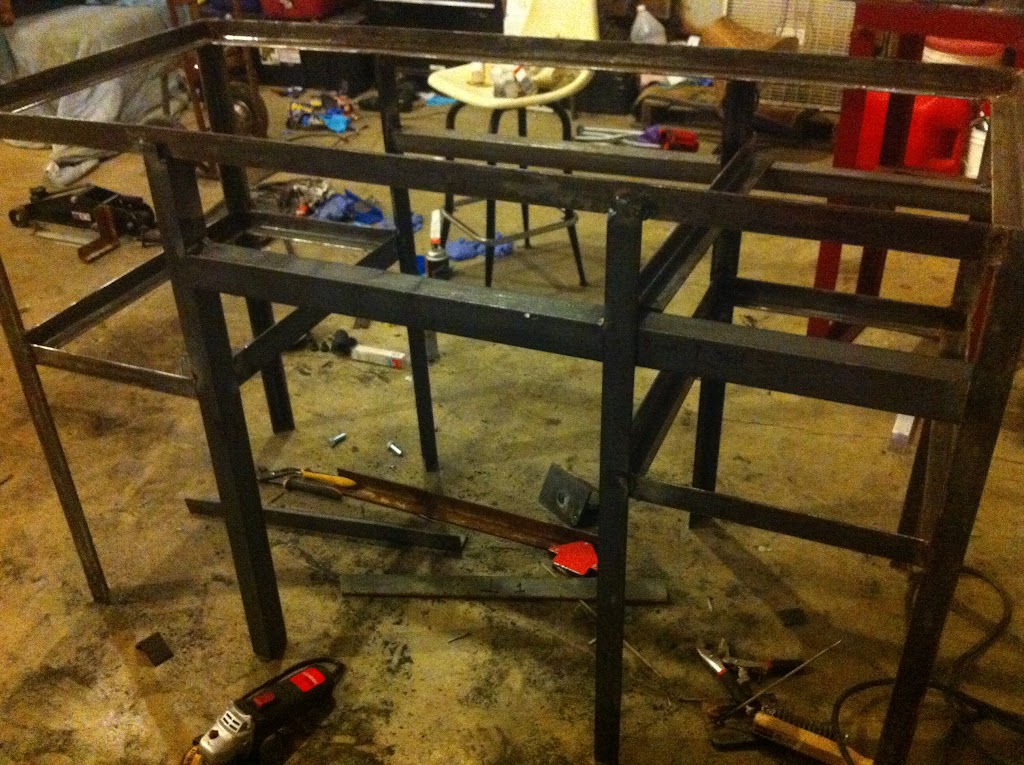
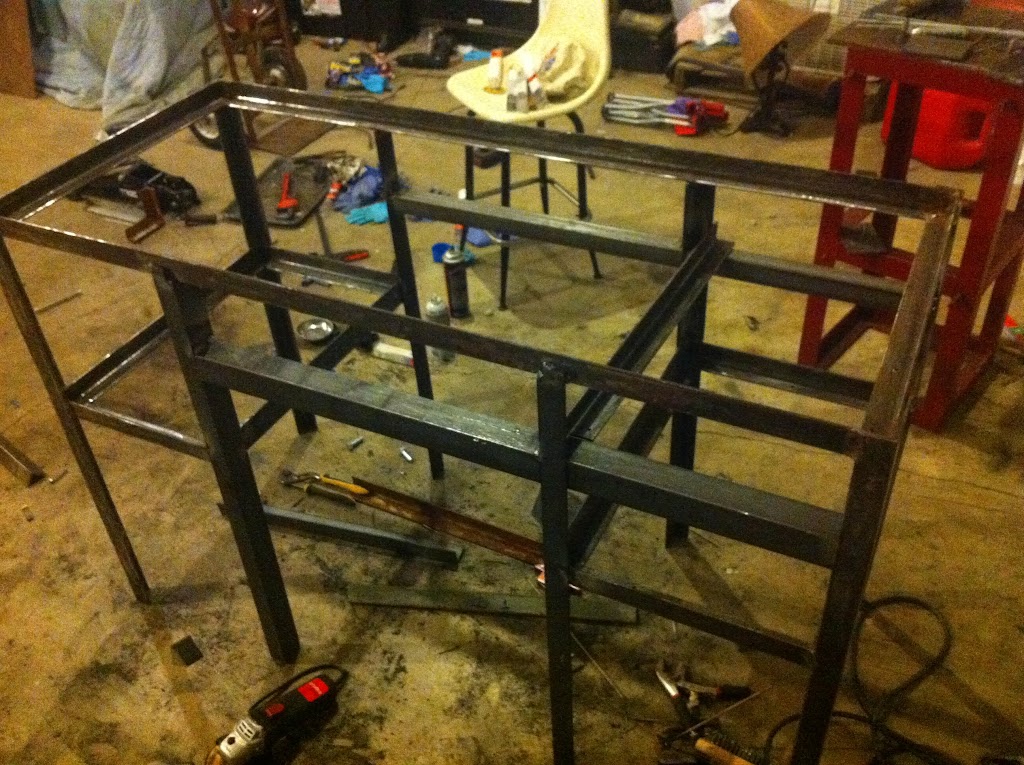
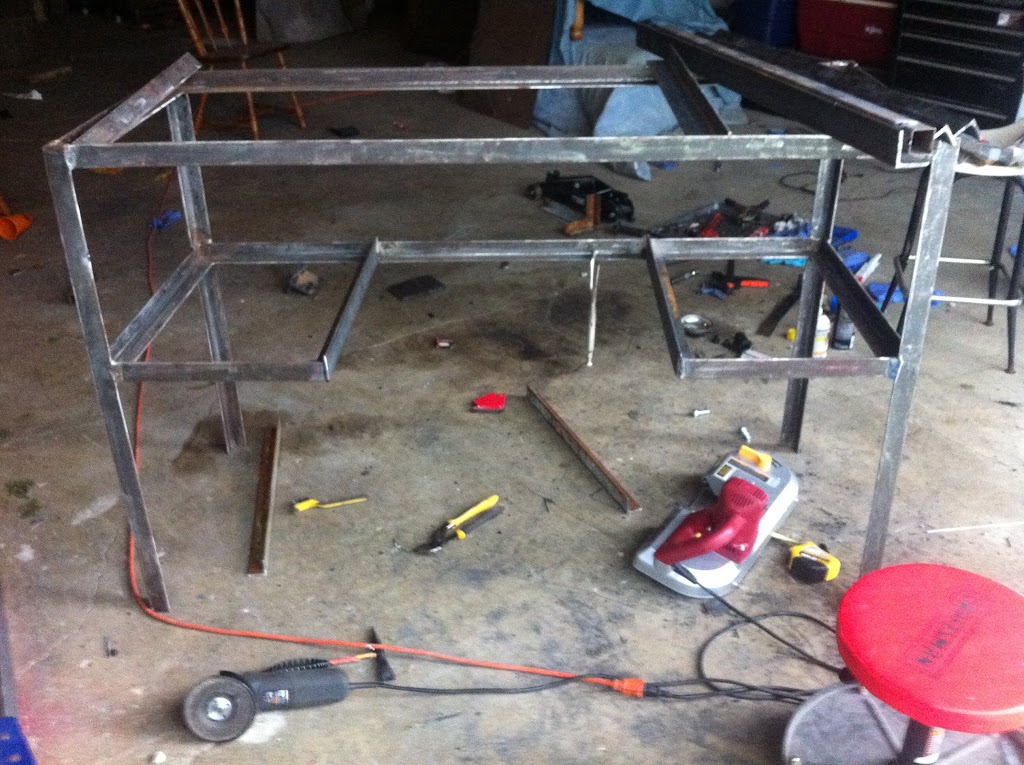
Me too. My welding is so novice, I would have probably just tacked and then laid it over on it's side to run the bead horizontally. It's coming along, and once you get that blue and pink paint on it no one will know the difference anyway!I'm not at all impressed with my vertical welding skills. Basically I suck donkey butt. Big donkey butt. My horizontal welds look good, but everything vertical looks horrible.
") *
*