Wow talk about timing! I literally was making a batch of our Buckaroo Pouches. They are made from a chrome tanned water buffalo. The pic of my straps above, yes that is veg tan water buffalo. However, any of the overlaid items we make we are using a chrome tan overlaid onto usually 8-10oz veg tan. The veg tan water buffalo like those straps above always get burnished with one exception. We have lately made the executive decision not to burnish the straps on a rifle scabbard. These are 50-60 inches long usually and burnishing them was just hard on the old guy, even with a power finisher. In fact those pics above are the first sets that I did not burnish. Everything else is and has been burnished.
These overlaid holsters are burnished.
So a pro tip on the overlaid is to use one size larger edger than normal for the water buff side. So for instance on these holsters I used a #4 on the water buff side and a #3 on the back side. This sets the water buff back some and for some reason it burnishes better. When edging a softer leather it is important that the edge be VERY sharp. That will help quite a bit with the fuzzies. So in your pic I'd like to see how your practice piece came out. So your singular strap I probably wouldn't try and edge that. If it was two layers sewn together I would. Two layers is what my Buckaroo pouches are:
I sharpened this number two before starting on the 19 pouches and touched it up about 3/4 of the way through.
I burnished these guys just a lil too>. Burnished on the left and not on the right.
I don't go crazy on trying to burnish them as you will certainly invoke the law of diminishing returns. I dampen each with water. then rub some paraffin on it and then burnish:
Really maybe only 30-45 seconds each. But it does enough to make it worth while. Just a lil thing:
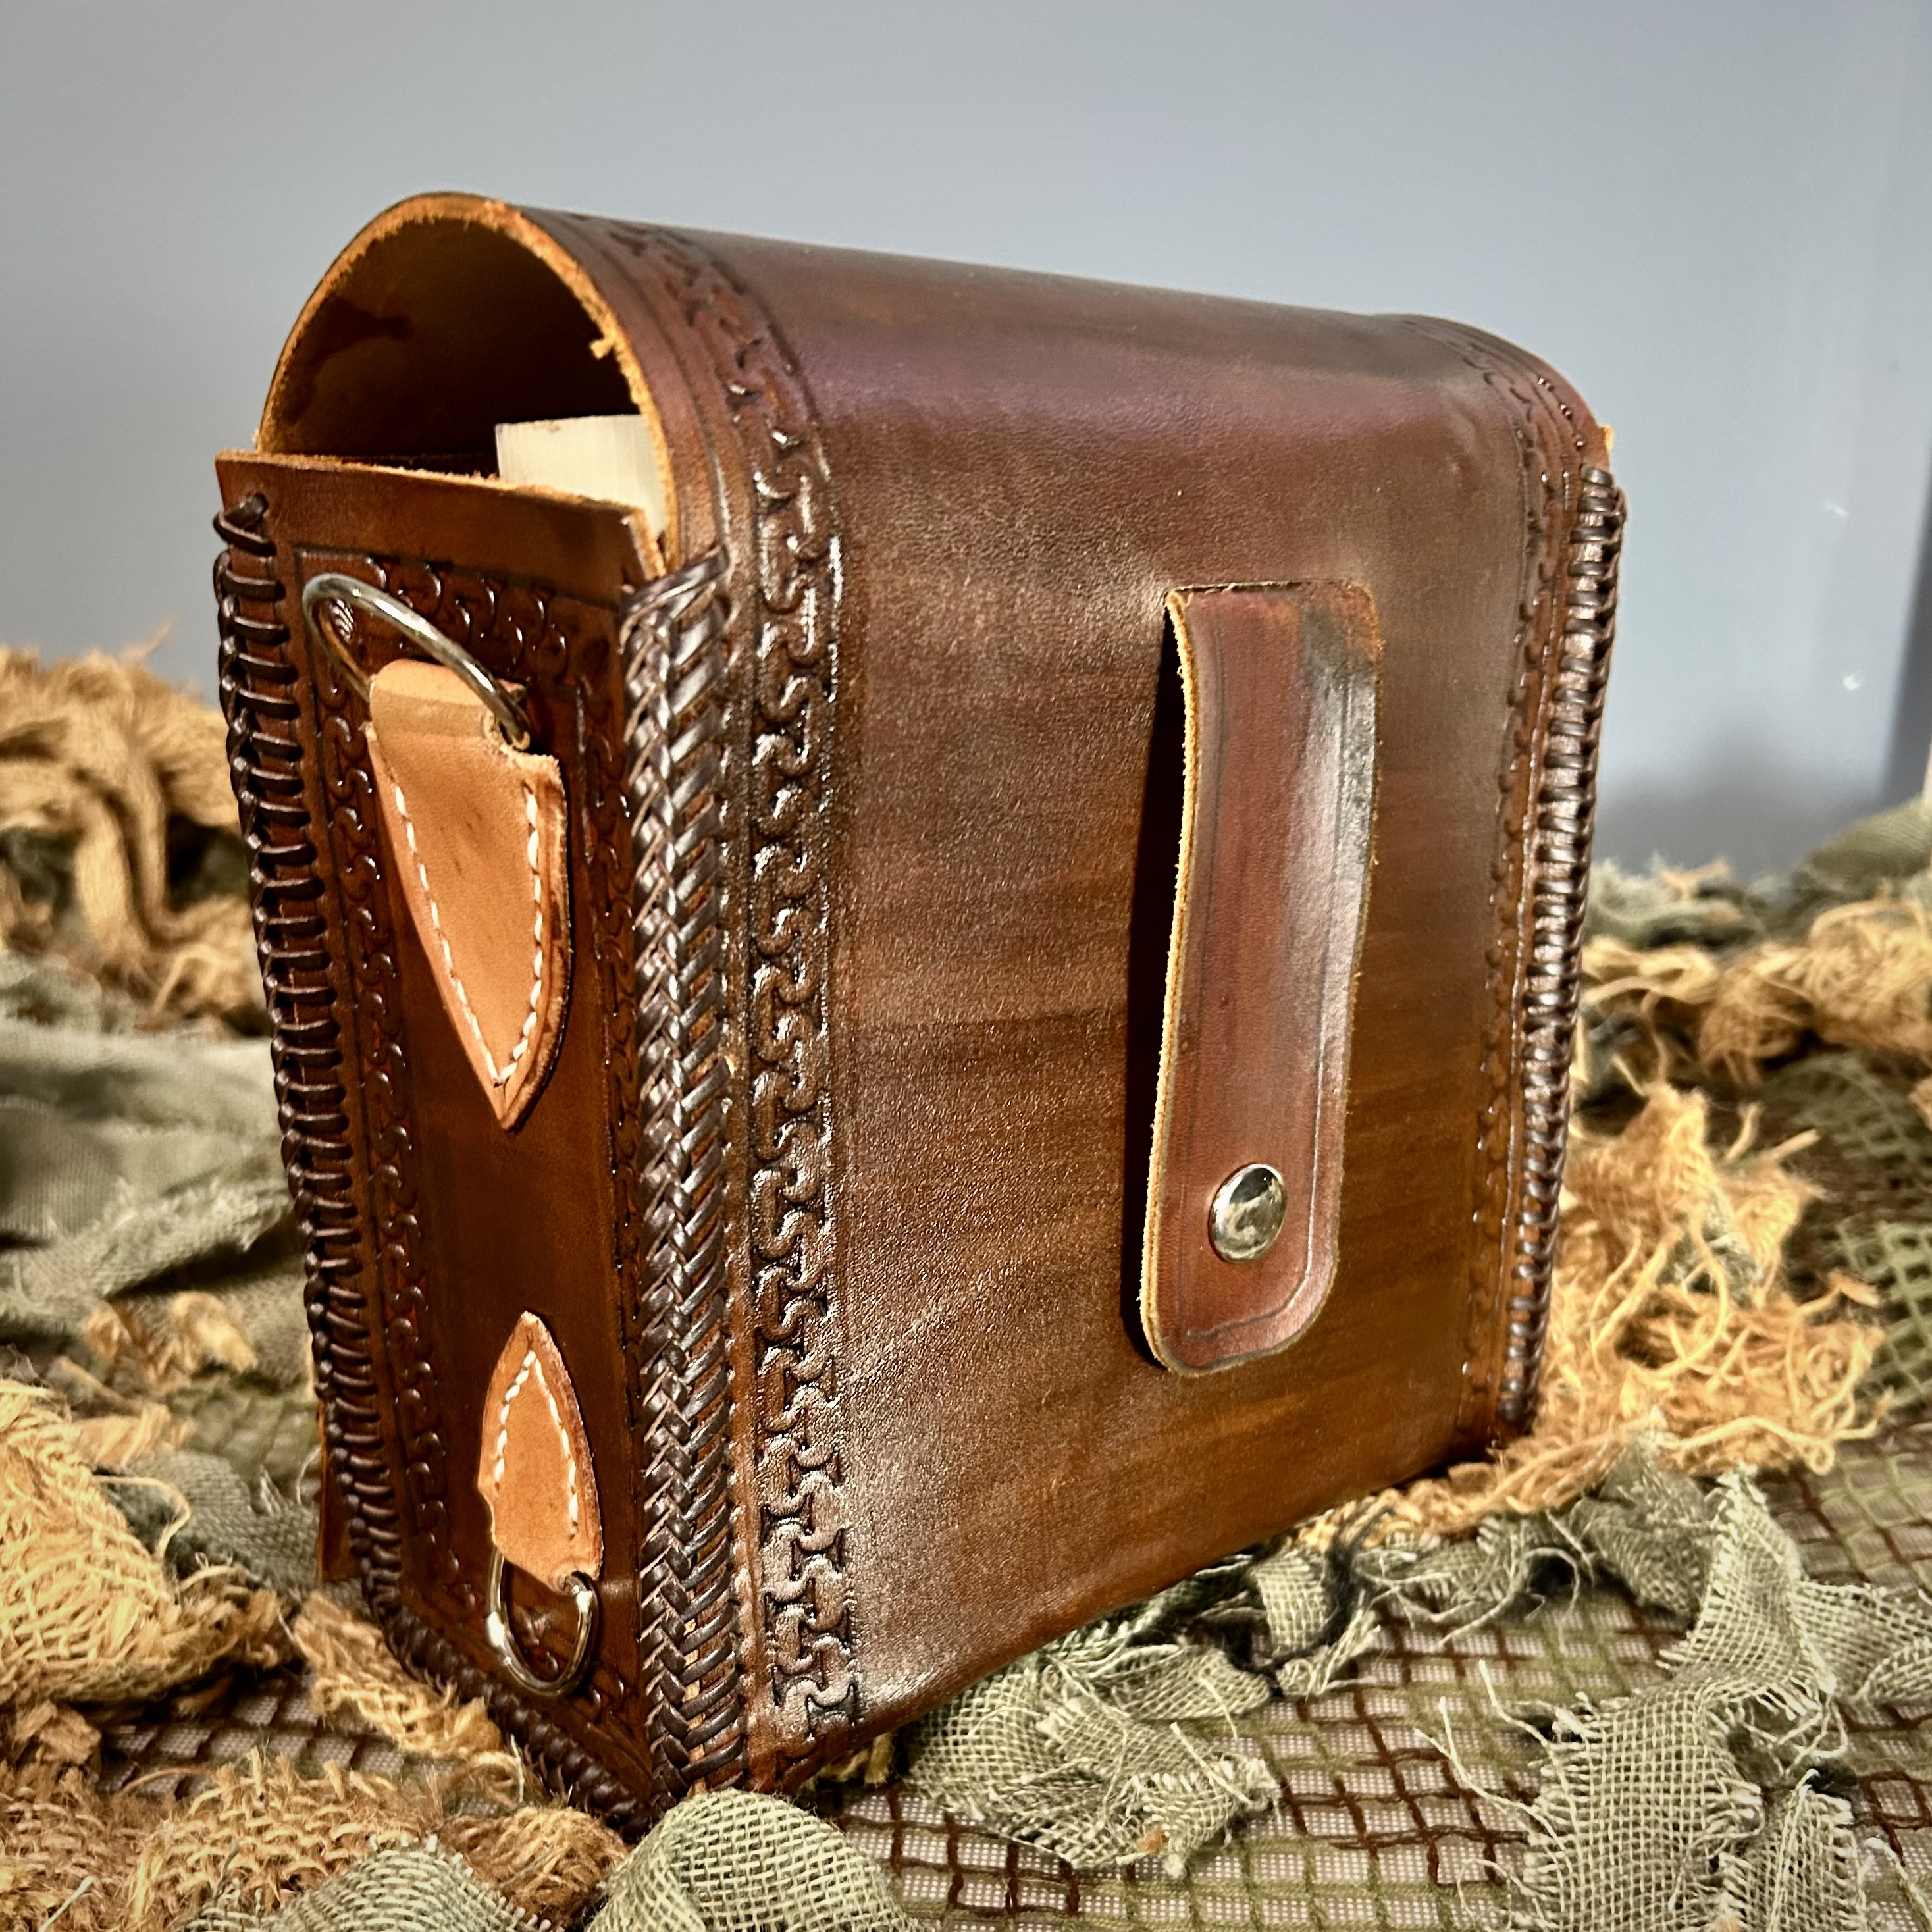
But the strap on these guys or the top of the pouch? Wasting your time. The edges had been sanded prior to sewing btw and so then just edging and burnishing after sewing:
Burnished straps:
Unburnished:
One of my older personal water buffalo belts. Edges were burnished and still ain't bad even with all the life:
Hope this helps and let me know if you have any further questions or if I need to clarify something.


")