-
The BladeForums.com 2024 Traditional Knife is available! Price is $250 ea (shipped within CONUS).
Order here: https://www.bladeforums.com/help/2024-traditional/
You are using an out of date browser. It may not display this or other websites correctly.
You should upgrade or use an alternative browser.
You should upgrade or use an alternative browser.
What Did You Sharpen Today?
- Thread starter marbat
- Start date
")


Old axe, new life - those two are thanking you. Looks great!
What do you think of your Bahco?
I really like it and would have no issues recommending this particular file for axe sharpening duties. Its a millsaw type and has a 12inch / 30cm blade, so is a big one.
It cuts so much easier than the Nicholson ones im used to and leaves a very good finish. The above is straight off the file, then just a diamond stone a couple of times along the very edge to remove the burr. The scratch pattern is 100% file work.
Do recommend.
Square_peg
Gold Member
- Joined
- Feb 1, 2012
- Messages
- 13,884
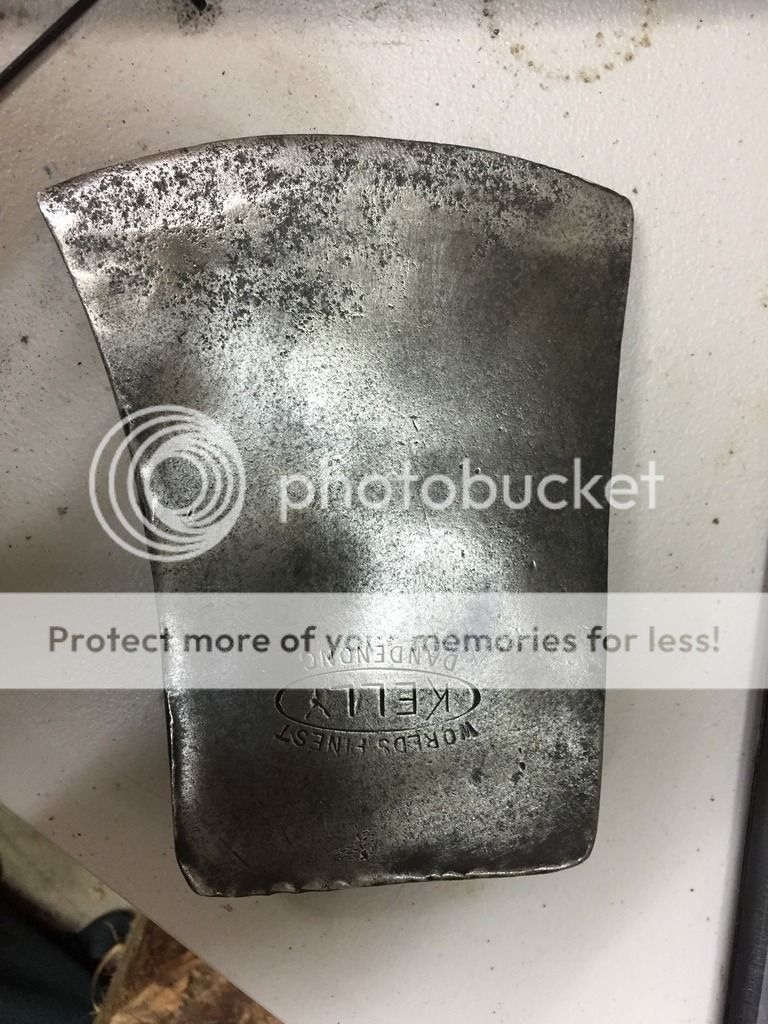
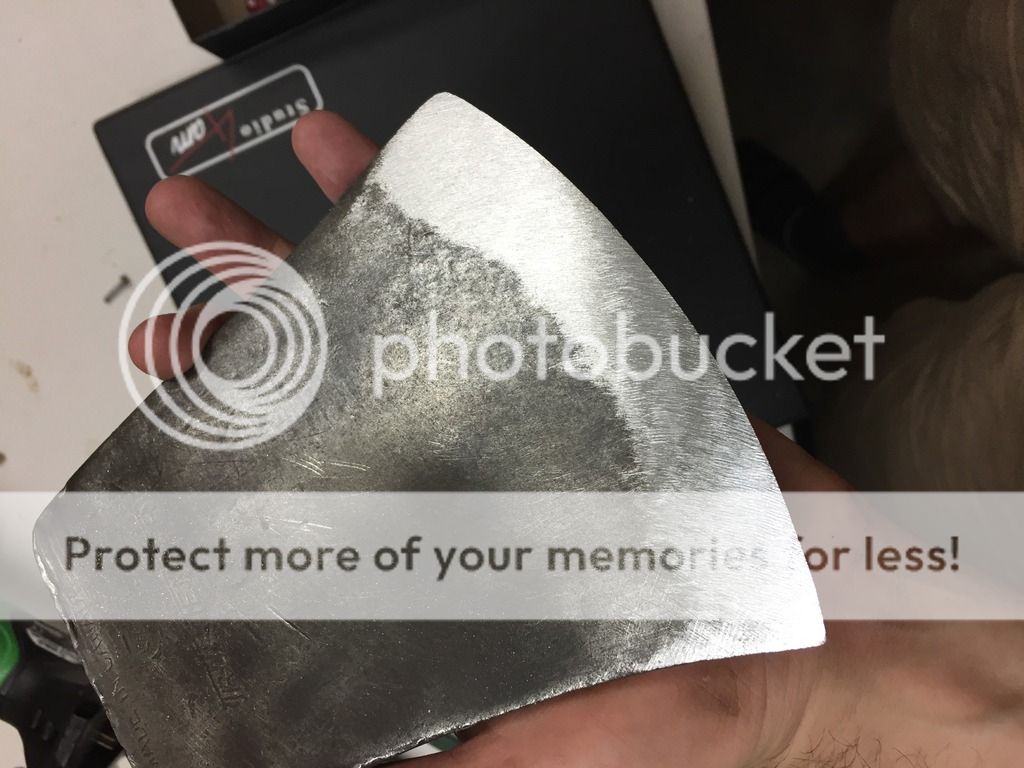
last night i sharpened this
When I get an axe with a worn toe like that, even as fresh as that one is, I'll take the heel and center of the axe back to match the length of the toe. I don't like an axe with a heel longer than the toe. They don't buck well because short toe doesn't penetrate the bottom of the cut deep enough.
What I do is draw an arc with a Sharpie such that the heel ends up even with or slightly short of the toe. I like to keep the radius of the curve of the bit close to factory as yours is.
With your axe I would keep that radius but swing the whole arc back to remove about 3/16" off the toe. The best way I've found to do that is hold the bit perpendicular to the bench grinder and follow my Sharpie line. In this way you'll remove material faster than it can heat up so there's no danger of losing the temper. You end up with a thick edge that needs a lot of filing but it's worth it in the end.
Thanks for the tip. I will do that. I think ill take a break from filing steel tonight though and rasp some wood instead (handle).
Also have the new hytest to sharpen. lots of filing ahead. glad I got a nice new (big) file.
When I get an axe with a worn toe like that, even as fresh as that one is, I'll take the heel and center of the axe back to match the length of the toe. I don't like an axe with a heel longer than the toe. They don't buck well because short toe doesn't penetrate the bottom of the cut deep enough.
What I do is draw an arc with a Sharpie such that the heel ends up even with or slightly short of the toe. I like to keep the radius of the curve of the bit close to factory as yours is.
With your axe I would keep that radius but swing the whole arc back to remove about 3/16" off the toe. The best way I've found to do that is hold the bit perpendicular to the bench grinder and follow my Sharpie line. In this way you'll remove material faster than it can heat up so there's no danger of losing the temper. You end up with a thick edge that needs a lot of filing but it's worth it in the end.
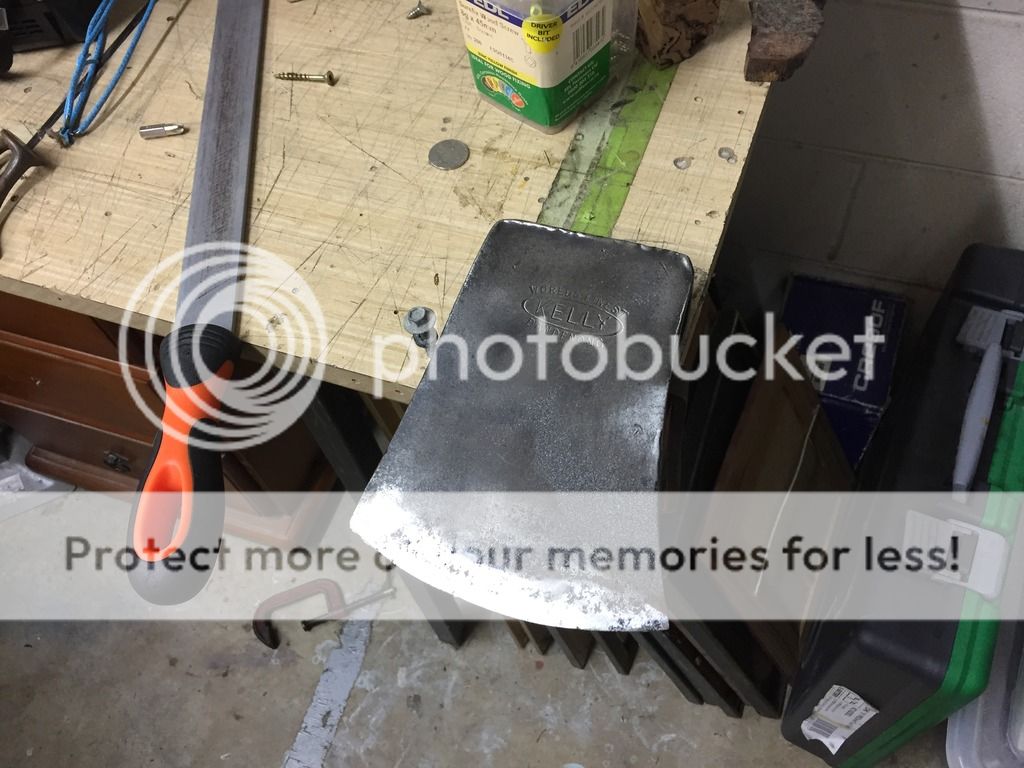
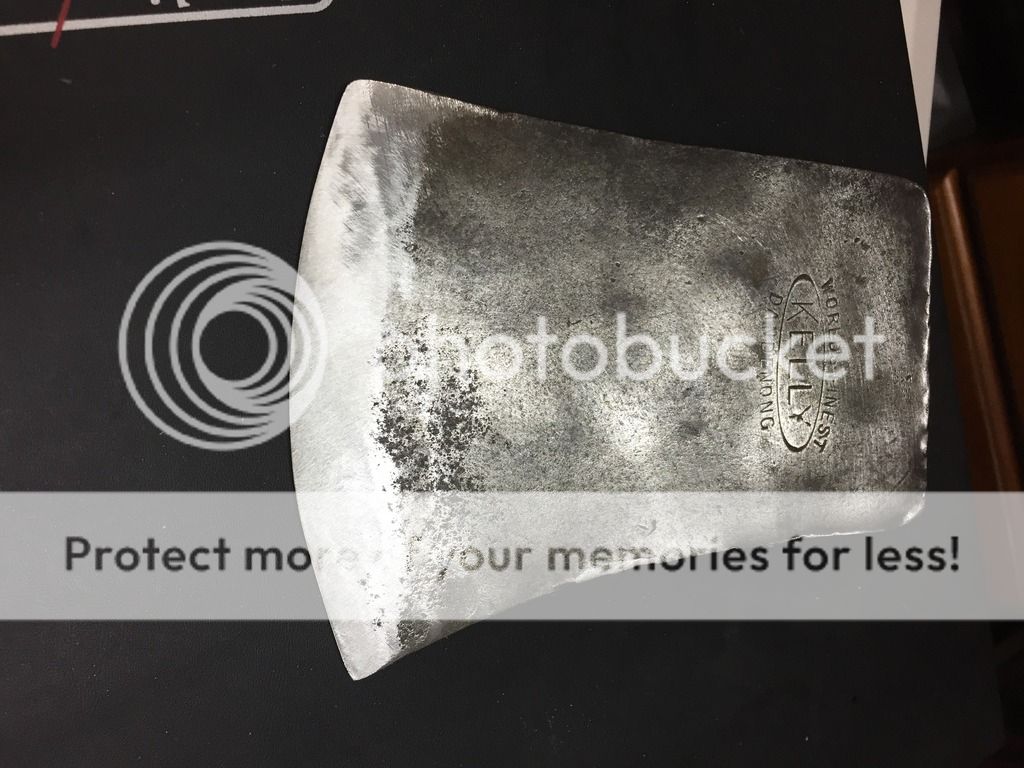
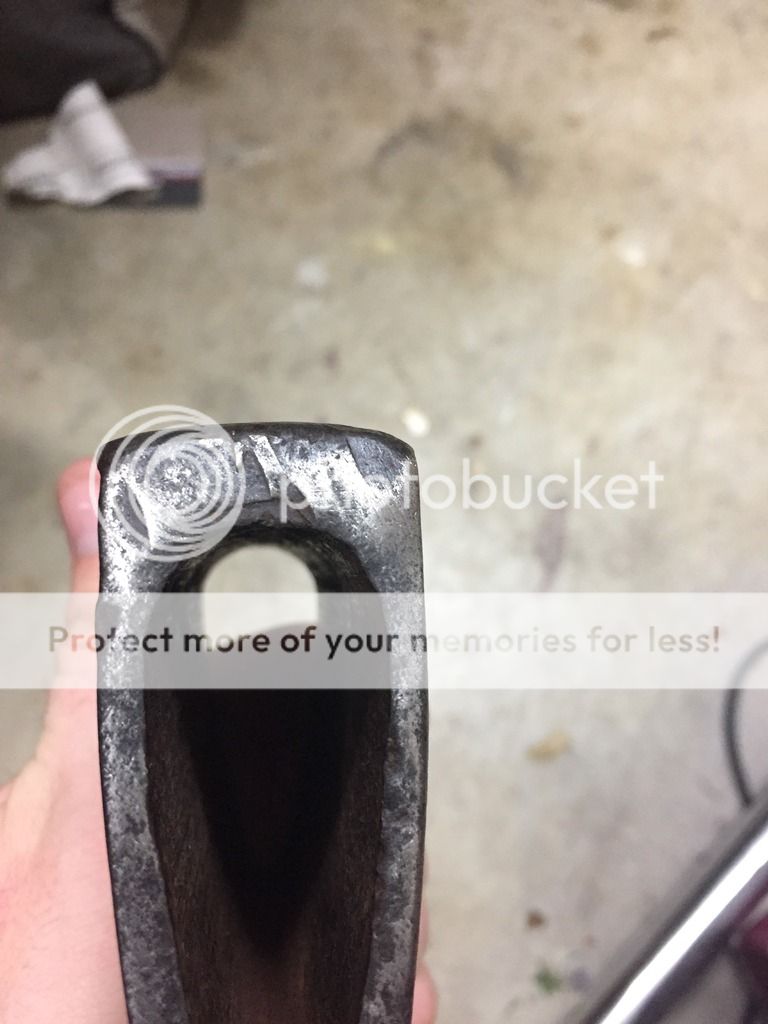
ok I did a bit of investigating into this and iv come to the conclusion that the image is misleading, or at least there is a little more going on than meets the eye.
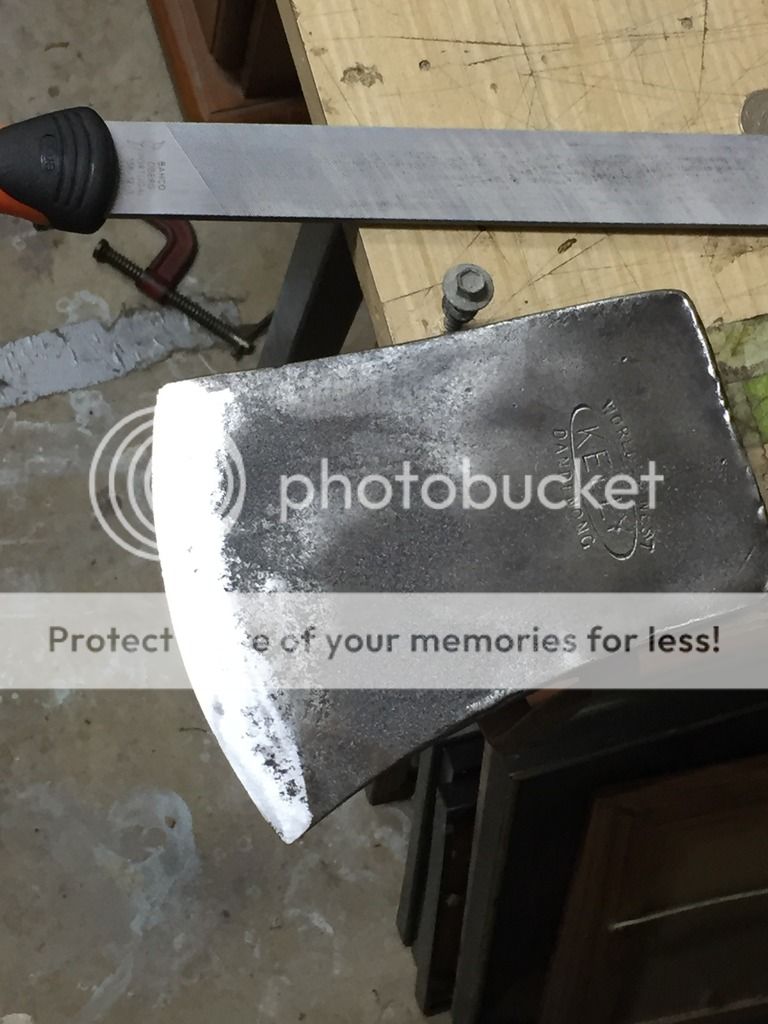
When squared up the heel is indeed around a 1/4" / 6mm behind the toe.
This is because the eye hole is not completely inline with the poll, which changes the angle of attack of the bit. Im confident the symptom will not be displayed once hung. (note the ruler and the square are aligned but are not aligned with the poll as the hole is not parallel to poll)

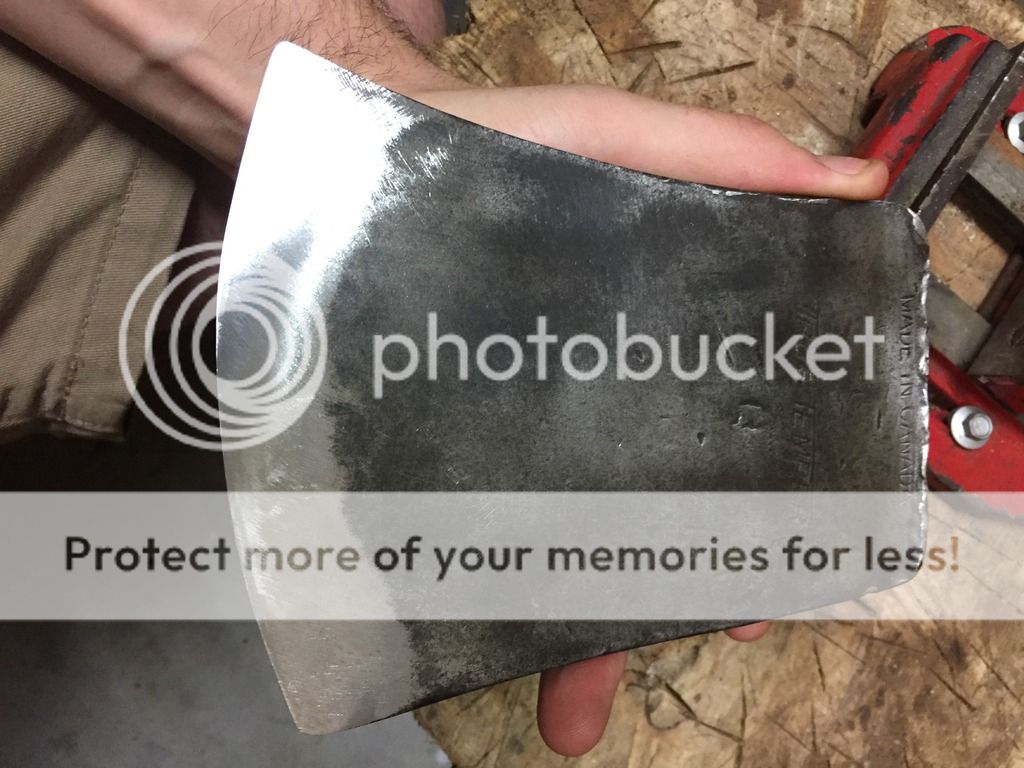
view from top
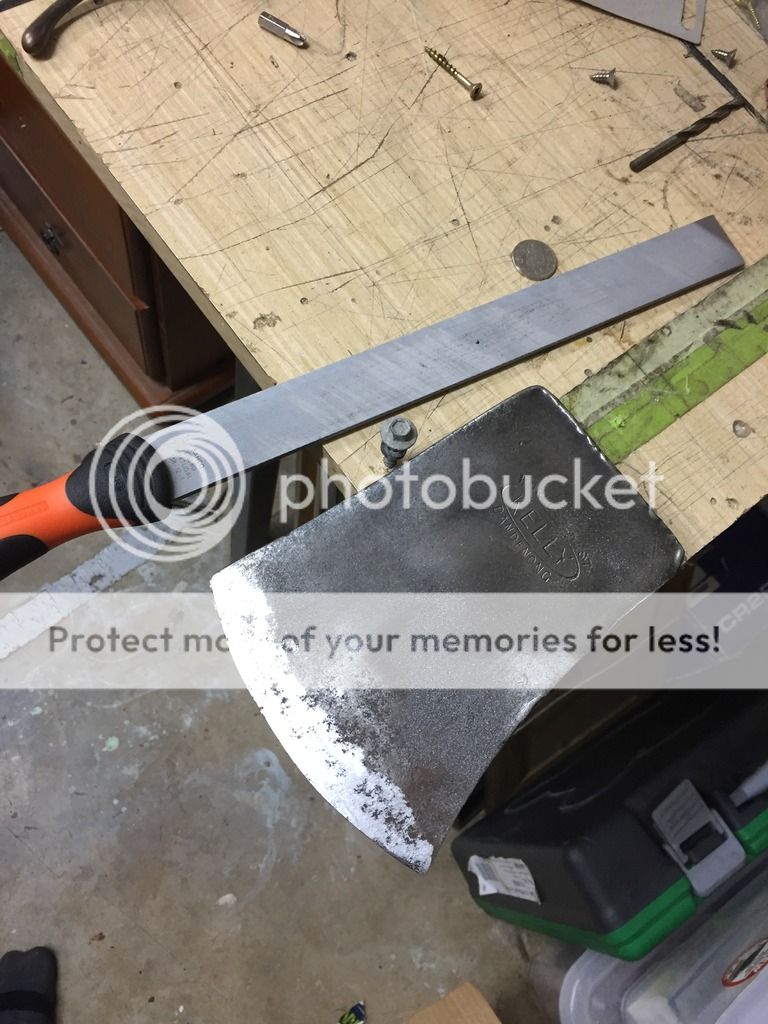
view from bottom
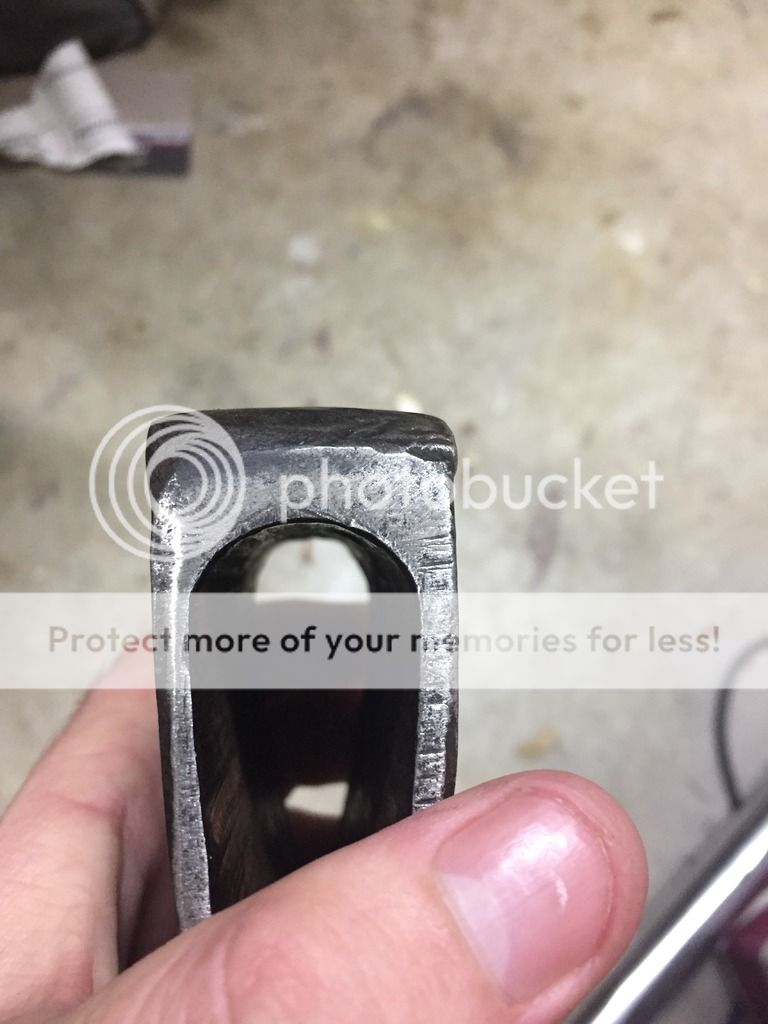
note on the bottom there is more space between the back of the eye hole and the back of the poll. indicating the eye hole does not run true to the poll.
Meaning more space on the bottom than the top = changes the angle of attack/pushes the heel forwards and pulls the toe backwards = everything is dandy(nong) once hung.
but basically if you try to gauge the length of the heel & toe or angle of attack based off the assumption that the eye hole runs parallel to the poll then it wont come up quite right.
that was quite hard for me to try to put into words after a few beers lol, but at least I think its on point.
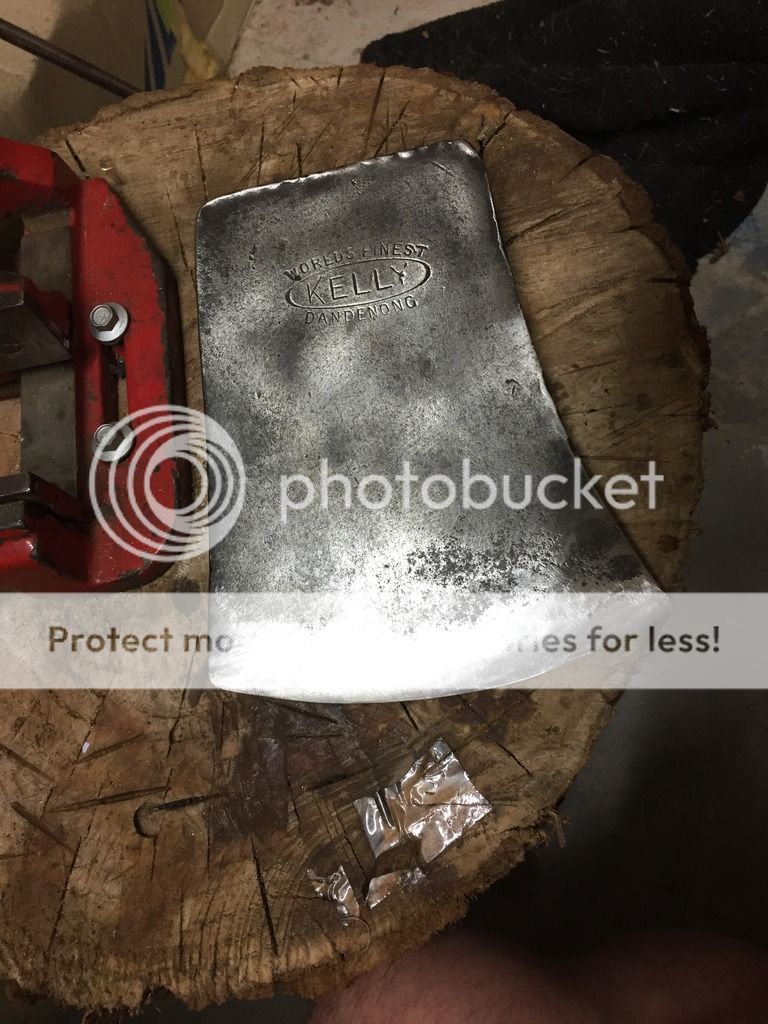
edit; was doing some test fitting and this probably shows it better than my words can. hang should close up a little bit more still once its worked down the handle properly.

Last edited:
Square_peg
Gold Member
- Joined
- Feb 1, 2012
- Messages
- 13,884
It looks much better in that last image - just fine. Must have been the camera angle before.
Square_peg
Gold Member
- Joined
- Feb 1, 2012
- Messages
- 13,884
I need to correct a mistake in my post above. In the 3rd paragraph where I wrote 'toe' I meant to write 'heel.
When I get an axe with a worn toe like that, even as fresh as that one is, I'll take the heel and center of the axe back to match the length of the toe. I don't like an axe with a heel longer than the toe. They don't buck well because short toe doesn't penetrate the bottom of the cut deep enough.
What I do is draw an arc with a Sharpie such that the heel ends up even with or slightly short of the toe. I like to keep the radius of the curve of the bit close to factory as yours is.
With your axe I would keep that radius but swing the whole arc back to remove about 3/16" off the t̶o̶e̶ HEEL. The best way I've found to do that is hold the bit perpendicular to the bench grinder and follow my Sharpie line. In this way you'll remove material faster than it can heat up so there's no danger of losing the temper. You end up with a thick edge that needs a lot of filing but it's worth it in the end.
was doing some test fitting and this probably shows it better than my words can. hang should close up a little bit more still once its worked down the handle properly.
It looks great there. Image angles can really throw you off. I bought one the other day that looked good online but when I got it the toe was further back than the heal. BTW, nice (Canadian) Connecticut pattern.
An unknown vintage (but somewhat old given the very high centerline) Council Tool boy's axe I recently was gifted. I have since wire-wheeled and WD-40'd it. Up next is a handle I have to thin before hanging. It had a pretty obtuse/splitting profile typical of most axes in need of attention. This will be used pretty exclusively for cutting/limbing/etc, so it was time to break out the file. I had to remove a lot of material due to the old edge and high centerline.
During filing:

And after honing:


During filing:

And after honing:


- Joined
- Mar 28, 2013
- Messages
- 1,730
Honed and back out being put to work!

Square_peg
Gold Member
- Joined
- Feb 1, 2012
- Messages
- 13,884
An unknown vintage (but somewhat old given the very high centerline) Council Tool boy's axe I recently was gifted. I have since wire-wheeled and WD-40'd it. Up next is a handle I have to thin before hanging. It had a pretty obtuse/splitting profile typical of most axes in need of attention. This will be used pretty exclusively for cutting/limbing/etc, so it was time to break out the file. I had to remove a lot of material due to the old edge and high centerline.
And after honing:
Great looking axe!
- Joined
- Mar 31, 2016
- Messages
- 1,936

This could take a while
So worth the effort...something therapeutic about simple hand tools.
This could take a while
Square_peg
Gold Member
- Joined
- Feb 1, 2012
- Messages
- 13,884
Those actually sharpen pretty easily. You'll need small files for the little ones.
With the 2-cutter bits you need to take a test cut and see if both sides cut the same. If one is cutting more then file it down a bit. Pretty simple.
With the 2-cutter bits you need to take a test cut and see if both sides cut the same. If one is cutting more then file it down a bit. Pretty simple.
- Joined
- Mar 31, 2016
- Messages
- 1,936
Oh it took a while alright. I test cut all of them, these were the dull bits. I do have tiny files.
Two of them were in terrible shape so I'll Dremel on those. That's about 1/2 of my bits.
Two of them were in terrible shape so I'll Dremel on those. That's about 1/2 of my bits.
- Joined
- Jan 10, 2015
- Messages
- 1,157
The only file you ever want to use on any lipped (single or double) auger bit is an auger bit file. Auger bit files were made in a appropriate shape with safe edges. Also, Norton used to make two grades of a auger bit stone. It is easy to ruin an auger bit without the right sharpening tools. Two good places to see a auger bit file and how to use it properly are: "BASIC HAND TOOLS-BUREAU OF NAVAL PERSONNEL NAVY TRAINING COURSE NAVPERS 10085-A, 1954 page 127" and " HAND WOODWORKING TOOLS-Leo P. McDonnell, DELMAR PUBLISHERS, INC., ALBANY 5, NEW YORK,1962, page 197"
- Joined
- Jan 10, 2015
- Messages
- 1,157
Forgot to say- NO DREMEL TOOLS!
- Joined
- Jan 10, 2015
- Messages
- 1,157
I see four different patterns of brace head auger bits in the photo. Ship auger pattern (all the way on the left), mostly Irwin pattern (solid center and good for softwoods), Russell Jennings pattern (double twist without a solid center and best for hardwoods) and one expansion or adjustable pattern.
I see where Lee Valley is selling a reproduction of the Nicholson pattern auger bit file- my favorite auger bit file pattern
I see where Lee Valley is selling a reproduction of the Nicholson pattern auger bit file- my favorite auger bit file pattern
Thank you Old Axeman for continuing to offer advice based on real use. You're instilling in me pangs of remorse and guilt. My experience with brace & bit (via my granddad and my dad who used these much of their lives and coached me on them all throughout my youth) was finding an excuse, as a young adult, to toss out all that 'old f^&*ing junk' when corded power tools began to become affordable. None of it was literally tossed but increasingly relegated to seasonal hunting/fishing camps and friend's cottages, anywhere there was no electricity. And of course that useful classic gear was never properly taken care of, maintained or oiled anymore and over 40-50 years slowly gravitated over and into outdoor burial pits as 'waste' that no one had any interest or desire to pack out to dispose of elsewhere.