Alex Topfer
Gold Member
- Joined
- May 1, 2019
- Messages
- 767
Swearing. Swearing is going on in my shop


The BladeForums.com 2024 Traditional Knife is available! Price is $250 ea (shipped within CONUS).
Order here: https://www.bladeforums.com/help/2024-traditional/
She will like that. I have a couple of boxes of his maple and it really looks great when you get it done.Grinding bevels is indeed easier with the stability and slower speed of the variable speed grinder. Had to try the grinder out- below are the four blades I received from JT's first plasma cutter run: my wife has really small hands, and has discovered she likes using our rather cheap/flimsy butter knives as dinner knives. I thought I would make her something better! These have 15 degree bevels - not perfect, but things went easier/cleaner/faster as I went through this set of 4. Plunge lines are NOT easy to get straight - and harder on the left side than the right.... Will handle these with Walnut. Mostly these are a learning effort for me: ultimately I plan to make a set out of stainless damascus, with bolsters (she wants bolsters for some reason
View attachment 1169052
You can shape handle with several pins on ... then glue scale with all pins on and pinned them all .That is how I do on this one .Pins are 2mm cooper but after I peen them they look much bigger .Walnut can handle that expansion ...The idea is to have a large number of small pins around the outside of a handle. I wanted to use stainless steel ones and peen them, but that required shaping the handle and adding the pins later which was causing me problems. Also everywhere I could find 2mm rod is screwing up my orders
So I gave up on that, and I'm using brass pins I'll grind flush. However it turns out 2mm brass wire took some time to push through the holes. Rod would have been a better choice, being hardened. Still, a small pin has a relatively large amount offriction regardless
I got it all together in the end.
I'm sick of having this blade on my work in progress shelf, so I'm going to finish it with what I have


I'm just curious, how many pocket puuko's have you made and own?

Last of 6 to be roughed out, felt this one needed some attitude. The false edge at the top has around .03 of a flat so if your thumb goes to far forward you don't cut it. The back edge once it transfers to the clip is a 60 degree inclusive edge. Going to try to clean this one up tomorrow and get things ready to ship to heat treat within the next week or so.
Box cutter, 15N20, black G10 with red G10 liners, custom sheath with belt clip


That's pretty sweet, Occam! Neat finish you got going on the pivot/handle. Not to mention the insane damascus haha... reminds me very much of a friction folder my brother has from Japan
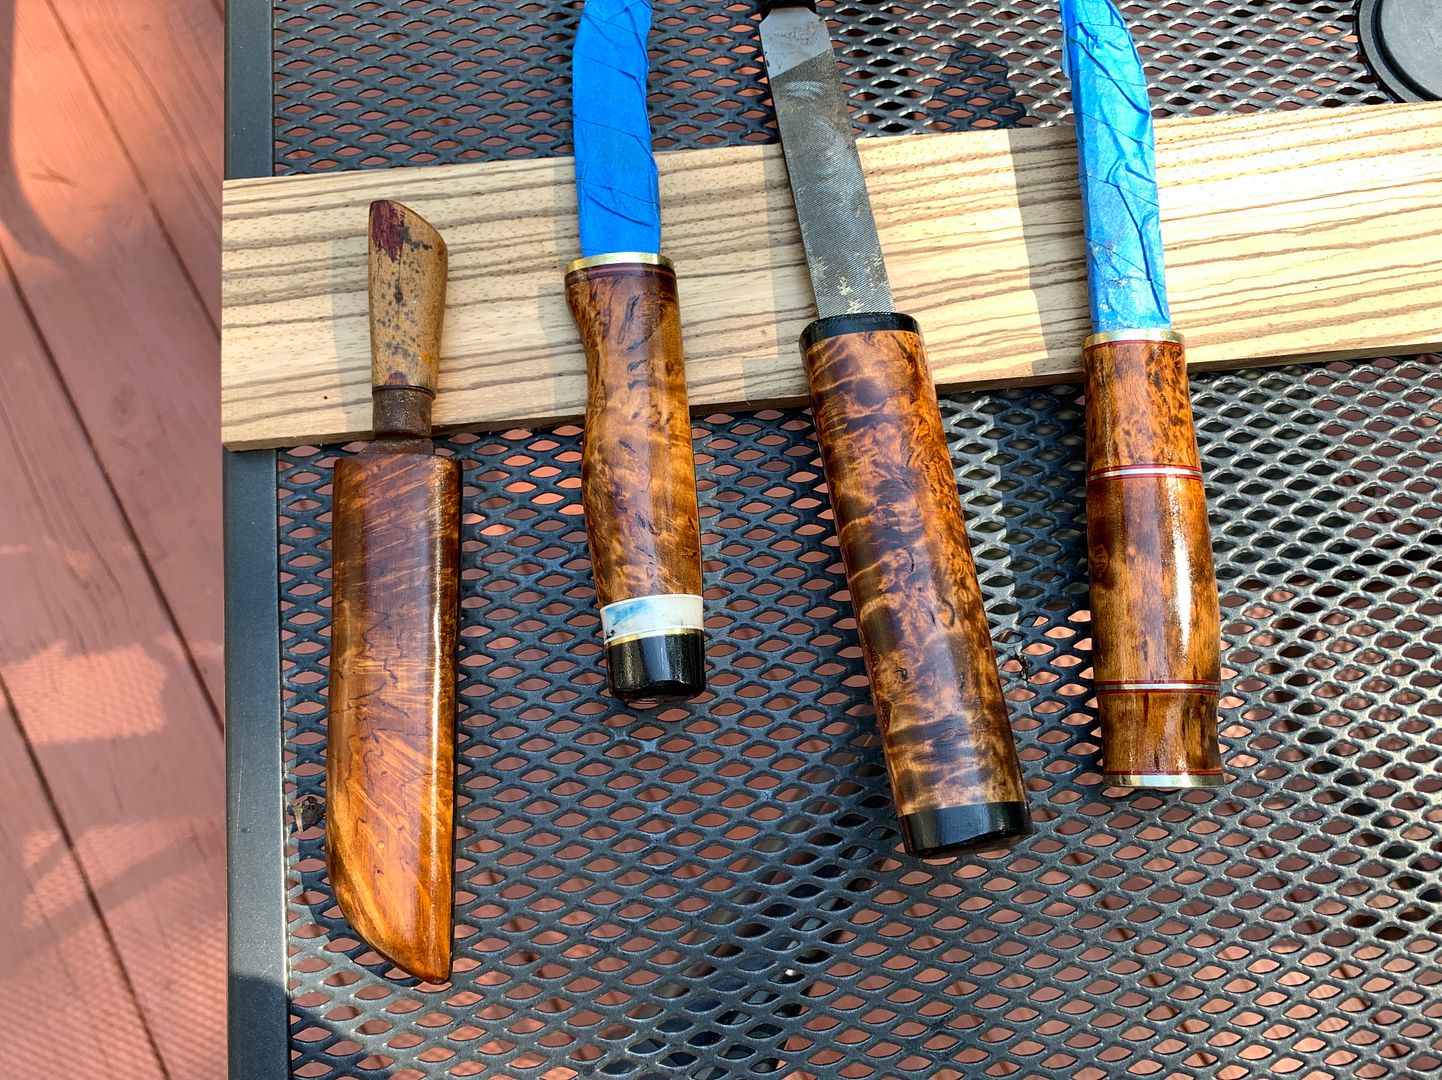
Got two more off the bench last night. These are X treme grade Karelian Birch soaking in their 5th coat of TruOil


The idea is to have a large number of small pins around the outside of a handle. I wanted to use stainless steel ones and peen them, but that required shaping the handle and adding the pins later which was causing me problems. Also everywhere I could find 2mm rod is screwing up my orders
So I gave up on that, and I'm using brass pins I'll grind flush. However it turns out 2mm brass wire took some time to push through the holes. Rod would have been a better choice, being hardened. Still, a small pin has a relatively large amount offriction regardless
I got it all together in the end.
I'm sick of having this blade on my work in progress shelf, so I'm going to finish it with what I have


