What's going on in your shop? Show us whats going on, and talk a bit about your work!

Started a new batch, experimenting with kick shapes

20251004-183345.jpg
 
Two bushcraft style knives in .180” (approx. 3/16”) AEB-L stainless steel. One in stabilized Leopardwood and the other in stabilized highly figured curly mango wood. I’m used to working with 1/8” AEB-L so working with this thicker steel was fun. (I’m not sure why I had this thicker steel in my inventory).IMG_8421.jpegIMG_8427.jpeg
 
Here's a little something I started on last week.
If you've been around a while you may remember the 2 steels that put Aldo Bruno on the map - his original 1084 and what he called 1095FG - for Fine Grain with Vanadium. It came 1 5/8" wide and 3/8" thick. He literally was selling those out of the back of a van and a pick up around 2003-4-5. (Before NJSB)
So, I did this Laminated Ws with some of that "Old Ass" 1095FG.

4Z473qDh.jpg
 
Aldo's original batch was sold as 1084FG. I remember helping him pull it out of the back of his van at Bill Moran's hammer-in as well as Ashokan.
IIRC, he had to order 11,000 pounds made up to get the melt made.

I don't think Aldo ever sold anything he called 1095FG. I have sometimes referred to W2 as 1095FG.
He sold 1095 FG. And lots of it. I bought quite a bit and still have it. I even got some from the back room off his son about 5 years ago. It's 3/8 x 1 5/8.I brought home quite a bit of it from Ashokan.
Matt Lamey also used a bunch of it for his Bowies. Here's an old thread from 2015 where someone is selling one of his knives and gives the specs - 1095FG.
(Just do a search on 1095FG and you'll find pages of it.)
 
Last edited:
New forge is coming along.
Put in the flooring, roofing, and did the last concrete work yesterday. The doors are next. A little paint and build the shelves and benches and it will be time to move in the equipment.
Flooring is 9'X4'X4" panels from a warehouse freezer walls. They have 20 gauge epoxy coated aluminum over a hard foam core.
Roofing is solar gray polycarbonate with 35% light transmission and 100%UV block.

20251007_145937.jpg20251007_150218.jpg20251007_150034.jpg20251007_172816.jpg
 
I don't know the wind rating, but they are shatter proof. They come with a 10-year hail protection and limited-lifetime guarantee. The forge is built on the north side of the house and is very sheltered between the bamboo along the creek with the upper floor of the house, which projects 3 feet over the roof. The nearest big tree is 30 feet away. I have the panels screwed down with MANY 1.75" roofing screws. I doubt they will ever go anywhere. If a big branch falls and punches a hole., I can replace that panel, or just put a new panel over it.
I have soffit venting to prevent pressure differential lift.

The forge building itself is built like a blockhouse, with 4X6 posts set 2 to 4 feet deep in 12" concrete tubes, and everything assembled with screws. I build things stupidly strong and overbuilt, with things like double studs at the plywood joints, etc. The building and walls are likely hurricane proof.

What I found online was:
Impact rating 15Pounds/sq.in.
Tensile strength 9000PSI
Flexural and Tensile Modulus 345,000PSI
Flexural yield strength 13,500PSI
Rockwell R125
Long-term Service temp -40°F to 212°F
Heat defection 275°F

I was out setting things up for the doors this afternoon when we had a heavy rain shower. It sounded like 1" hail, but was only rain. I'll have to get used to that if I am working when it is raining ... or turn off my hearing aids :), However, there was not one single drip or leak.
 
Been a bit since I posted! Just getting back to my normal job after a week "vacation" in my shop!

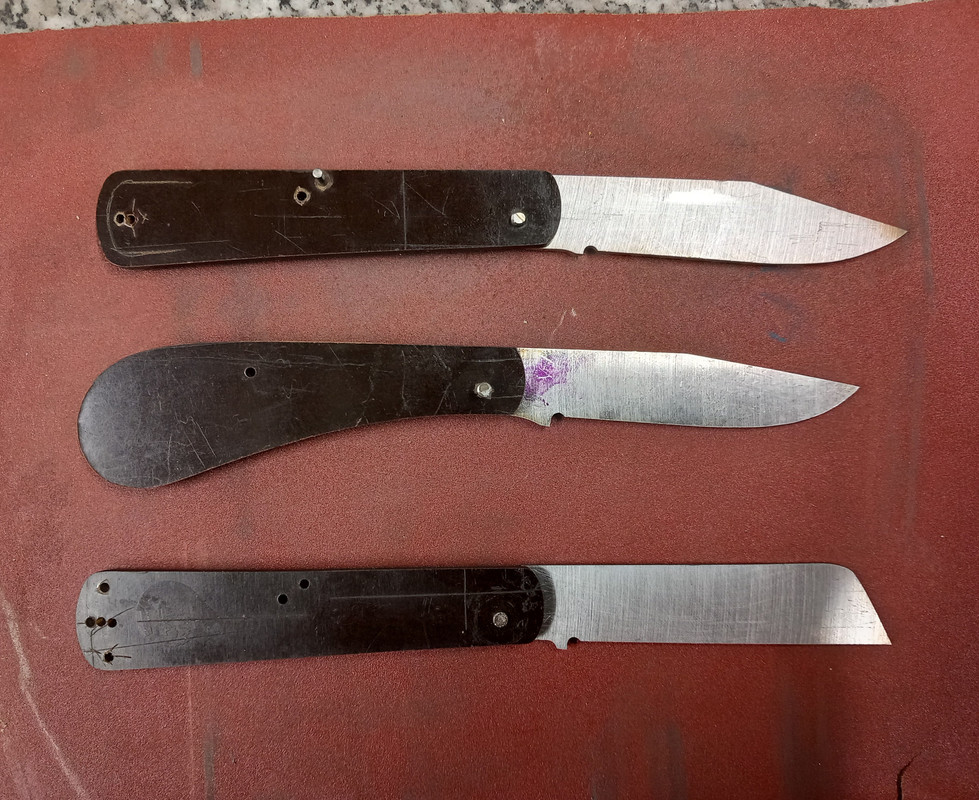
Forged down the remainder of a 144 layer 125CR1/15N20 billet I started last year, and profiled out 5 knives:
558975464_18067725629582960_1429274061880249651_n.jpg

First HT attempt at 1475 didn't harden (they were high 40's) with ATP641 in parks 50, so I tried again w/o the ATP641. Same result. Bumped up to 1500, nice quenching sound from the Parks 50 and nice and hard, mid to upper 60's out of the quench!
5d.jpg

I noticed my HT oven is taking longer and longer to heat up and the thermocouple block is pretty charred. Decided it was time to redo my HT oven!

Got the 3" K23 bricks this past summer, so I cut the bottom layer down to 7" wide, milled the grooves in the tops of the other bricks for the quartz tubes to support the coils, pulled and stretched and bent the coils, welded up the frame:
560579487_18068152025582960_8316310307146470372_n.jpg


Cut grooves into the bricks for the element pigtails to come out of the oven. The top layer bricks cover the grooves:
562576025_18068152070582960_552070514207990409_n.jpg


Rigged up a "door" by stacking firebricks on some angle iron:
560546783_18068152061582960_6060481894740253253_n.jpg

I originally put a shorter thermocouple in from the side of the oven, bent it so it would go around 1" from the wall, about 3" length along the wall in the middle. Cheap thermocouple, maxed out at 1530-1570, even after running for a couple hours. Grabbed by old TC out of the old oven, tried that, but it was all over the map and the ceramic block was charred. Found another TC and new block, set it up, now it works! The other fire bricks were letting a lot of heat through; the oven got slower and slower every heating, so something wasn't working right! I noticed that the element connectors were also charred and they were right on the bricks, just like the TC block was.

Did a test run with the new TC/TC Block with the bricks on the angle iron as a door, went much better! 1450 in 30 min, 1505 in 35 min, ended up at 2150 in 130 minutes; previously, it was almost 3 hours for the other oven to get up to temp. And that was just with some old Kaowool along the top of the oven, not the sides or bottom!

Oven 2.jpg

So I got the door made and door frame welded and installed with hinged to the oven frame, handle, door contact switch and spring closure also installed, wrapped with 1" of Superwool all around, with 2" on the right side and top (left was tight to the frame) and wrapped aluminum flashing around the oven as well. The welding was so much easier this time with the newer Azzuno Mig welder and fluxcore wire...once I remember to put the machine on the fluxcore and not CO2 setting!

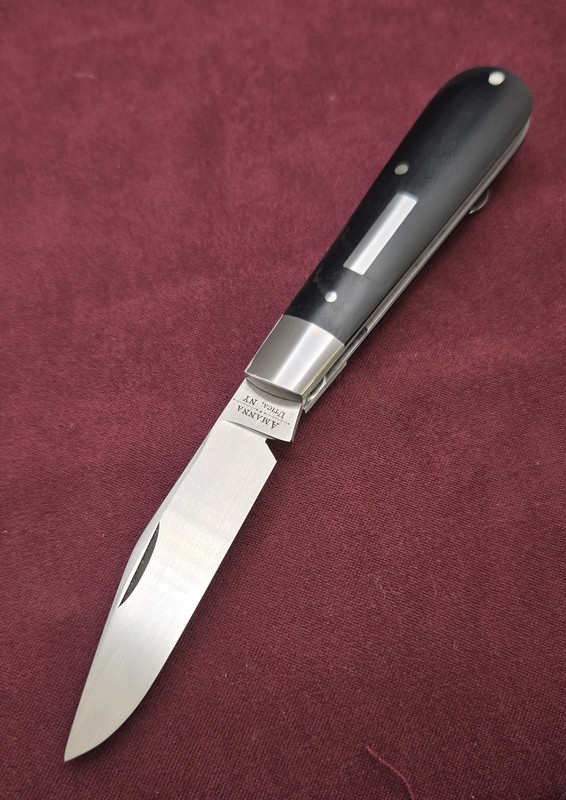
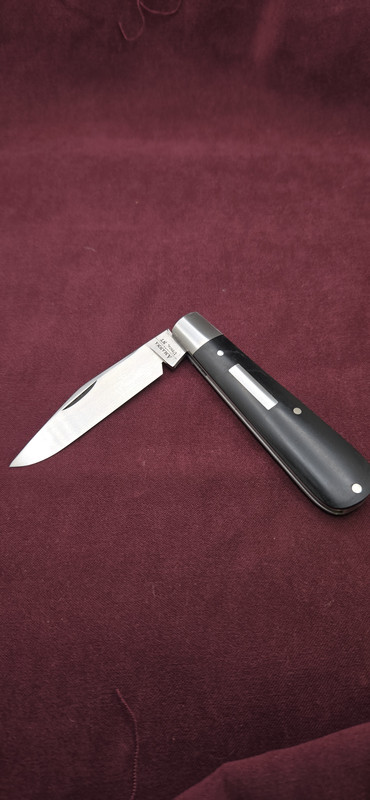
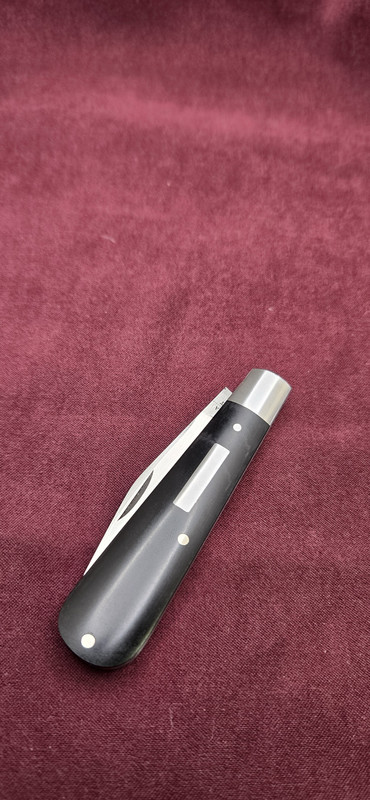
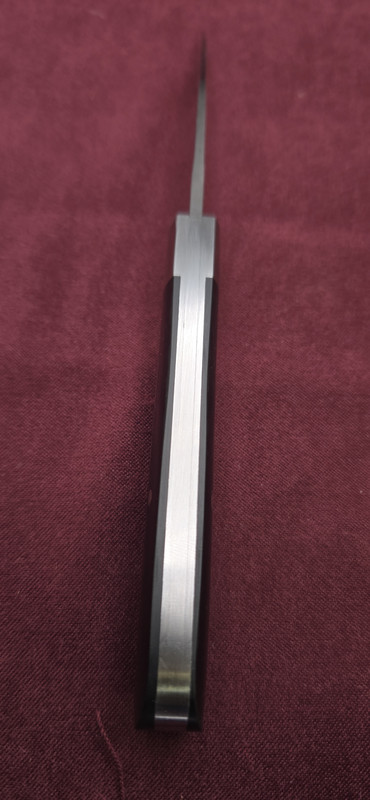
Got the last of my SKS blanks finished off with the carbon fiber/Red G10 marble and red kryptek sheath and a ProCut drop point with black bolster and bluish/green stabilized burl handle. Steel info on the other side of the knife has been working well!

559571245_18067431788582960_3134745112831981493_n.jpg558977309_18067431797582960_863303614977873637_n.jpg558387726_18067431968582960_555399913901486180_n.jpg558274796_18067431977582960_5440950829948197801_n.jpg
 
Got the Magnacut Kephart finished and shipped to Hawaii:
561948543_18068652647582960_4263103162644545063_n.jpg
561884159_18068652656582960_7030196944069192879_n.jpg

And this Nitro V 4" drop point with Toxic Green AmeraGrip scales, blue G10 pins and liners and green kyrptek sheath done up too:
hop 4.jpghop 1.jpg

Got some Goomba/Space Invaders knife stands cut out with the laser, too:
554966346_18066346850582960_5029253753039470576_n.jpg

And figured out some tumbler engraving for a co worker who retired last weekend:
PXL_20250930_001527796.jpg

Oh yeah, got a 12" contact wheel mounted as well:

big wheel.jpg

Now to start grinding those Damascus blades!
 
Back
Top