- Joined
- Jul 23, 2015
- Messages
- 19,944
Wonder if spark would waive the $10 for a username change to scarfinger.
Heal up well!
Heal up well!
The BladeForums.com 2024 Traditional Knife is available! Price is $250 ea (shipped within CONUS).
Order here: https://www.bladeforums.com/help/2024-traditional/

At least I wouldn’t have to change my maker’s mark!Wonder if spark would waive the $10 for a username change to scarfinger.
Heal up well!
")
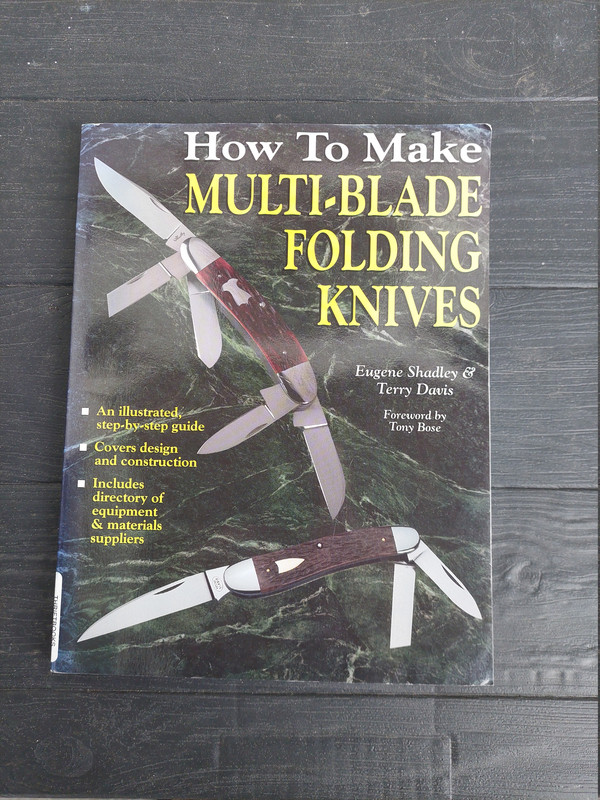


Fifteen bucks ?Santa came early this year.
I wasn't even looking for this book but came across somebody clearing up their (grand)fathers book collection on the German Ebay. ( < $15.-!!!!)
Can you imagine the smile on my face when I unwrap this as a gift from underneath the Christmas tree
It looks like the contact info payment boards were lazered too.So I exhibited at my first show this weekend!! NCCA in Sturbridge, Massachusetts
I made over 2 dozen of these little knife stands in Cherry, Leopard Wood and Walnut and had some Wenge and Walnut ones from before, too:
And spent a couple hours lasing aluminum bottle openers for key chains for SWAG to give out to people!
View attachment 3028140
As you can see, it was jam packed with 28 knives and 18 strops! The little stands got a lot of good feedback; people liked how easily they could see and pick up/put down the knives.
€12.70 to be exactFifteen bucks ?
I paid hundreds.
Yeah, I lasered the contact info on some cherry wood pieces left over from the stands. The 2 sales I had were cash, but it's nice to have on hand! I want to try doing the QR codes for Venmo and Cash app for my next show too.
Having the knife spec cards printed out was nice because people could look at it and see the steel, materials, price and all the information they want to know about the knife quickly, too. I want to organize the table better to have similar steels grouped together, they were pretty scattered around the table this time.

I've lasered QR codes on wood many times with my laser and it works just fine for scanning!Is the resolution on the wood going to be fuzzy ?
I think some metal coupons would be interesting like that too unless reflection would be a problem.
Matte blasted stainless or copper or something.


