What's going on in your shop? Show us whats going on, and talk a bit about your work!

Tell me more!
The grid of symmetry or aka the grid of shame, it's used to make sure whatever your are working is symmetrical. It can be used on pretty much any step of a project.
With some creativity, a flat+parallel ricasso and the proper equipment (granite plate, 123block and height gauge) the possibilities are limitless. I've been using it for a few months now and I find new ways to use it all the time.

Sometimes it can be used to compare triangles and squares and remove material accordingly, for example when comparing a plunge line (the two center lines are a few thou apart).
96.jpg

Or it can be used on the false edge and make sure the transition passes through each X spot on both sides.
113.jpg114.jpg

Or make a grid/lines on both sides of the handle and with the height gauge compare each point of reference for symmetry (a dial indicator works as well for this).
198.jpg199.jpg200.jpg

Another great way to use it is on the butt of the handle, makes it super easy to compare each side.
202.jpg

As I said, with some imagination there is always a way to throw a grid at it and make it perfect. Let me know if I make any sense, if not, I can take a video tomorrow and show it better.
 
The grid of symmetry or aka the grid of shame, it's used to make sure whatever your are working is symmetrical. It can be used on pretty much any step of a project.
With some creativity, a flat+parallel ricasso and the proper equipment (granite plate, 123block and height gauge) the possibilities are limitless. I've been using it for a few months now and I find new ways to use it all the time.

Sometimes it can be used to compare triangles and squares and remove material accordingly, for example when comparing a plunge line (the two center lines are a few thou apart).
View attachment 3022999

Or it can be used on the false edge and make sure the transition passes through each X spot on both sides.
View attachment 3023001View attachment 3023002

Or make a grid/lines on both sides of the handle and with the height gauge compare each point of reference for symmetry (a dial indicator works as well for this).
View attachment 3023000View attachment 3023012View attachment 3023013

Another great way to use it is on the butt of the handle, makes it super easy to compare each side.
View attachment 3023011

As I said, with some imagination there is always a way to throw a grid at it and make it perfect. Let me know if I make any sense, if not, I can take a video tomorrow and show it better.
Fantastic! Thank you so much for sharing!!
 
More cleaning of the old grinding room. I knew I had lots of projects in various stages of completion, but was really suppressed on how may things that I only need "just to finish".
Counting around 50 throwing axes, I have around 100 blades/axes to work on. Half are Japanese kitchen, tanto, wakizashi blades.
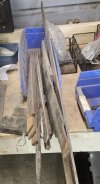
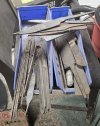
The blades have been either pre-shaped on the grinder and are ready for forging, ones that are forged and ready to ground, ones that are ground and ready for HT, ones that at HTed and ready for finishing, and some that are just the bar drawn on and ready to cut or forge.
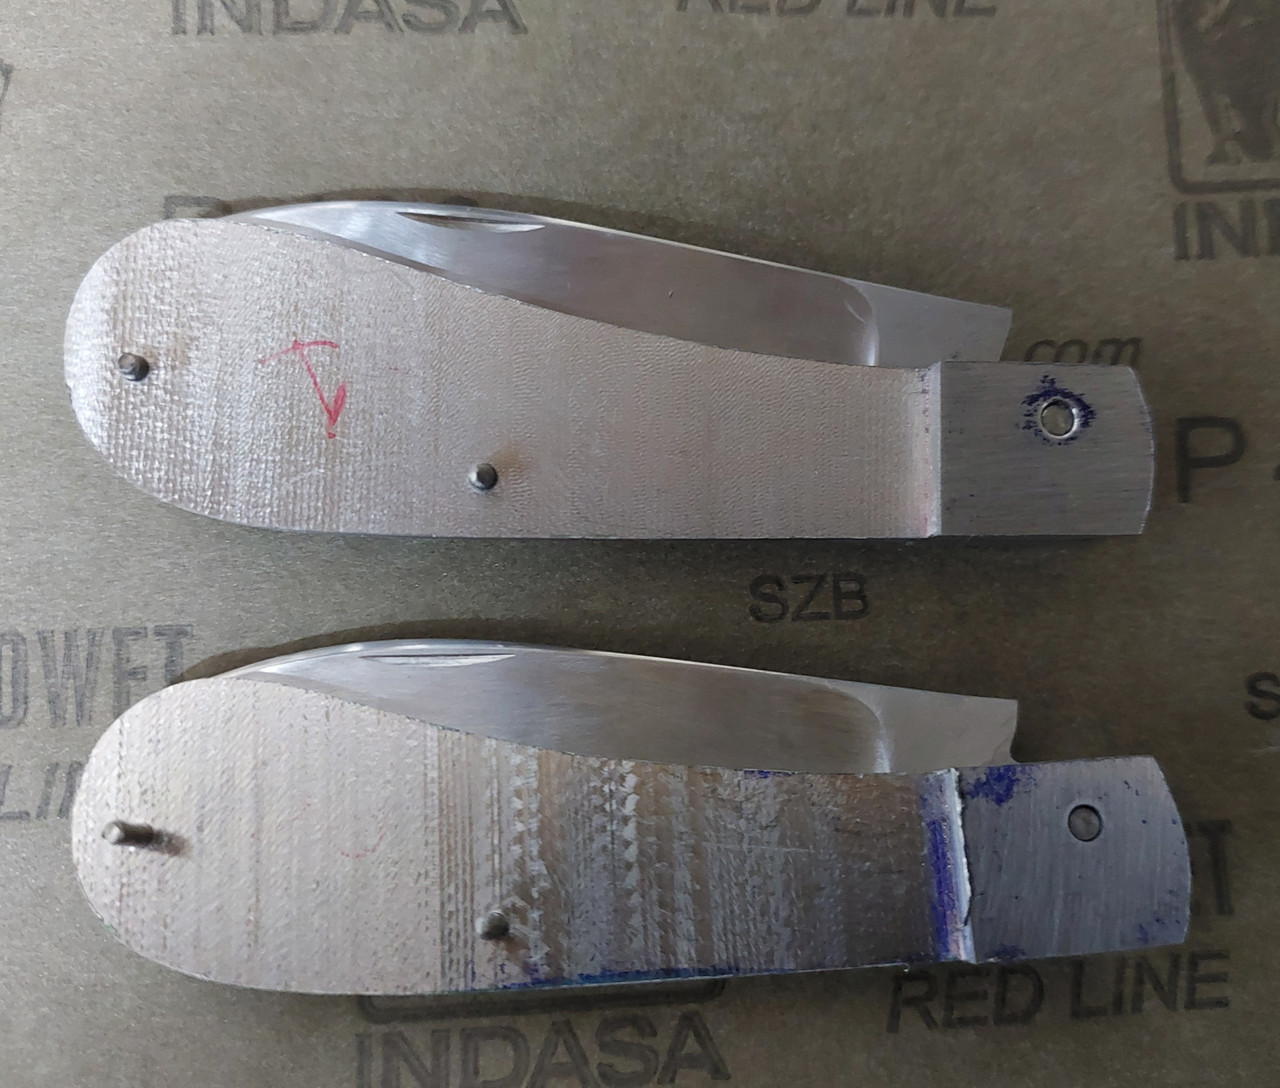
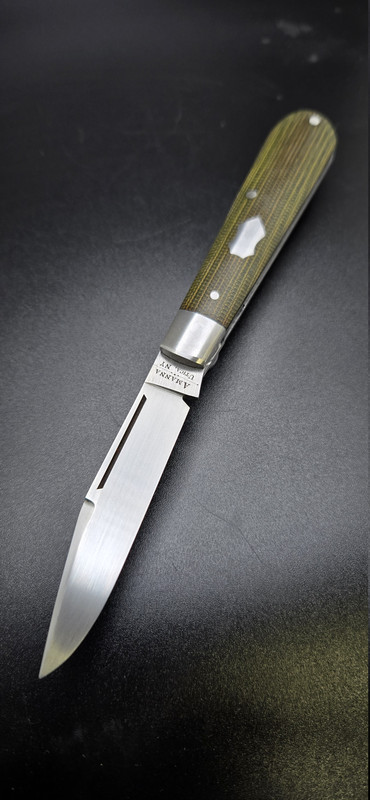
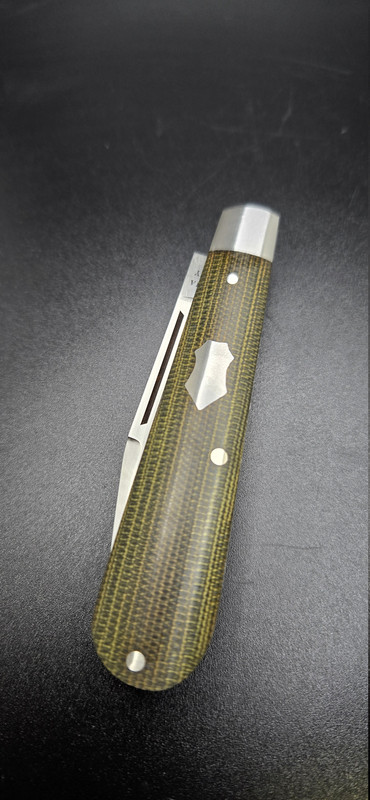
One thing I was really happy about was that my habit of writing all the important things, like steel type or HT info, was on almost every blade. The 4-5 blades not marked have been HTed, but I am sure I know the steel. The steels range from Damasteel to damascus, to stainless, to W2/1095/1084/1070.

I also found 2 bars of the original 80-CRV from Aldo that he brought me at Ashokan, way back.

In the one box is a full size damascus Musso bowie blank and a damascus replica of a WWII marine Makr2 machete.

I also discovered that my hammer addiction has a twin .. my file addiction. I can't pass up a box of files at a tailgate or yard sale. I do have some valuable files... as well as plenty of "file knife" material. That drawer is 24" wide. There are more in the main shop.

I also found two sheets of the original "Alabama Damascus". They are 3.5" wide and 15-16" long.I bought it from Brad at the Blade show their opening year. Been in a project box over 25 years. It is thin stock, surface ground and flat. I see kitchen knives and hunters in those bars.

Tomorrow, I will bring in the rest of the blade steel (well over 100#) and the boxes of special blade projects.

As you can get a glimpse of in one photo, my Breathe easy PAPR got dusty like everything else, but kept the dust out of my lungs.

forge stuff 2 .jpgforge stuff 3 .jpgforge stuff 4 .jpg20251111_162222.jpg20251111_162202.jpg20251111_150351.jpg
 

Attachments

  • forge stuff 1 .jpg
    forge stuff 1 .jpg
    144.7 KB · Views: 0
  • forge stuff.jpg
    forge stuff.jpg
    248.7 KB · Views: 0
Last edited:
Back
Top