What's going on in your shop? Show us whats going on, and talk a bit about your work!

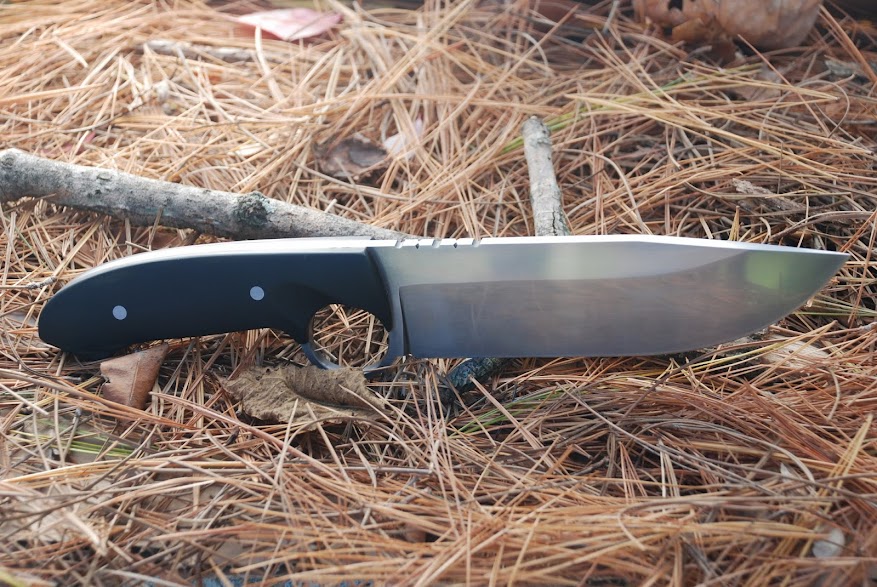
Still on a forging kick. Finished this one up for my Dad's birthday. He doesn't really use knives, so I made a "letter opener." It's the first integral I've done which was a fun little challenge.

IXjXqhDh.jpg

gVnj79lh.jpg
 
Mike,

Your progress boggles my mind, amazing work Sir! I really need to stop by the shop one of these days and learn some techniques!
 
I'm working on cutting up some spalted Birch burl. I've got a few more pieces bigger than these. This is at about 13% moisture right now, so should be ready for stabilizing shortly.


Just getting started on here, I've been doing some knife work off and on for the last few years, but just a few things here and there for friends. Now I've decided to get serious about it, but I don't have a lot of space or tools at the moment, so I'm starting with what I have. I did some custom work on an Opinel, just some paint work, and everybody loved it, so I did a few more and gave them away. I finally set up a paint booth in the garage and figured I should start selling them. I wanted to confine my business to customization, and not do full custom work anymore, but a dear friend of mine requested a custom skinner for her father who is returning to hunting after 10 years, so looks like I'm back in that line of work as well. I'll post pictures this evening.
 
Last edited:
Just finished these up this week. I tried something new with these. I have used birch bark before but on partial tangs and metal bolsters. This time I used stacked birch bark as scales on a full tang. Also my first time with the cross draw style sheaths( a big thank you Dave!).
3" blades, 6 1/2" overall
Tapered tangs, birch bark with walnut bolsters, stainless steel pins and red paper mycarta liners

kf2ev6B.jpg

lY49cBB.jpg


Thanks for looking,
Chris
 
The foundation for my power hammer is done !

The first hole took me almost an hour and then blew my Hitachi hammer drill apart, I bought a new dewalt SDS+ pro rotary hammer it took about 10 minutes total to do the other 3 holes.

Several cans of compressed air and some nylon spiral brushes later and the holes were clean and ready for the epoxy. Turns out that one tube of the Epcon A7 anchor epoxy was just enough for the 4 holes, thankfully, because it's expensive stuff !

I cut some 3/4 all-thread to 10 inch lengths and epoxied them in yesterday. Today I went into the garage, tossed a 1 inch fender washer and a 3/4 fender washer over each stud, and then double nutted each, so that percussive vibration wont cause a nut to spin off.

Now I just have some other projects that I want to do with the hammer to make it better in the new location. This list includes a few things.

1) Fix the broken brake

2) Find a 2hp 900 RPM motor (original spec speed) and fabricate a 5 inch drive pulley for it as per original spec (for 350bpm max) A 3HP motor would work as well, although I'd need to swap to a different VFD to generate the 3phase power for it.

3) Fabricate a motor mount to hang of the back of the hammer down low

4) Fabricate a new tensioner arm and bracket and mount it to the rear of the hammer in the original location and forge a new linkage arm to the treadle

5) get a new belt

foundation20.jpg
 
Some works in progress. A Chisel ground Tanto for a member here, a new style fighter I am working on and a Santoku for my son for Xmas.

It really is amazing how much I can get done when the wife is gone :)

90fsyr4.jpg
 
Forgot I had this in the post-HT drawer. Got her finished up today. 1/4" 1095 bowie with finger ring. Black paper micarta with ruby liners. Call this one "Vlad" in honor of Halloween.

DSC_0373.JPG

DSC_0374.JPG

DSC_0375.JPG
 
Today, all my Ti anodizing stuff came in on the big brown truck. My first folder is almost complete so will be seeing what I can do with the finish over the next couple days.

Untitled by Ranger_Bob, on Flickr

Couldn't find a set of micro torx drivers that I liked so I made a set from a cheapo HF interchangeable bit set. Still need to put some knurling right behind the tapers.

Untitled by Ranger_Bob, on Flickr

Here's a couple crappy instagram pics of knives I've recently finished.

Untitled by Ranger_Bob, on Flickr

Untitled by Ranger_Bob, on Flickr
 
Hello my friends! I have some photos of what finished yesterday. These are a Creole style sheets . This style of leaves they used to use the " Gauchos " in my country . Even still using them today . They are forged from SAE 52100. I leave a big hello to all !!!

Ditw3gz.jpg


0mcnqLX.jpg


8SHNPe0.jpg


cvTw78V.jpg


7FFpyIN.jpg


5RgAsBS.jpg
 
Beautiful work Pablo! I love the filework.

I've given birth to a simple seax... very happy with the shape, I think I nailed it this time.
biglaurel_zps441ff170.jpg
 
Cut this one up earlier..


A little project I've been meaning to start for a while. When I got it from my friend it was a rusted, neglected old billhook. No name or any signs it was particularly special my friend decided he would like a big bowie to go with his spear I made him!

The spear..


The spear also arrived at my door all smashed up and with the end snapped off! either way, my buddy wanted it transformed into a mean old spear.

Back to the knife, I've only cut out the shape today and tidied up the tang. My grinder arrived today so once I set it up I should be able to put a decent full convex on it and tidy it all up. Then it's time to find material for a handle. I want the handle to be long, like a hand and a half grip and I'll use the remaining cut off steel to make the guard!

I do have this rolling pin.. it's solid clean beach and cost very little new. I bought it as I knew I'd find a use for it and I may just end up using it.

 
Adam, your designs really look great and functional. Please post photos of the finished knives. Larry
 
Wow Peter, can't wait top see the rest! They look amazing! Any idea how much time you have in these? Seems like you've been on them for quite a while.

Bob
 
Back
Top