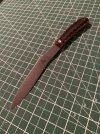
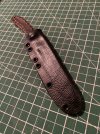
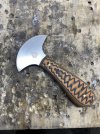
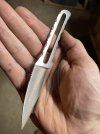
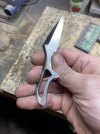
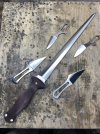
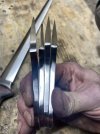
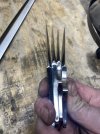
What's happening in the David Mary Custom shop?

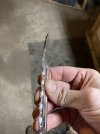
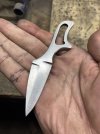
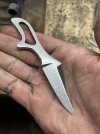
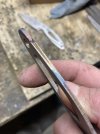
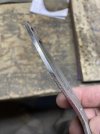
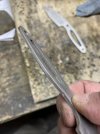
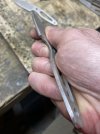
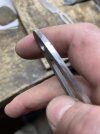
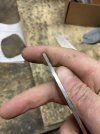
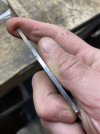
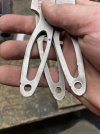
I'm trying to think of how to better explain a sharpening choil.

Okay, so most people when they sharpen, use a number of passes per side. When you start a pass, even if you can get the heel to make perfect contact with the stone, think about how much actual contact time it has with the stone. The heel, because it's where the pass begins, always receives the least amount of stone contact in a pass, because as soon as the pass starts, the heel moves out of contact with the stone. Contrast that with the middle of the blade, or the tip, and those sections get a much longer contact time with the stone on each pass, hence having more material removed from them. The result ends up being a blade where the heel somewhat protrudes further down from where the rest of the cutting edge does.

If someone is careful, this does not have to be the case, but it will require a more comprehensive approach than just equal passes per side. It's easy to fix on a grinder, but also with the right sharpening tools it can be fixed by hand as well. But a lot of people don't get that involved in their sharpening, whether through lack of desire, interest, or awareness, and for them a sharpening choil is perfectly sensible, and a big step toward minimizing or solving the problem.
 
David, I have a new interest in owning a karambit style knife to try. I searched and did not find any ringer karambits on your page. Have you made them or comfortable making one if you have not?

I have made them and would again. It would be on a new run, though, in order to keep the cost reasonable. Planning stages for a new run are yet to begin.

FWIW- Choils- I vote no as well. Drain holes, I like as well for cleaning/drying inside the sheath.
Bill

I've added your preference to the order book.
 
That's what everyone says, but I still don't understand that? It doesn't make sense in my head.....I can bring the knife right up to the bevel with a stone.

Maybe it's because I don't make super Thick blades, perhaps it's different then?
Like I said, it just doesn't make sense to me... 🤪

I believe sometimes it's a matter of convenience for makers, an easy way to clean things up. Sometimes the plunge isn't ground right, and in lieu of a "smiley" or slowly developing recurve they will just add a sharpening choil.

I dont like them either, but a pet peeve of mine is receiving a blade with that little uneven hitch where the grind begins. In that case, I'll take the choil.

Is pleasant to sharpen with them though, as long aa they are small and subtle, otherwise it gets in the way of cutting.
 
I never heard of using the hole in the bottom of a kydex sheath to blow out debris. What an excellent idea. I was indifferent on sharpening choils until I was cutting up old shirts for gun cleaning squares and the fabric kept getting stuck in the choil and ripping, instead of cutting. I sharpen my knives with either my rod system or work sharp Ken onion belt grinder and they both work ok for no choil.
 
So moving my wife's salon is in full swing and I must have pulled my riverhawk 50-100 times today for odd tasks. At one point I took it off to move things and I got angry when I went to grab it and it wasn't there. After the third time in 6 minutes all work came to a dead stop. I think I honestly keep better tabs on my riverhawk than my child at this point. I'm not sure what kind of person that makes me....
 
I drill drain holes in my kydex sheaths like Blindmouse, and my chainsaw scabbards as well. Much easier to blow things out with a compressor after wood chips, bar oil and dust accumulate. I like to clean the saws/bars with compressor so it is nice to do scabbard at the same time.
 
So where are we on the Empire Outfitters run?

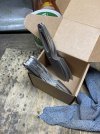
To start things off, one of the byproducts of plasma cutting is where the plasma starts (or stops, I’m not sure) the profile ends up with a tiny gouge.

IMG_2090.jpeg

So I give the blanks that need it a profile grind in those spots, starting with a worn 36 grit belt.

IMG_2092.jpeg

On some, the profile edges are not square in some spots.

IMG_2093.jpeg

They get corrected also. But take note of the finger groove.

IMG_2094.jpeg

A little extra TLC for that spot as well (forgot to take a pic but it is square now), which makes converting the grind marks fro perpendicular to parallel easier later on.

Here’s an example of a gouge almost removed.

IMG_2095.jpeg

A bit more belt contact:

IMG_2096.jpeg


And fully removed:

IMG_2097.jpeg

Sometimes the gouges are on the edge. All I have to do is grind a few thousandths of an inch until they no longer reach halfway across, since the first step of grinding the blade will be to create the apex.

IMG_2098.jpeg

Three Zoomernangs are getting extra fancy treatment with file work, so I took aside the three with the deepest or most inconveniently placed gouges for that honor. I’ll just use the gouges in these ones as part of the file work.

IMG_2099.jpeg

Profile correction complete on these ones:

IMG_2100.jpeg
 
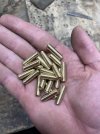
All these are getting brass pins up front, which I’ve cut to length and prepped with 36 grit for maximum adhesion.

IMG_2089.jpeg

Likewise with the brass tubes for the butts:

IMG_2088.jpeg

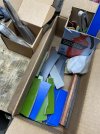
The handle scale blanks have been cut for the whole order.

IMG_2101.jpeg


Note the midirang scales are in the box for my fire extinguisher. This is on purpose as my hope is for this model to be fire. ;)

R RSL19 I thought you’d like to see what I’ve been up to so far. I hope you’re all having a fine weekend!
 
Back
Top