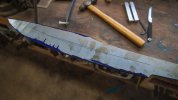
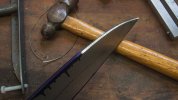
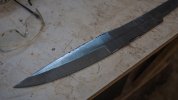
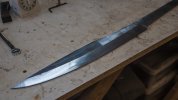
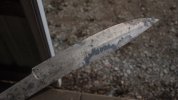
WIP-Fikes Jungle Honey - Finished pictures added!

I also drew some lines on the flats of the blade. These aren't meant to be the actual grind lines; they're just there to keep me symmetrical:

022119-10.jpg

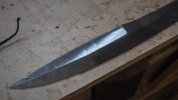
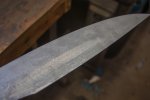
Then I grind a pre-bevel with a dull belt:

022119-11.jpg

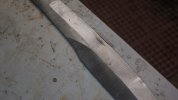
then grind in the bevels with a fresh 50 grit Blaze belt. I think it took me about 30 minutes to grind the whole thing.

022119-12.jpg

I like to work in 4 to 5" sections, and alternate from side to side.

022119-13.jpg

022119-14.jpg
 
022119-15.jpg

After grinding, I did a stress relief cycle, which is just cooking it at 1100 degrees for a couple hours:

022119-16.jpg

Which resulted in another coating of scale, so back in the acid for a few hours.

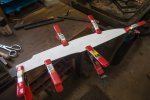
When the surface is clean again, it's time to apply clay. In an effort to apply it the same on both sides of the blade (and thus minimize warpage), I made a paper pattern, and scratched through it to mark the blade:

022119-17.jpg

022119-18.jpg

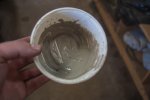
For clay, I'm using Satanite, and applying it with a butter knife:

022119-19.jpg
 
I forgot to mention that after rough grinding, I re-ground with a 120 grit belt.

Here it is with the clay on it. I don't really expect the hamon to match the clay exactly. My main goal here is to keep the blade from turning into a potato chip. An interesting and attractive hamon will just be the icing on the cake.

022119-20.jpg

I've found that when it comes to claying a water hardening blade, especially if it's going to be quenched in oil, less is more.

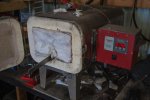
When the clay is dry, into the oven it goes. I austenitized this one at 1475 for 15 minutes:

022119-21.jpg

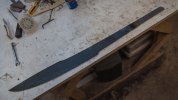
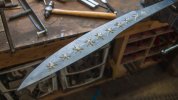
After quenching:

022119-22.jpg
 
How thick is that Kaowool "dam?" Could you explain how you get the blade into the oven using this setup?
I forgot to mention that after rough grinding, I re-ground with a 120 grit belt.

Here it is with the clay on it. I don't really expect the hamon to match the clay exactly. My main goal here is to keep the blade from turning into a potato chip. An interesting and attractive hamon will just be the icing on the cake.

View attachment 1079229

I've found that when it comes to claying a water hardening blade, especially if it's going to be quenched in oil, less is more.

When the clay is dry, into the oven it goes. I austenitized this one at 1475 for 15 minutes:

View attachment 1079230

After quenching:

View attachment 1079231
 
Shaping up to be the best WIP this forum has seen in a looong while. Awesome project, and love seeing your workflow and ideas. Will definitely be using your kaowool dam idea on my LB27 to reach some longer length ideas ive had but didnt think i should without proper H/T capabilities for those lengths.

Also the clay marking idea, friggin love it! talk about precise!
 
Very nice, I really enjoy seeing how you do it!
I wish now I had ask you for a WIP thread too!
Can’t wait to see more.
 
Awesome thread Phillip, now we can see how you make those great looking blades you make so well.
 
Back
Top