I thought this thread could be a good resource for those interested in learning more about handle making (I know I am) and pretty much anything else handle related. There is a ton of great info on the forum all ready but it may be helpful to start to group it in one place.
Will it catch on? We’ll see. Also if anyone has a better idea for a thread title I am all ears, mine is kind of boring.
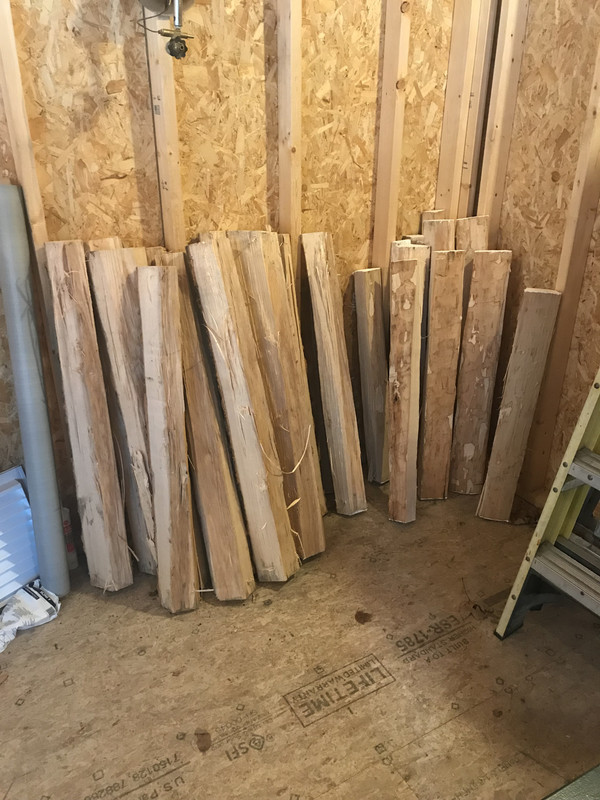
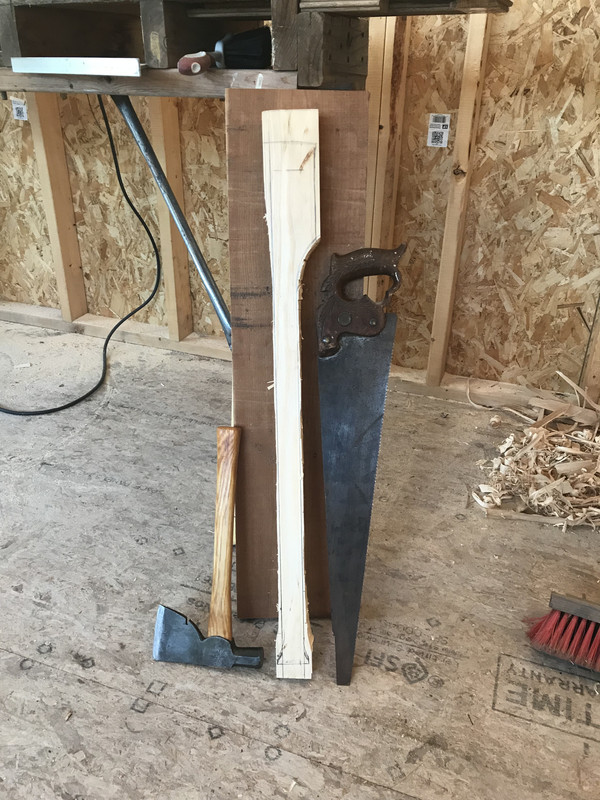
I’ll start it off with this handle build. It will be a 28” straight handle carved from Ash staves I split about 7 months ago
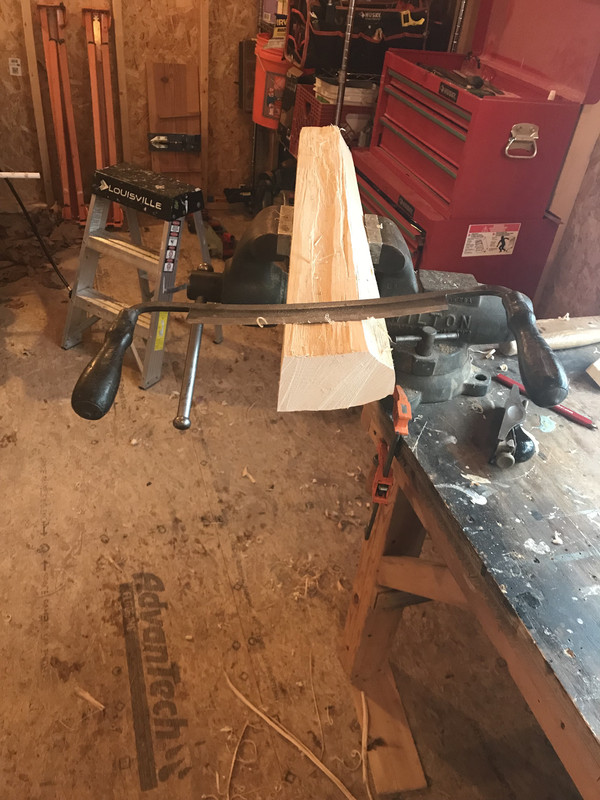
Getting some flat faces so I can run it through the table saw
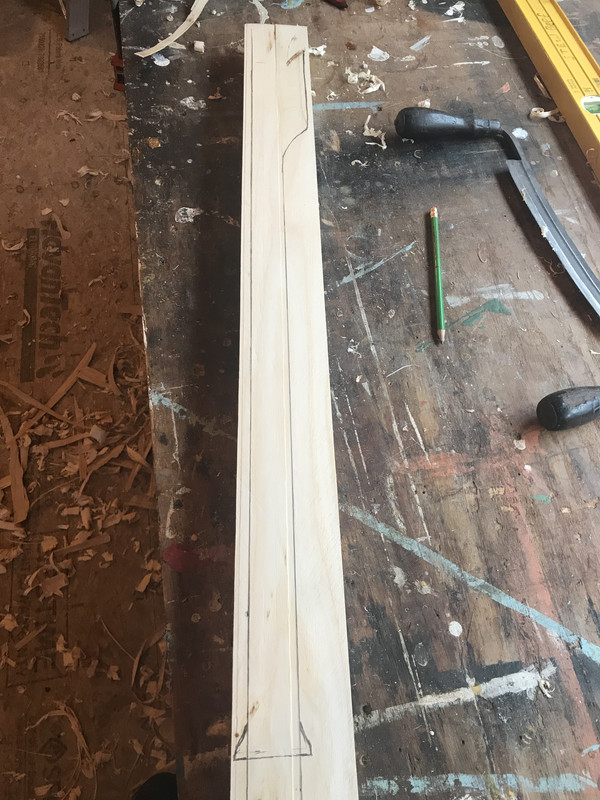
After table saw
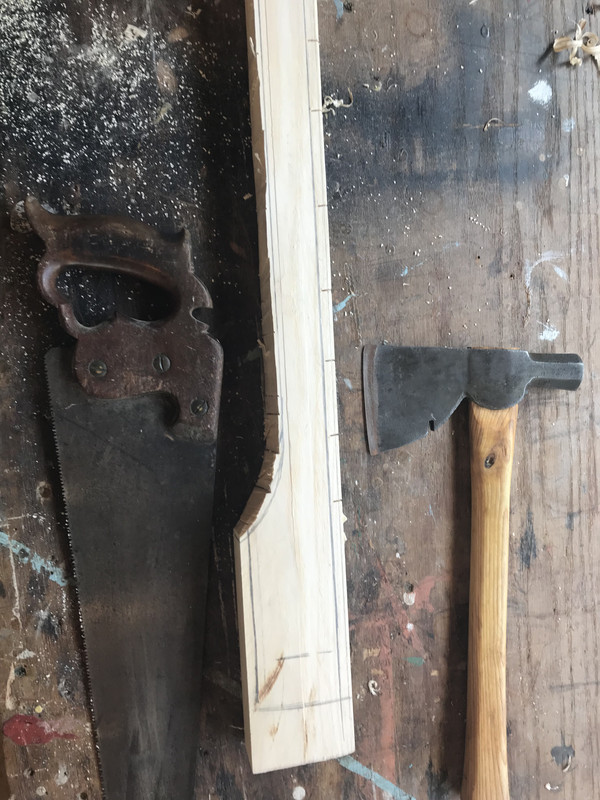
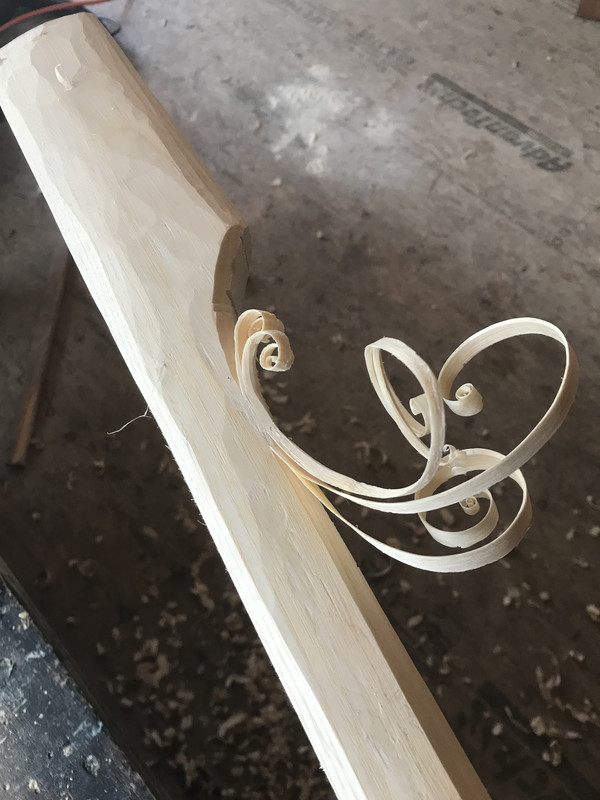
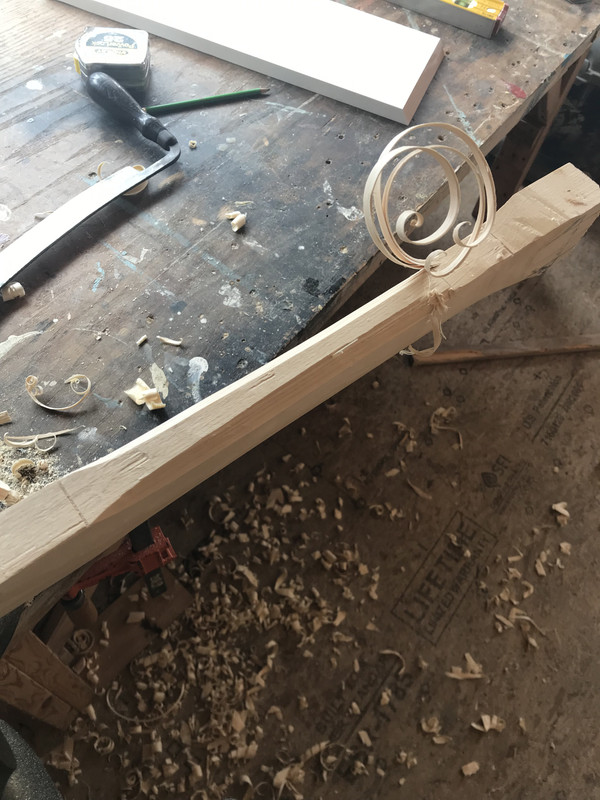
Roughing out
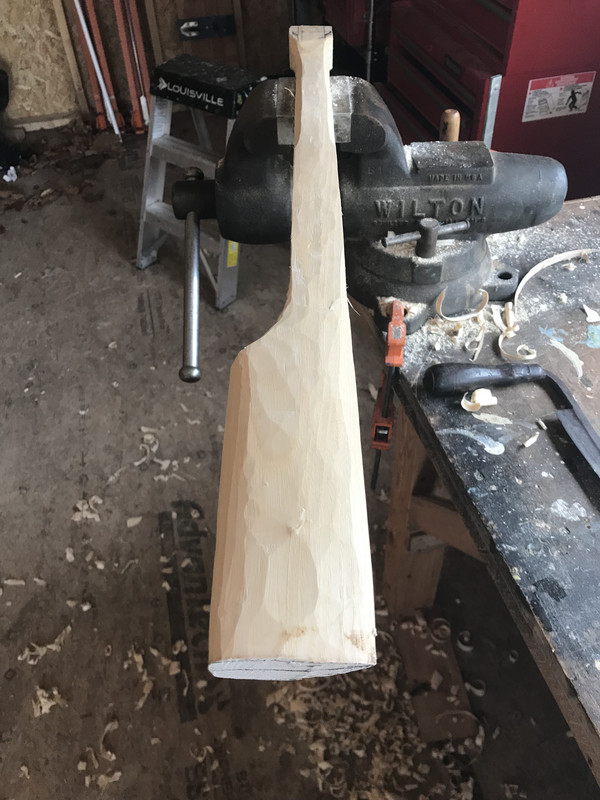
It will be draw knife, rasp and scraper from here. I will update as progress continues.
Will it catch on? We’ll see. Also if anyone has a better idea for a thread title I am all ears, mine is kind of boring.
I’ll start it off with this handle build. It will be a 28” straight handle carved from Ash staves I split about 7 months ago
Getting some flat faces so I can run it through the table saw
After table saw
Roughing out
It will be draw knife, rasp and scraper from here. I will update as progress continues.


 , but stuff happens. What sheared it off?