Stacy E. Apelt - Bladesmith
ilmarinen - MODERATOR
Moderator
Knifemaker / Craftsman / Service Provider
- Joined
- Aug 20, 2004
- Messages
- 38,468
You are doing good,...really good.
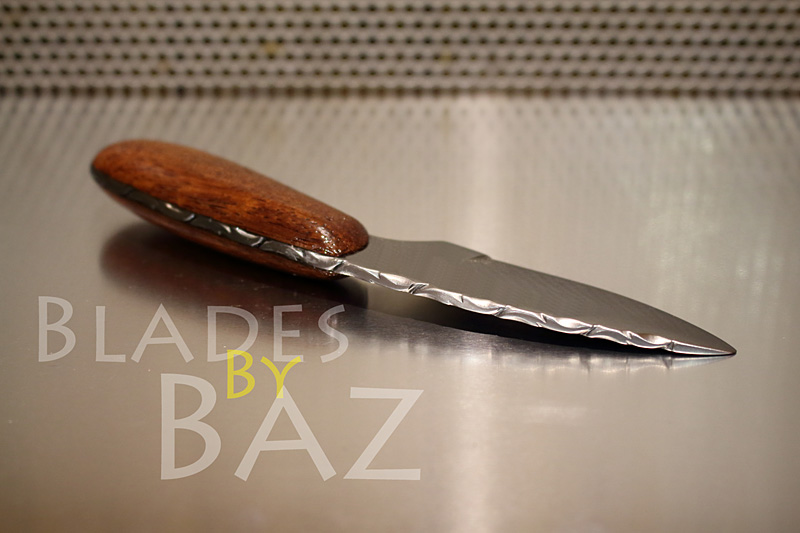
These knives you are making from the bar of steel are much better in shape.................but it is a shame that you haven't read a bit before you rush ahead.
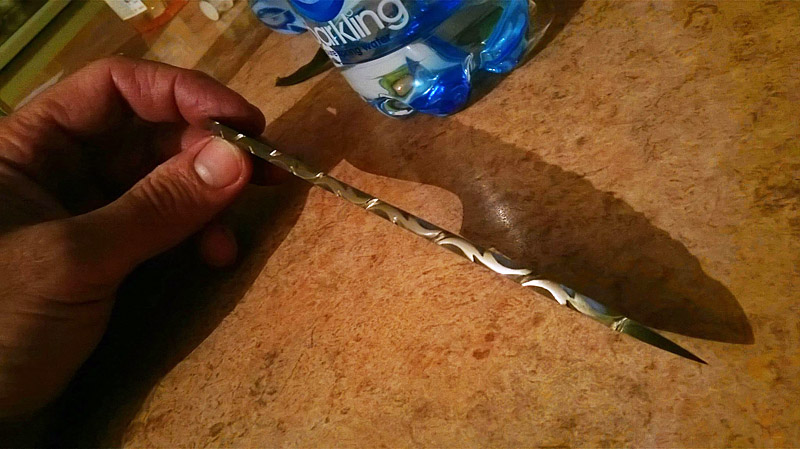
If you had, you would have read about distal taper, which would have made that nice filework and blade look much better.
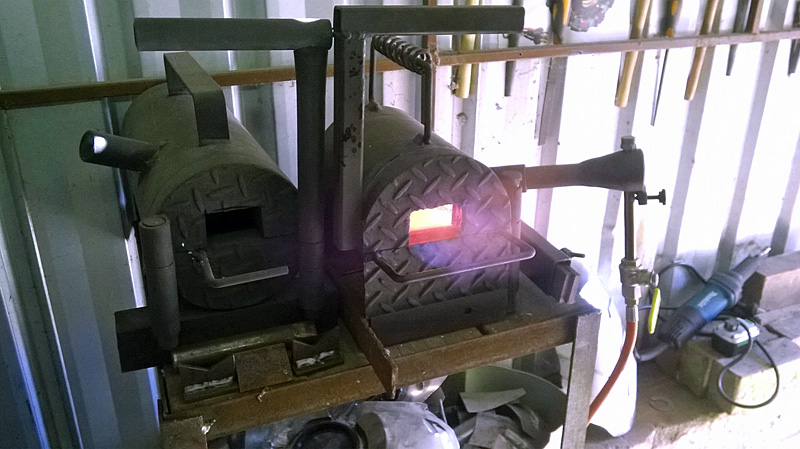
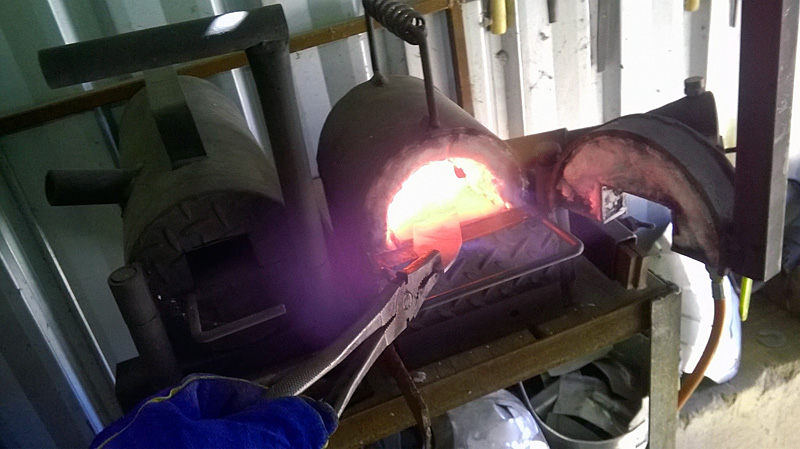
You would have know that the burner should be on a tangent with the top of the forge chamber, not aiming straight in at the floor.
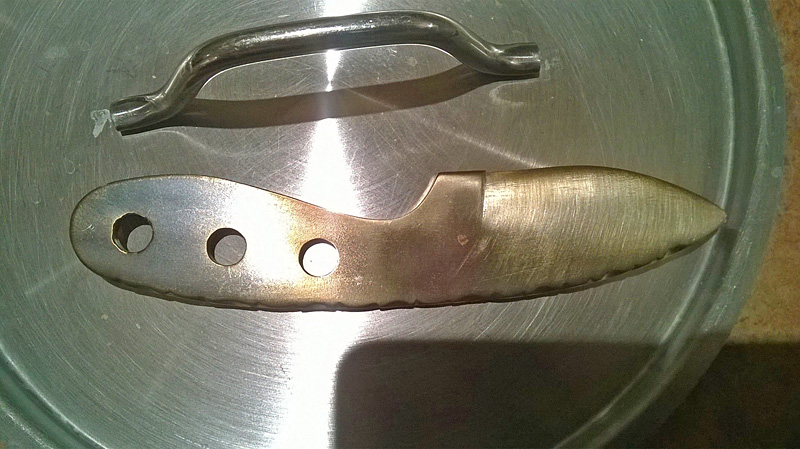
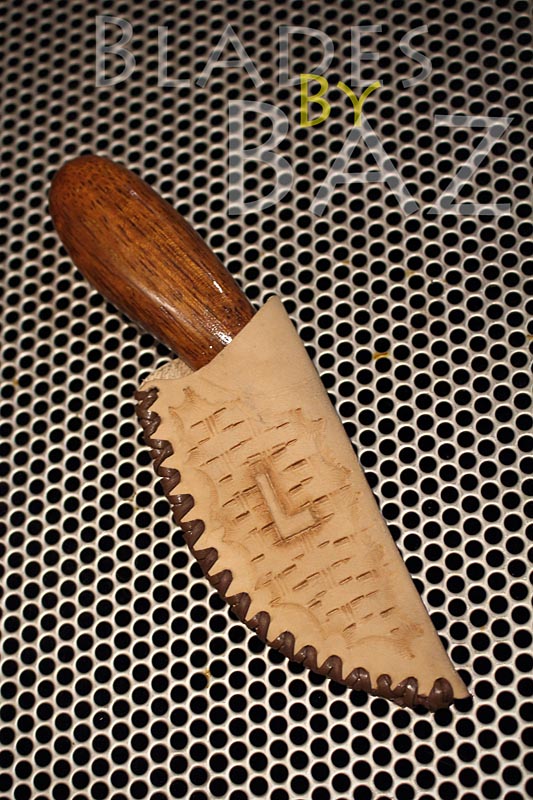
You would have seen and read some about blade shape and not making overly large and fat handles. ( last group of knives)
Take a deep breath, slow down a bit, do a bit of reading, fill out your profile ( really important), and post some plans and drawings first before rushing ahead.
These knives you are making from the bar of steel are much better in shape.................but it is a shame that you haven't read a bit before you rush ahead.
If you had, you would have read about distal taper, which would have made that nice filework and blade look much better.
You would have know that the burner should be on a tangent with the top of the forge chamber, not aiming straight in at the floor.
You would have seen and read some about blade shape and not making overly large and fat handles. ( last group of knives)
Take a deep breath, slow down a bit, do a bit of reading, fill out your profile ( really important), and post some plans and drawings first before rushing ahead.


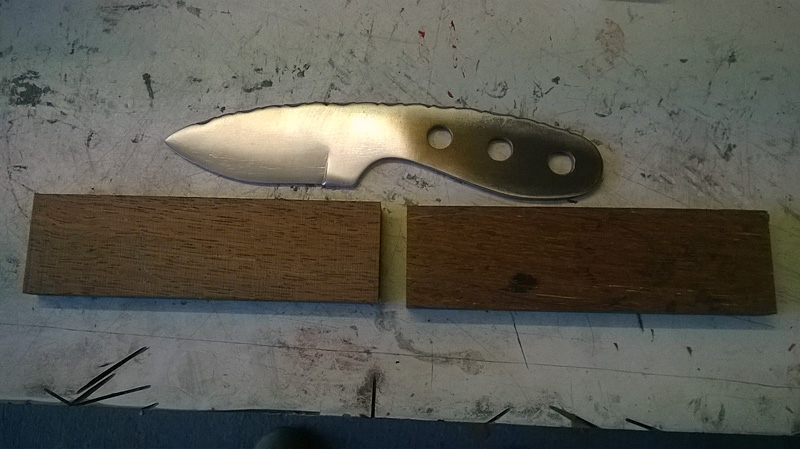


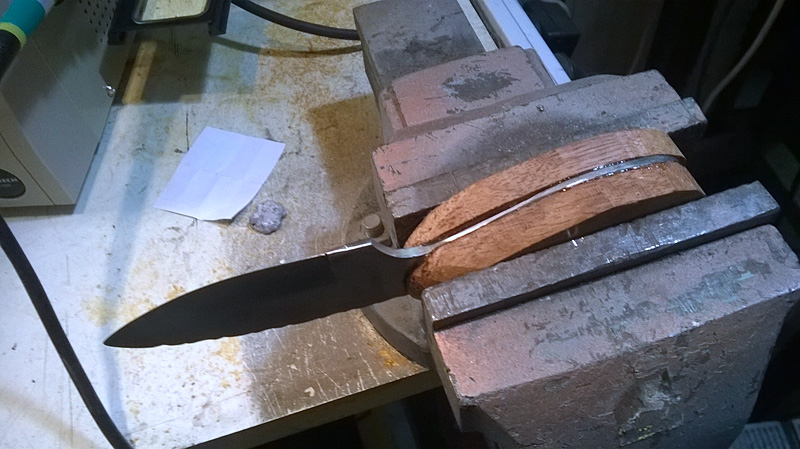


 By hand!
 ")