Square_peg
Gold Member
- Joined
- Feb 1, 2012
- Messages
- 13,873
6' felling saw is a useful size, great for trailwork.
About the largest I ever see carried up the trail for trailwork unless there's a known fall that needs a bigger saw.
The BladeForums.com 2024 Traditional Knife is available! Price is $250 ea (shipped within CONUS).
Order here: https://www.bladeforums.com/help/2024-traditional/
6' felling saw is a useful size, great for trailwork.
Looks good to me. Those are the right type handles for that saw.
6' felling saw is a useful size, great for trailwork.
About the largest I ever see carried up the trail for trailwork unless there's a known fall that needs a bigger saw.
I am interested in the time investment of training to do some trailwork with a crosscut saw - right down to watching guys do it and doing whatever auxiliary does at first.


couldnt pass it up for $12 in that condition, there were about 7 teeth that had the tips broken, other that that i didnt have but an hour's work, light sanding, sanding the hardware and a touch up, doesnt even need set.I have the spitting image of that. The only difference was that mine was rusty with a gray handle when I got it, whereas yours's nice and shiny.

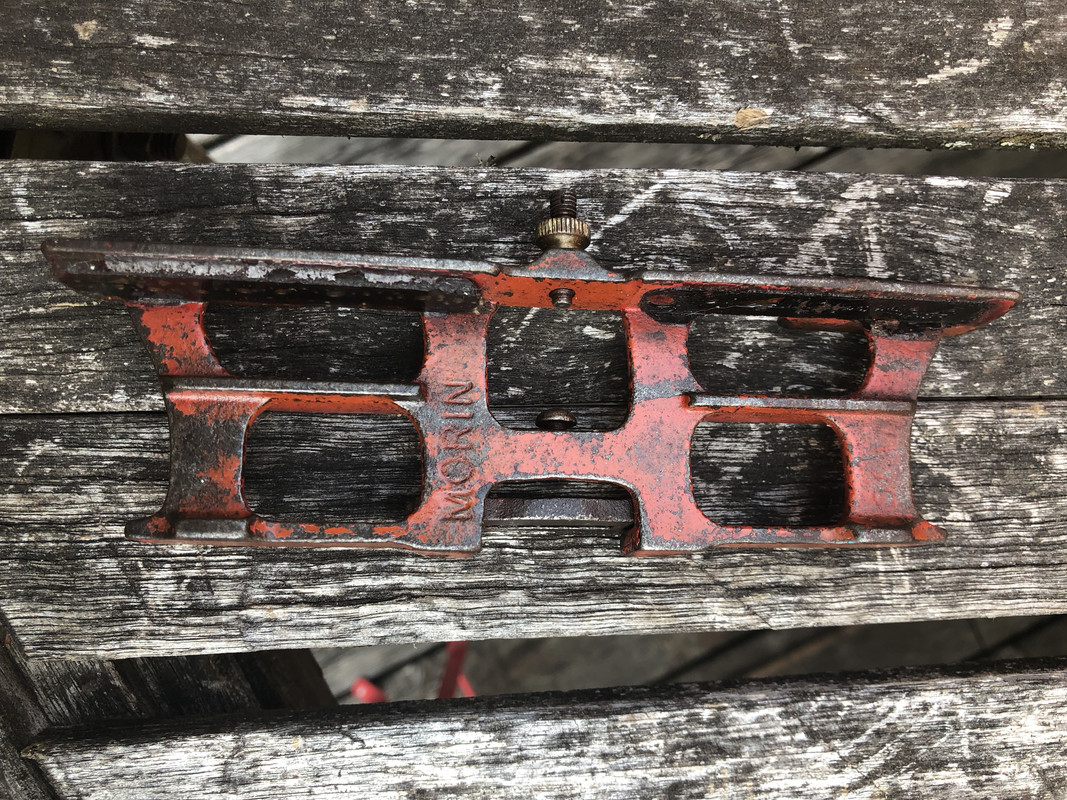
i think those black pads are to protect the teeth, if that's what you're refferring toI picked this Morin gauge, marked FEB 8, 1910:
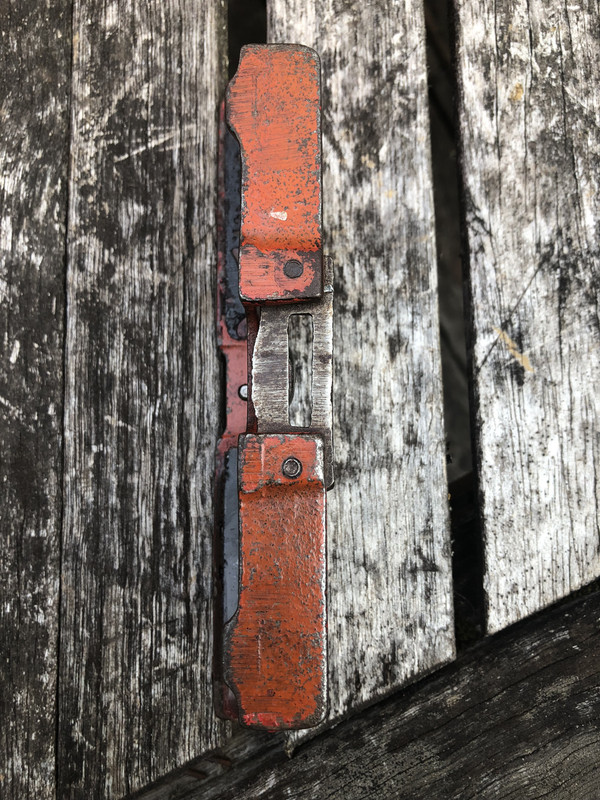
I notice here that there is a shim on one side and it’s missing on the other. I imagine this was user done? Would I be better served removing the existing shim and set it up with matching ones as opposed to trying to match the intact one? What depth would a guy want if any at all?
Also, any recommendations on removing the glue/epoxy completely?
i think those black pads are to protect the teeth, if that's what you're refferring to
")
oh, oh no.
Oh this is terrible.
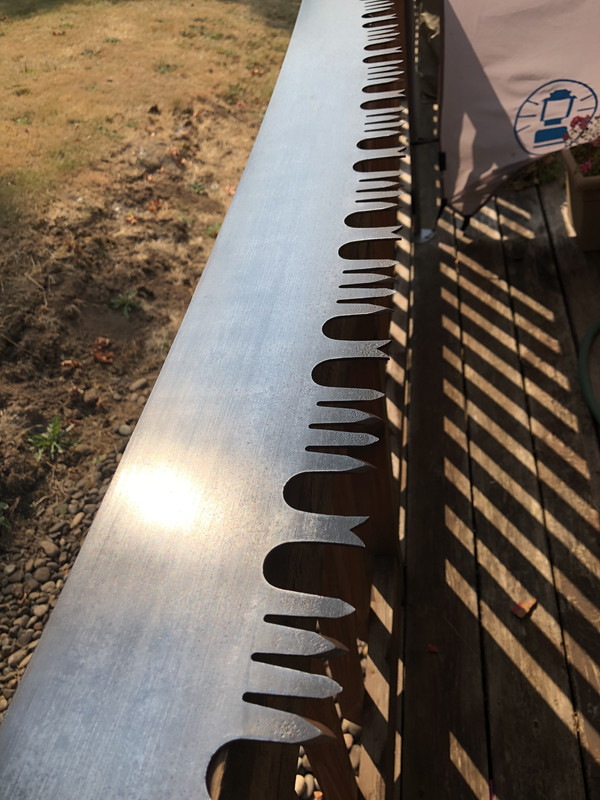
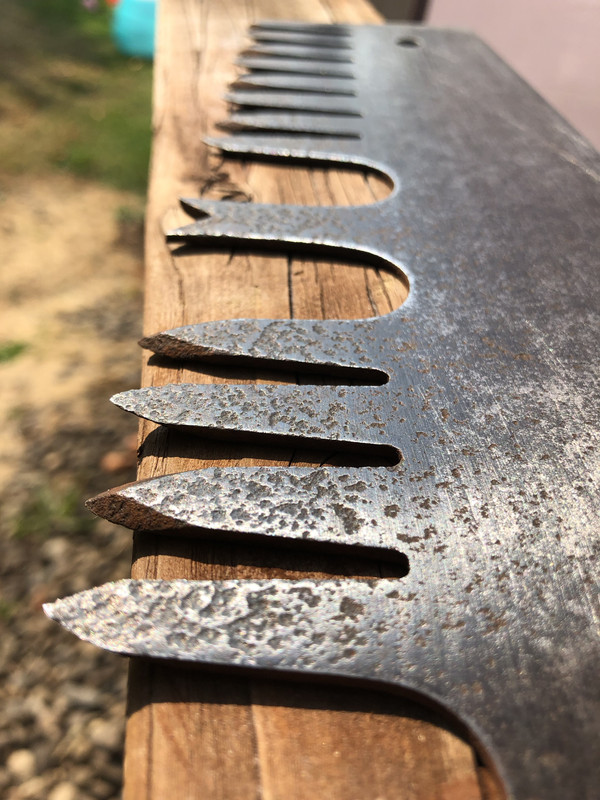
So i got to looking at one of my saws i kinda disregarded and i think it's a late Disston No.76.
The thing is it was a little warped so i tried to...
straighten it with a hammer.
you can see where this is going. Anybody here very competent in their skill with a saw anvil? i warn you it's pretty F.U.B.A.R


What I gather is it’s too easy to remove material and ruin the set?
