This is my first time working on a big flat-bladed axe like this. I like to save stuff.
My basic/initial observations:
1. This axe is diminutive in overall build compared to the other one I have.
2. It is worn and was previously sharpened wrong/not aimed at preserving the overall shape as appears straight or arced like yours and most the nicer examples on the net.
Reasoning? Maybe it was a careless/clueless owner? – we have those everywhere and axes to prove it lol. Or maybe it was to mitigate taking more steel off it than you want, to keep it a functional user – regardless of its looks. Meaning, “Damn it (insert Dutch expletives), I chipped the heel/toe! – well, I’ll just remove that and keep at what I’m doing”.
3.
Kevin, this one weighs half of what yours weighs. Obviously the blade on this one is worn down a lot but not to half its overall weight – that seems like you would want more “attachment” (larger eye and socket, thicker connection, etc) to have been the size of yours originally. That would be a big boy on a little stick. I mentioned earlier that it seemed smaller than some that I see – granted this is looking at pictures (I can take a photo to make a boy’s axe look fullsize for example). It is quite reduced in size at the eye and connection in comparison to the other that I have here. That is what I meant by it seemed like an overall smaller axe. Once again an example being how a full size axe head and a boy’s axe head look in your hands regardless of the wear on them.
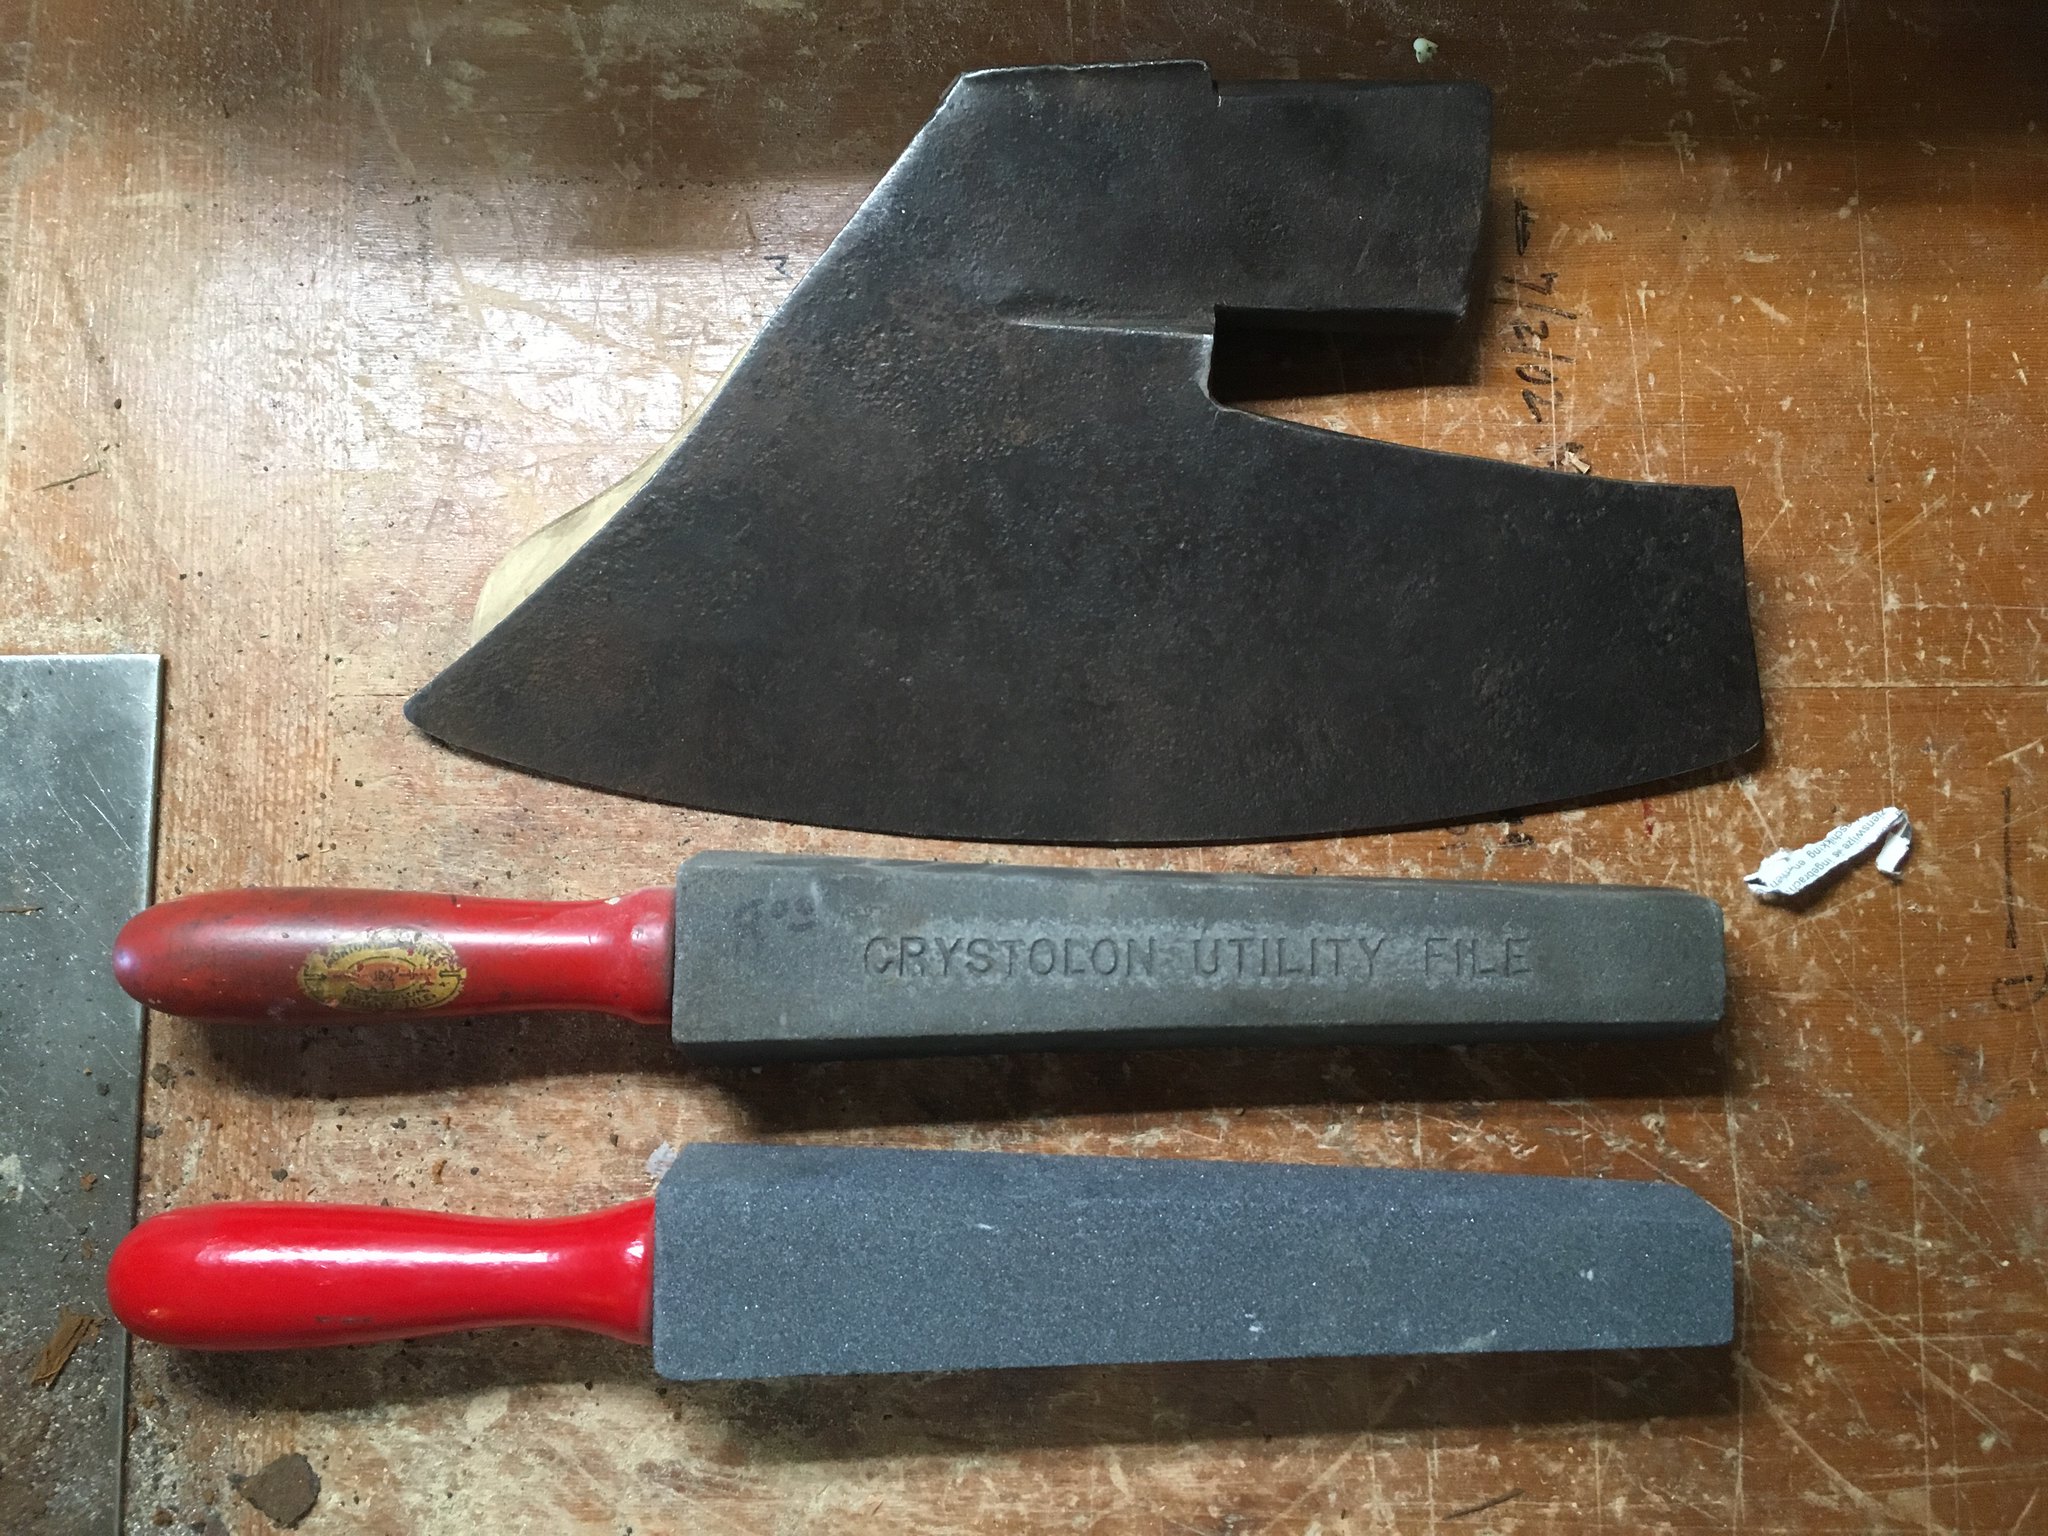
4. The first file I used on it has no problem. It’s a nice old file but I’d have to grab it and look at it to see what it is. I did put a red handle on it a while ago so I knew which one it is – it will cut. Lol. It is definitely hardened steel I am working on but does not seem like trying to sharpen/profile a chip out of a Plumb half-hatchet I recently rehabbed.
5. It has a slight uniform arc running from heel to toe that reminds me of a large Cohoes New Jersery hewing axe I have here that is in pretty much original shape. A very slight gouge shape. Intentional? “Wave blade”?
I can though picture the middle bending inwards as well the ends bending out from an outward prying motion straight out with the dead center sunk or the ends being individually stressed out of position but it is looks quite uniform once I took some of the blade in. *But I’ve never used one so I can’t say yet on that. Are there variations on a theme in regards to standard shapes, sizes, and build styles across time and regions? Would these style axes have been made in different sizes in proportion to the work being done? I mean a two pound American hewing hatchet can be shaped exactly like its monstrous 10lb brother.
I like to save/salvage stuff and usually can visualize what needs to be done with a file. I just eyed it into this shape in the vise with the other one sitting next to me on the bench. I normally know when it’s "there" and any more removal is too much. There will also be shaping that occurs when I start the edge angle.
No grinder, I need junk to try that on. Obviously the front is ugly right this second just having worked from the back of it.
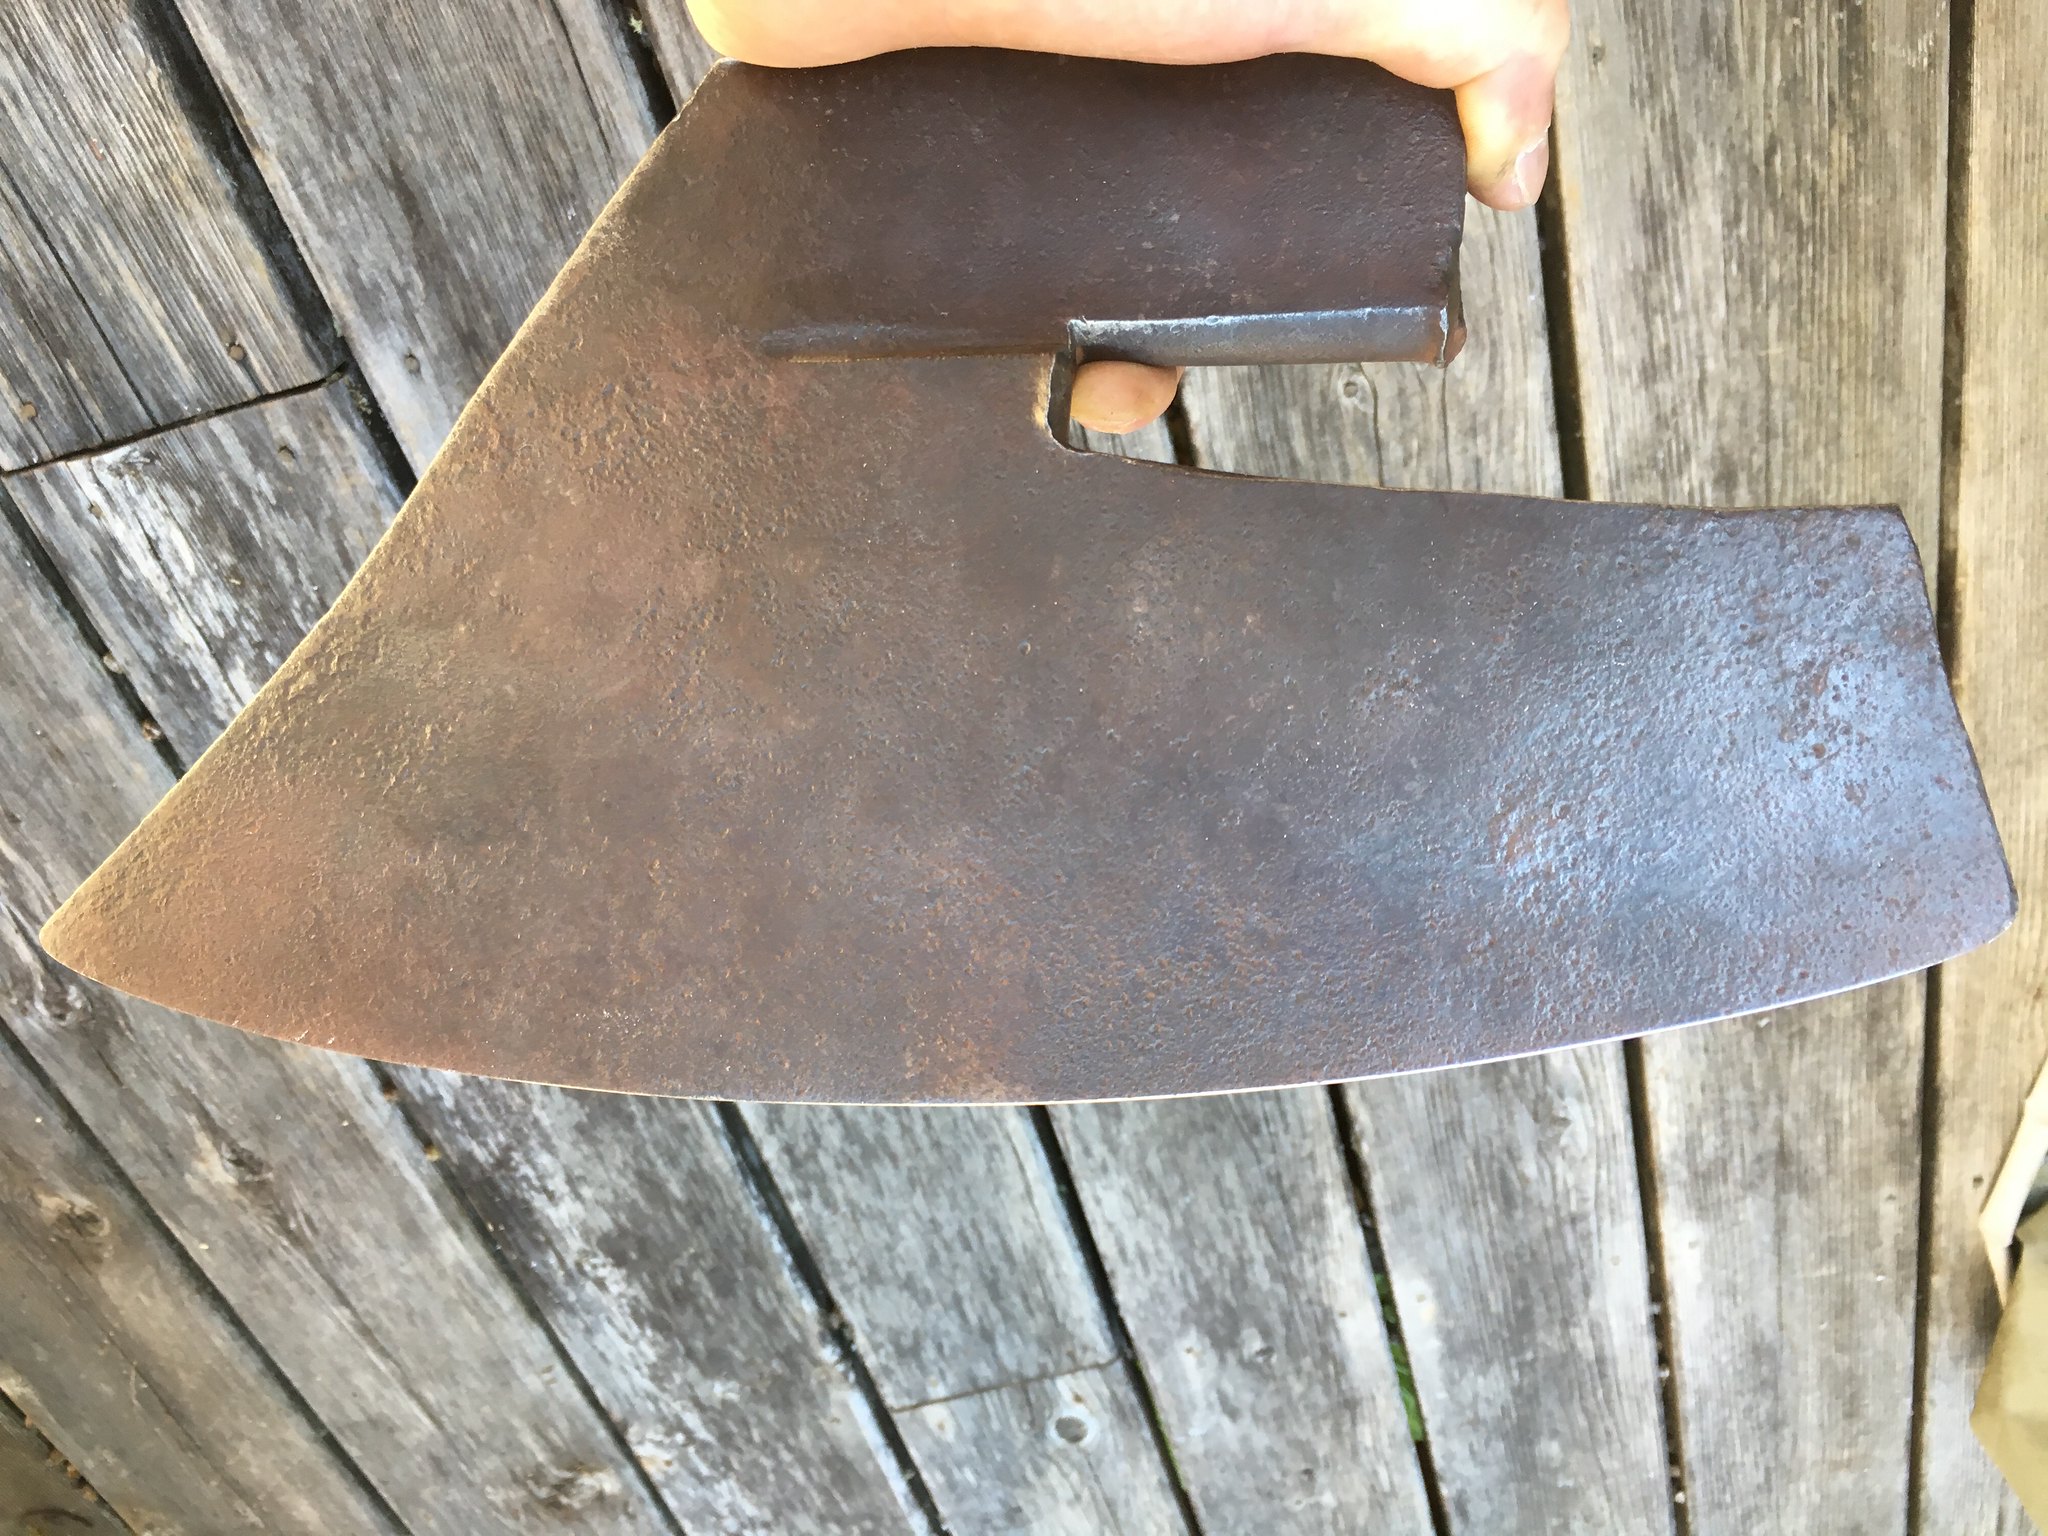
On the Barbecue (light background):
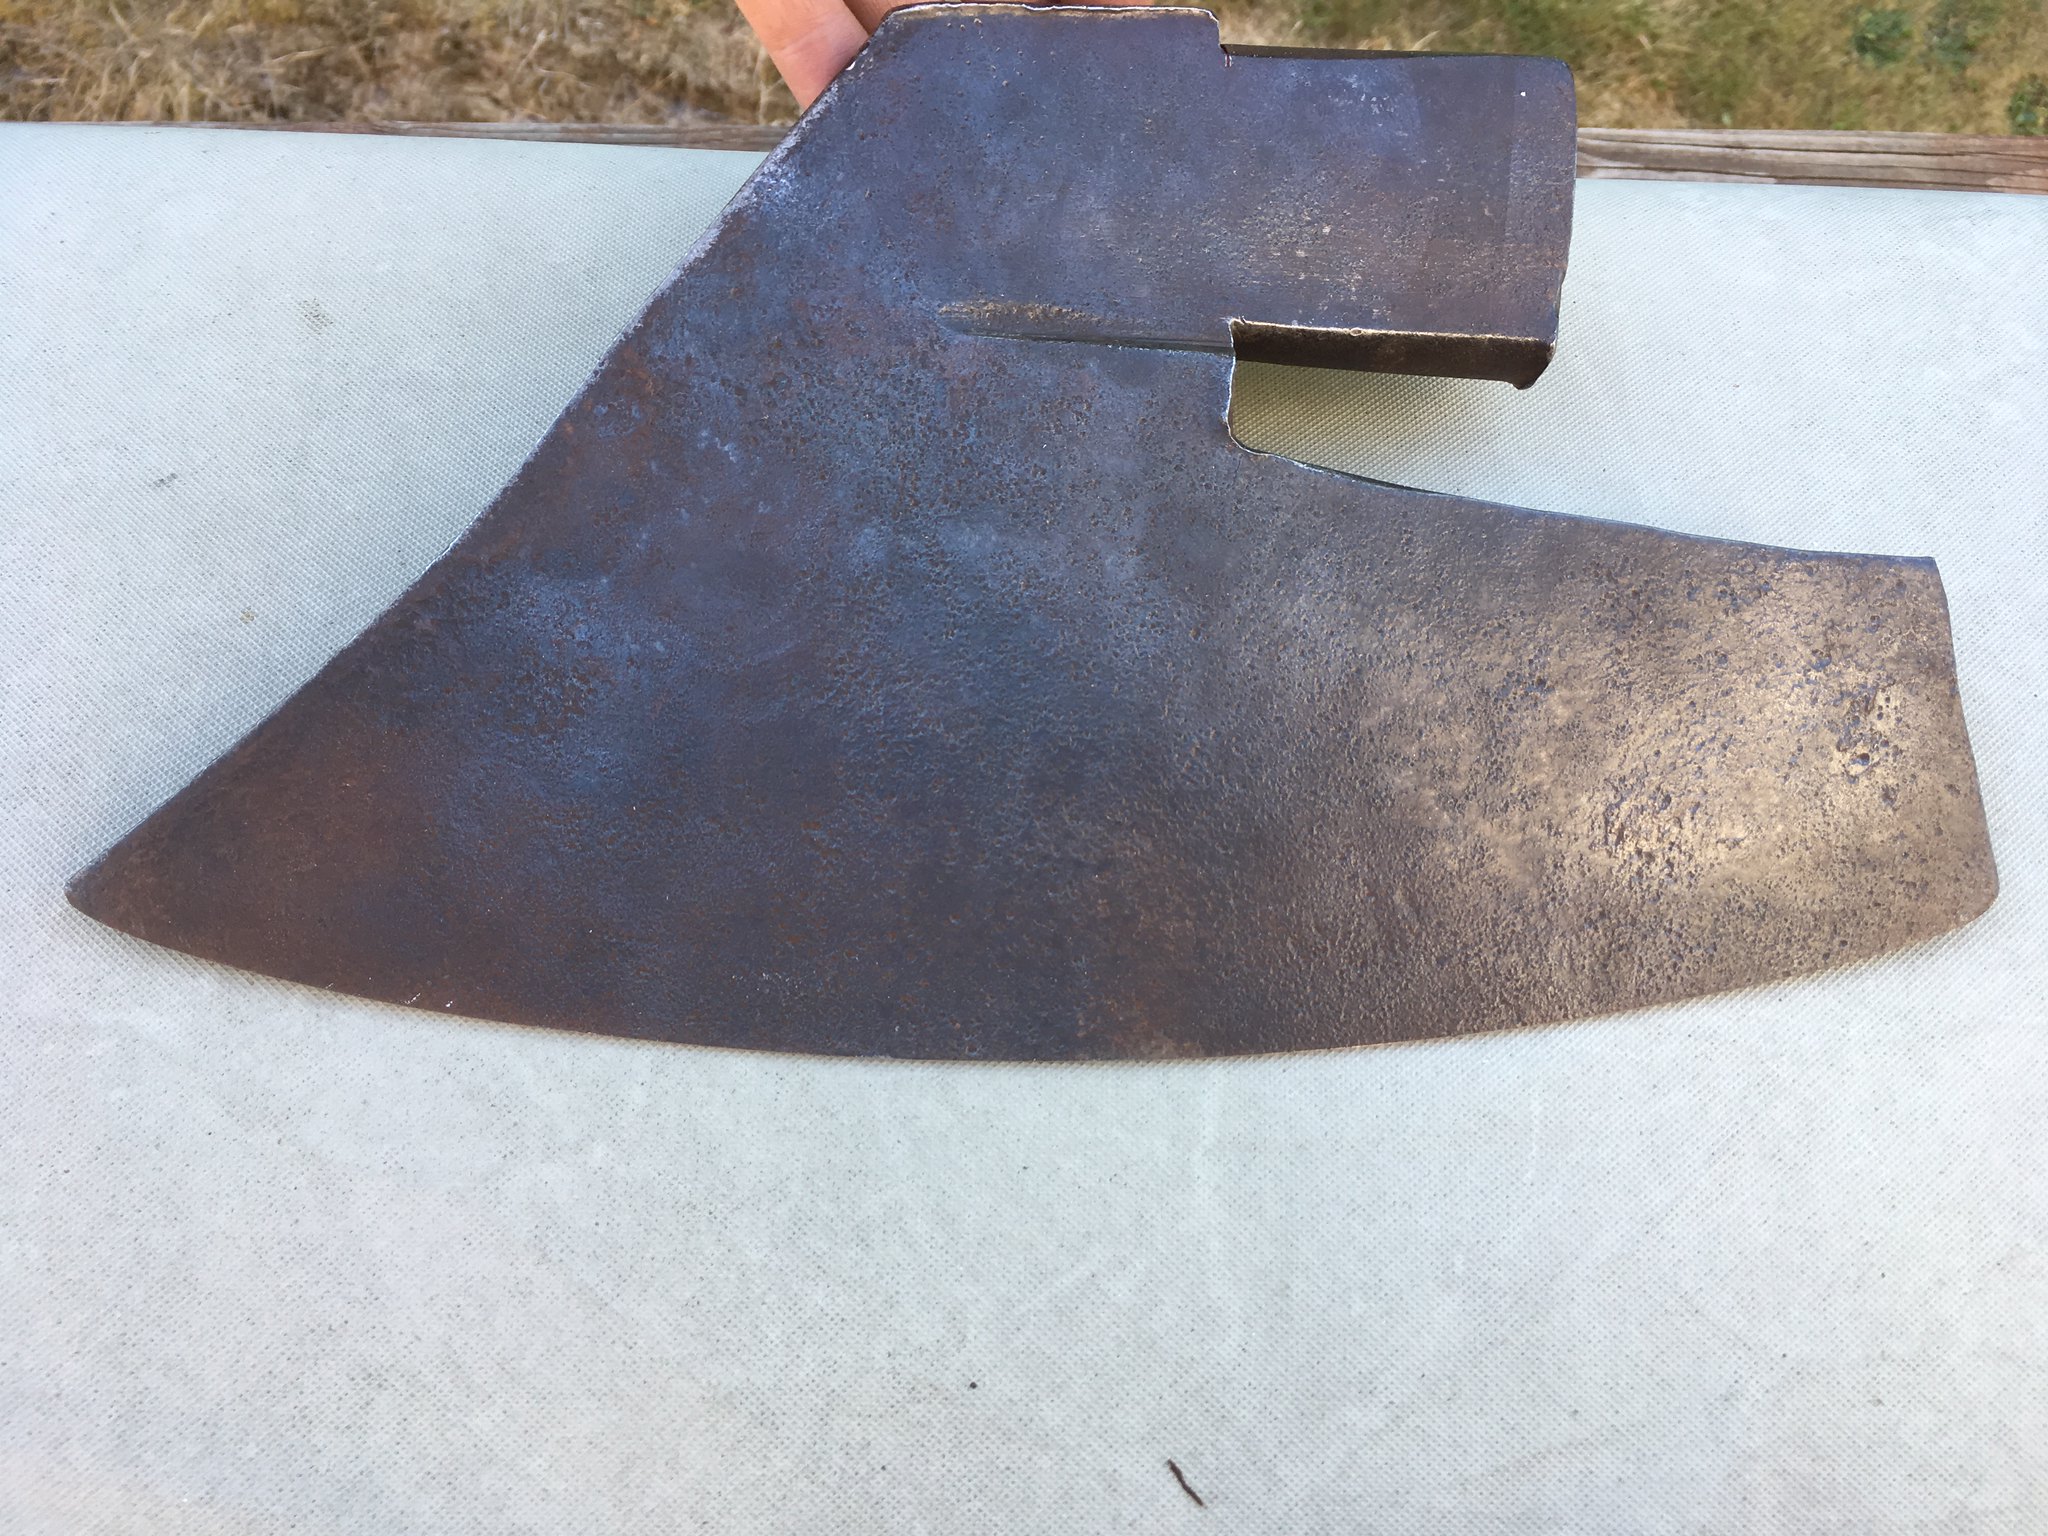 TheGoosewingGrind
 by
Agent Hierarchy, on Flickr
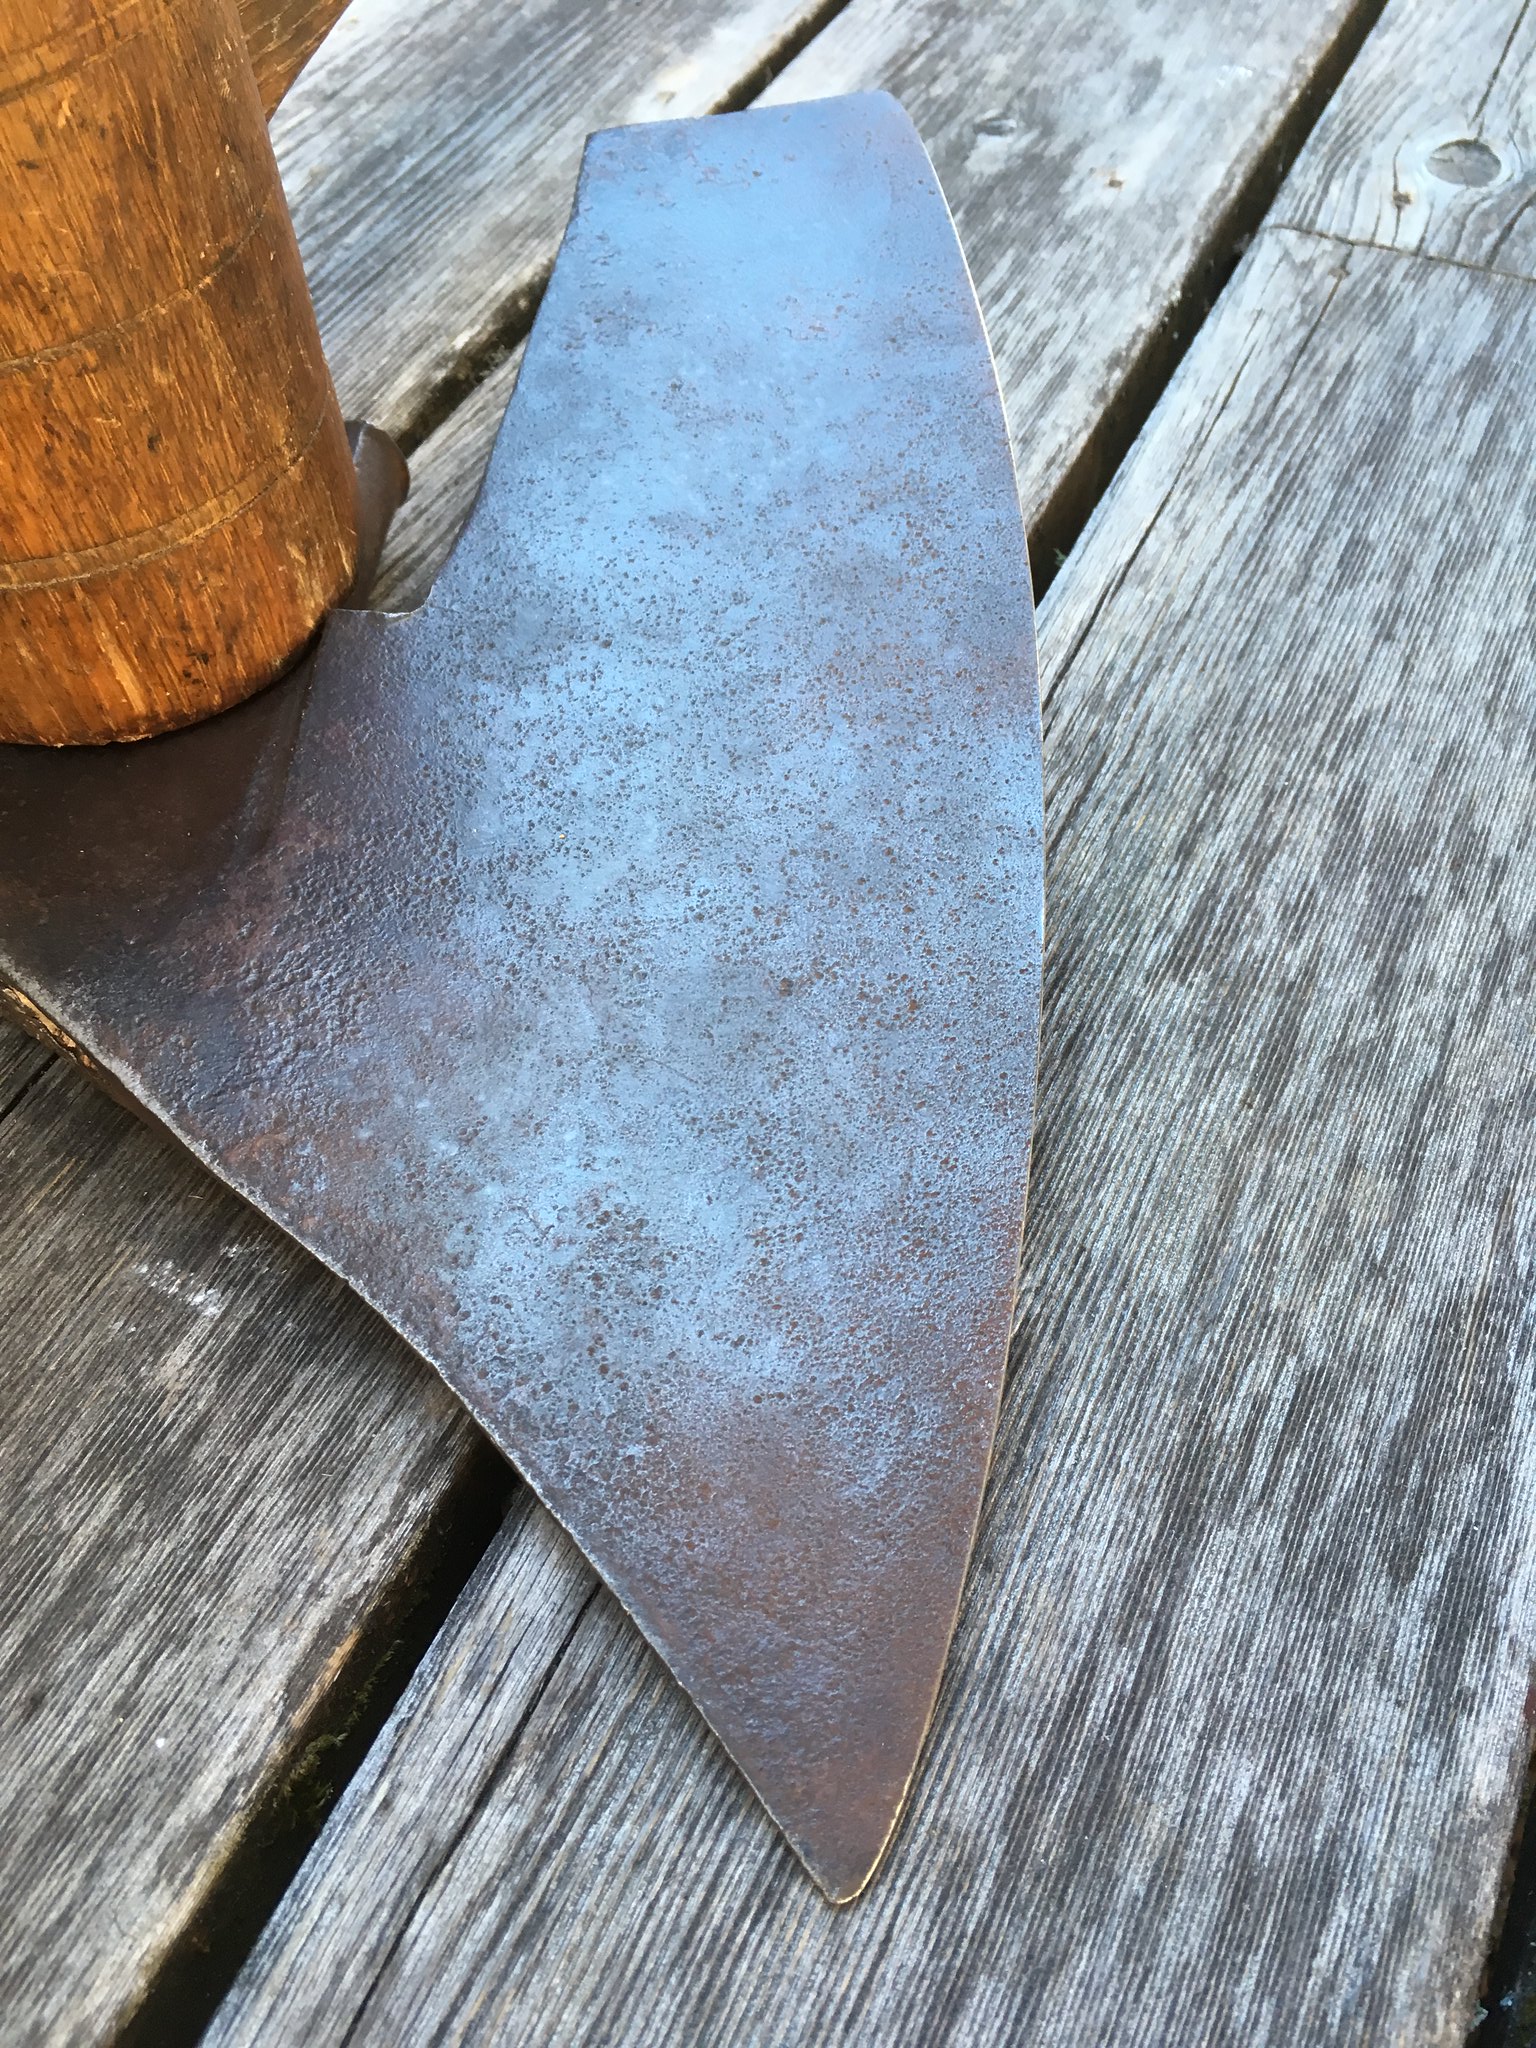
Same picture flipped around for perspective (the natural light for pictures is only good in the morning and later evening):
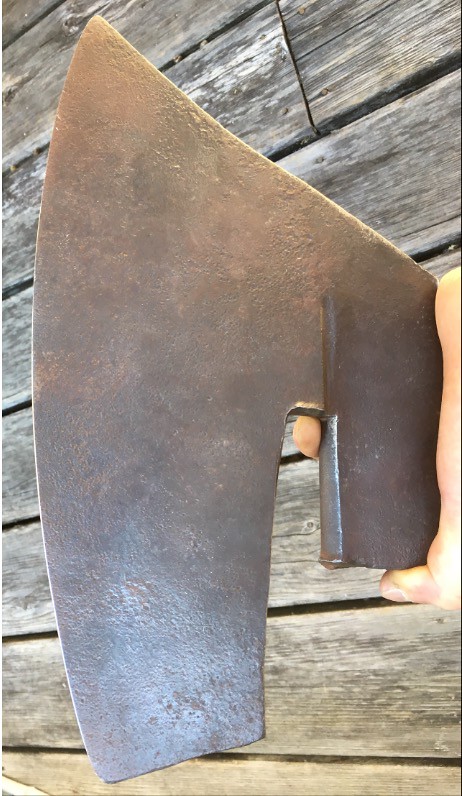 TheGoosewingGrind
 by
Agent Hierarchy, on Flickr
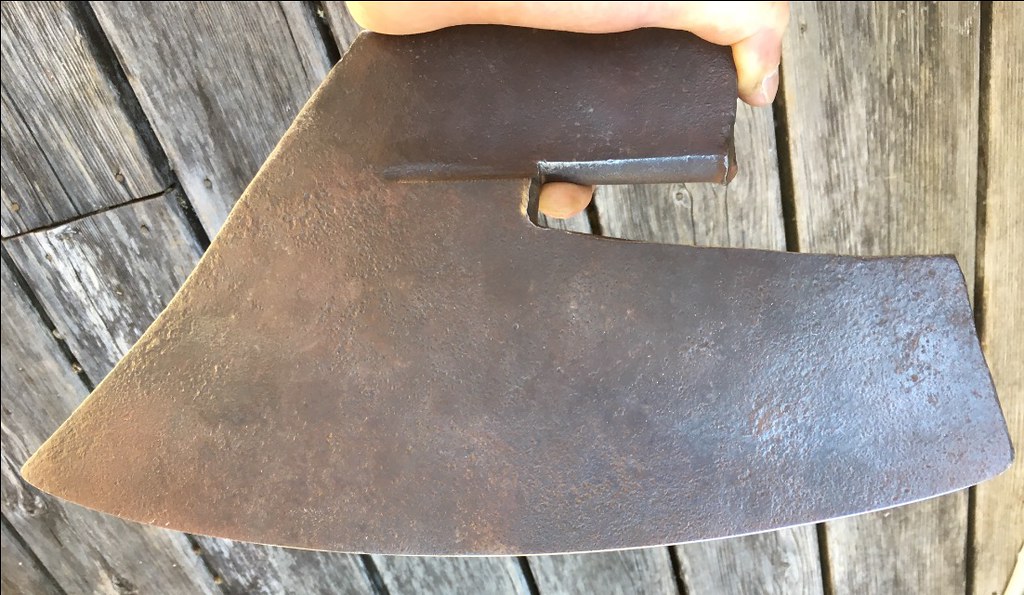 TheGoosewingGrind
 by
Agent Hierarchy, on Flickr
TheGoosewingGrind by
Agent Hierarchy, on Flickr
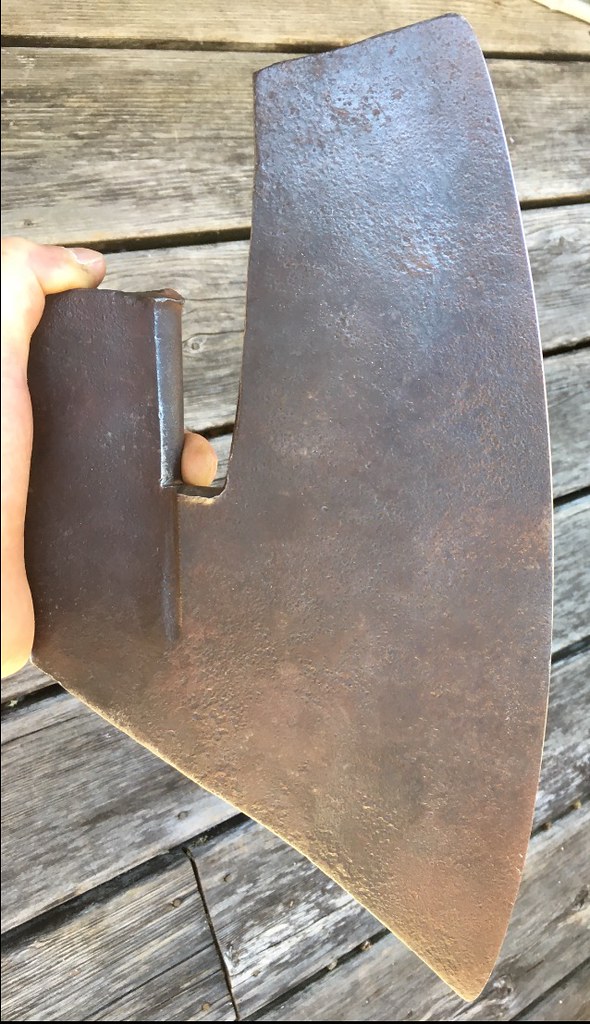
 TheGoosewingGrind
 by
Agent Hierarchy, on Flickr
 TheGoosewingGrind
 by
Agent Hierarchy, on Flickr
Looks like a different axe from the back now.
")


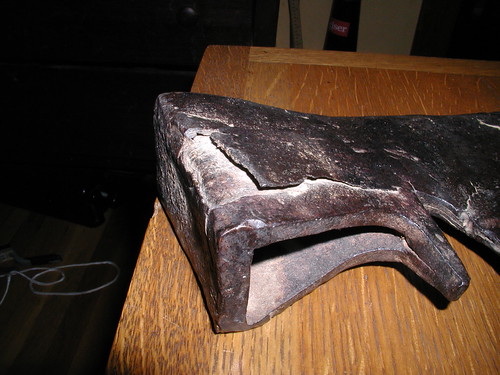
 GoosewingScours
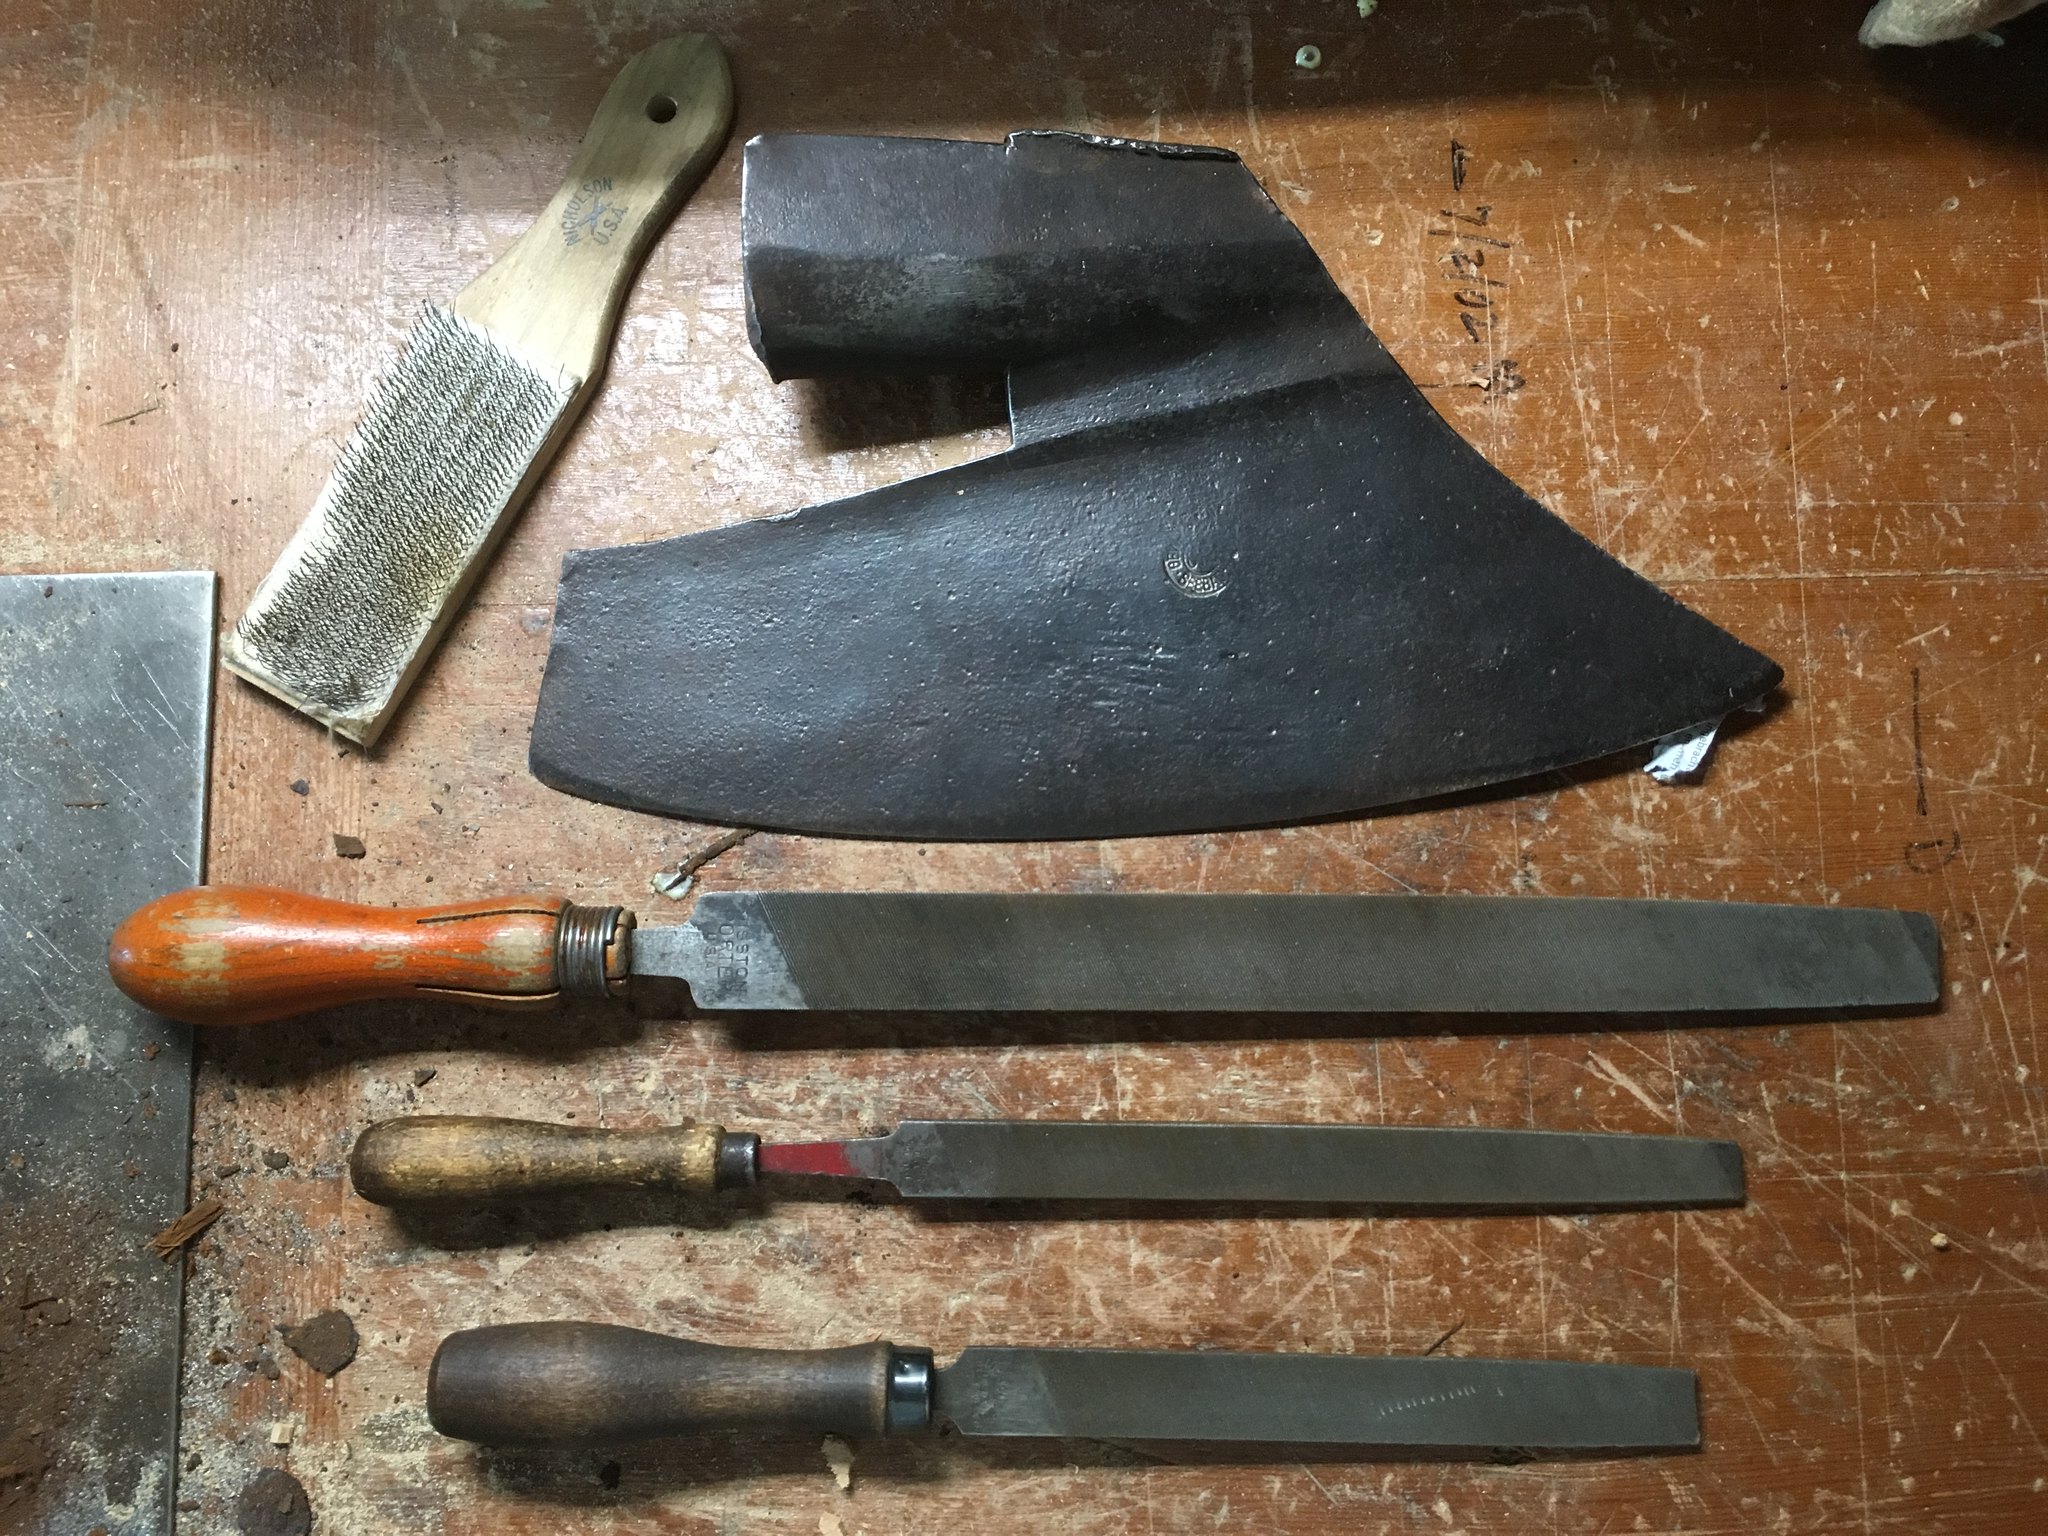 GoosewingScours
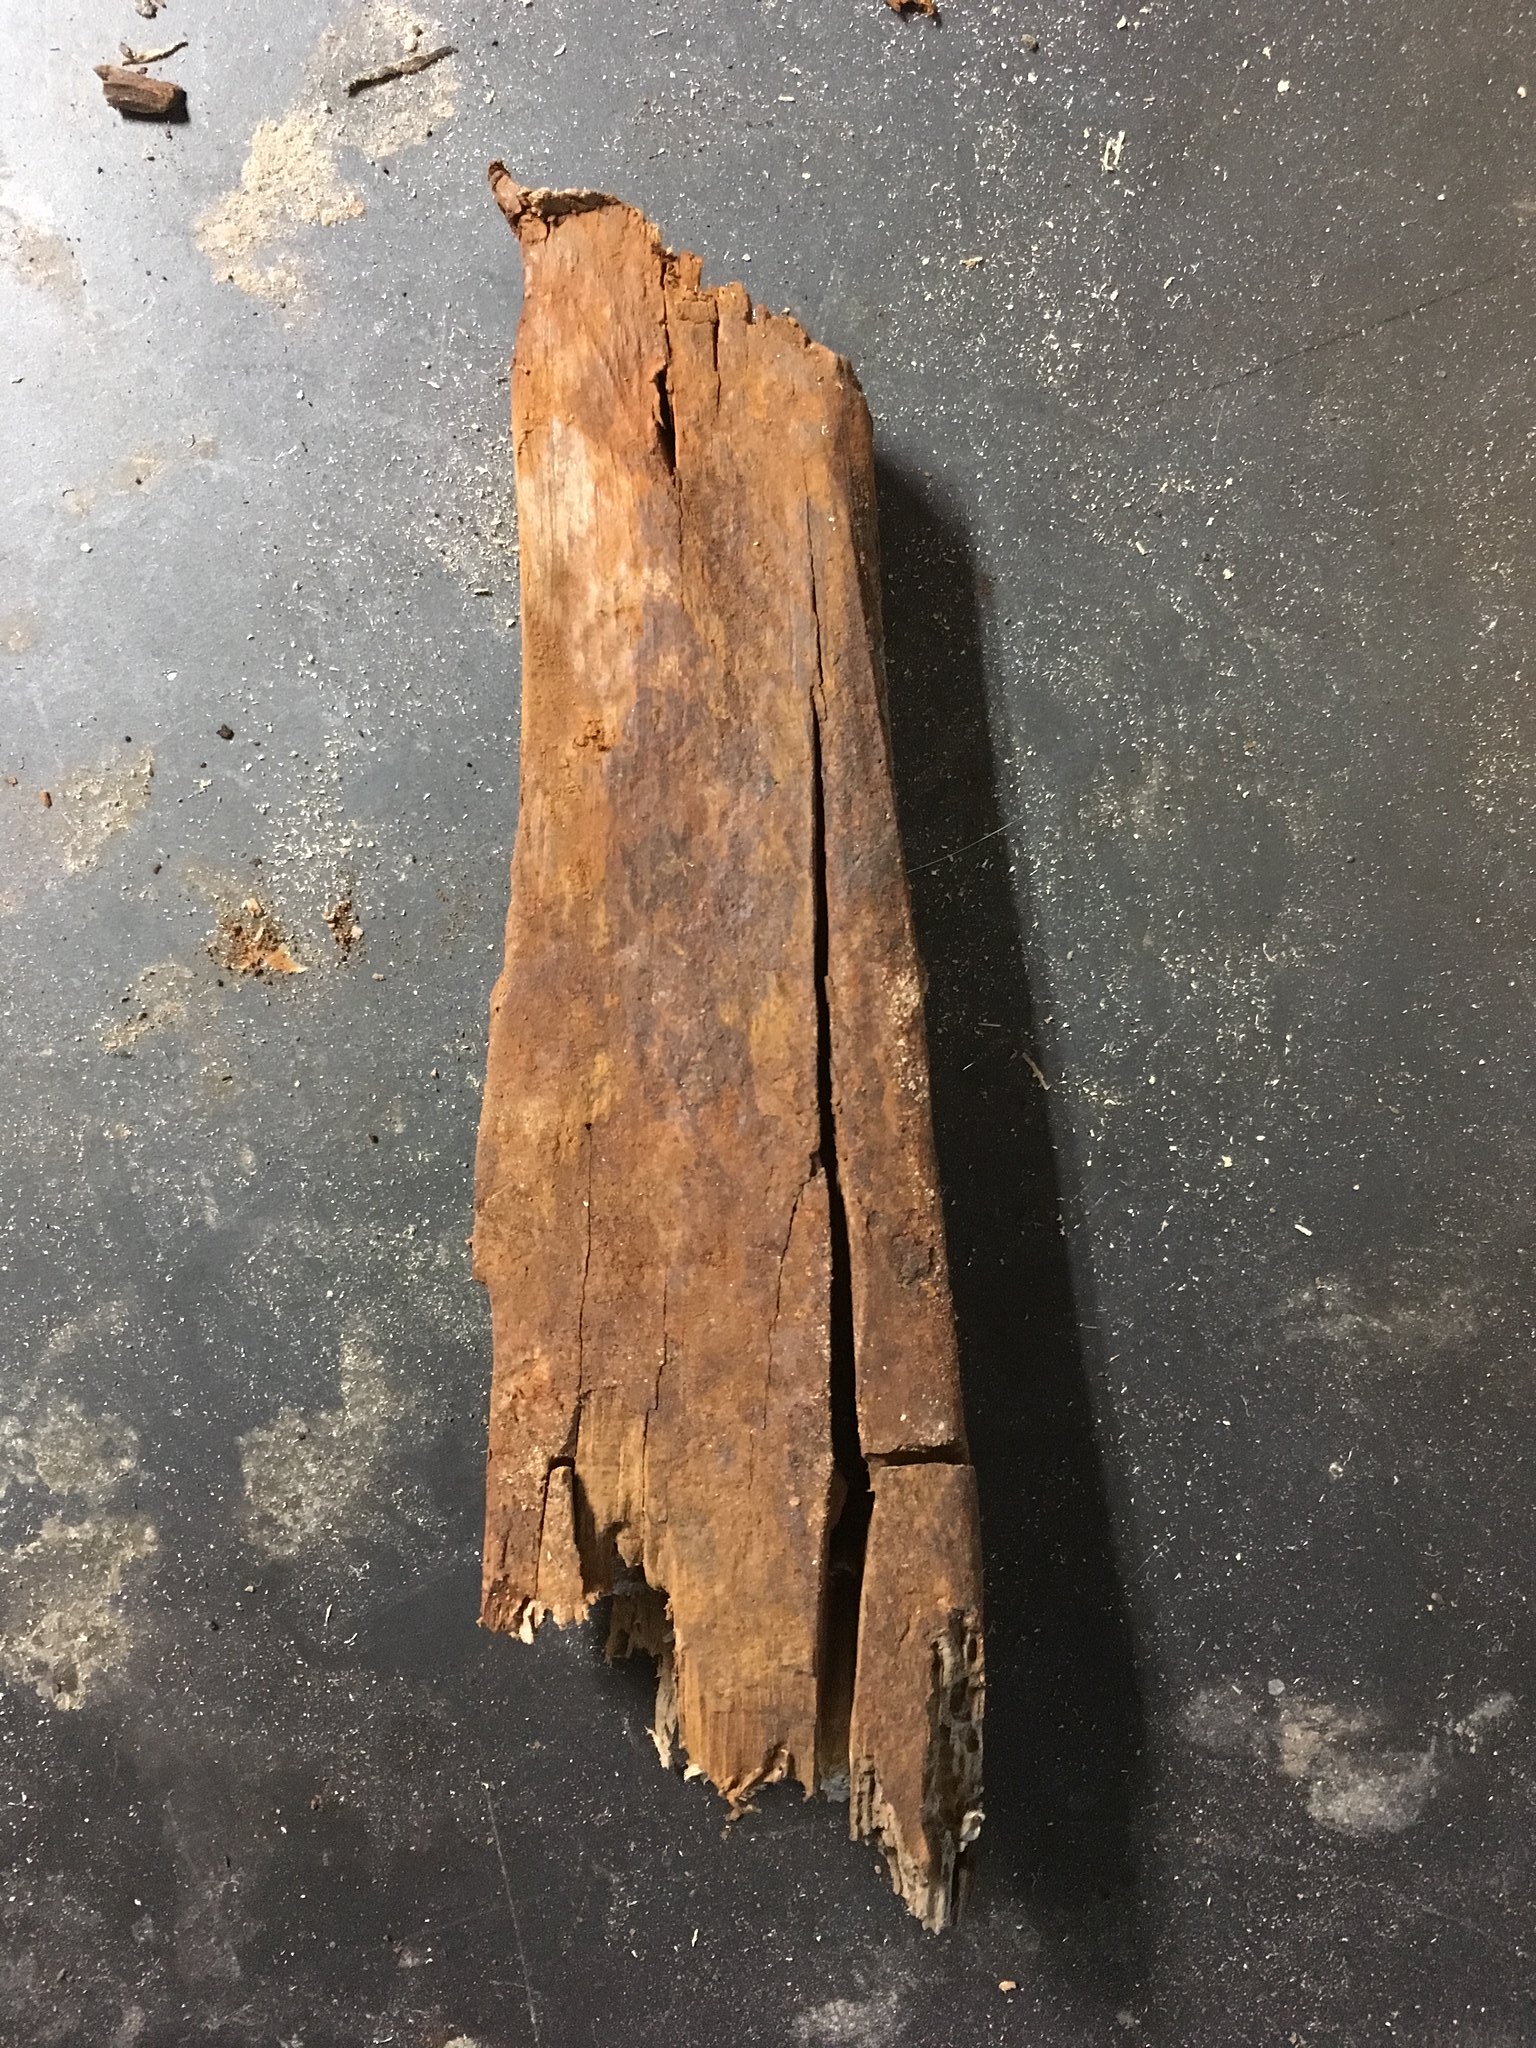 GoosewingScours
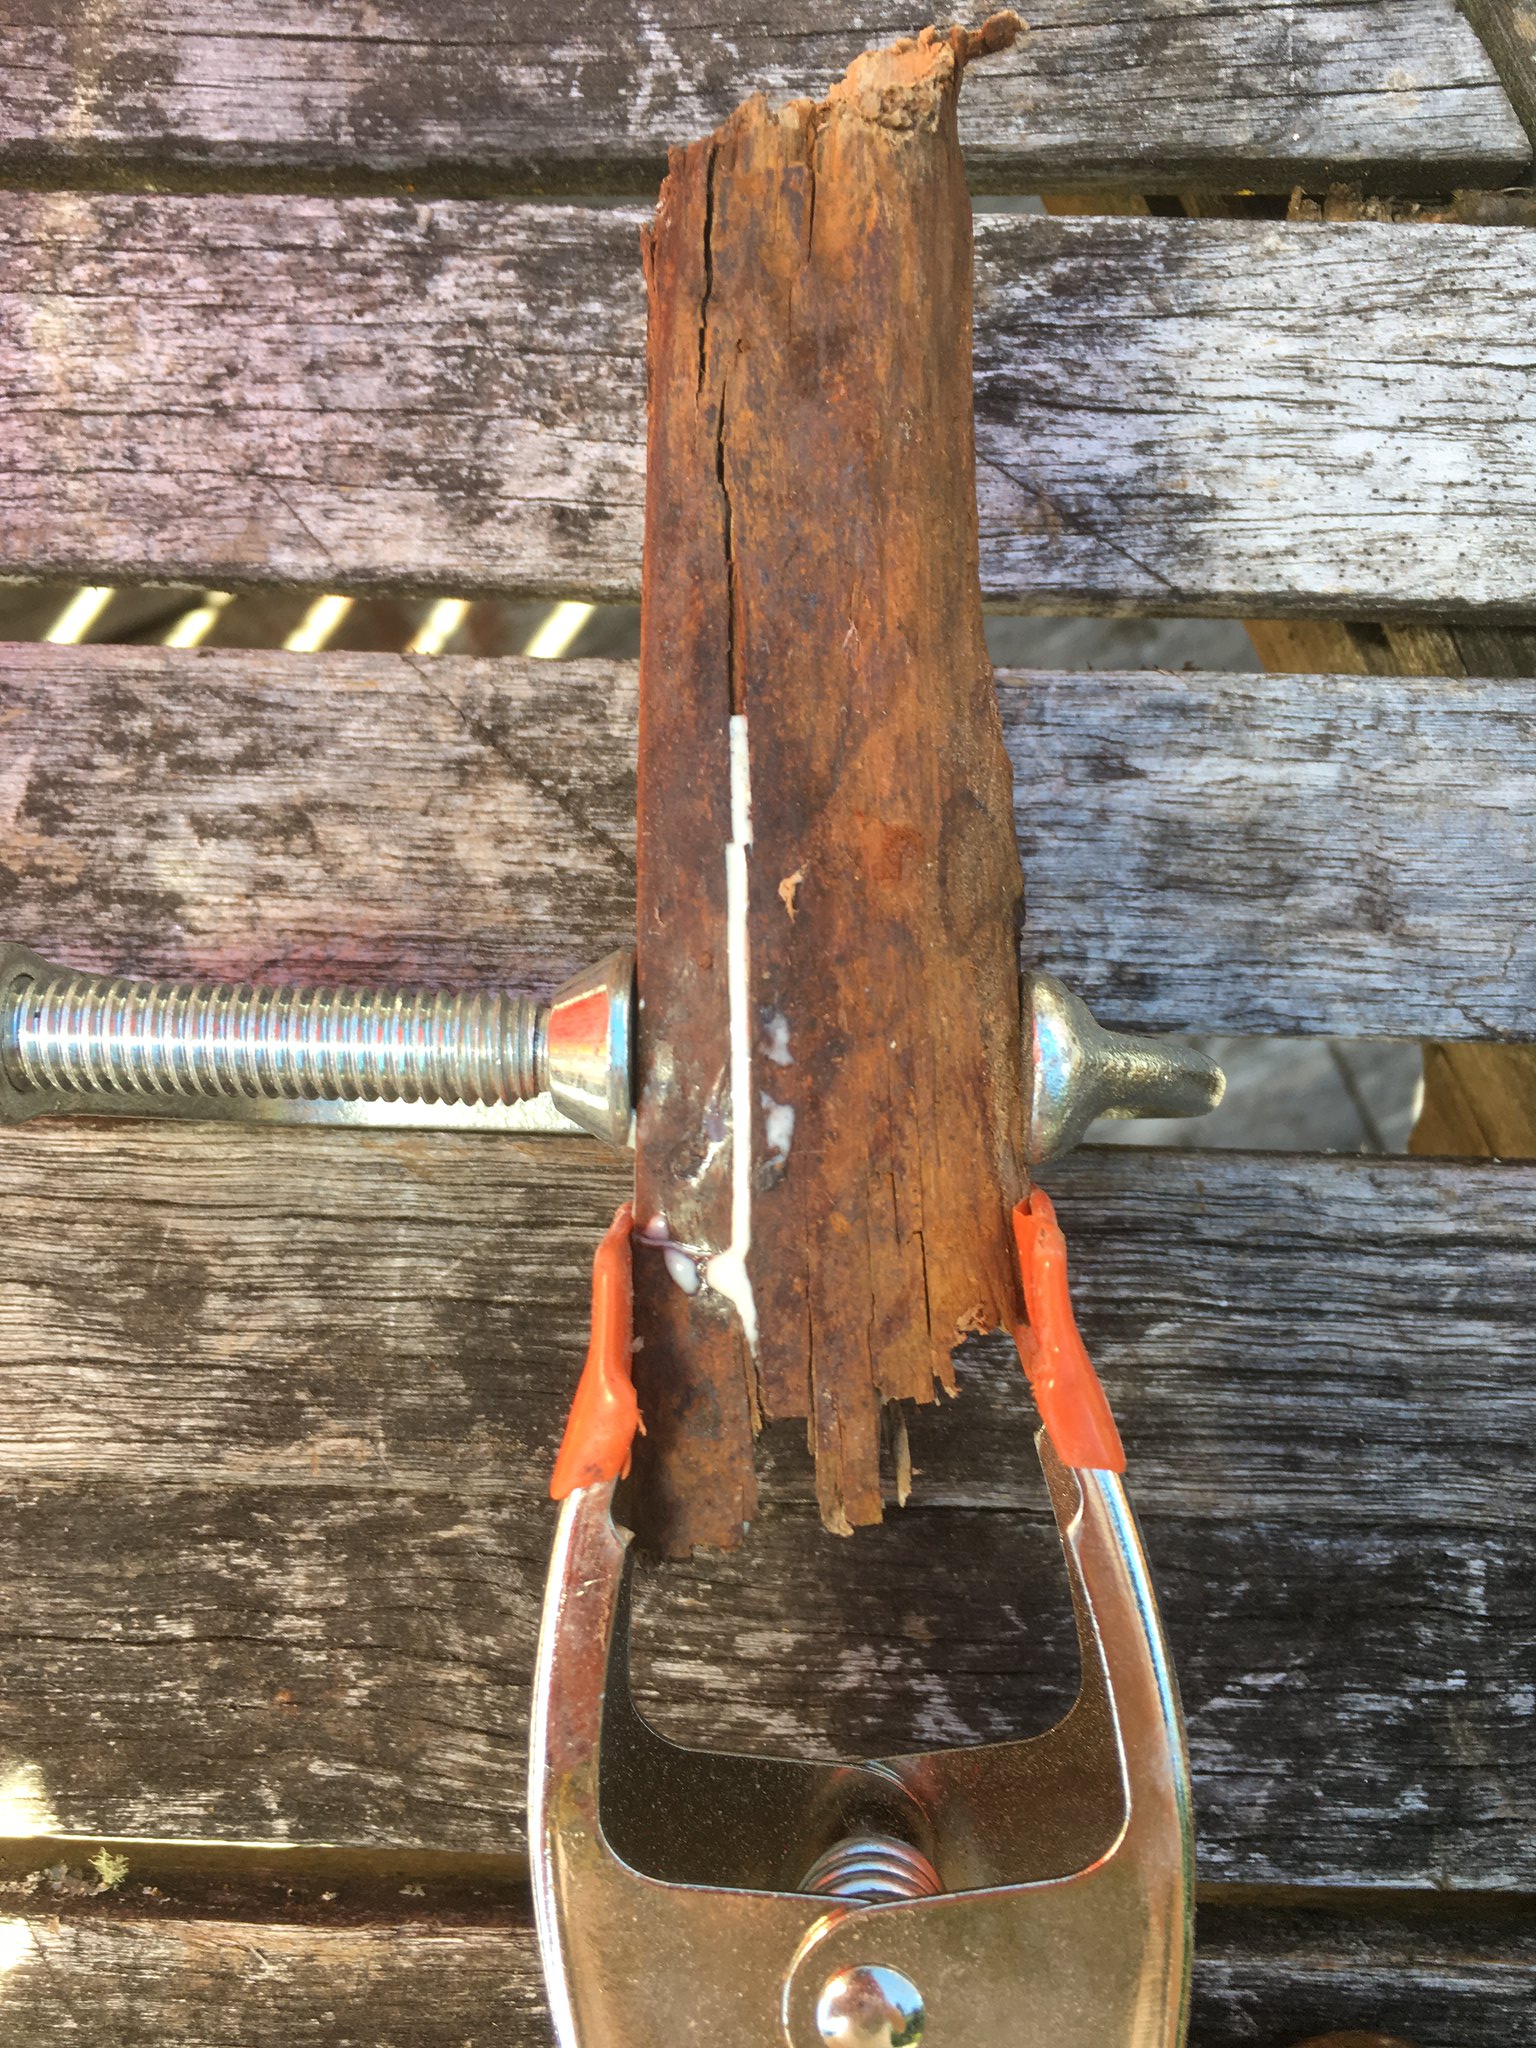 GoosewingScours
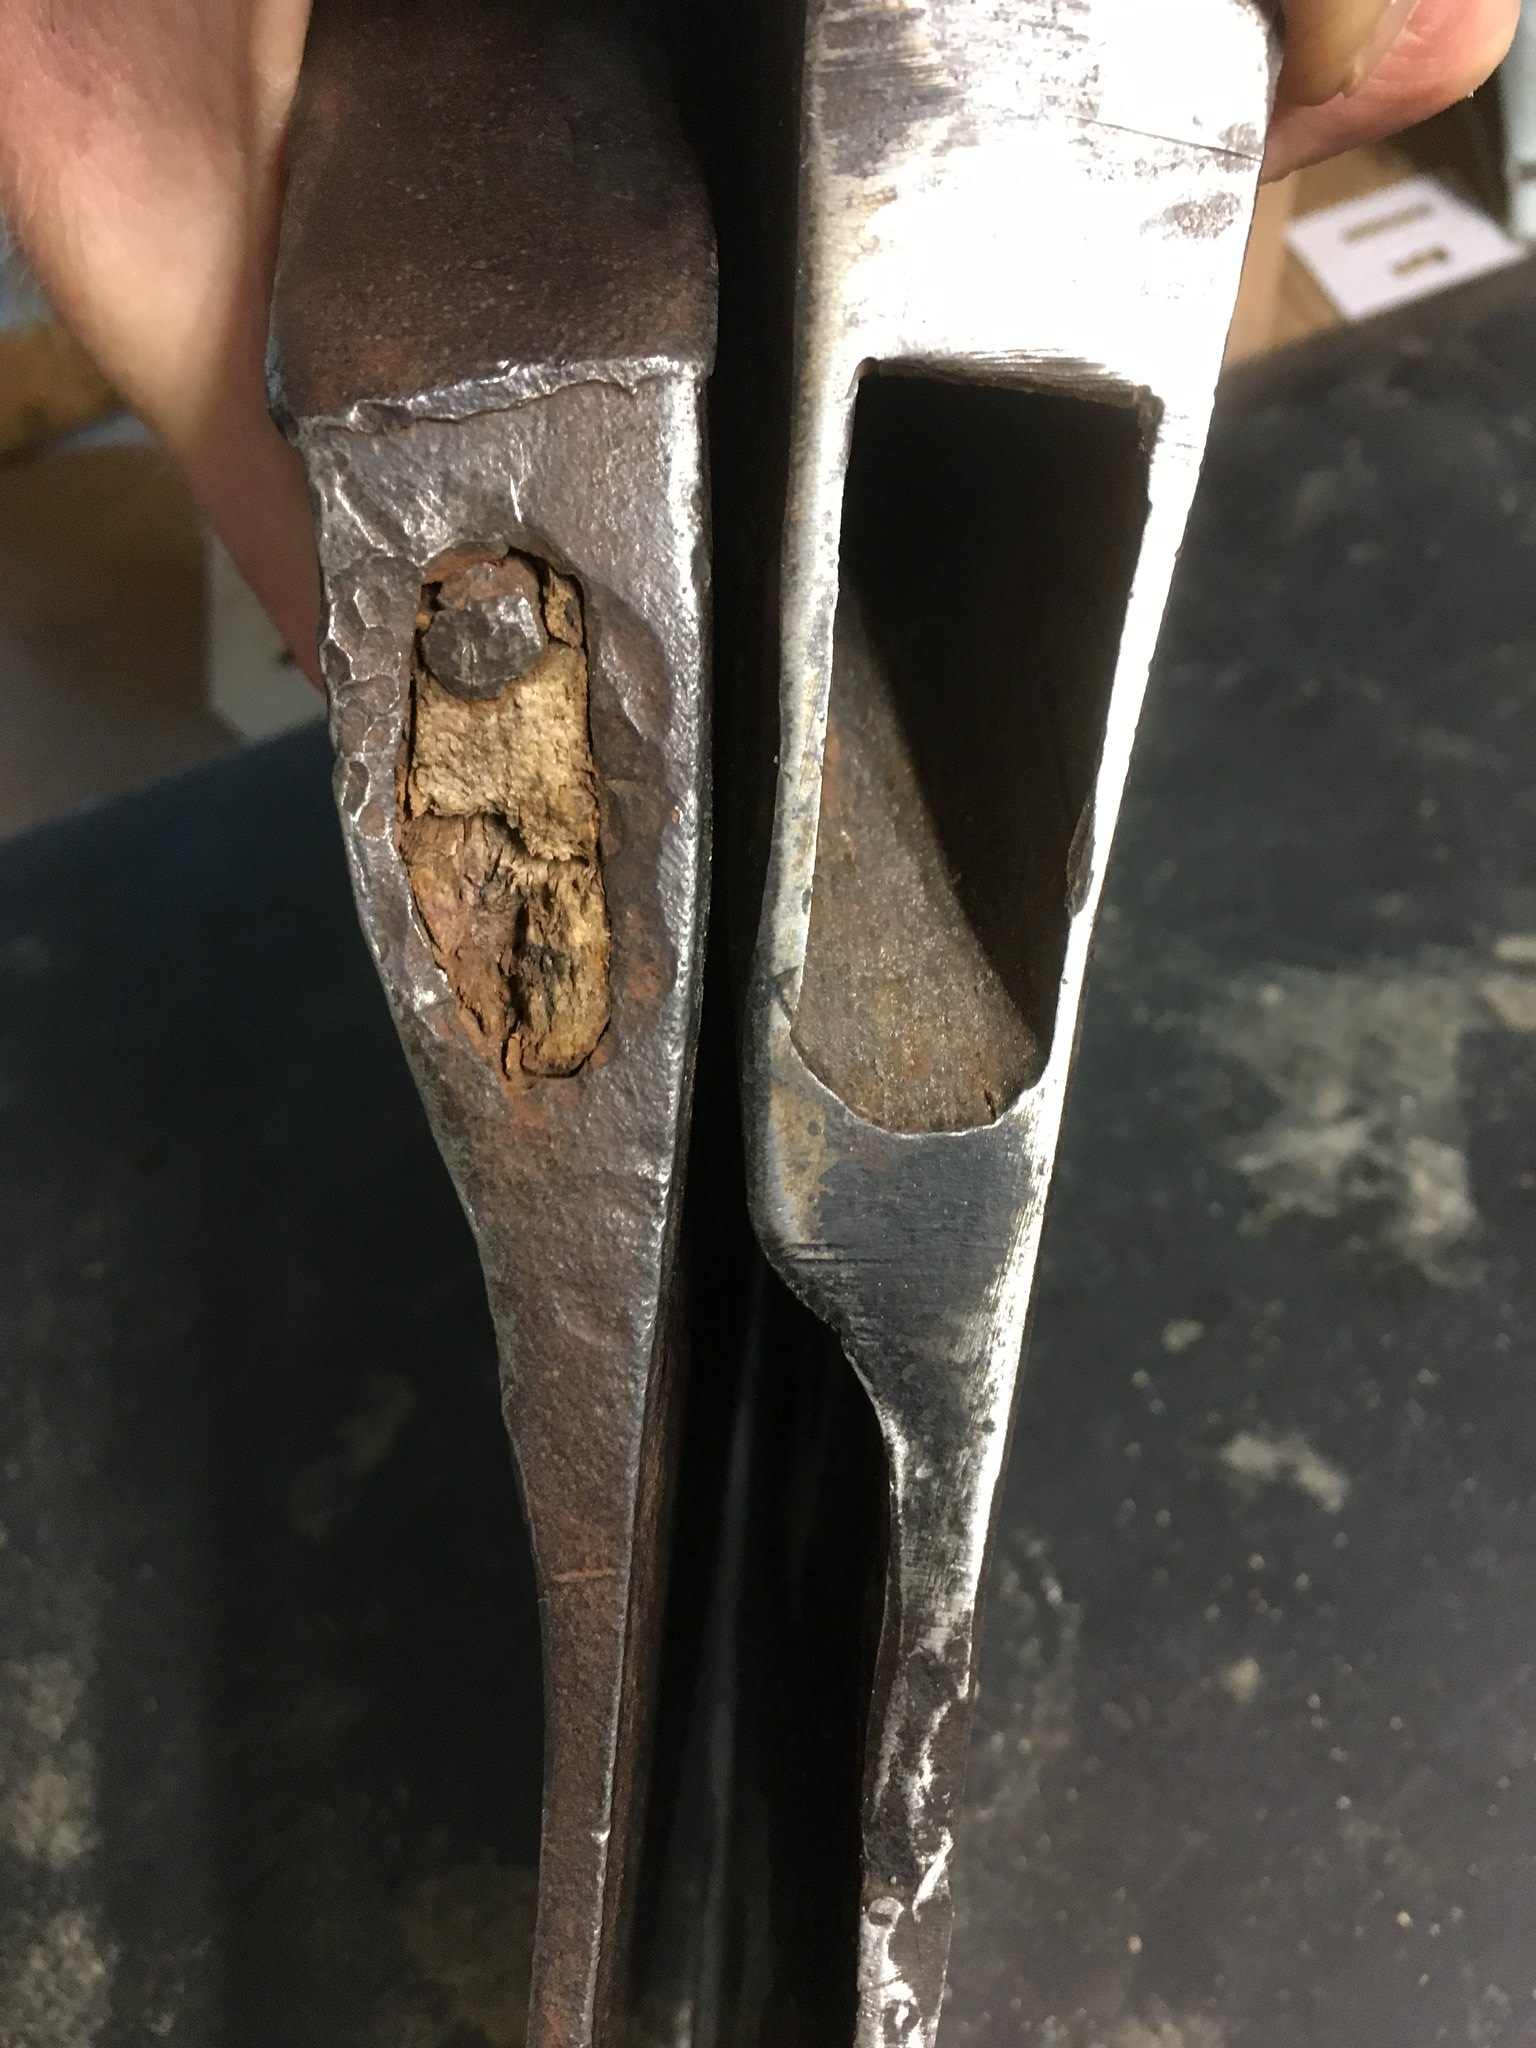 GoosewingScours