Square_peg
Gold Member
- Joined
- Feb 1, 2012
- Messages
- 13,879
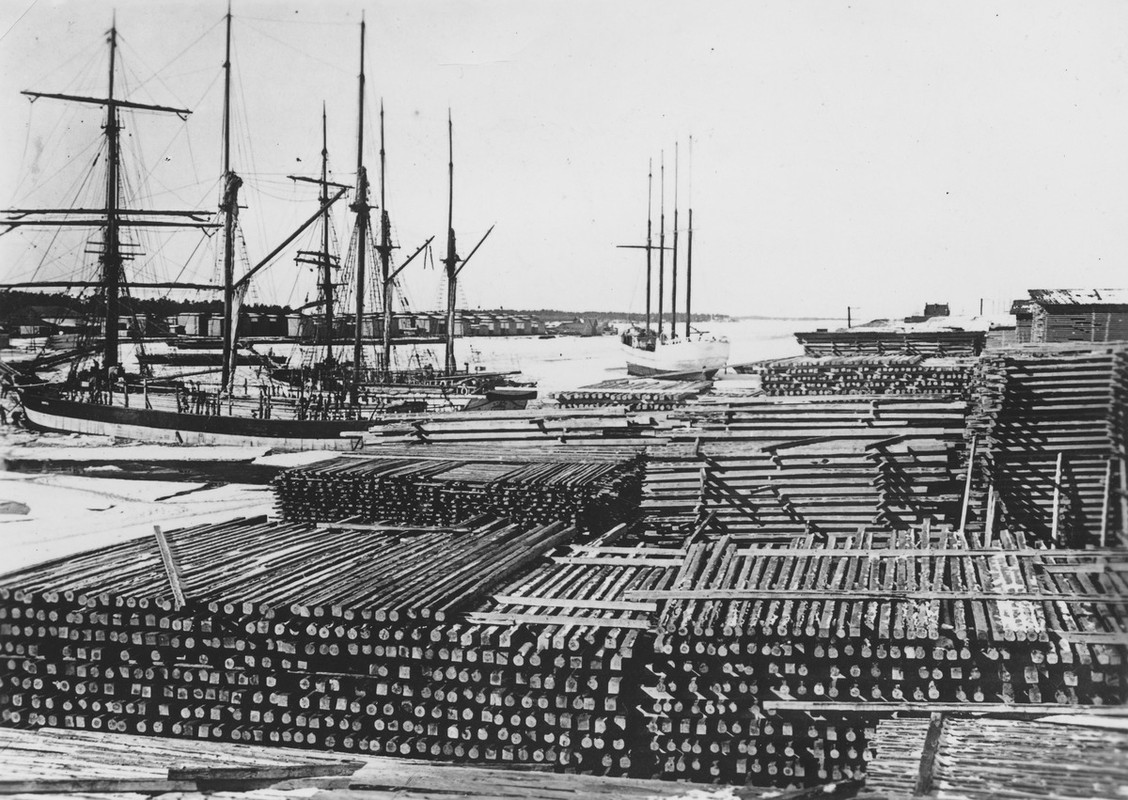
It's interesting that there is no joggling - notching of the log before hewing. Just getting right after it. And note that he is hewing from bottom to top.
Those were real men
The BladeForums.com 2024 Traditional Knife is available! Price is $250 ea (shipped within CONUS).
Order here: https://www.bladeforums.com/help/2024-traditional/
It's interesting that there is no joggling - notching of the log before hewing. Just getting right after it. And note that he is hewing from bottom to top.
Those were real men
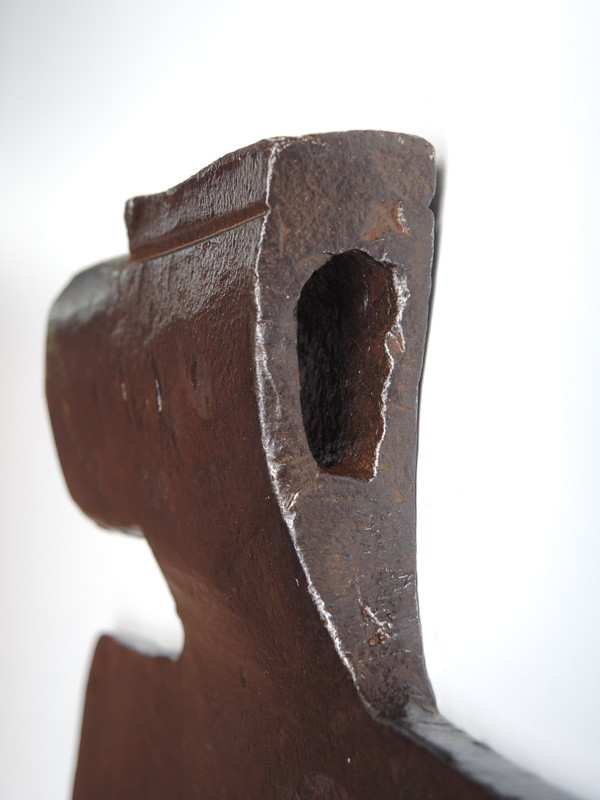
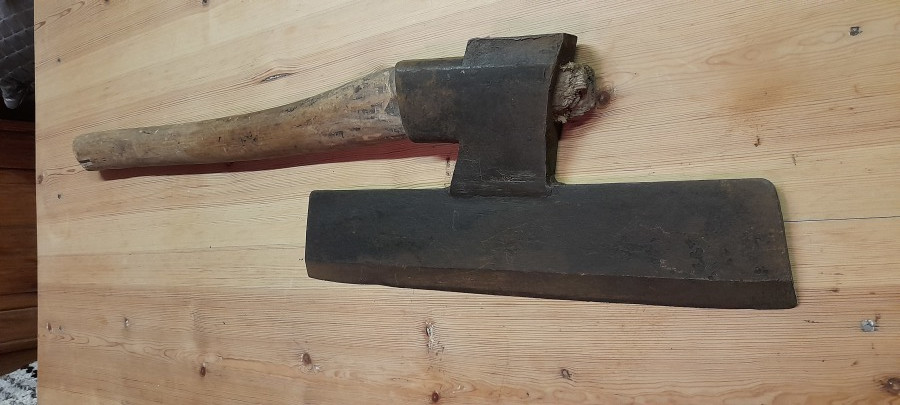
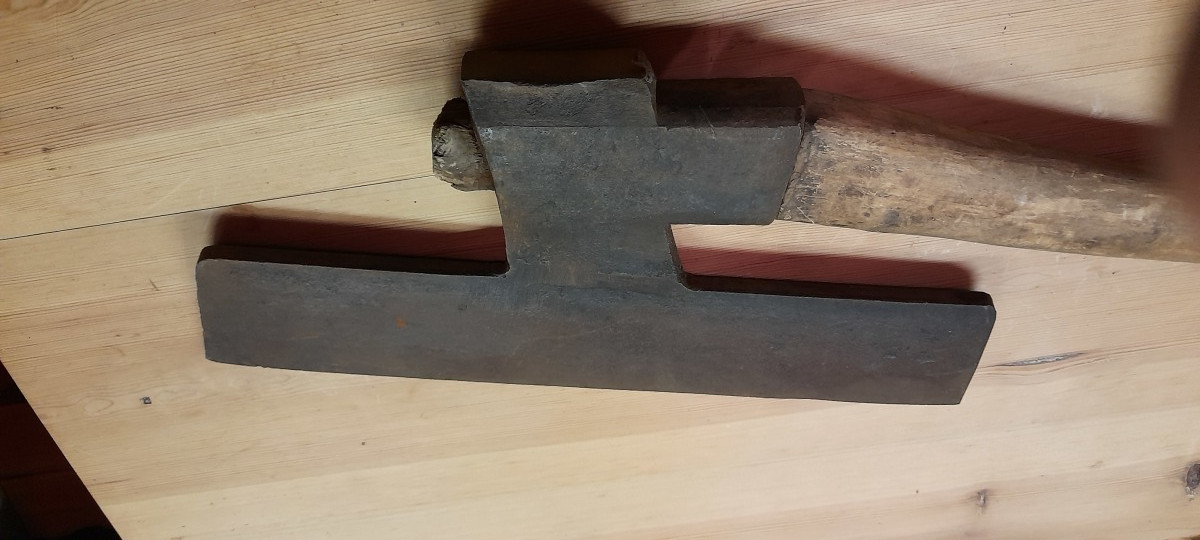
Had to check this and I cannot detect any signs of weldingIn the top-down photo it appears as if the poll is wrapped and welded over the top...For convenience while welding,or extra security,not sure.
Great axes,both,thanks,VTT.

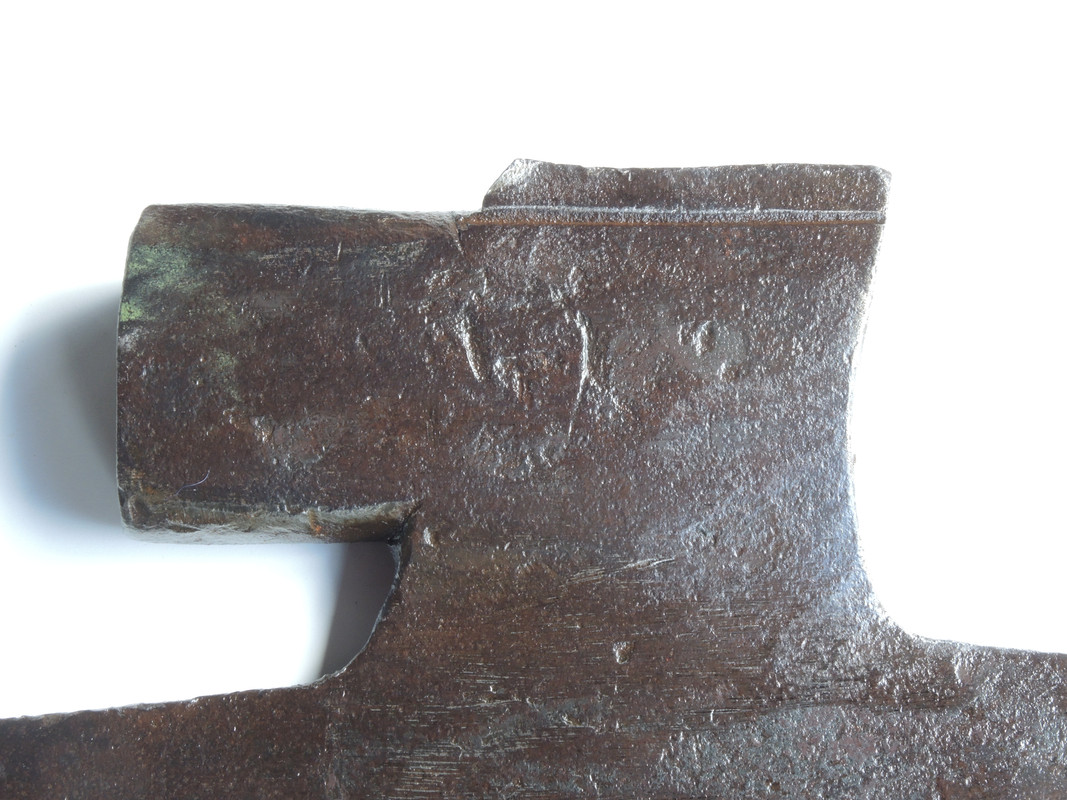
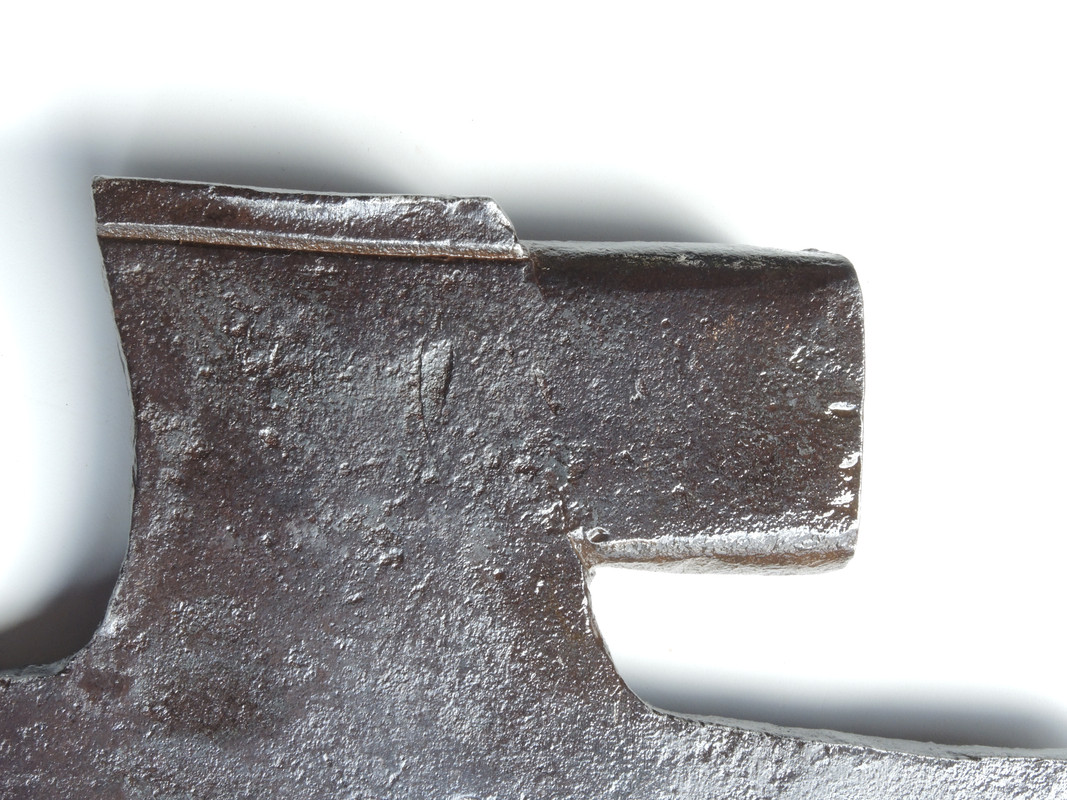


Dammit,i wish anyone could say this about any of my welds!Had to check this and I cannot detect any signs of welding
") ...
...
Spaarbila in its undisguised form,
Which is better than sterile.Now These look like the kind of weld-seams i leave behind!
Beautiful axe,Ernest,looks very honest,even i'd say Feral!
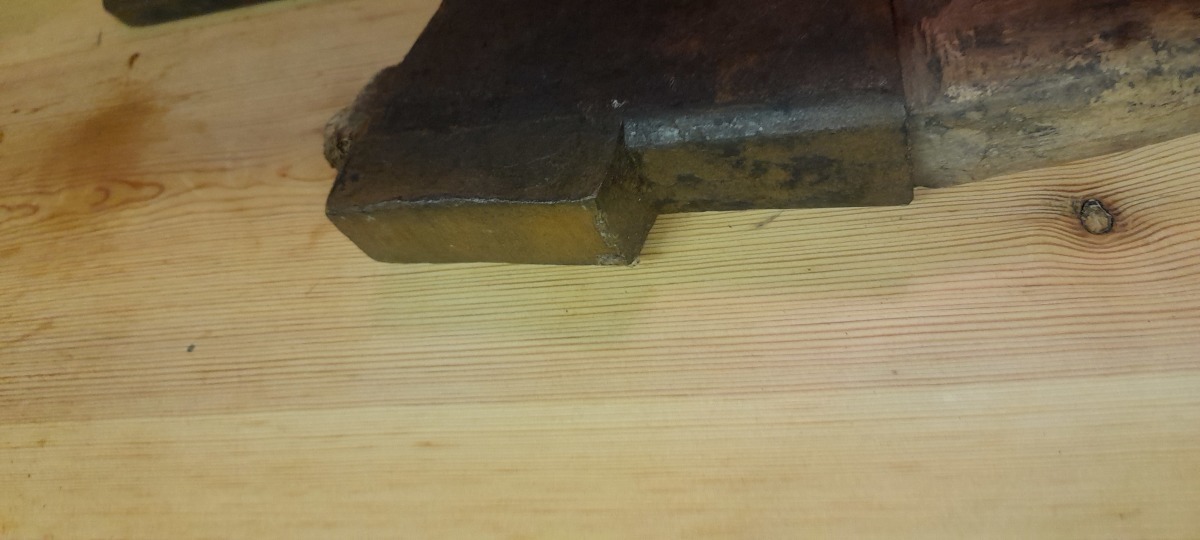
This is what I had in my mind when reference was made to welded head.
What I always like to call, "the zone of death"And electric weld in testing would Never break on the seam,being considerably stronger than surrounding metal.
What I always like to call, "the zone of death"
Jake, The tool skills are good but there is a major design flaw in the corner notch. On exposed crown ends (corner notches) all the horizontal surfaces should slope out, never level, so that the water drains out when it rains or snows. I can't tell you how many historic log buildings with exposed crown ends I have had to repair for this reason. Also, the sticks they are using show no signs of being hewn, also no signs of enough chips to have been hewn. Looks sawn from what I can see. All the sticks are sawn to even thickness. So, this type of notch, which I have found on historic log buildings in The USA, are a lot more difficult to construct with hewn logs.
