- Joined
- Jan 15, 2012
- Messages
- 4,608
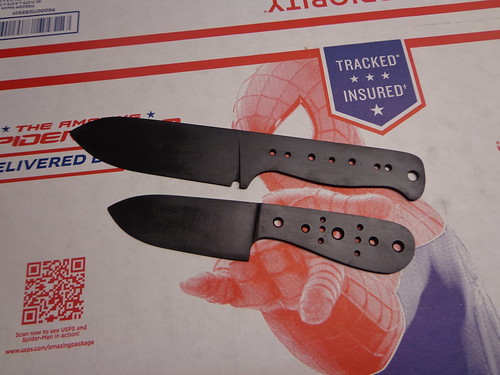
O.k. so, I received WW first two knives of 01 to heat treat in the mail this evening. I was as anxious as any of you to see these pieces and honored that he involved me to help work on them. So, I got them out of the box and upon first inspection was very impressed. I had a few concerns/questions so I decided before I did anything it was only right to talk to the craftsman himself. We spoke via a phone call and I think we have a clear instruction of where we go from here.
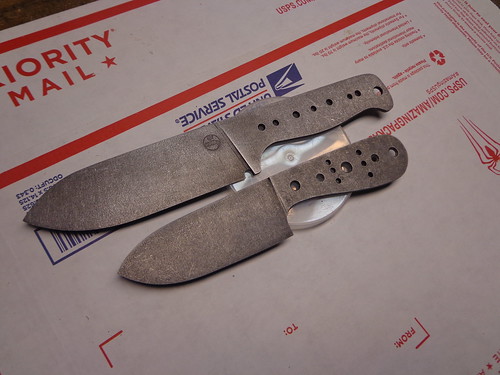
The stock he chose is 1/8 of a inch thick. Not a thing wrong with that, but if I was to nit pick one thing he did wrong was using that stock. Its very hard to learn how to grind folks when there's no room for error. For his first efforts, he pulled it off very well, a little thinner than what I would like as far having to heat treat but think I can pull it off. I know he wants to experiment with different steels, but (and I haven't told him this) I am going to send him a piece of thicker 01 to play with so he can get a more forgiving feel for his grinding.
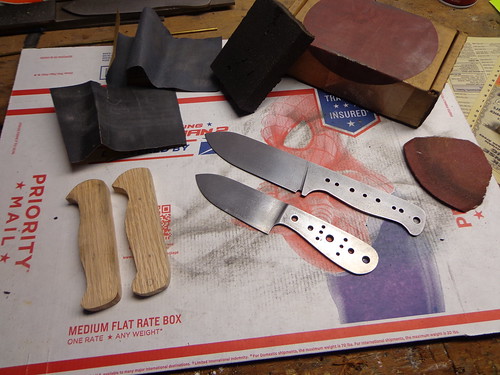
Stay tuned folks, I'll get them turned around as fast as I can.......... good job WW. I'll do my best to do your work justice.
The stock he chose is 1/8 of a inch thick. Not a thing wrong with that, but if I was to nit pick one thing he did wrong was using that stock. Its very hard to learn how to grind folks when there's no room for error. For his first efforts, he pulled it off very well, a little thinner than what I would like as far having to heat treat but think I can pull it off. I know he wants to experiment with different steels, but (and I haven't told him this) I am going to send him a piece of thicker 01 to play with so he can get a more forgiving feel for his grinding.
Stay tuned folks, I'll get them turned around as fast as I can.......... good job WW. I'll do my best to do your work justice.
") ) but these two will be slicing fools once the edge is put on.
) but these two will be slicing fools once the edge is put on. 


")