- Joined
- Dec 15, 2009
- Messages
- 166
Wonderful work, all of you.
Here is my CS spike hawk


Here is my CS spike hawk
The BladeForums.com 2024 Traditional Knife is available! Price is $250 ea (shipped within CONUS).
Order here: https://www.bladeforums.com/help/2024-traditional/
Wonderful work, all of you.
Here is my CS spike hawk
")
Bryfry that's a beauty, one of the top on this thread so far. Fancy but tasteful. That is a SERIOUSLY deep etch, and clean, well done. 12 hours you say? Wow What did you use for a resist?
...we'll see....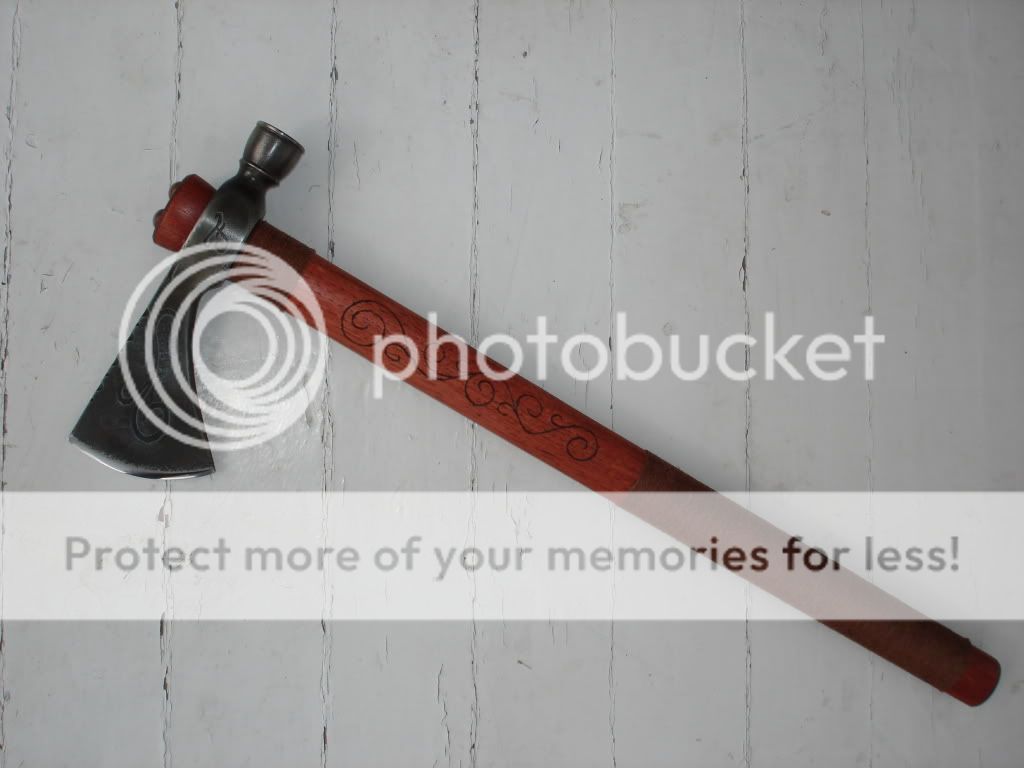


It was an older white ash sapling. After I cut it down, I left it outside for a few cold days (since I was busy with other things) and then started working on it. Usually Hickory, Ash or Oak are good woods to work with especially if they're freshly cut. What area do you live in?
By the way, your Pipe Hawk is fantastic! I need one of those along with a Spike Hawk. How did you engrave your haft with those swirls?
 ...need to work on that!
i live on long island where maples are rampant. are those good for hawk handles?
i live on long island where maples are rampant. are those good for hawk handles?


A great looking pair. That's a beast of a knife!
Did the stone and sandpaper get the hawk pretty sharp?
