hsherzfeld
Gold Member
- Joined
- Mar 10, 2016
- Messages
- 686
That is an interesting method, and one that I’ve never considered. It would have to be done very carefully to avoid bending the aluminum liners, but even bent liners are more salvageable than drilled liners.Guy's(?) Disassembly Method
As a quick refresher, these were the criteria:
-removes the pin without drilling or cutting it
-preserves nearly the entire length of the pin all the way up to the rivet
-has a guaranteed 100% success rate to save the bushing
-does not require destroying the SAK parts (ie: the liners, sideplates, springs, spacers, and tools) to accomplish
-does not involve sawing between the layers
-always works regardless of which layers are present
-only works on the center pin; does not apply to the outside pivots or the back tools pivot
It looks like nobody else knows this method and nobody else figured it out in time based on the criteria that were given. Maybe that means it's my own method? So then, here is the description for how to accomplish both variations of it.
Variant 1: the pinch approach, moderate difficulty
1. Start by filing down the rivet on one side of the back tools pivot and then drive that pivot out with a punch or a small nail. This pivot has no bushings, so we don't need to worry about saving them. You can drill this pivot out if you really want to, but why risk damaging the sideplate?
2. With the back tools pivot gone, you can either push or rotate out the springs. You may also want to open the tools from the two outside layers to get them out of the way. Typically the outside layers are the knife layer and the bottle/can opener layer, but it doesn't matter just as long as you make sure that their tools aren't in the way.
3. Now pinch the aluminum sideplates so that they bow inwards. This will not damage the sideplates; they won't stay permanently bent unless you inexplicably decide to use enough force to crush the SAK for some reason.
4. Pinching the sideplates will free the center pin to move up or down, which allows you to move one of the bushings away from its pin head.
5. With the bushing out of the way, you can now file around the edges of the pin head until its diameter is small enough for the bushing to slide past it, thus freeing the entire pin. Alternatively, you can simply file the whole pin head off. It's quicker and easier, but it will preserve slightly less of the total pin length.
Variant 2: the last pin approach, easy level
1. Save the center pin's removal for last. With all 3 of the tool pivots gone, the only remaining parts still attached will be the sideplates and the liners, with the center pin holding them together.
2. Push the sideplates and liners over to one end of the pin so that they all rest on top of each other like a stack of pancakes. The opposite end of the pin is now completely free for you to work on.
3. On the free side of the pin, move the bushing away from the pin head. You can now file around the edges of the pin head until its diameter is small enough for the bushing to slide past it, thus freeing the entire pin.
And it's that simple! I have to say that I'm really surprised nobody else thought of this.
So in my opinion, here's the most significant thing about this method of SAK disassembly: it allows you to avoid having to drill out both of the small pins, which makes causing damage to either the sideplate or the bushings incredibly unlikely, since the other two pins happen to also be the largest ones. The larger size of those two pivots makes them a lot easier to drill without causing damage to anything else.
Well, at least that's true on a 91mm SAK... On an 84mm SAK, all of the pins are the same size! But this disassembly method will still let you remove up to half of the pins without drilling, which still effectively decreases your odds of making a mistake. The fewer pins you have to drill, the lower your chances are of messing something up.
Have a great weekend, everyone! Stay healthy and stay safe!")

 It's similar to how I've seen my uncle fix damaged auto body panels. You might be amazed what you can accomplish just by hitting something.


 I think I know exactly how that happened, and it was definitely my fault. Oh well. It's probably too late to fix now.
  All of the tools have a good snap and there's no sideplay, so this is just a small cosmetic issue.


 !
!
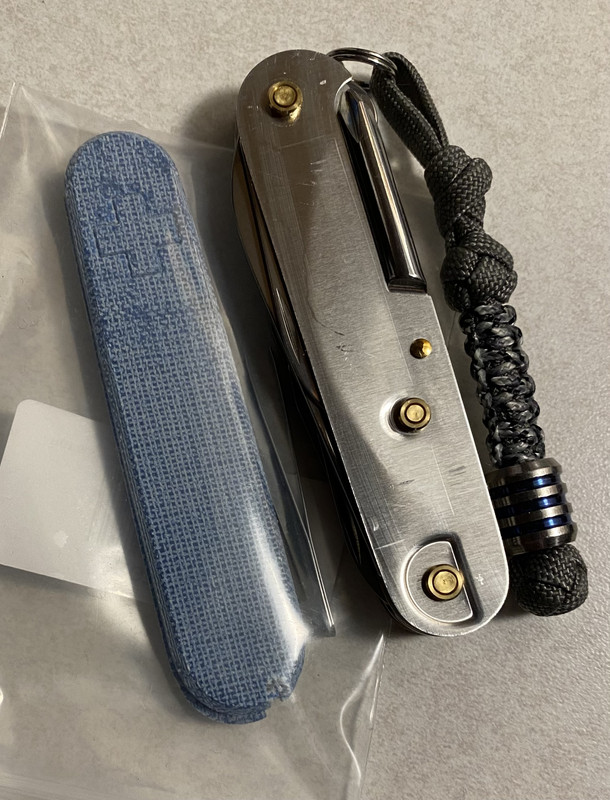
 I bought some old junker on a whim. It's completely trashed but the price was right, so I figured I would use it for parts.
")