- Joined
- Feb 18, 2016
- Messages
- 2,209
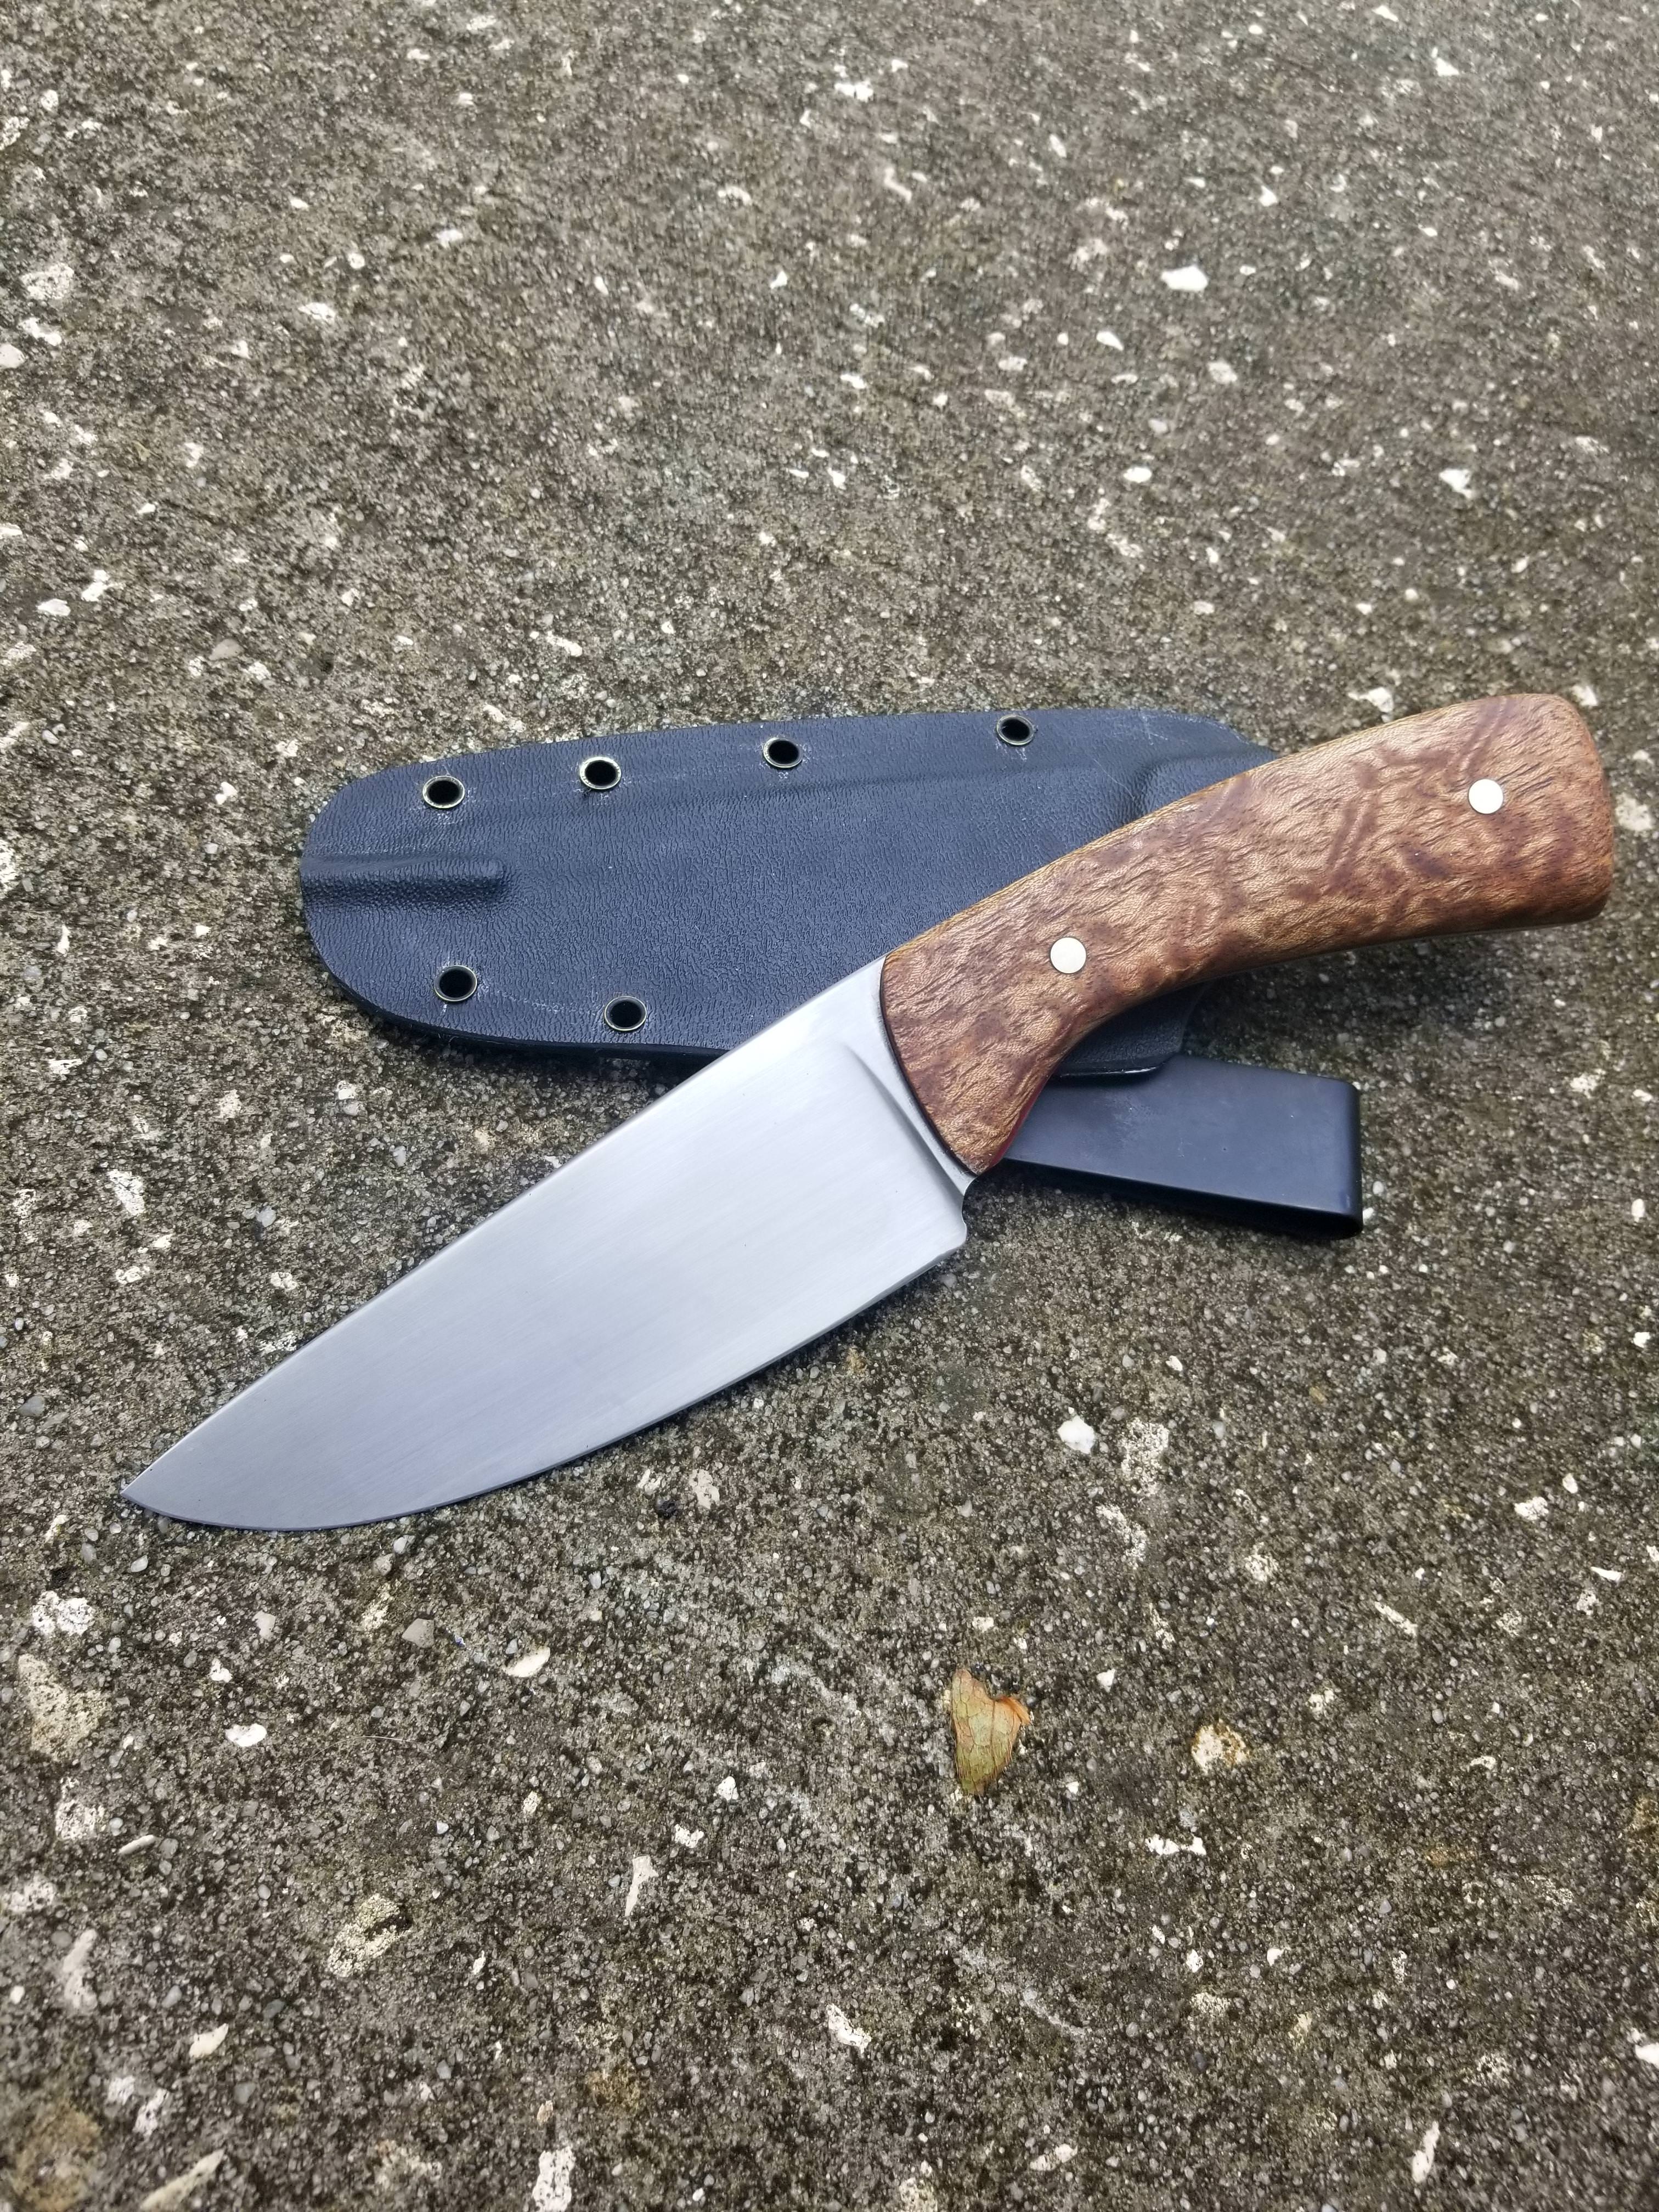
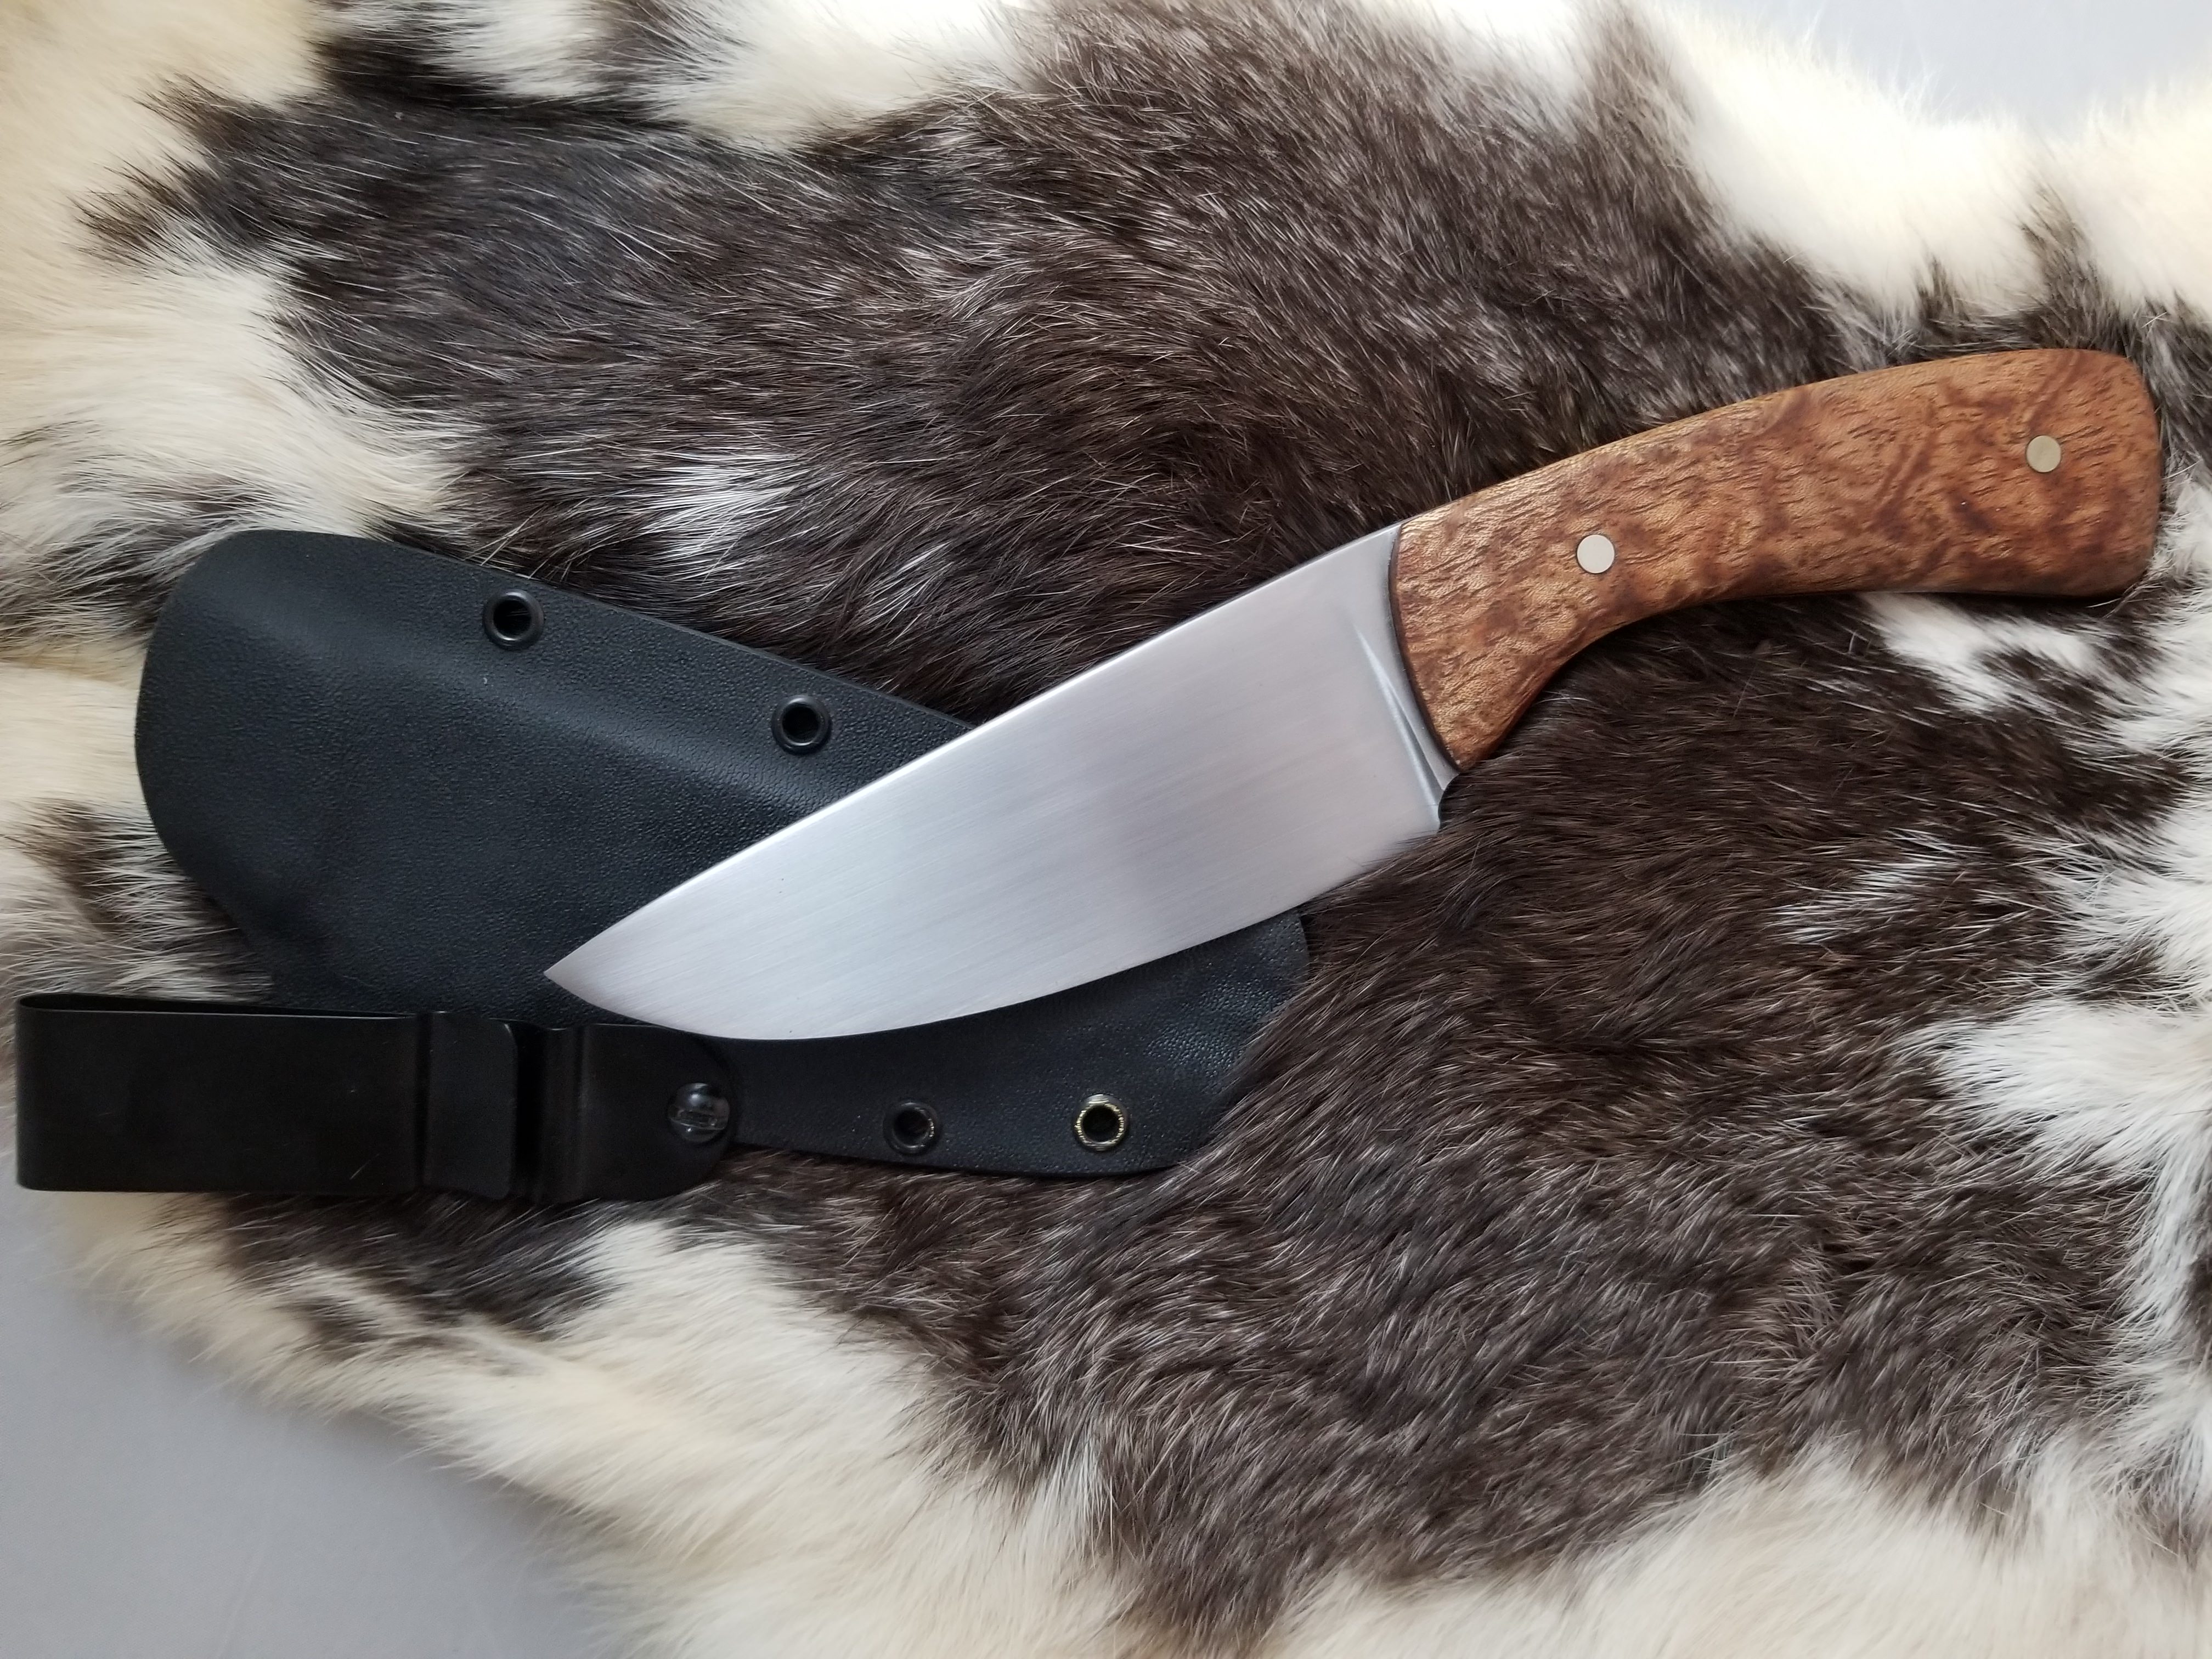
Wife took some better pics today. Is this better?

The BladeForums.com 2024 Traditional Knife is available! Price is $250 ea (shipped within CONUS).
Order here: https://www.bladeforums.com/help/2024-traditional/
If you are a buyer what would you like to see? Take clear picture from both side , then one from top and one from underside .... shape of the handle , symmetrical plunge , symmetrical grinding line , symmetrical edge line., taper in tang ...... your previous images looks like you try to hide something. You must clearly show every detail on knife ....and that is not easy ...at least to meWife took some better pics today. Is this better?
 Maybe short video clip is better , so the future customers will see better what you offer ?


...Maybe short video clip is better , so the future customers will see better what you offer ?
You mean not like I do that .......... It s not easy to hold with one hand knife and in other phoneSometimes yes, especially for Instagram. Just don't do the whip flip whip slow...whipwhipwhip nonsense. I can't tell you how many Instagram videos I just scroll by because I cannot see any of the detail I want to the way the knife is being jerked around.
")


Sometimes yes, especially for Instagram. Just don't do the whip flip whip slow...whipwhipwhip nonsense. I can't tell you how many Instagram videos I just scroll by because I cannot see any of the detail I want to the way the knife is being jerked around.


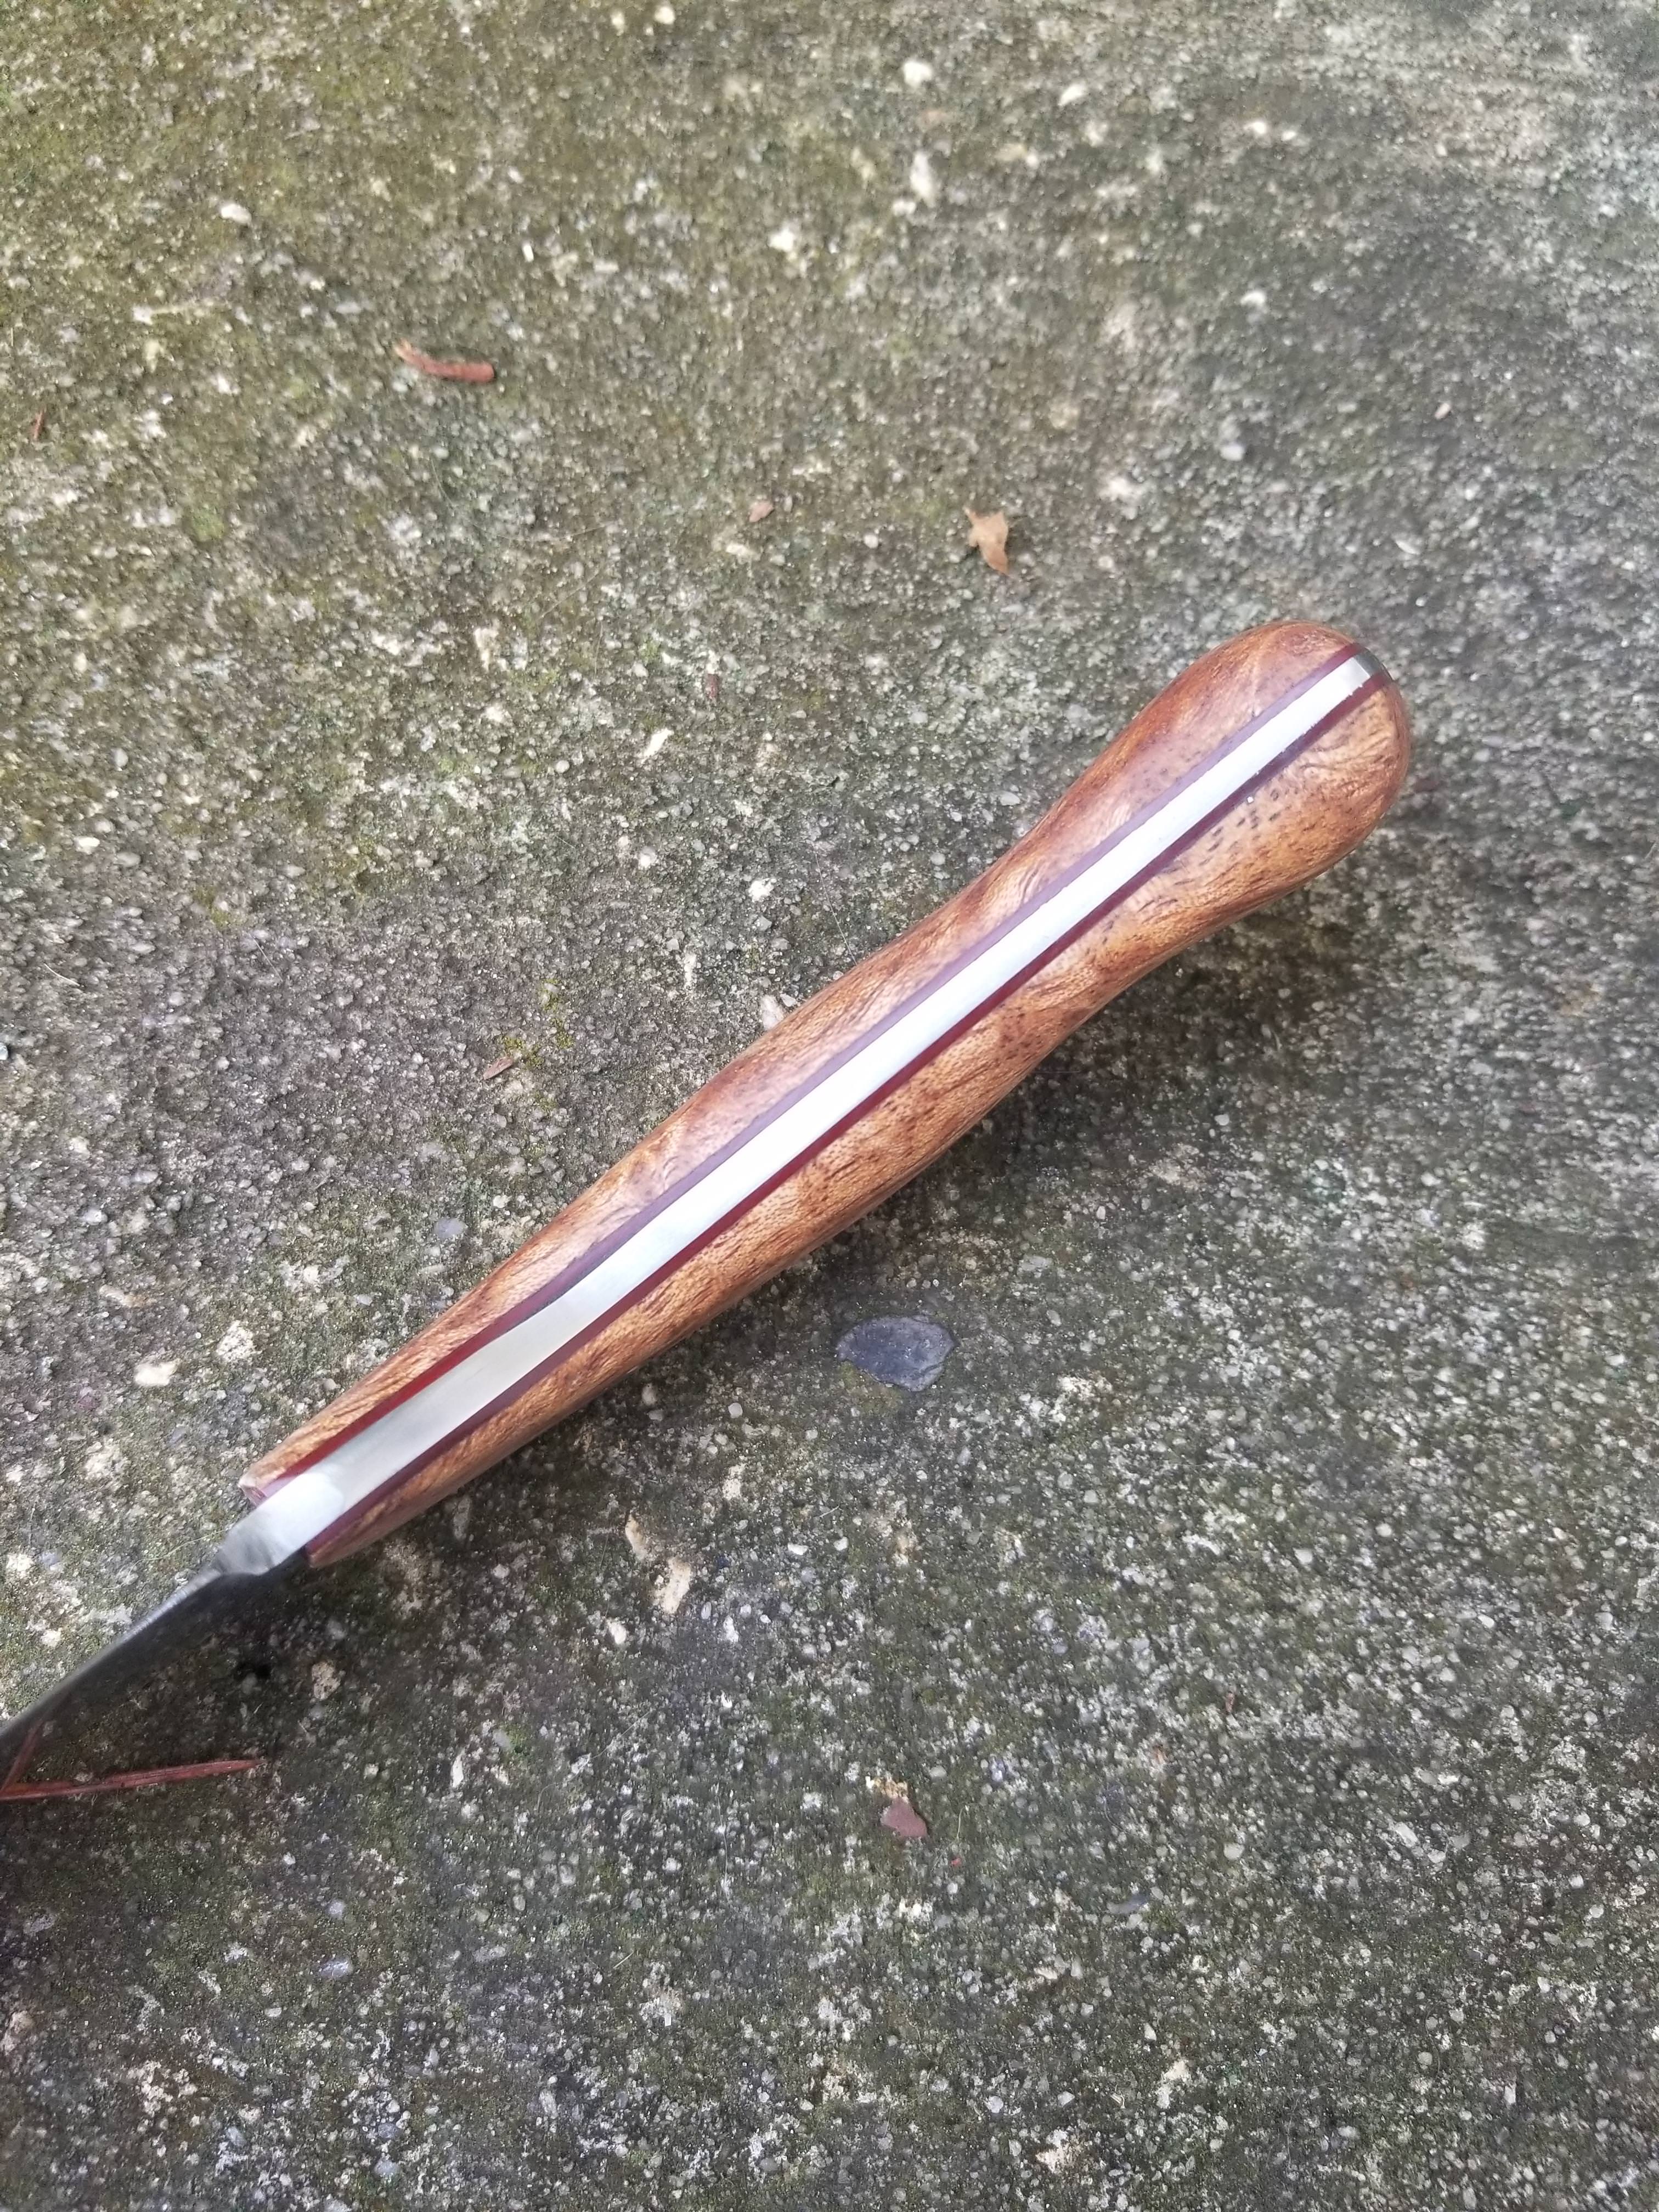
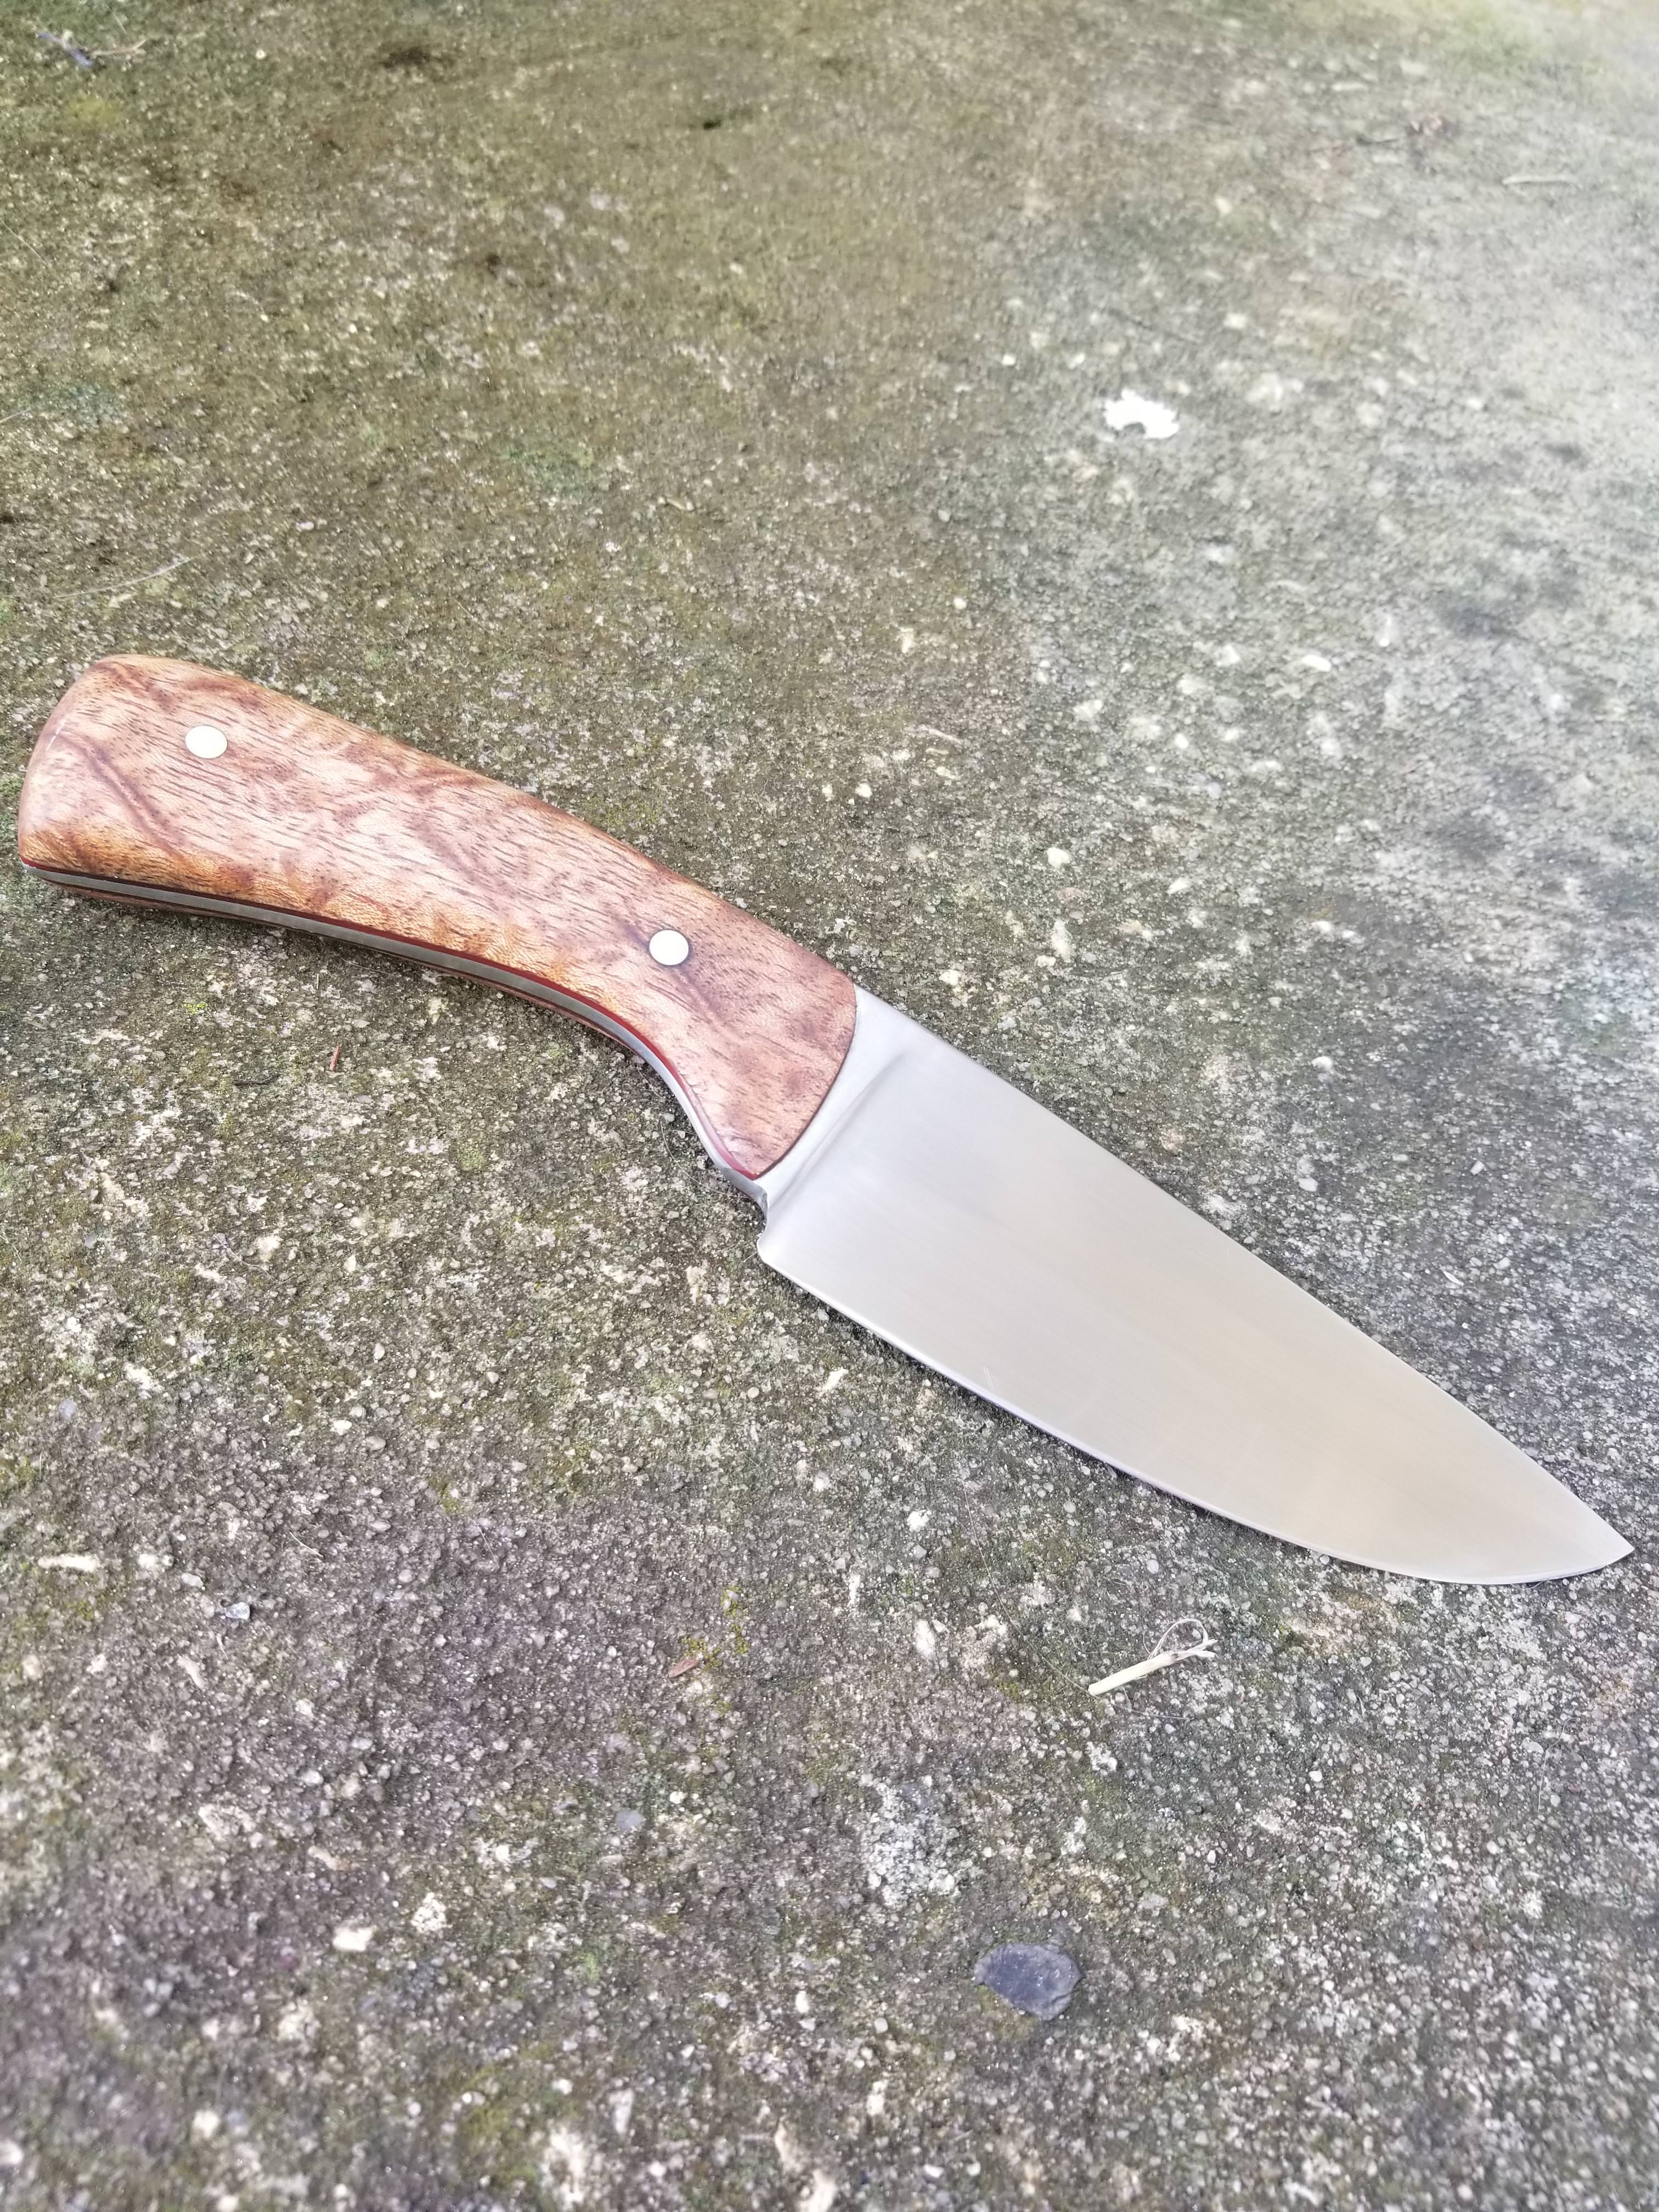
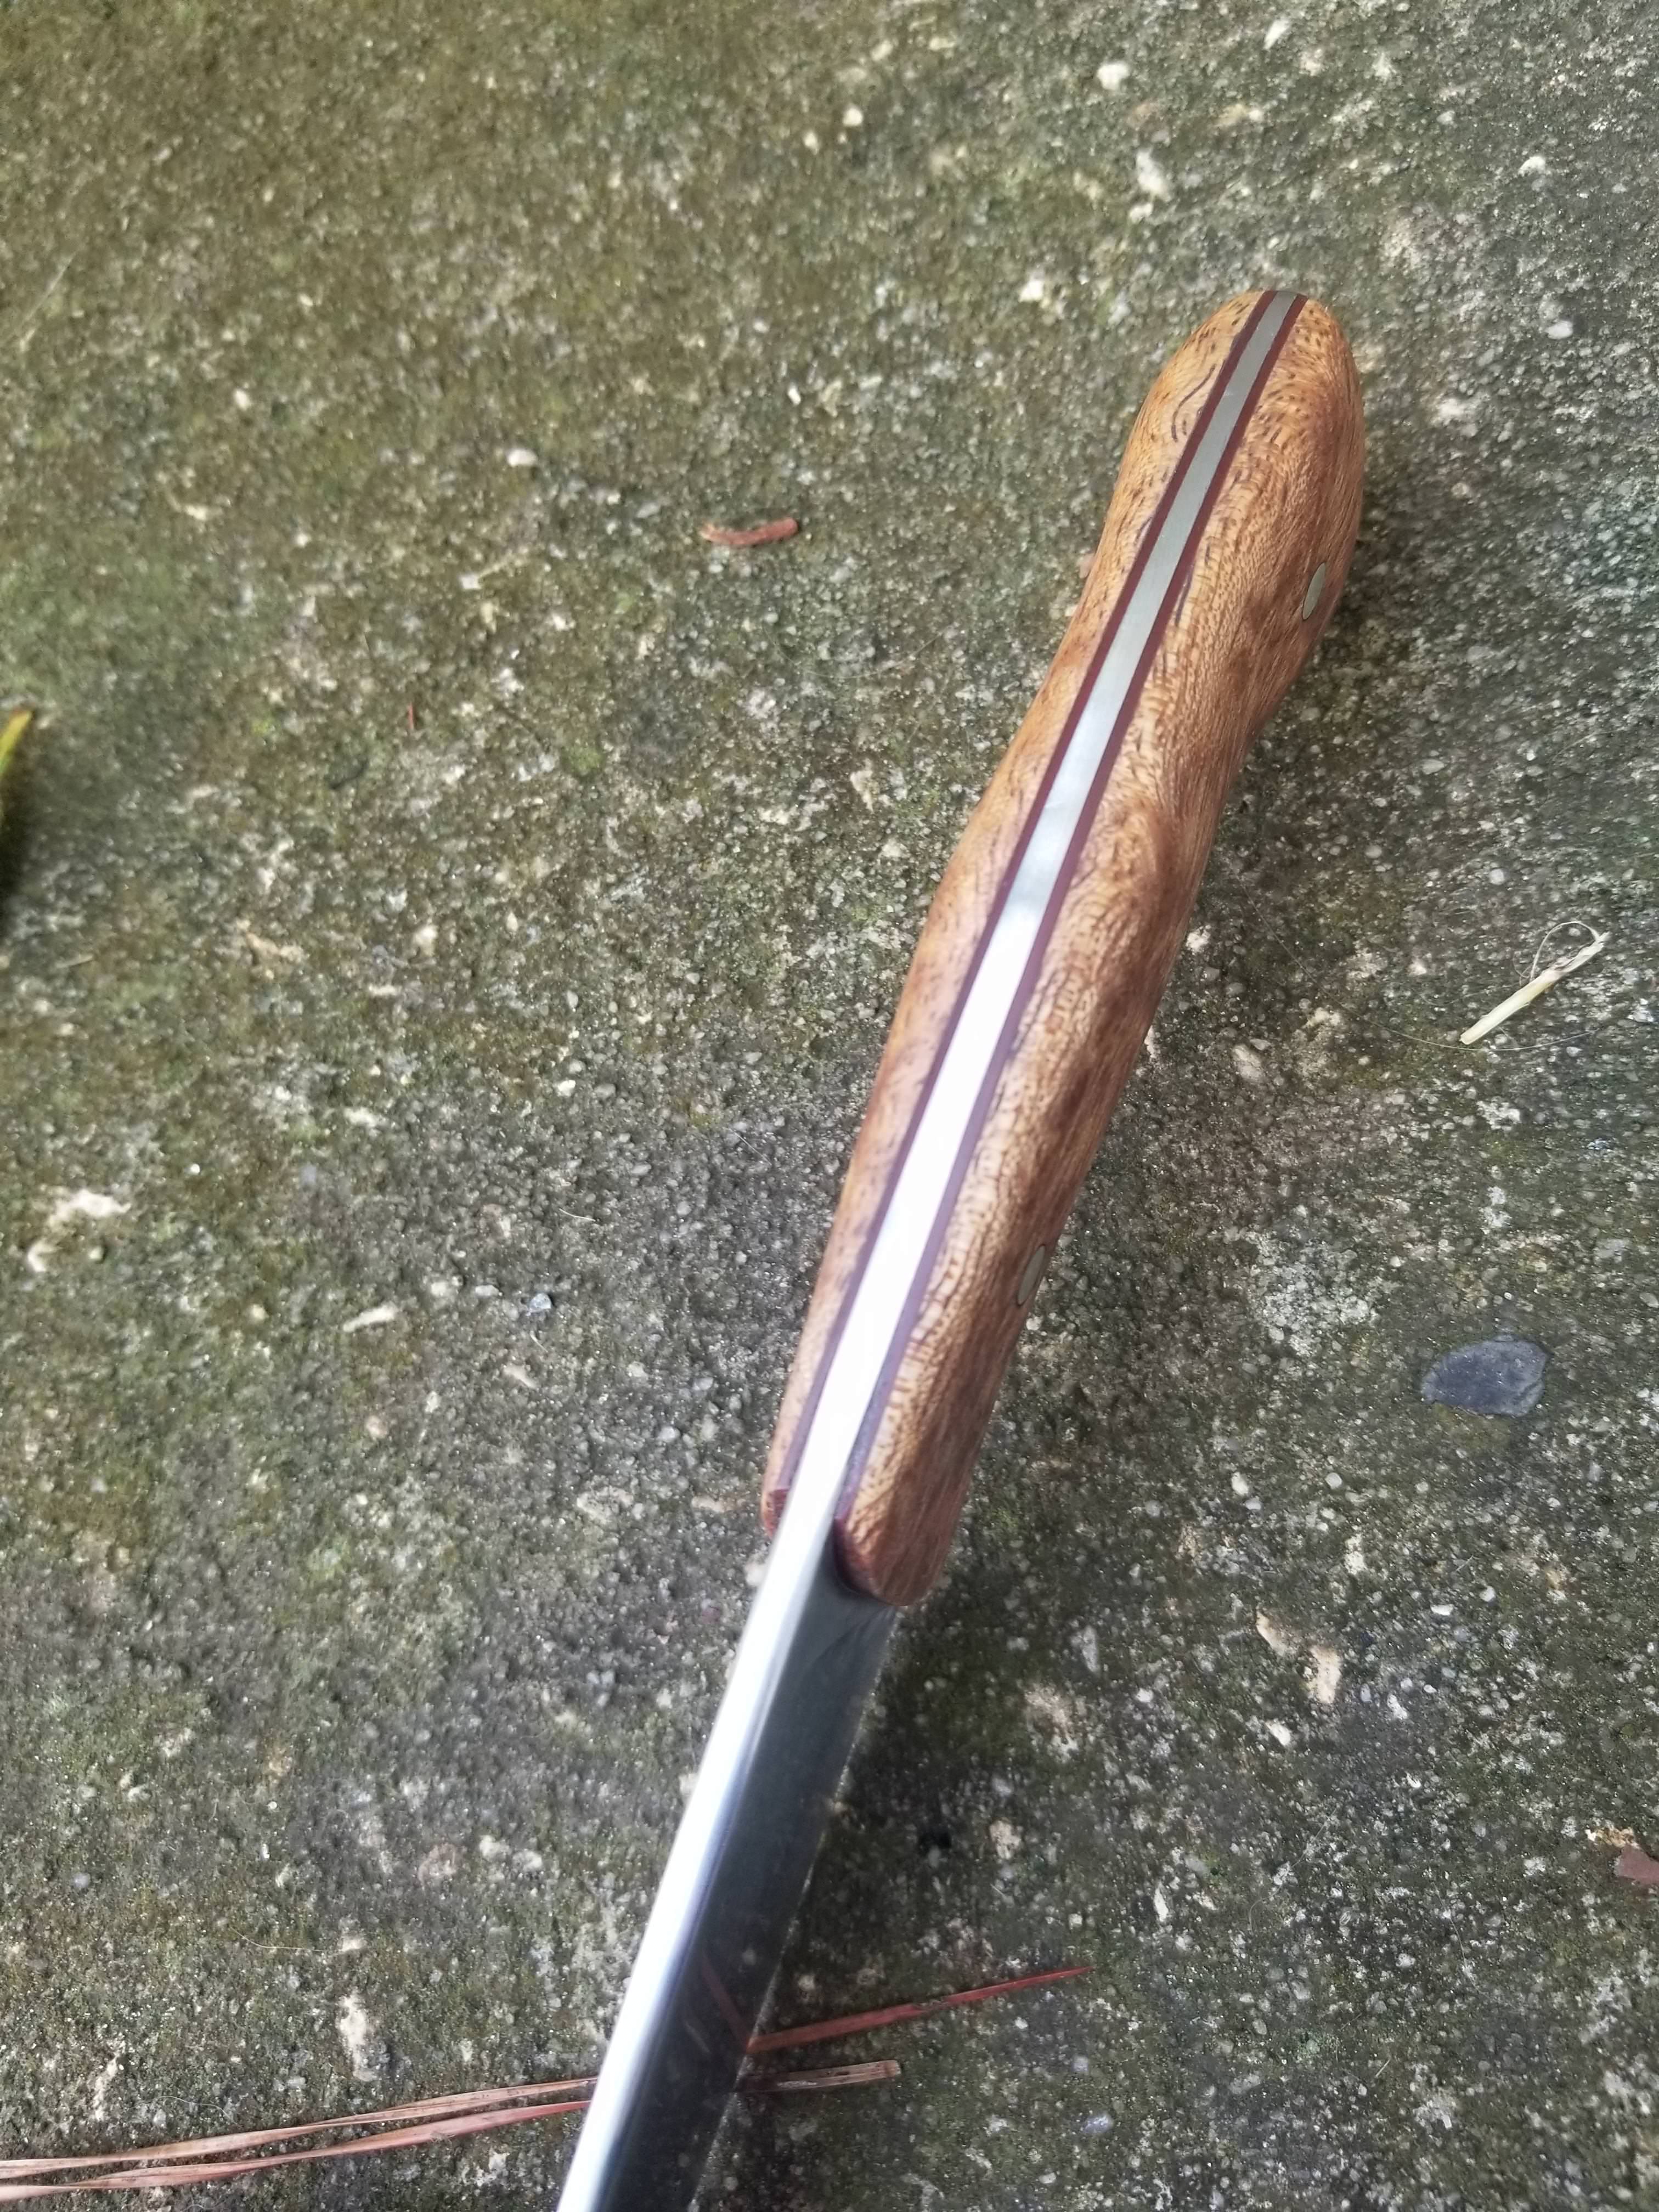
Justin, here is (maybe) and example of what Rick is describing. Knife angled to show both sides, then handle angled to show both sides. Somewhat subdued background, contrasting color, if not matte not terribly glossy, taken outside at dusk. This set of pictures are some of my favorites I've personally taken for myself.
This knife was sold before the pictures were taken but I also had more interest in this particular knife after posting the pictures than I really thought it warranted, and I attribute that to the photos. I had to crop the second one so the John Deere green corner didn't show


 fortunately after a few days they returned to their normal state .Now I m believer , wood is live ............. definitely