WIP-weekend

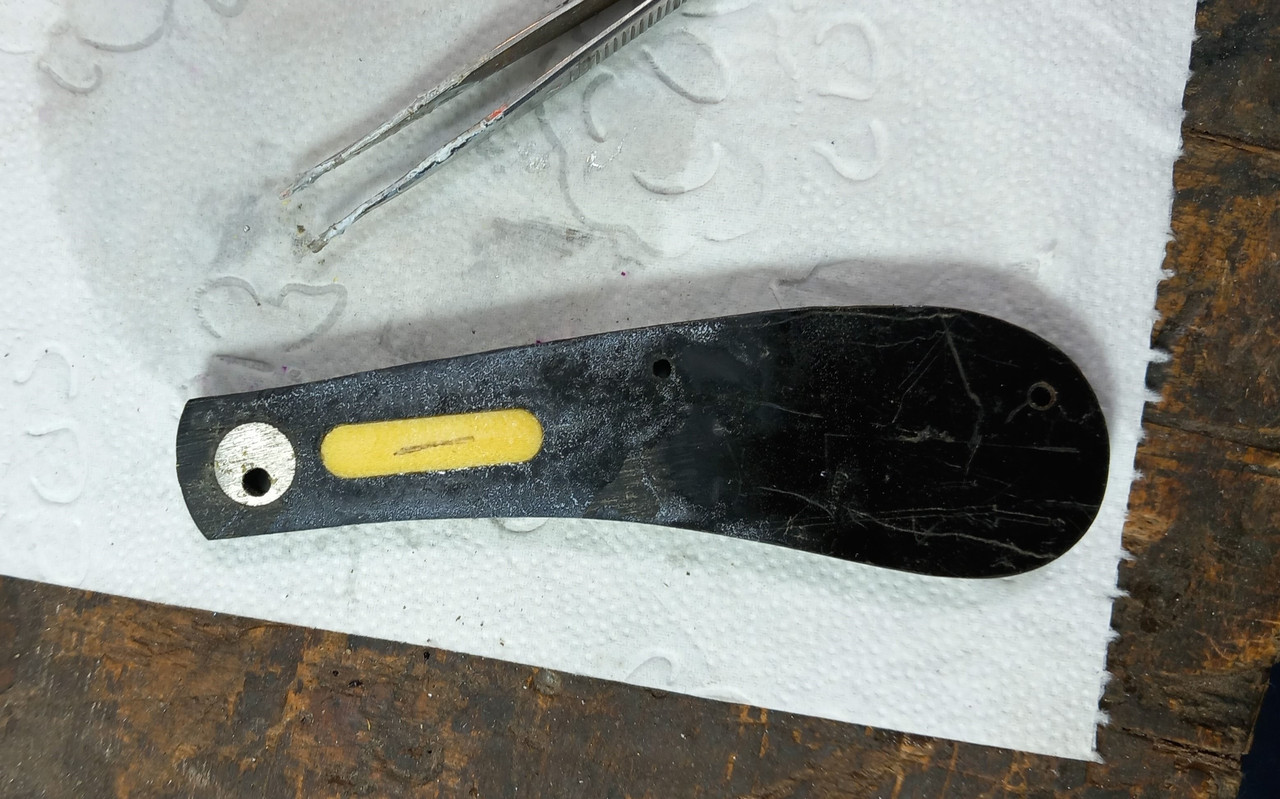
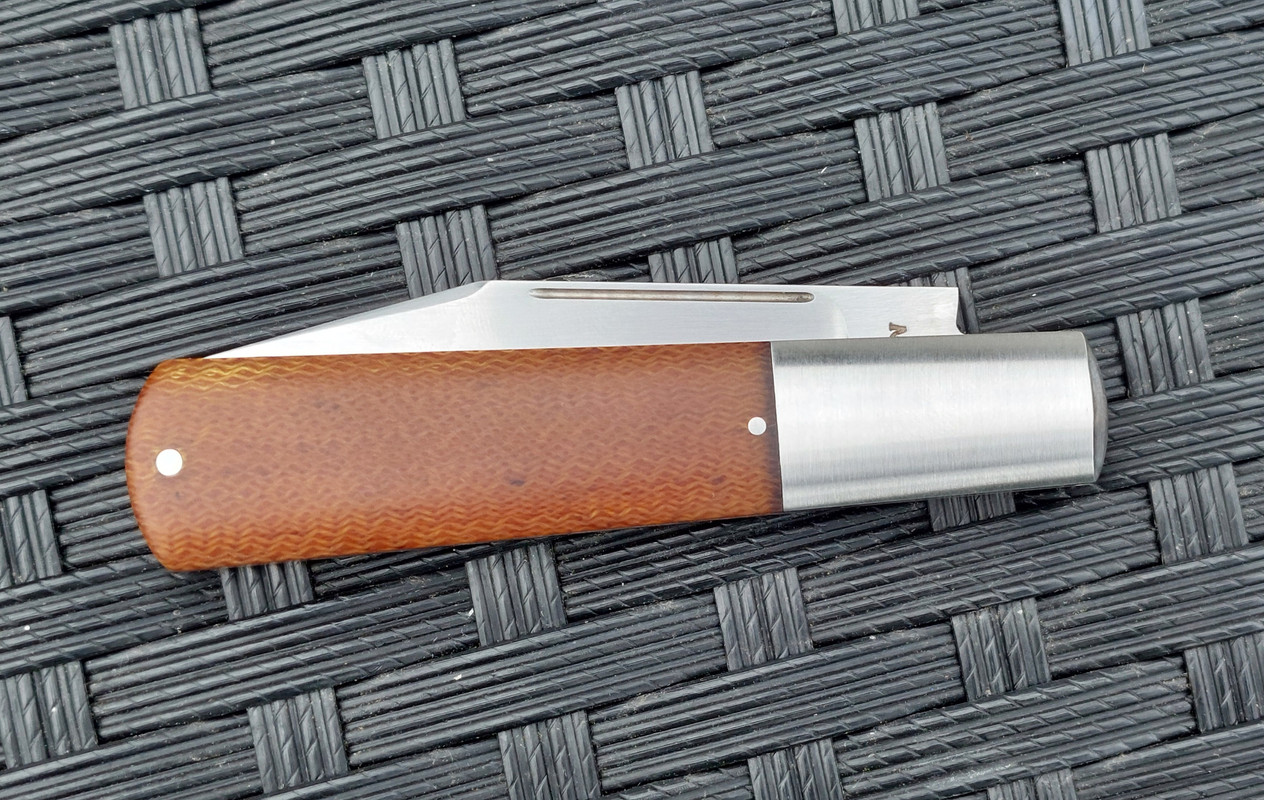
I know it is monday but I just had to show this one 😄
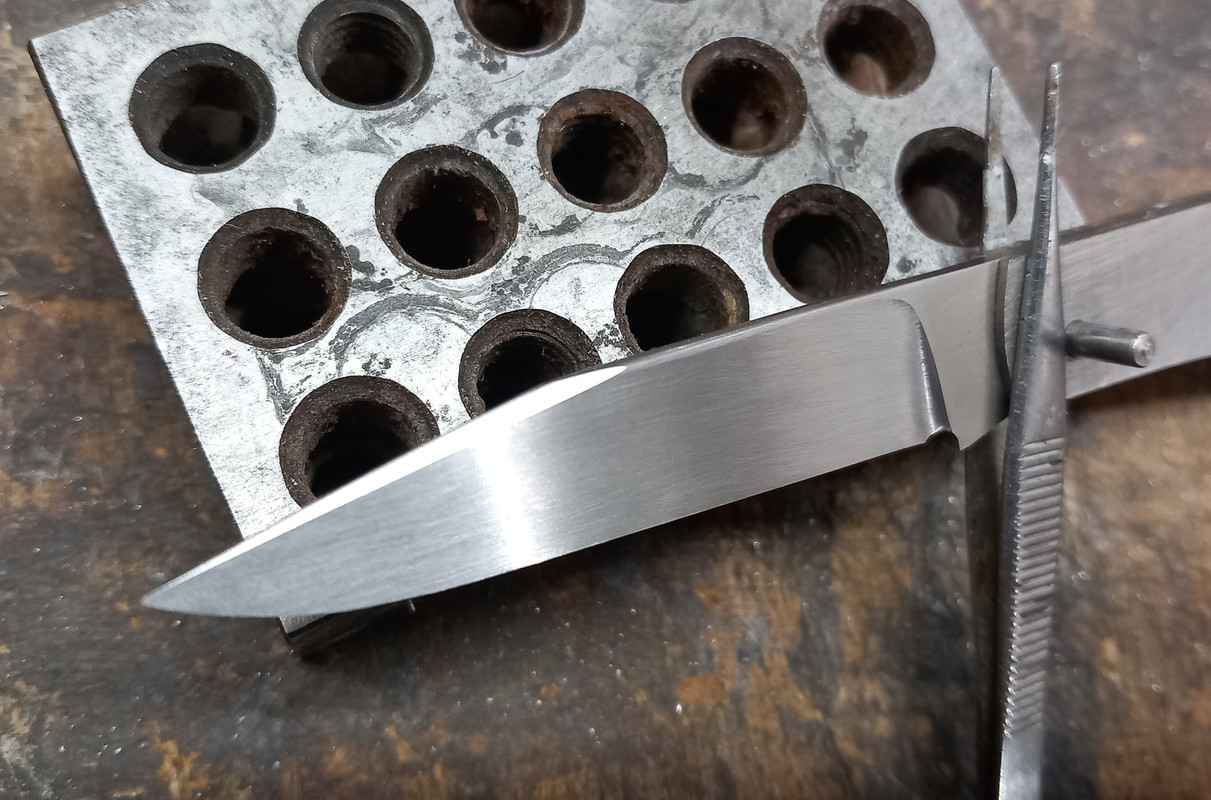
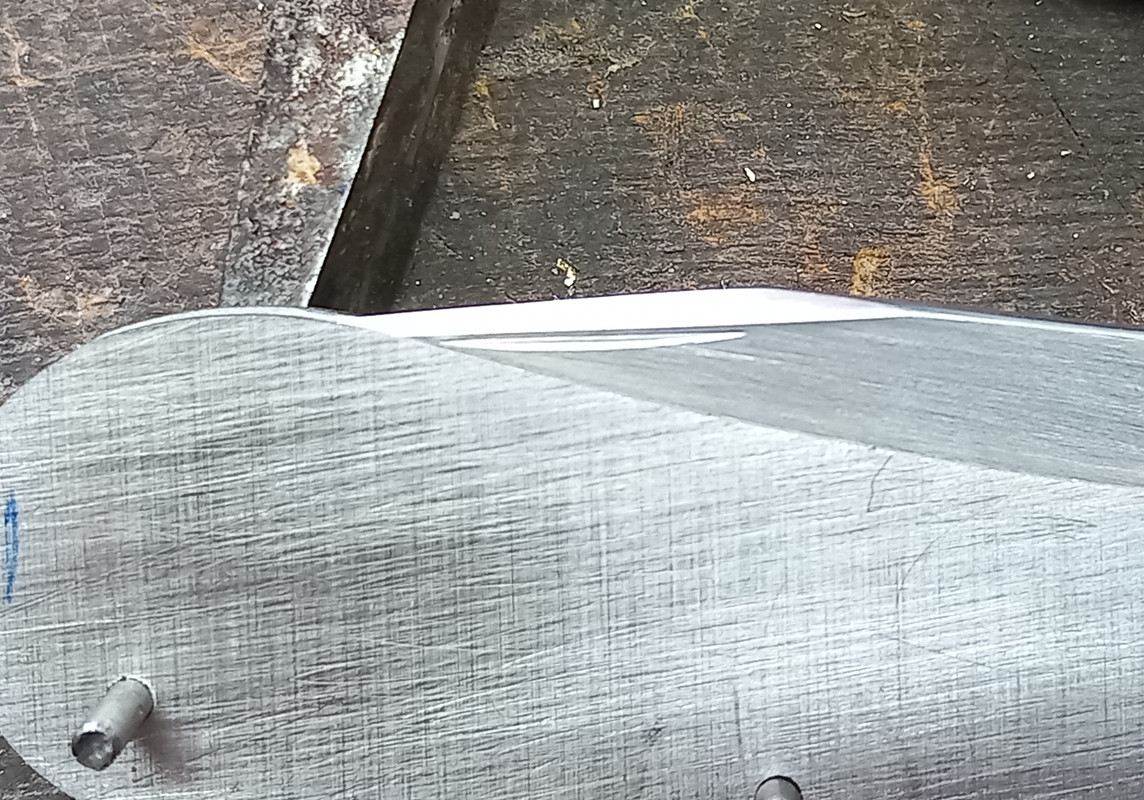
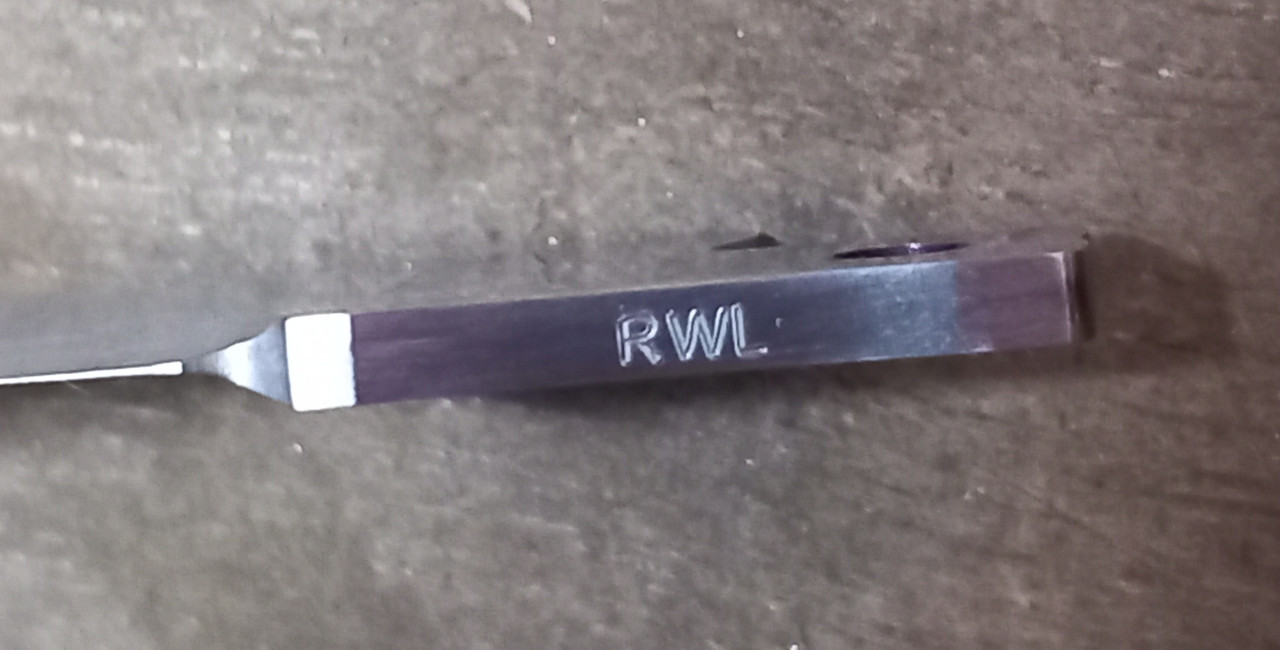
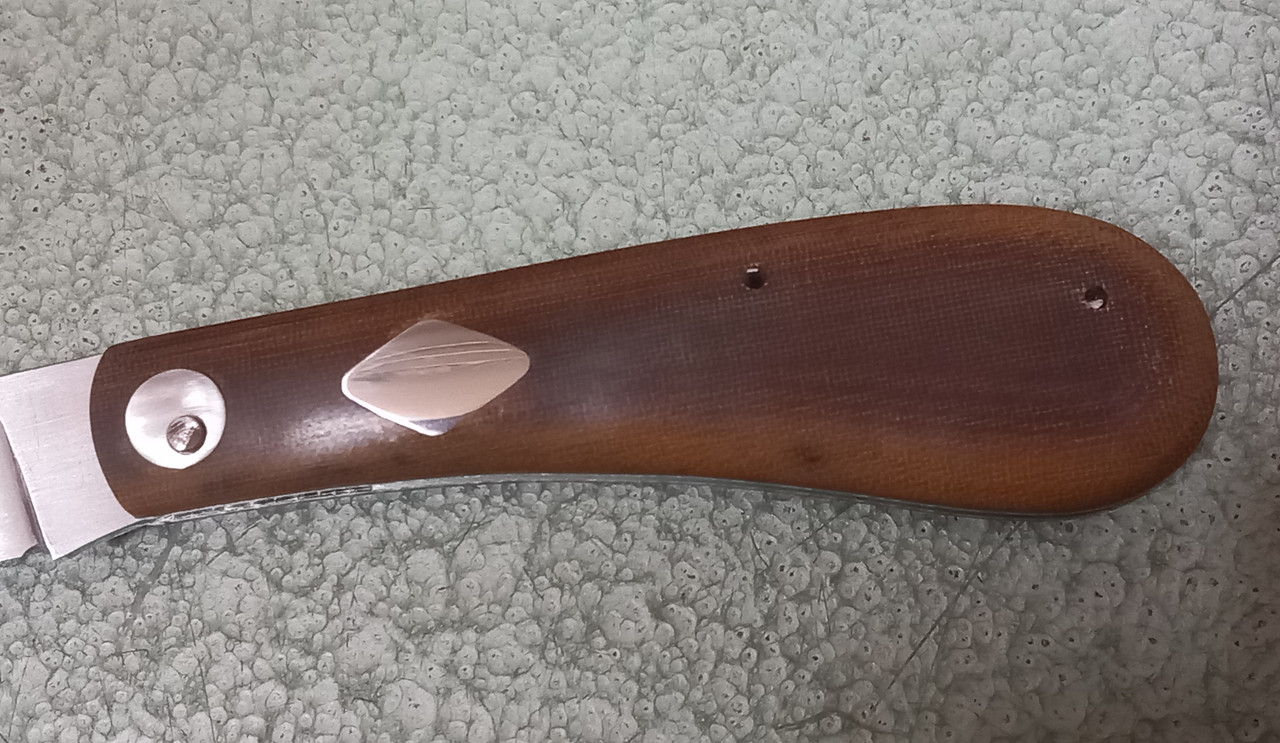
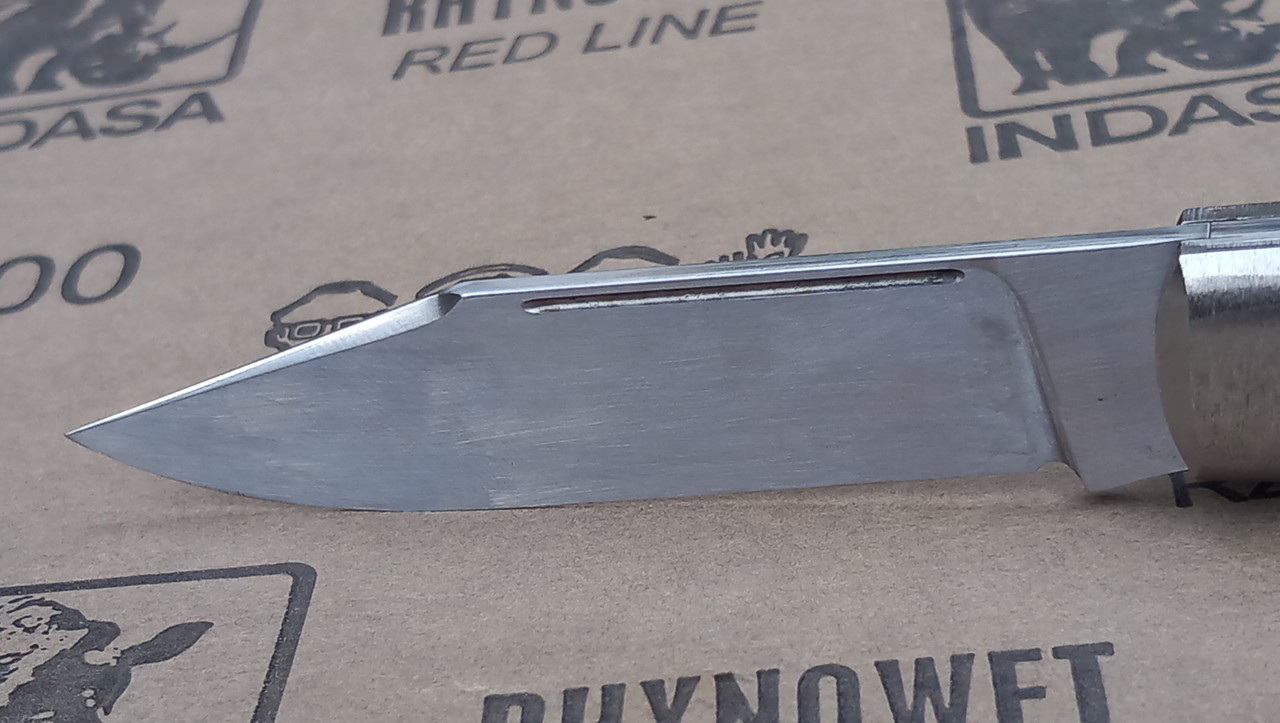
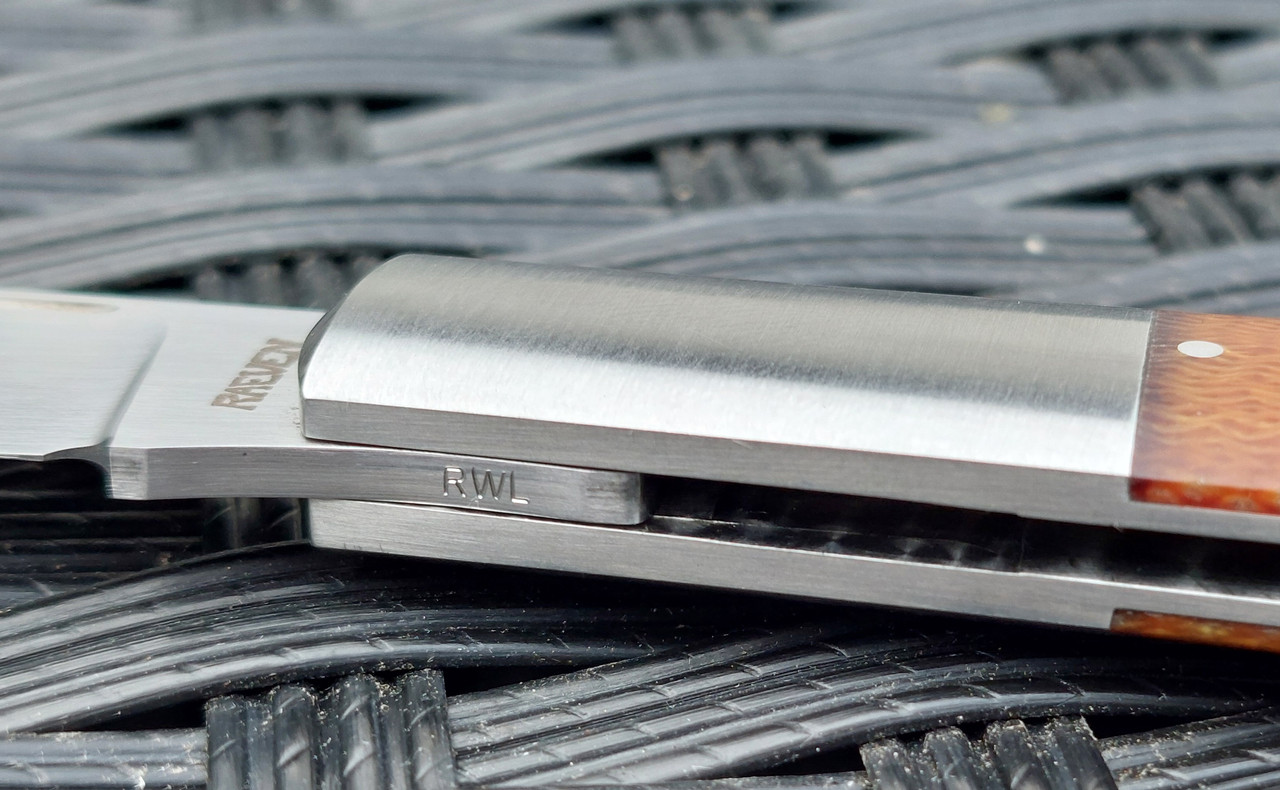
How about this on the ricasso?
(It's a single blade so I dropped the last 'S' )

20250203-211751.jpg


20250203-212031.jpg
 
This is the knife from the above post. I decided on black paper micarta with a cross-cut G10 shield.
I didnt like the first shield but I was able to overlay it with a second one.
You can also clearly see how the pivot hole is not in the center of the shadow disk. I like how after peening the shadow disk lays in the middle.

20250207-184836.jpg


20250207-191519.jpg


I think the scales could have looked good as they were but I decided to have some fun.

20250208-154618.jpg


20250208-171137.jpg


My grindlines are also getting better. And I got close to a pulled swedge (free hand)

20250207-214440.jpg


20250208-171610.jpg


I hope to peen this one together somewhere this week, I'm looking forewards to carry this one and and try it out.
I really like the zulu-spear design, a bit of belly when you need it but a handy point, nice and low.

20250208-171745.jpg


20250208-171816.jpg
 
I peened the black and yellow knife and most important of all the pivot disappeared in the shadow disk!
I jigged the scales so that the hole of the middle and back pin are at the bottom of the jigging. I hammered those pins confex so it looks a bit like a small steel ball on the bottom of the jigging.
I'm not fully happy with the result of the black-yellow one but I'm getting somewhere.
And I have another one to practice on!
Brown paper micarta with a cross-cut natural G10 shield.

Enjoying the process :)

20250215-085943.jpg


20250215-085957.jpg


20250215-144049.jpg


20250215-153105.jpg


20250215-153657.jpg


20250215-153717.jpg
 
And this is the last one of the batch of four I'm working on.
It's the first nail nick I've cut with the machine I use. It is a bit of a guess how deep to cut it pre-HT before the bevels are ground in.
I like how this one turned out but slightly larger would have suited it as well.

20250215-113906.jpg


20250215-125845.jpg


20250215-130953.jpg


This is what I have in mind

20250222-122610.jpg


So, let's solder!

20250222-143245.jpg


20250222-154342.jpg


20250222-164836.jpg


20250222-170551.jpg


The joy of hand sanding.
EMD stones save a lot of time compared to sandpaper. On this one I went 320, 400 and 600. To finish it I'll use 600 sandpaper. Sandpaper leaves a far better finish then stones.

20250223-103536.jpg


20250223-160040.jpg


And counting...

20250223-155934.jpg


So what do you guys think?
20250223-160103.jpg
 
I'm really enjoying seeing the quality of your work increasing with each build. I like the brown jigged better than the black, but the black looks cool regardless!
 
I work in small batchest, my current one is five slipjoints.
This one started out as a Zulu but I messed something up pre-HT. I made it a drop point to have a practice knife, had the nail nick a bit to high post-HT and made it a clip point with a nice and shiny swedge.
It's a bit of a Frankenstein but it lets me try a couple of things, including EDC-ing a clip point for a while.
I like a nice and skinny nail nick just under the swedge.

20250414-204419.jpg


20250414-210202.jpg


20250414-210236.jpg


20250419-113242.jpg


20250419-113247.jpg


Part of learning how to make slipjoints is figuring out how to get done what you want with the machines/tools you have.
I made this jig and now I can relieve the liners, left and right in mirror image of eachother. Not perfect yet but getting somwhere.

20250419-103153.jpg


20250419-104707.jpg


Dovetailed bolsters next

20250419-120726.jpg


And I marked the kind of steel I use, I like these small details.
(RWL34 ~ CPM154 stainless)

20250324-201505.jpg
 
Back
Top